Introduction
In this tutorial, I’ll guide you through the step-by-step process of blending objects into backgrounds using Photoshop. Whether you’re a novice or an experienced photo editor, these techniques will take your skills to the next level.
Understanding Background Integration
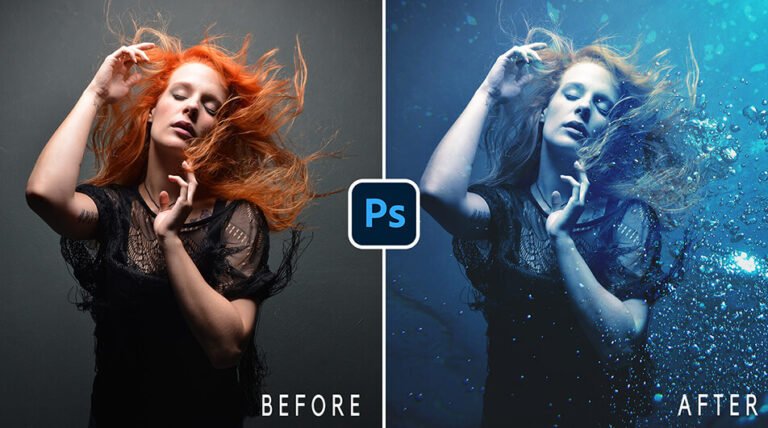
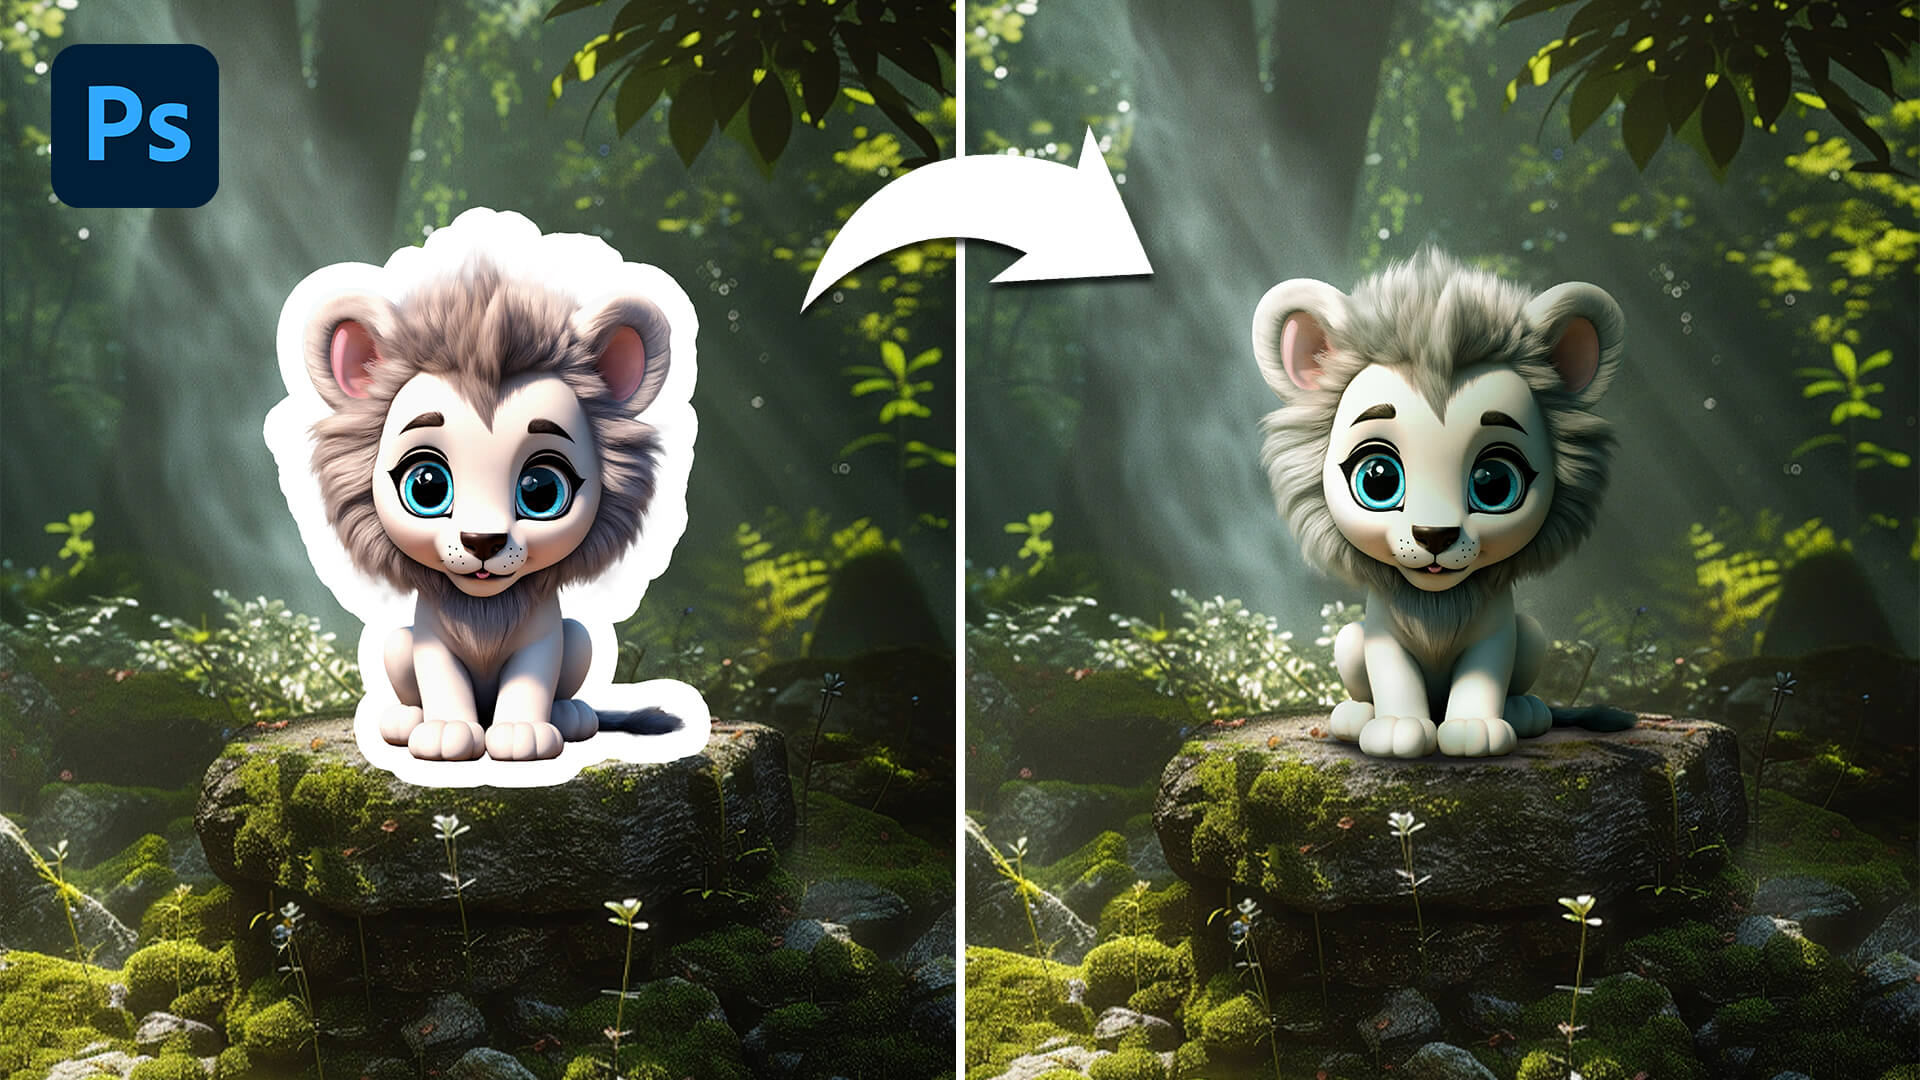
The first step in blending objects into backgrounds is understanding the importance of lighting, shadows, and colors. A well-blended object should look like it naturally belongs in the scene, without noticeable discrepancies.
Selecting the Right Tools
Photoshop offers a variety of tools that make background integration a breeze. From the Clone Stamp tool to the Content-Aware Fill, understanding how and when to use these tools is crucial for achieving realistic results.
Layer Mask Mastery
Layer masks are essential for seamlessly blending objects into backgrounds. Mastering the art of layer masks allows you to precisely control which parts of the object are visible and which parts blend into the background seamlessly.
Fine-Tuning and Adjustments
Once the object is in place, it’s time to fine-tune and make adjustments. This may involve tweaking the lighting, adjusting the color balance, or adding subtle shadows to enhance realism.
Practice Makes Perfect
Like any skill, mastering the art of blending objects into backgrounds requires practice. Experiment with different techniques and don’t be afraid to make mistakes – they’re all part of the learning process.
Stock Images & PSD File:
Blending Object into Background Video Tutorial
Conclusion
Mastering the art of blending objects into backgrounds is a valuable skill for any photographer or graphic designer. With the techniques outlined in this tutorial, you can create stunning, seamless compositions that captivate viewers and elevate your work to new heights. Remember, practice, patience, and attention to detail are key – so don’t be afraid to dive in and start experimenting with your projects. Happy editing!
I trust the video provided both useful information and entertainment. Feel free to try out various images for distinct outcomes. Make sure to subscribe to my YouTube channel for the latest tutorial updates, ensuring you won’t miss any upcoming lessons. 🙂