Splatter/dripping effect may be used in web and graphic design to produce eye-catching effects. If you want to make one of your photographs stand out, try applying a splatter/dripping effect.
In this Photoshop tutorial, I’ll show you how you can achieve that awesome effect very easily.
For this lesson, I’ll use Photoshop 2022.
This project uses the images and brushes below. You can download them to follow along or you can pick your own images and brushes.
Image: picture taken by Alireza Esmaeeli.
Splatter Brushes: deviantart.com
Dripping: mediafire.com
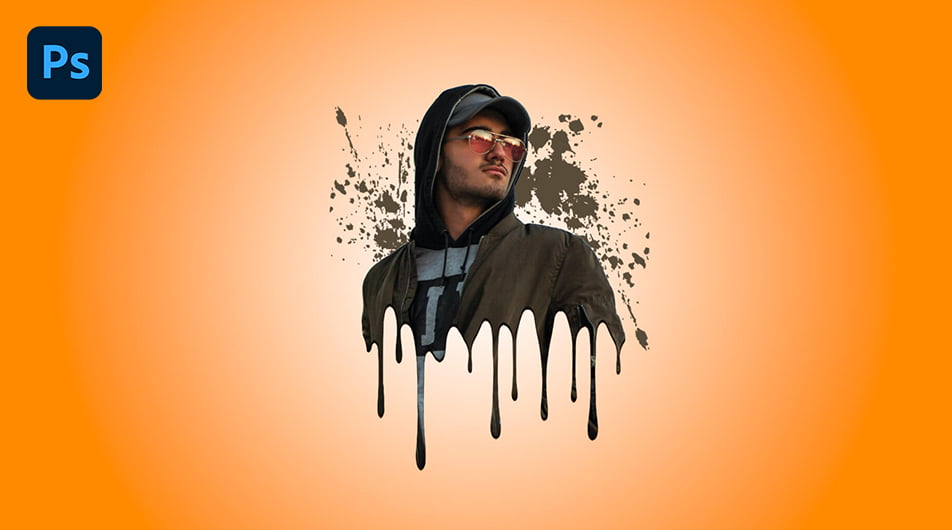
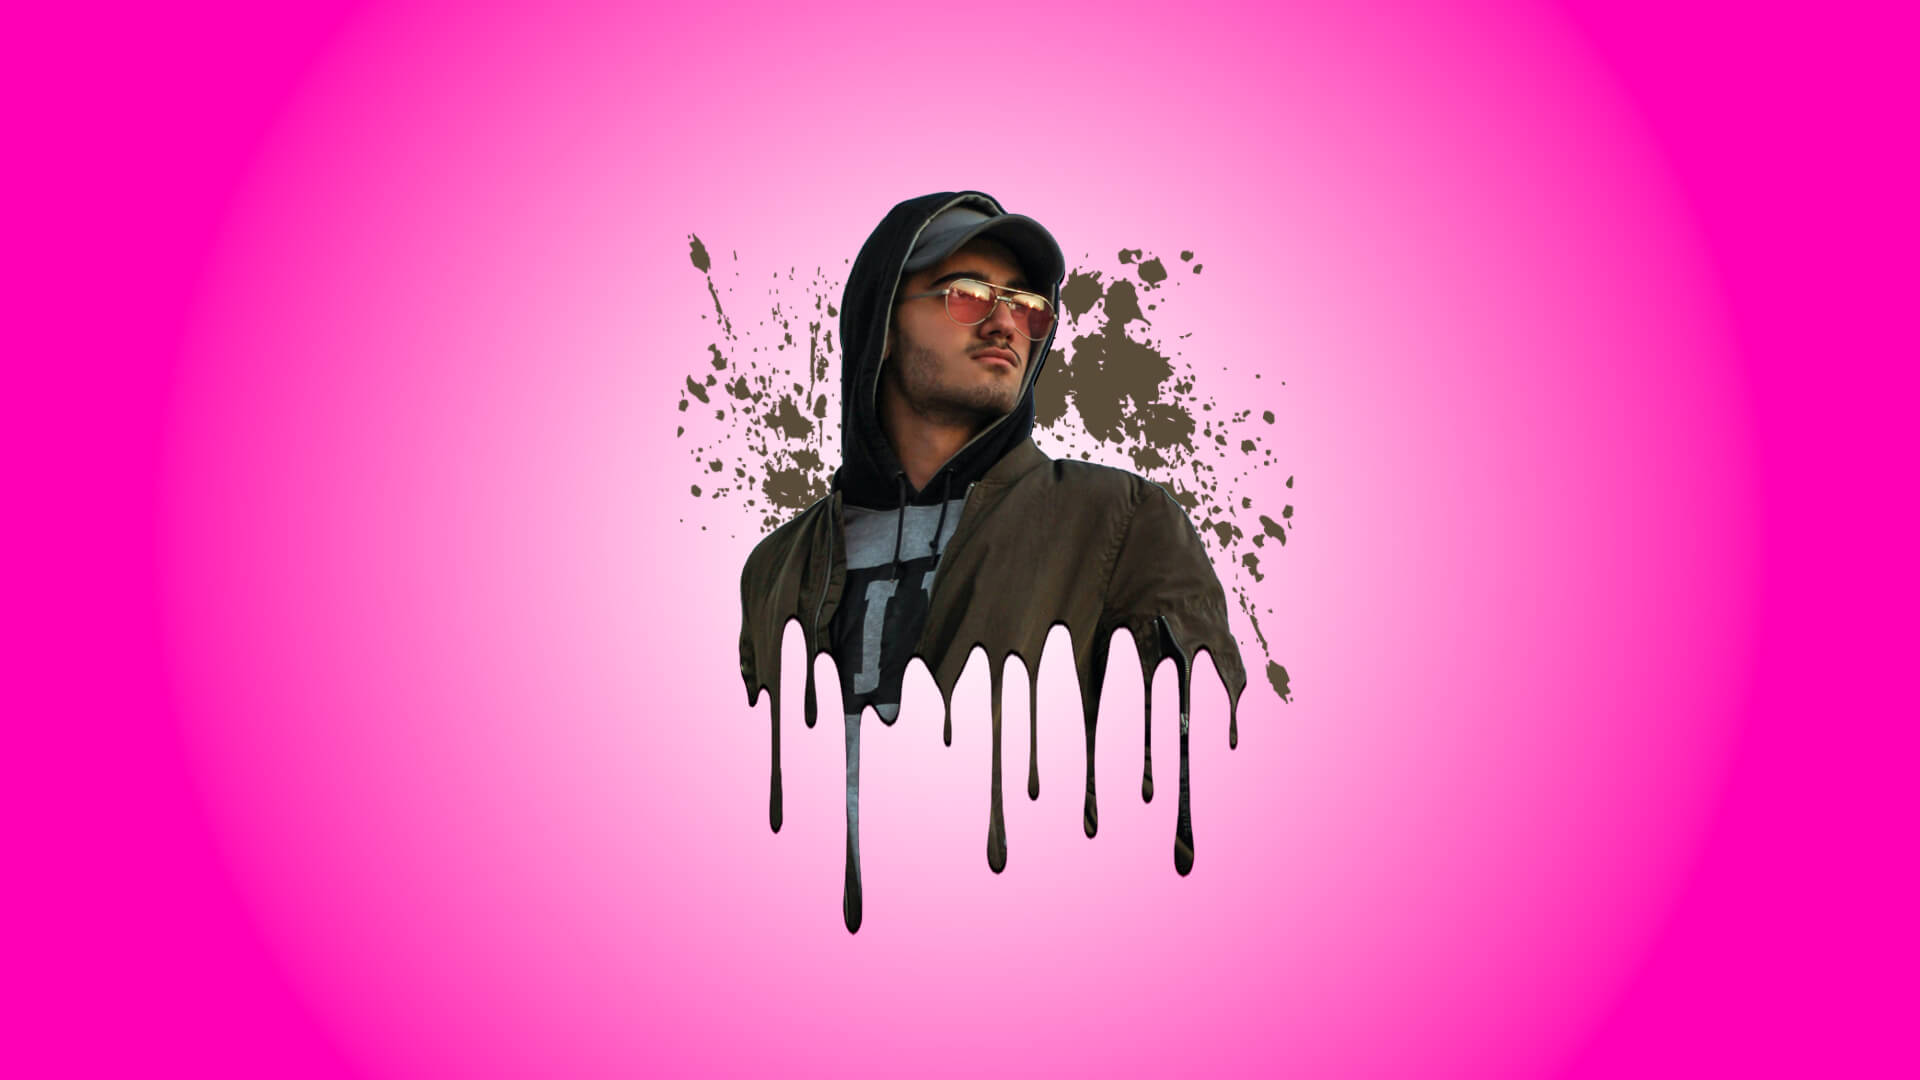
Final Image
At the end of this tutorial, this is what your final image should look like:

Create a Dripping/Splatter Effect
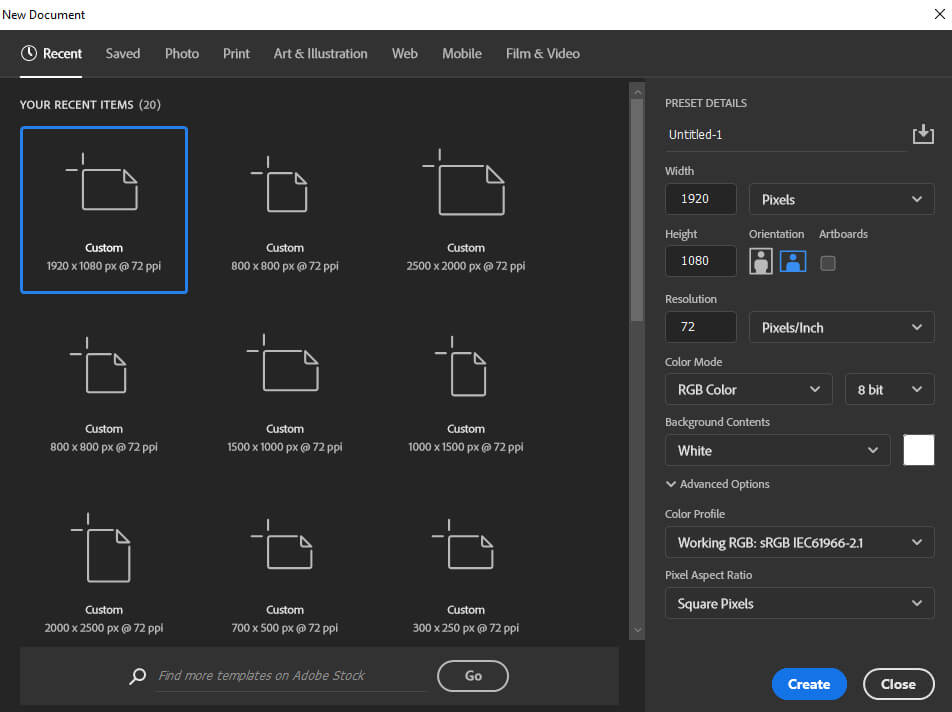
Step 1: Create a New Document
First, let’s create a new document by pressing Ctrl + N or you can also go to File > New.
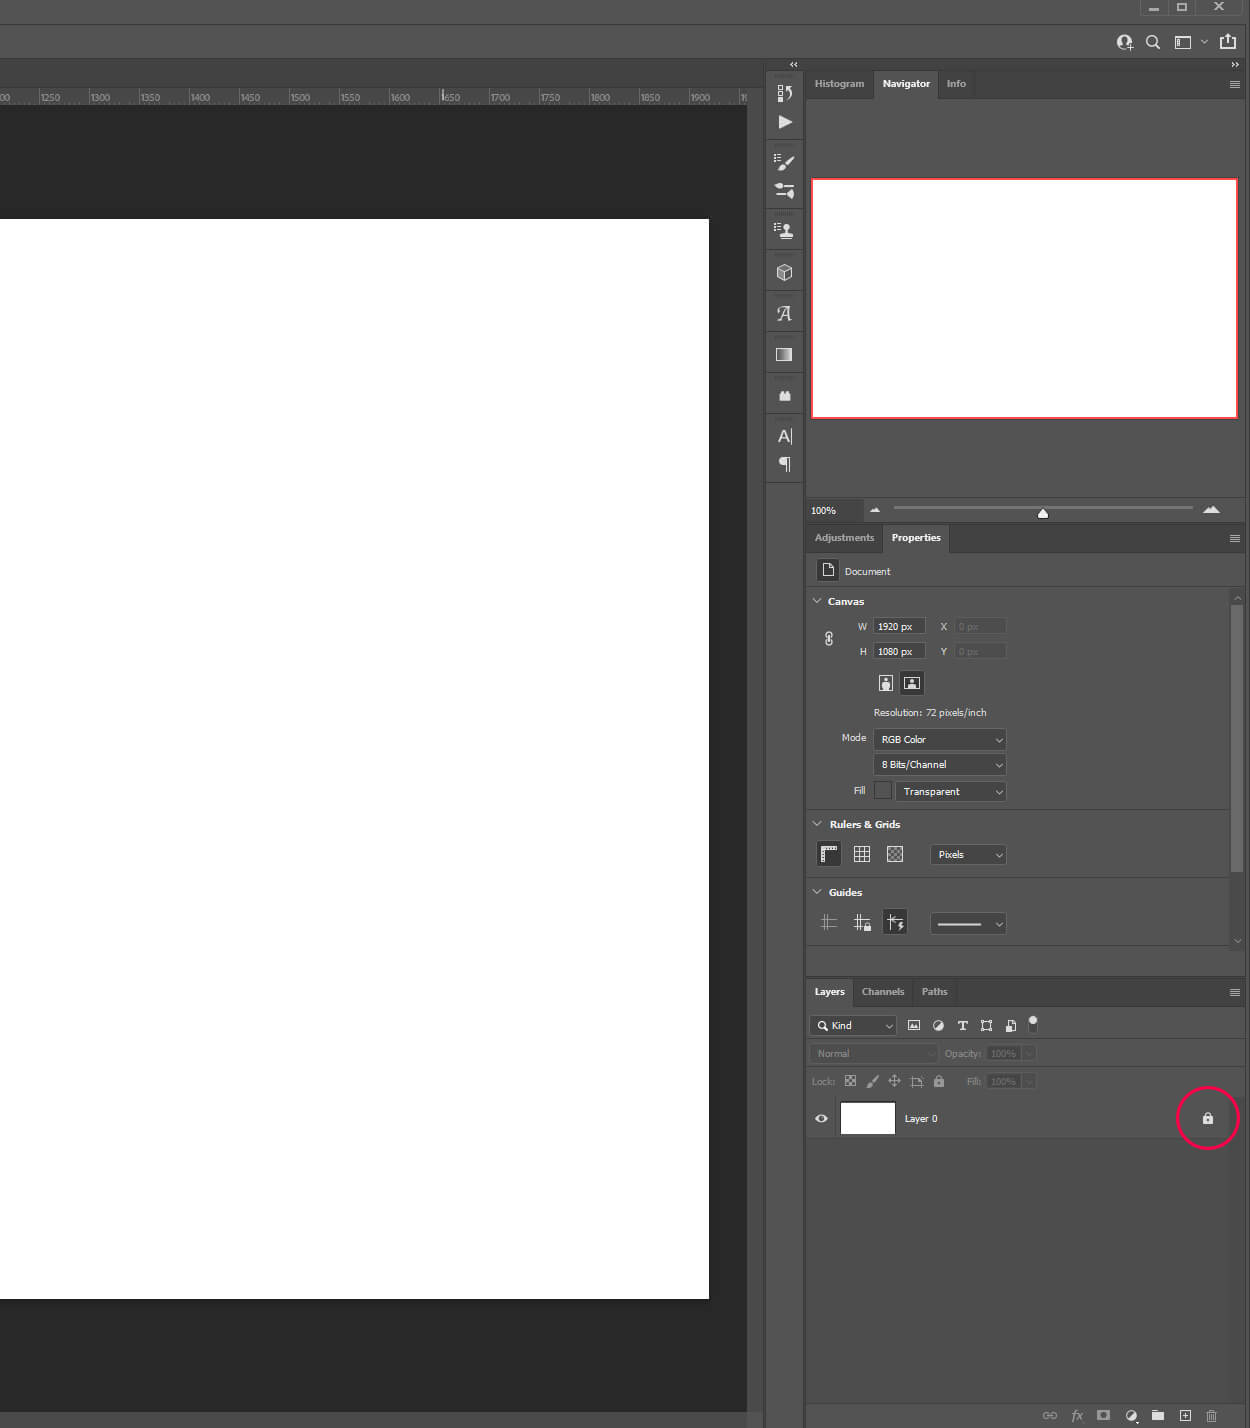
To ensure that your result will look like mine just copy the settings as shown on the image below.
If you want to print this project set the resolution to 300 dpi instead of 72.
Step 2: Background Design
First, click the lock icon to unlock your background layer then double click on it to open its layer style window.
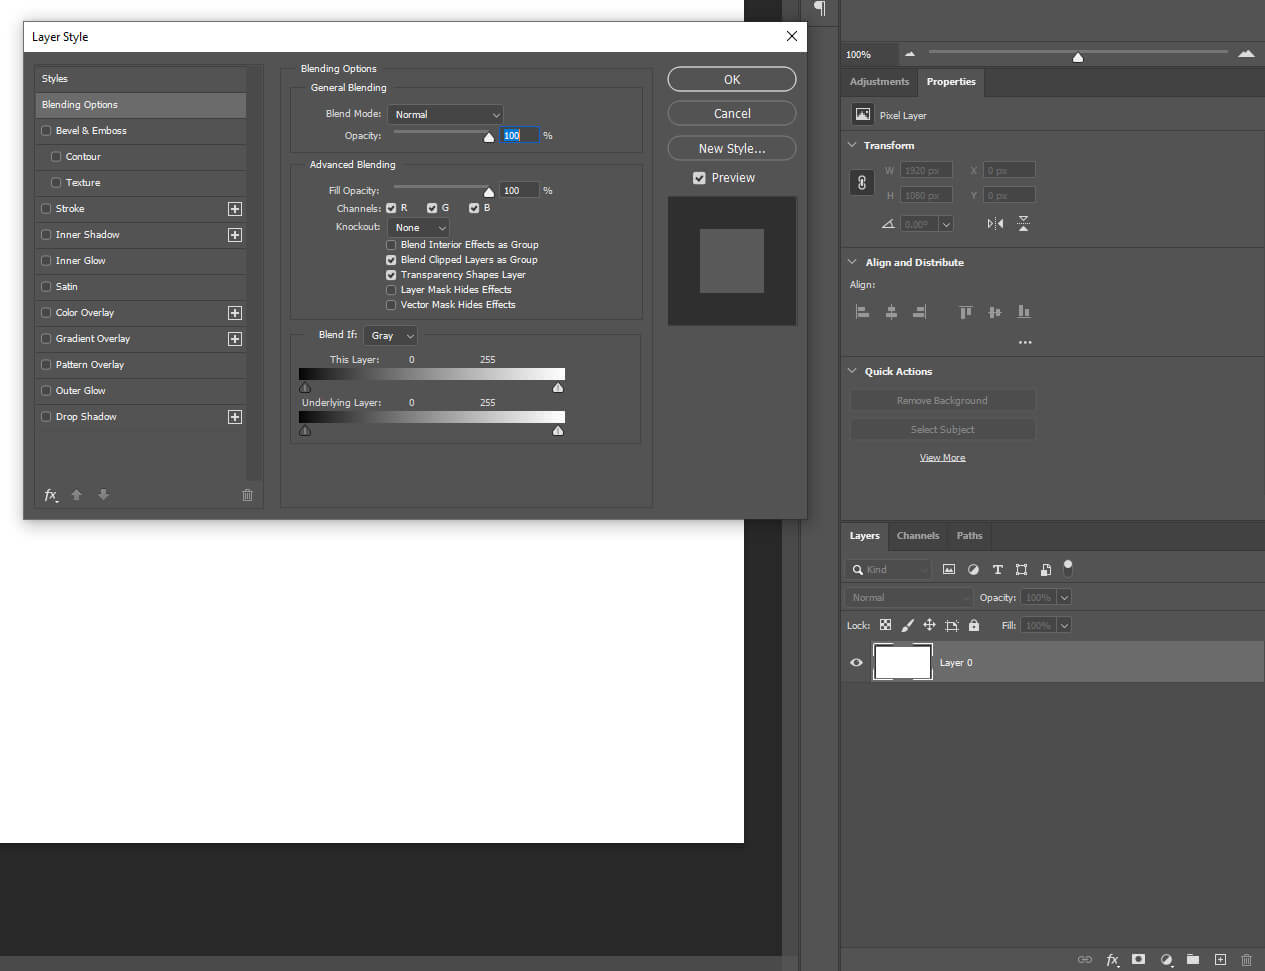
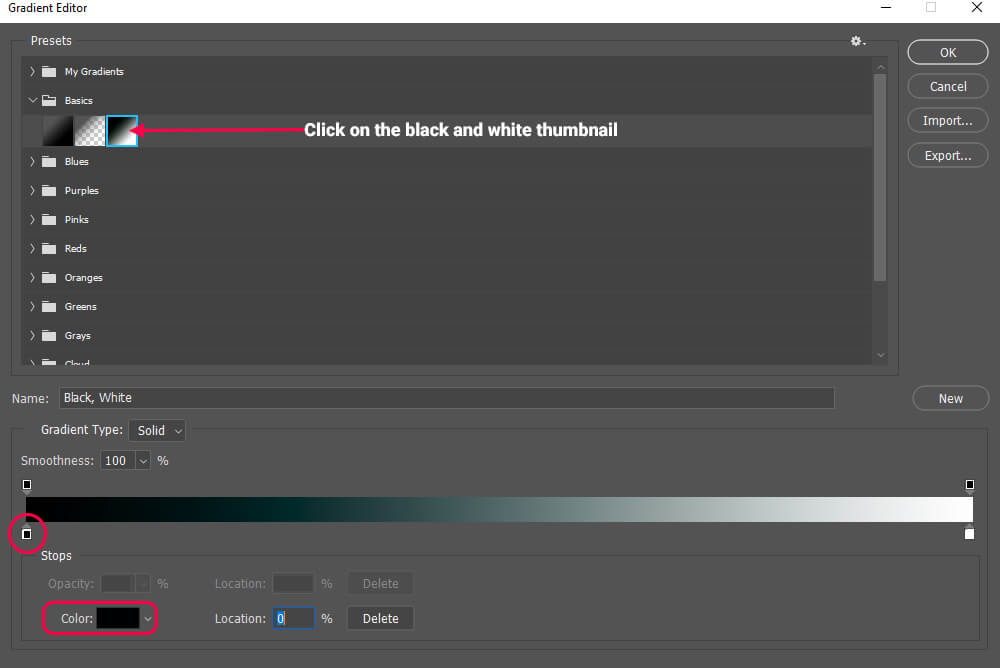
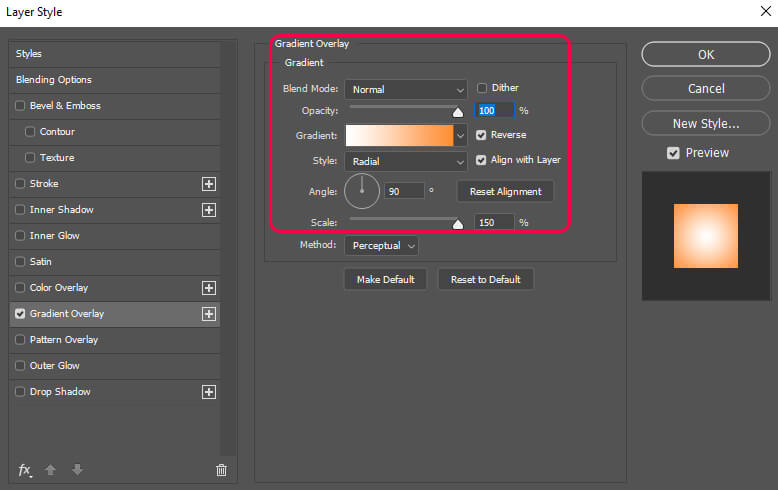
Next, select Gradient Overlay and double-click on the gradient bar, and choose the black and white thumbnail.
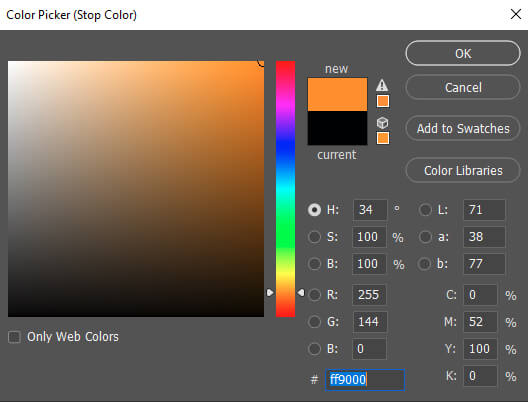
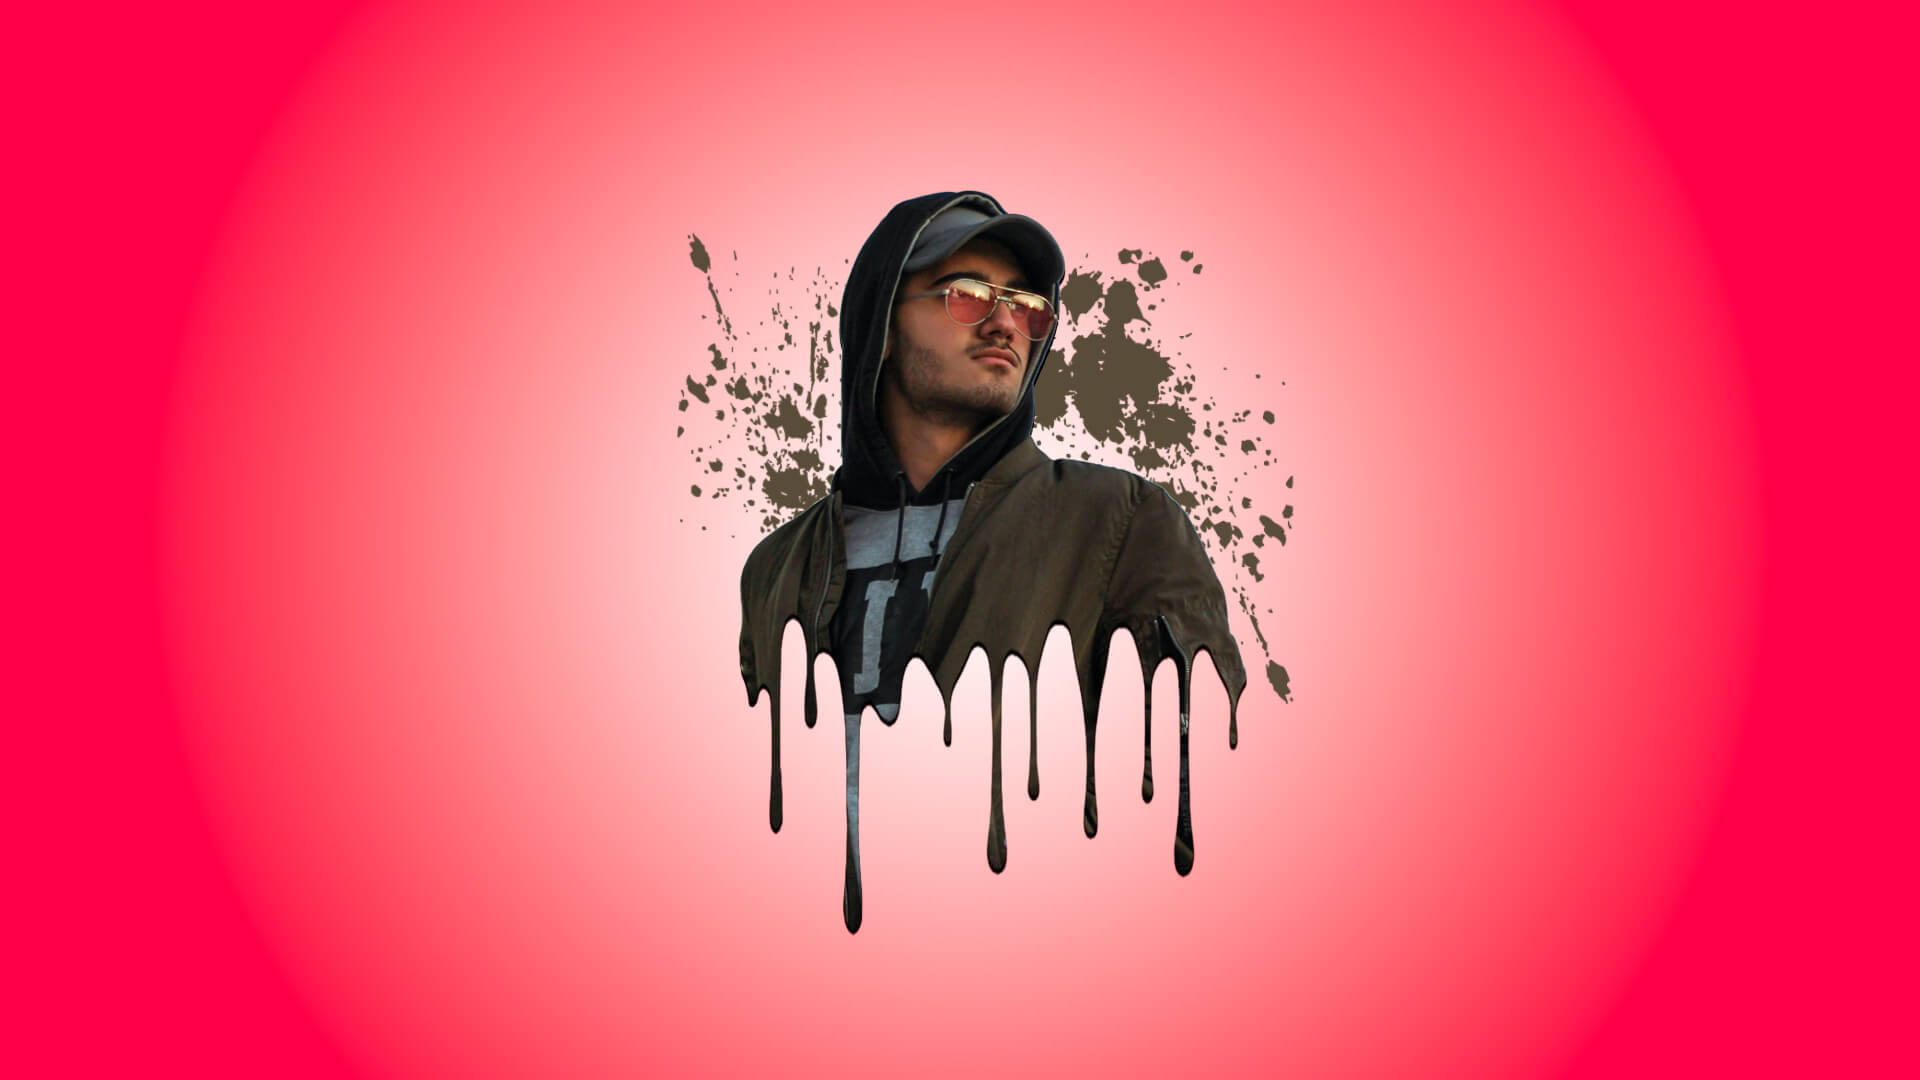
In the lower-left click the color box and pick a color that works with your subject. In this case, I chose a nice orange but you can always come back later and change it if you want.
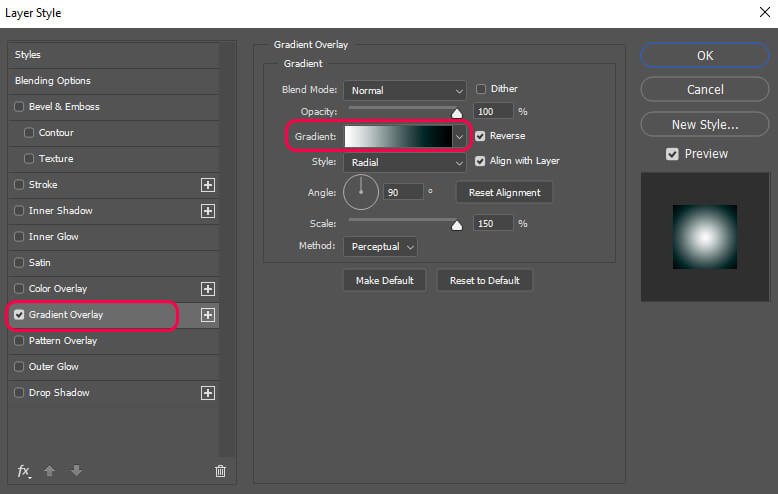
To finish with our background set up your Gradient Overlay as shown on the image below:
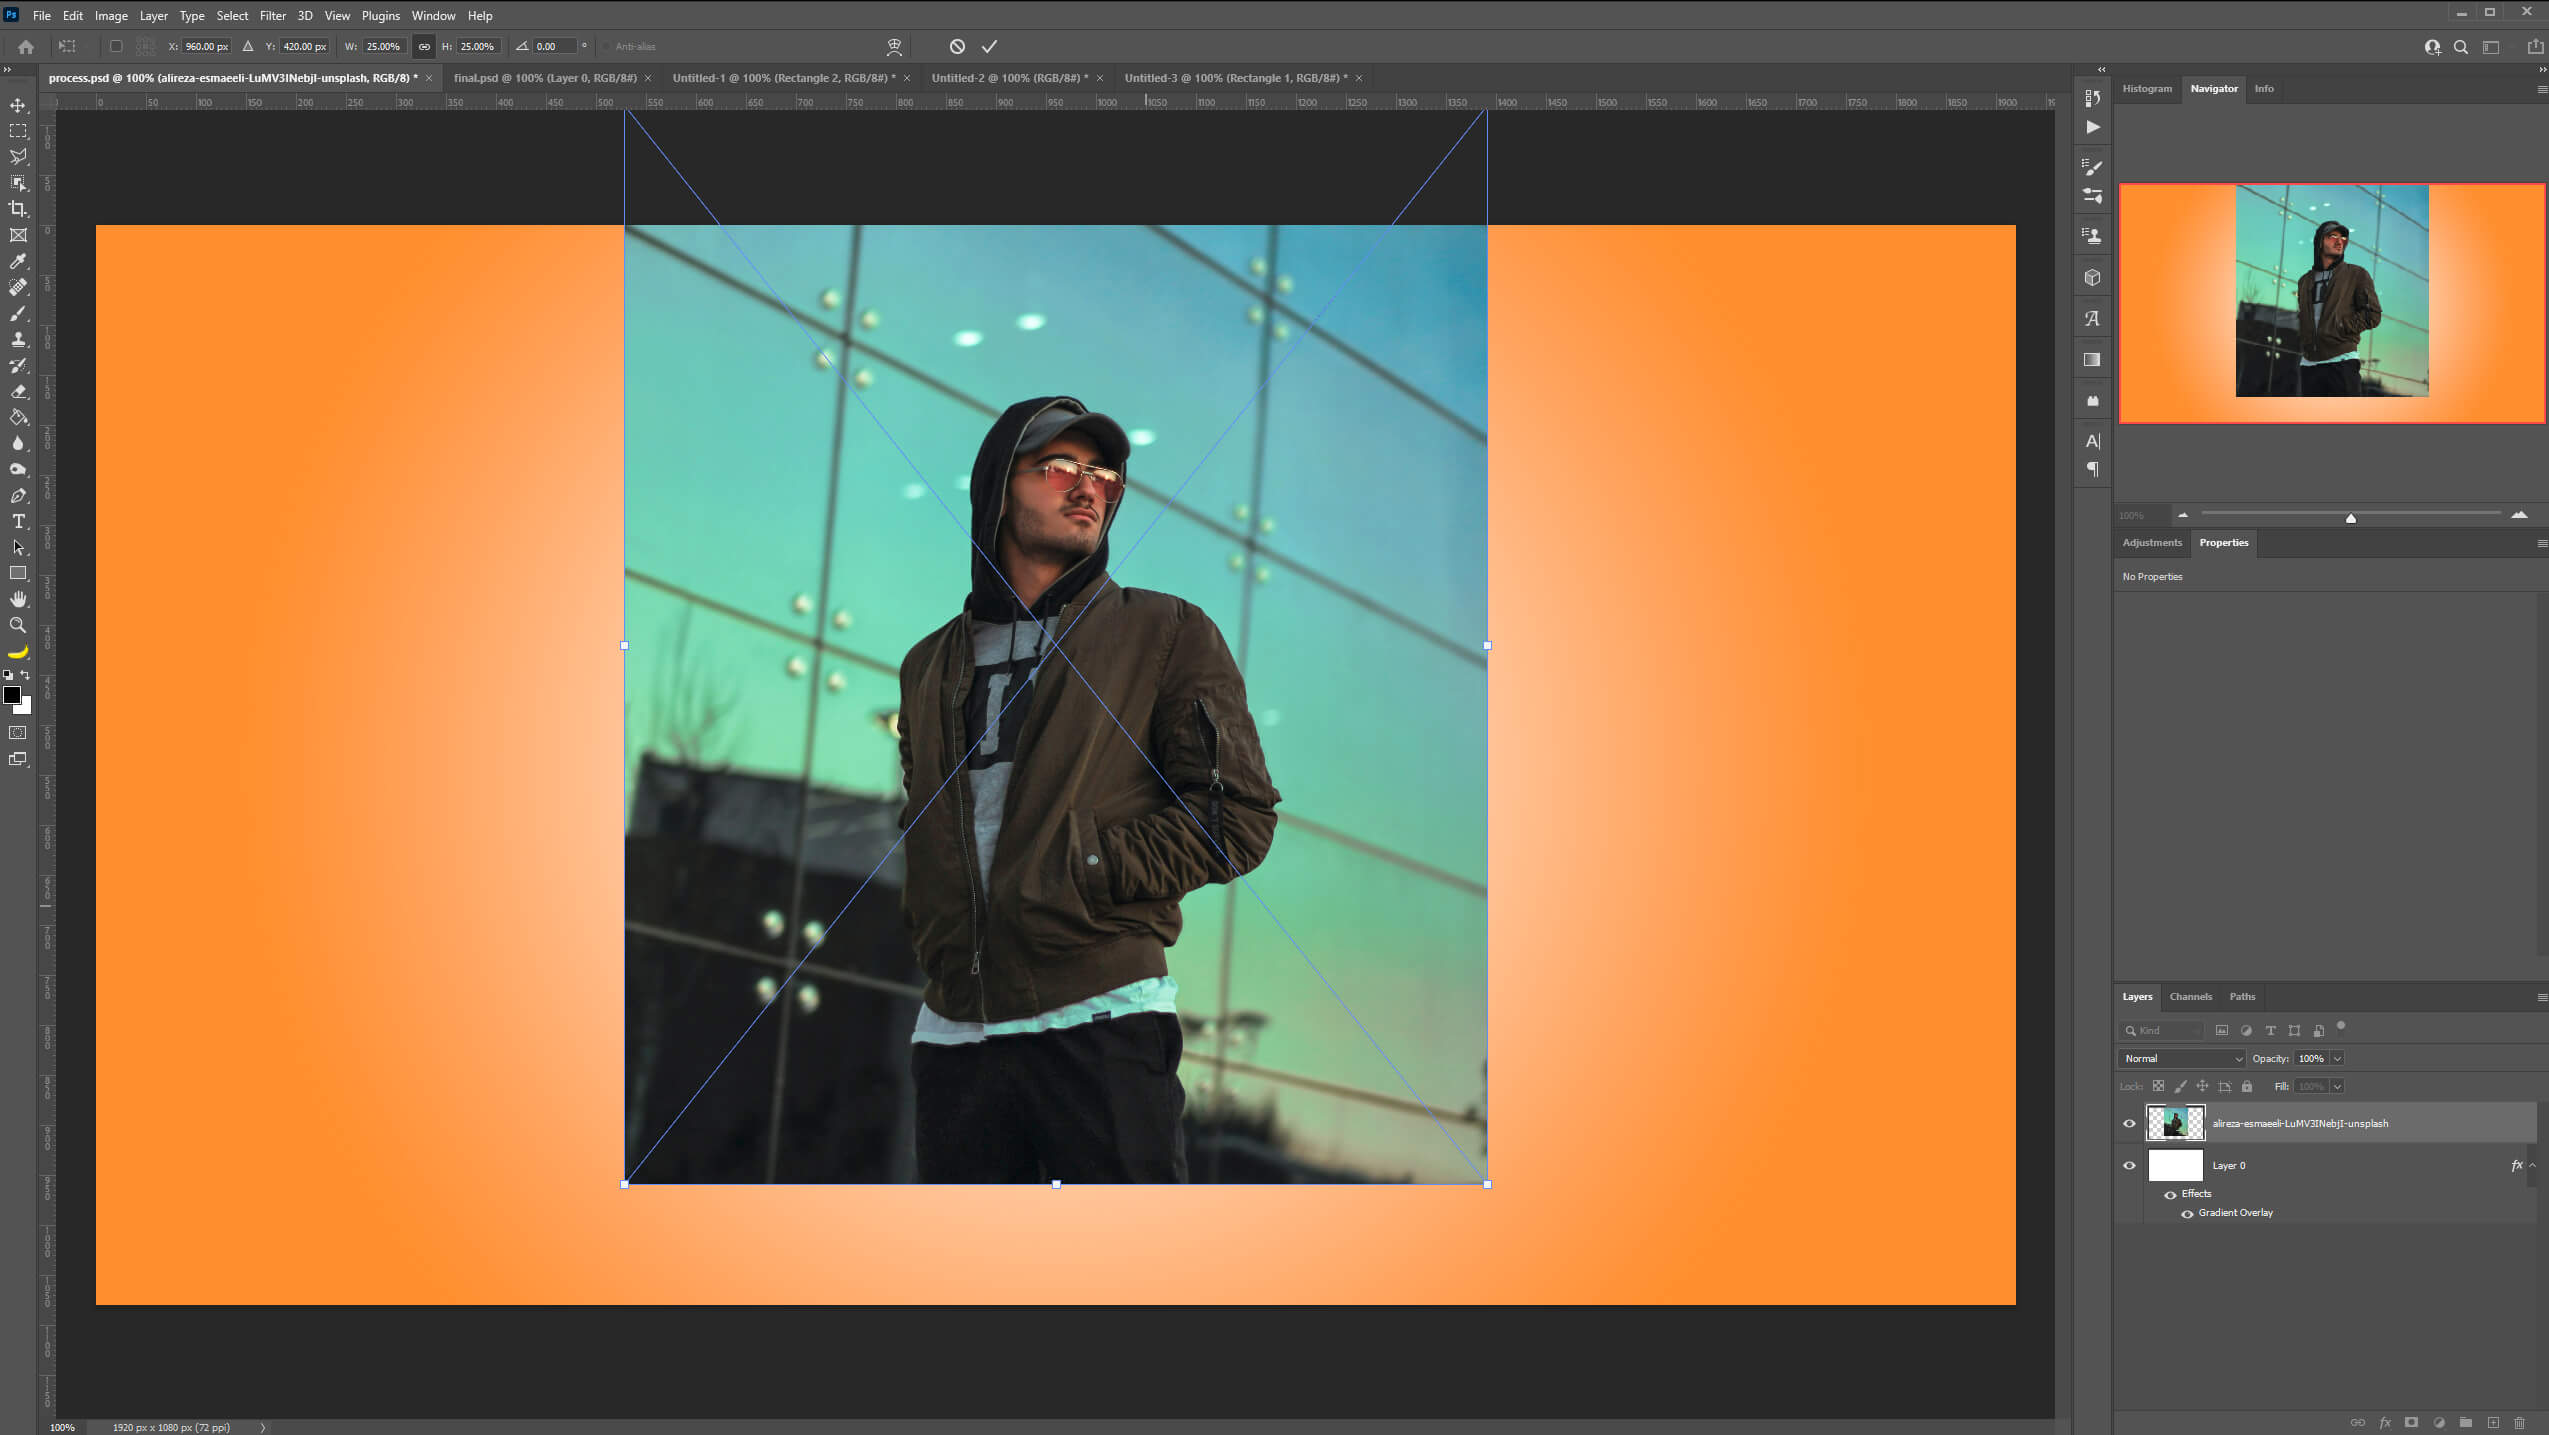
Up to this point, your background should look like this:

Step 3: Separate the Subject from its Background
First, drag your image onto the background. Press V and place your image in the center of the background. If you need to resize the image press Ctrl + T to enable the Transform Tool. Once you are happy with the size and the position of the image press Enter.
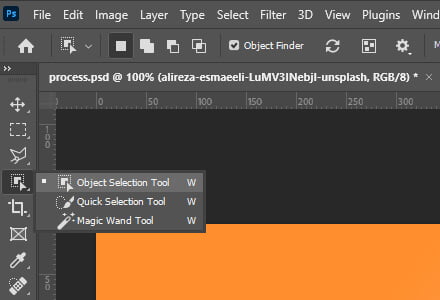
Next, we’ll separate the subject from its background by making a selection around the subject. They are many ways to do this but for this example, I’ll use the Object Selection Tool located in the toolbar.
Once the Object Selection Tool is activated, draw a rough selection around your subject. Photoshop will work its magic and select the subject automatically.

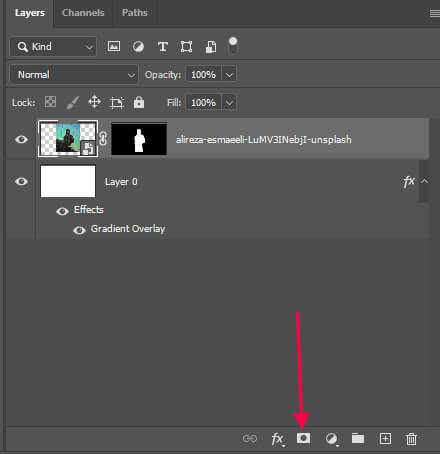
Next, with your selection active, head over to your layer panel and add a layer mask. The subject should be now separated from its background.

Step 4: Create the Dripping Effect
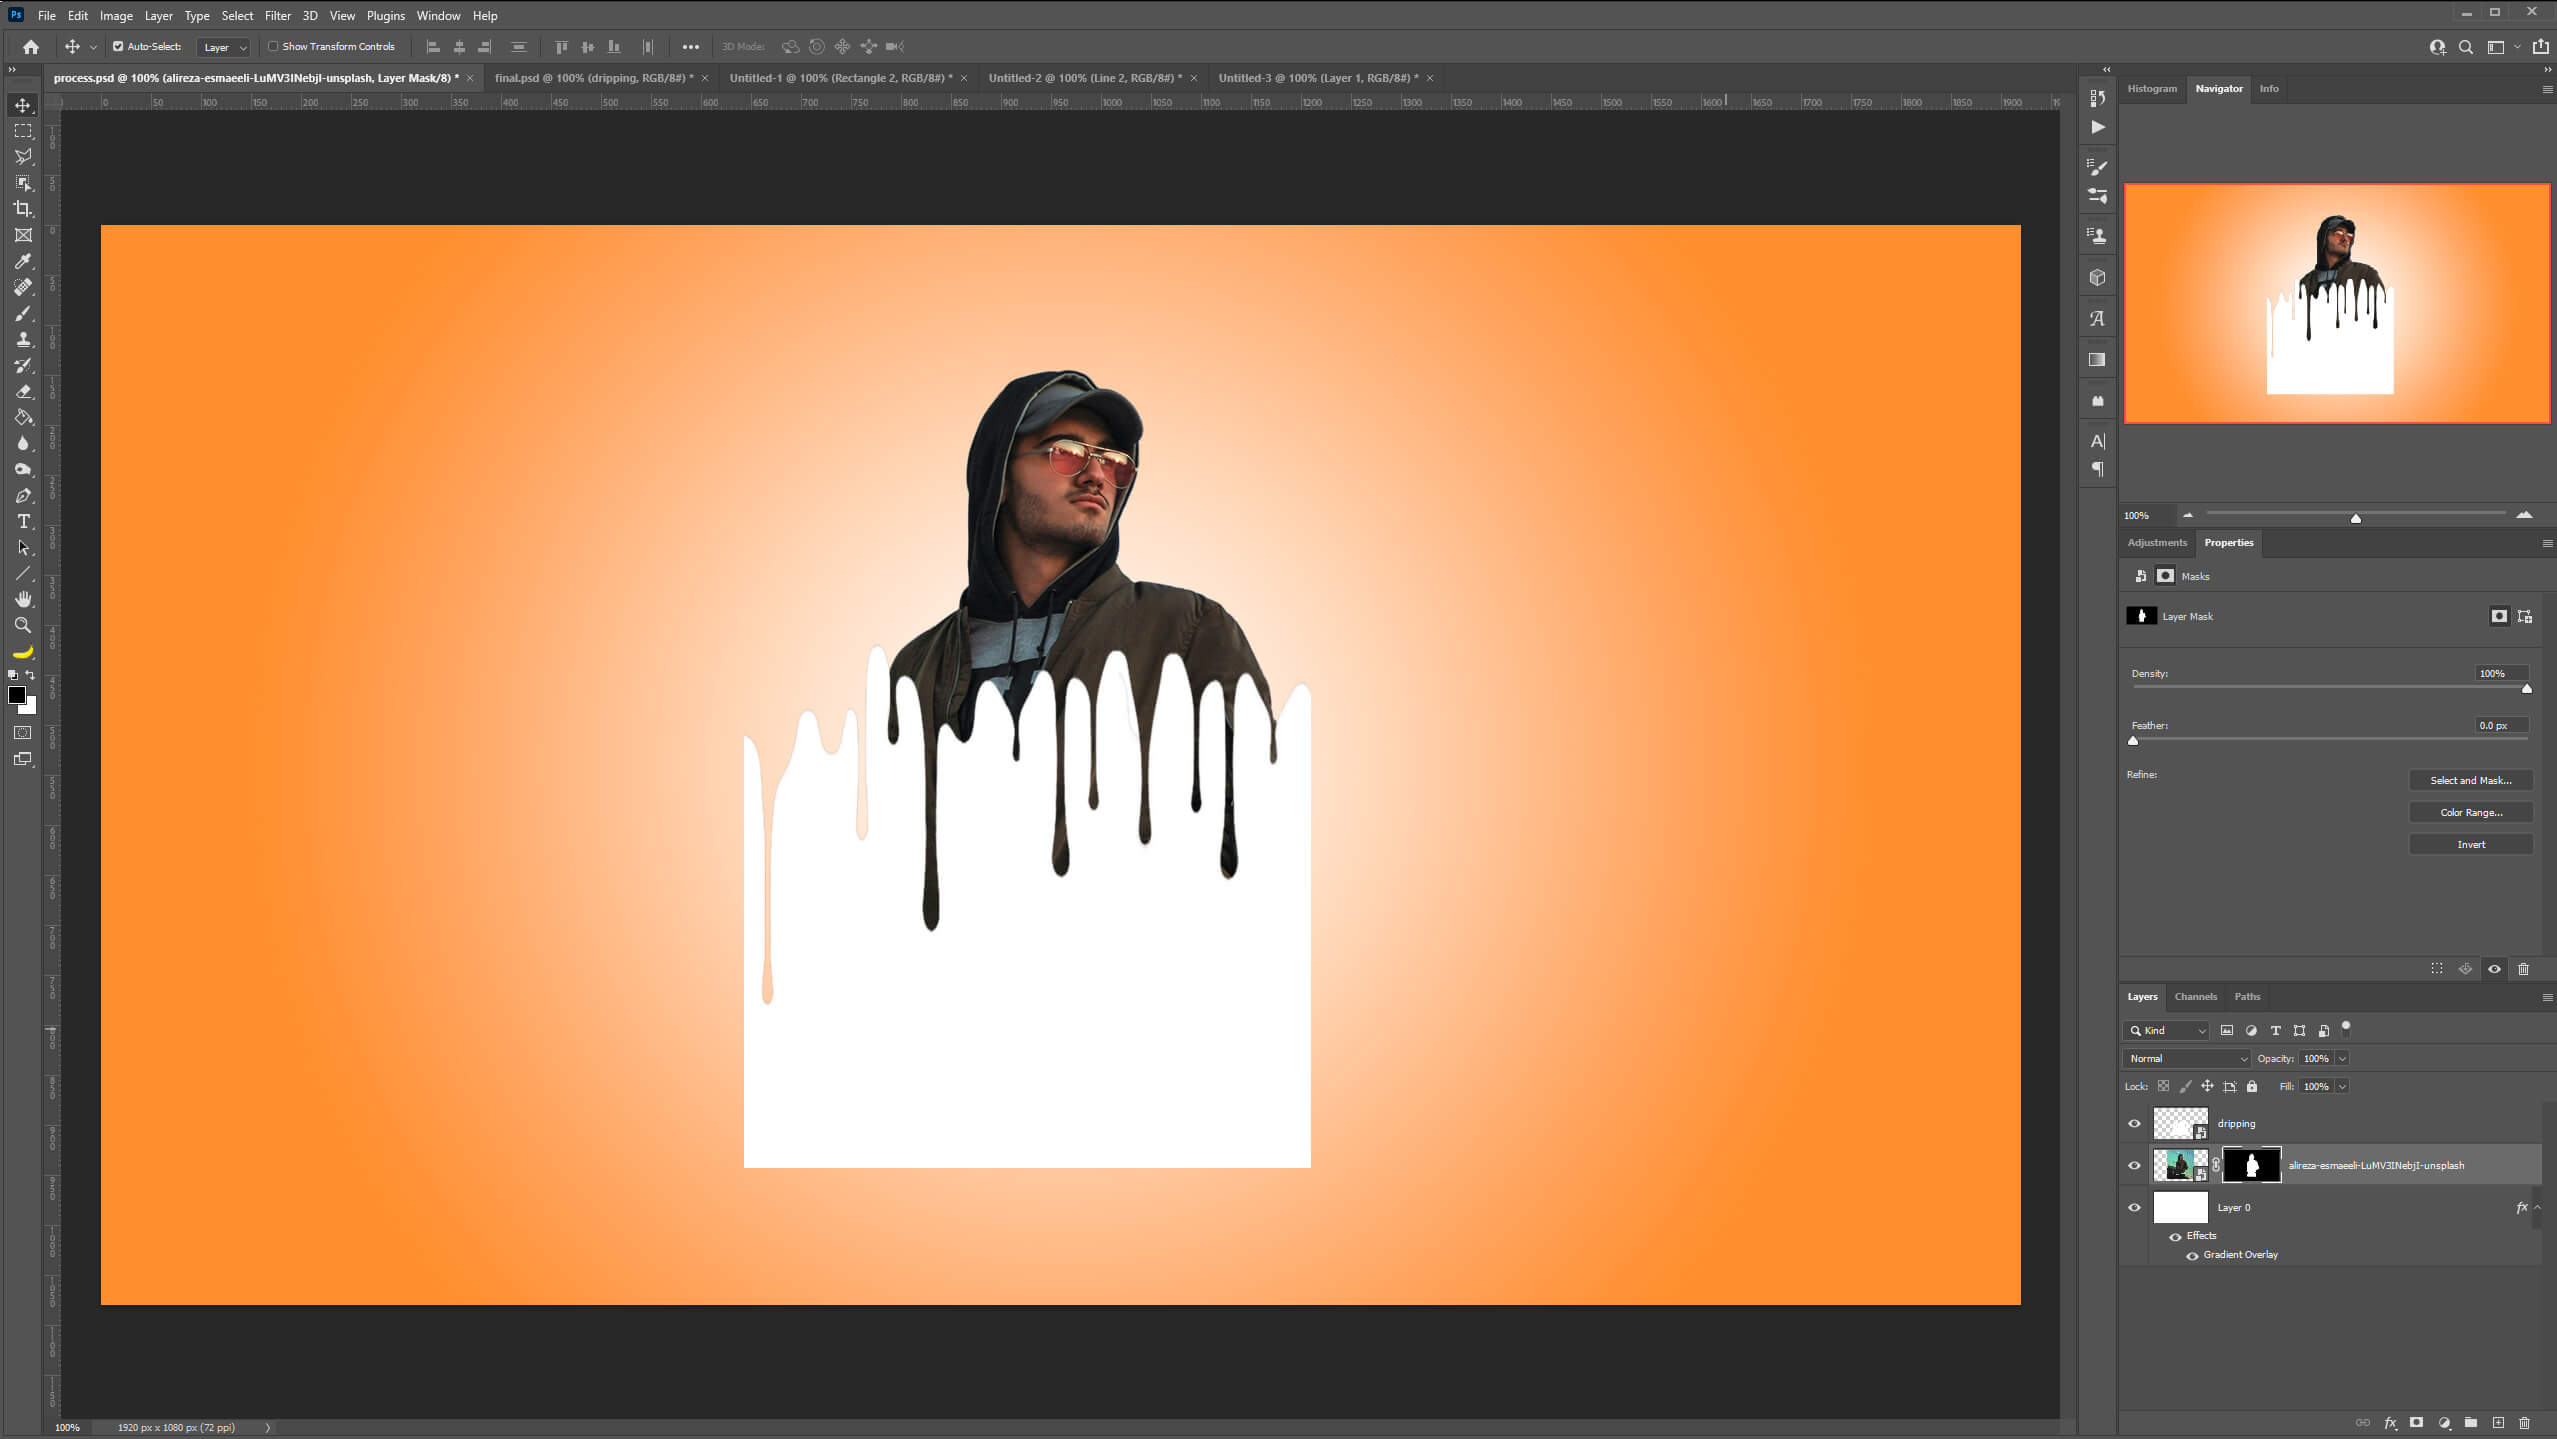
First, open the dripping image and drag it into the background. You can now position it with the Move Tool (V) and resize it with the Transform Tool (Ctrl + T) the way you want.
Try to place the dripping image in the lower body part of the subject.
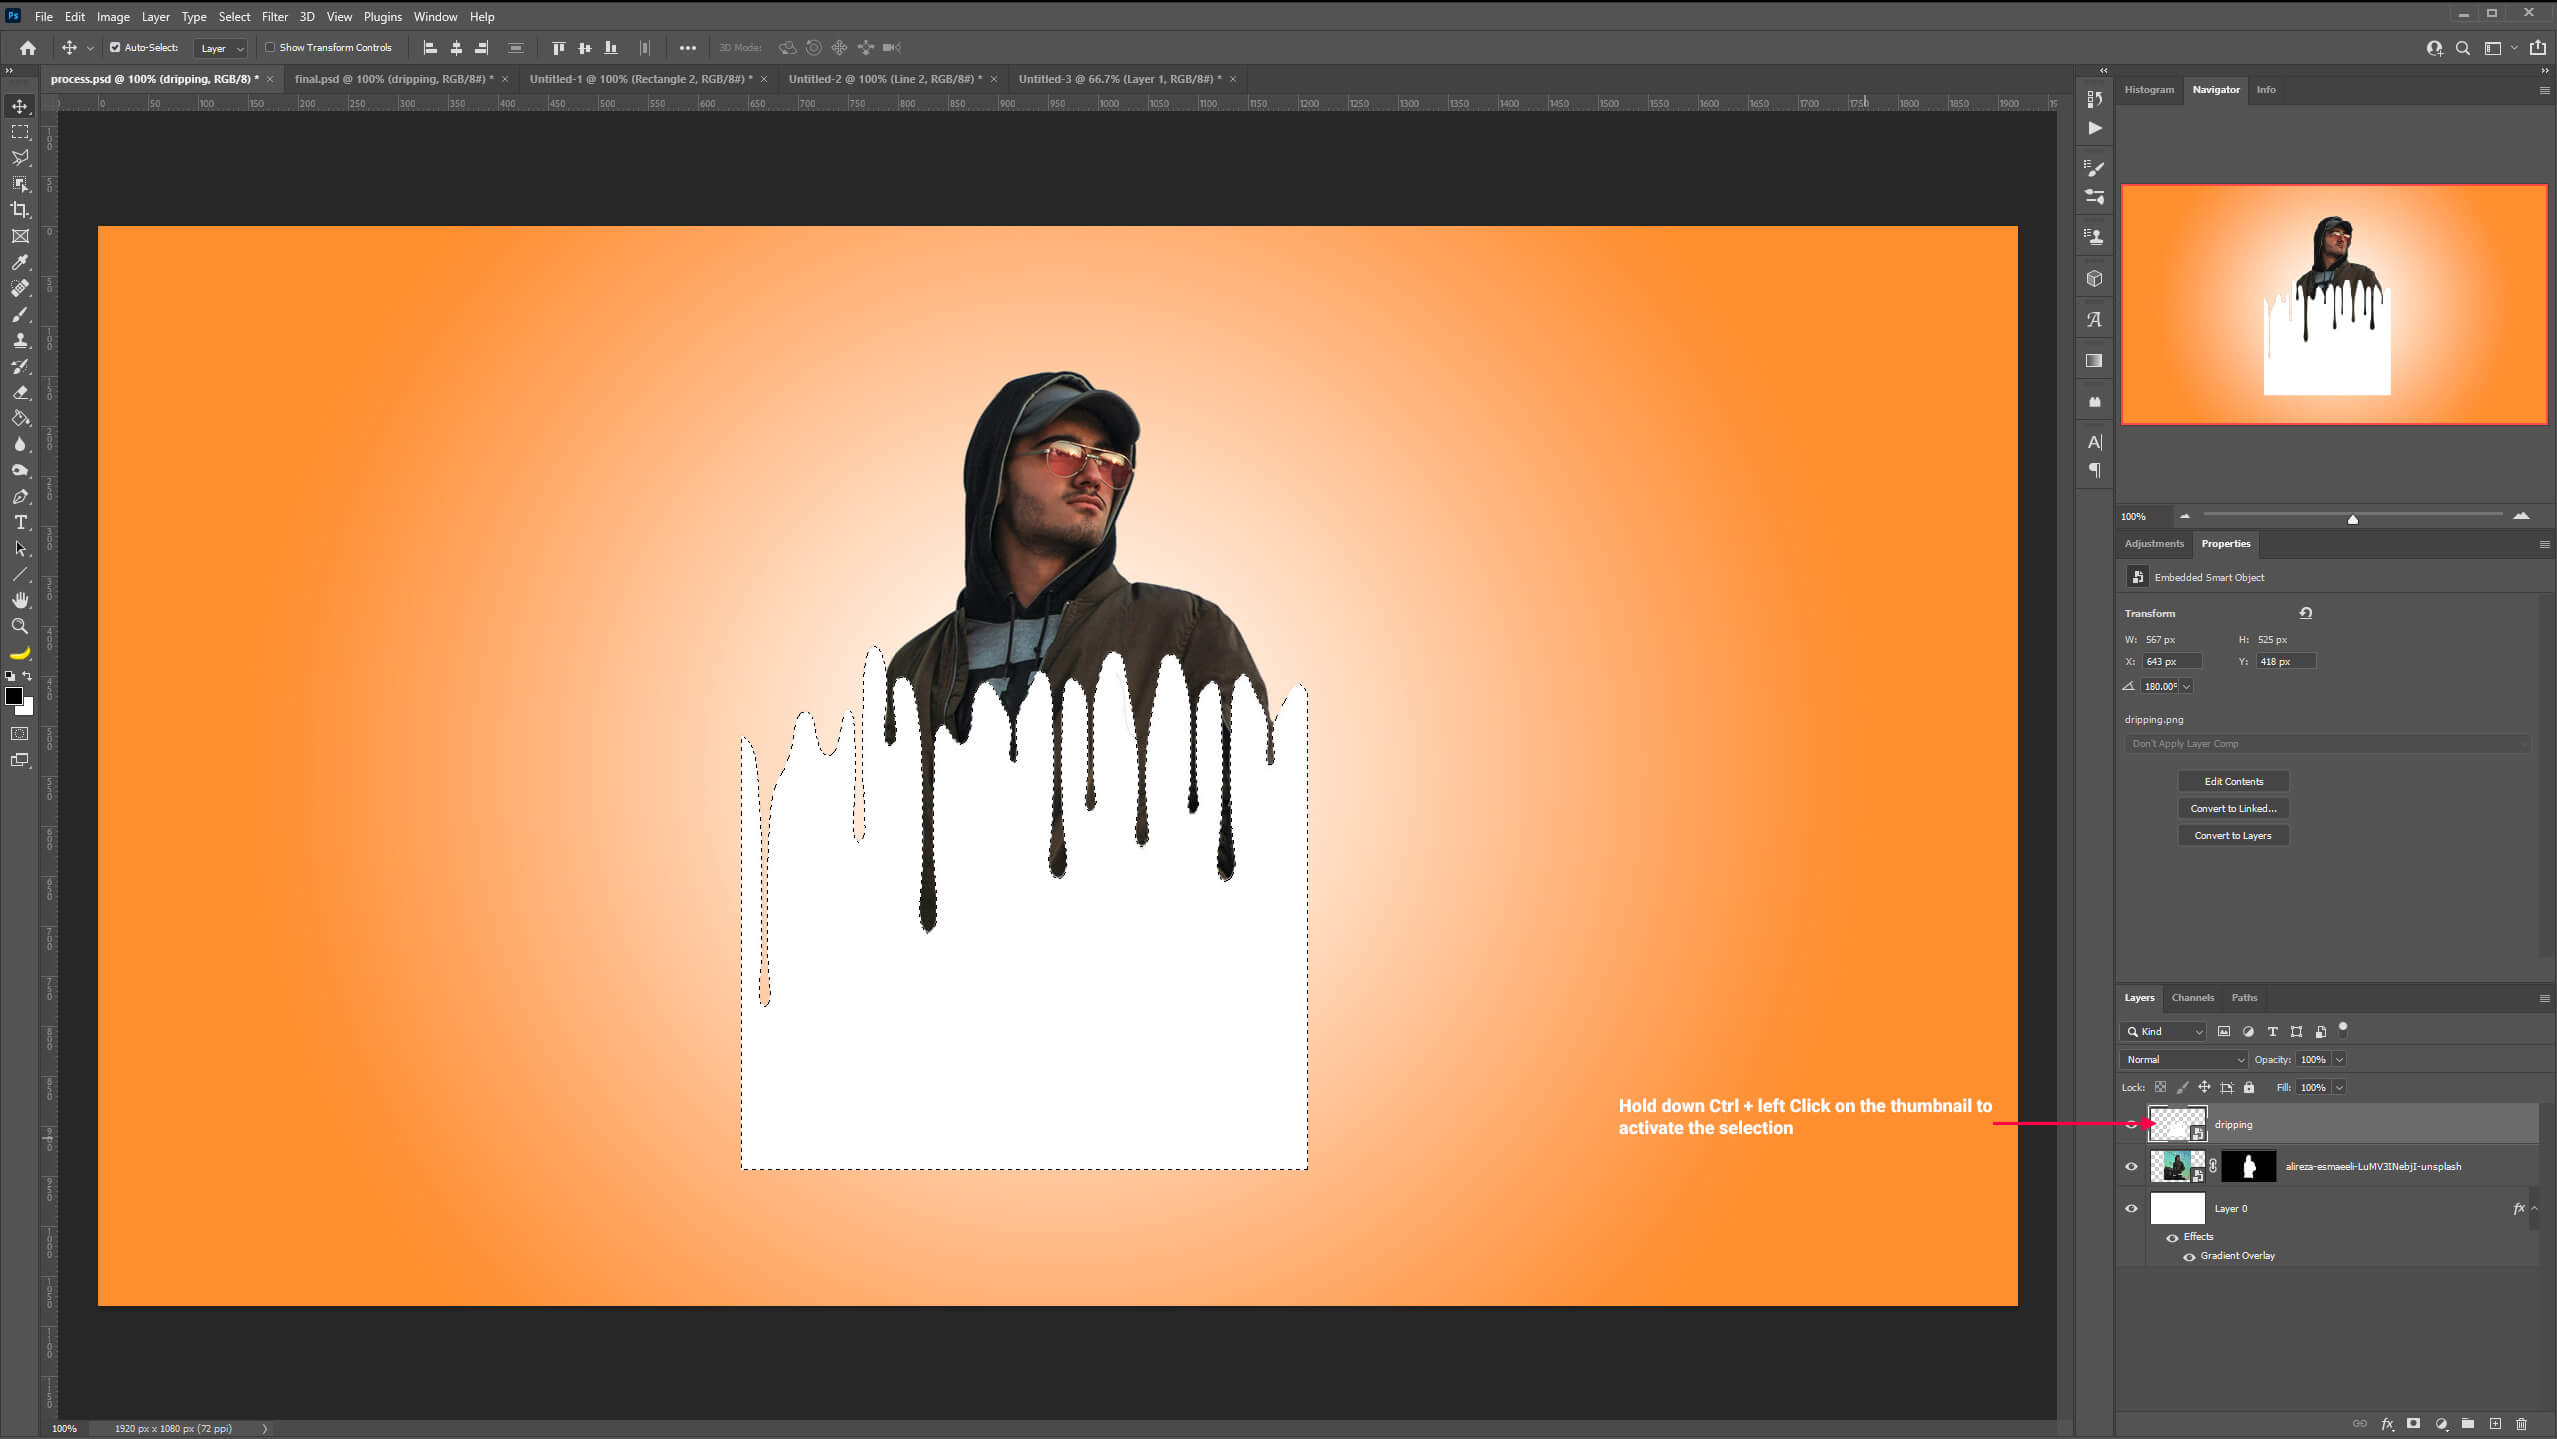
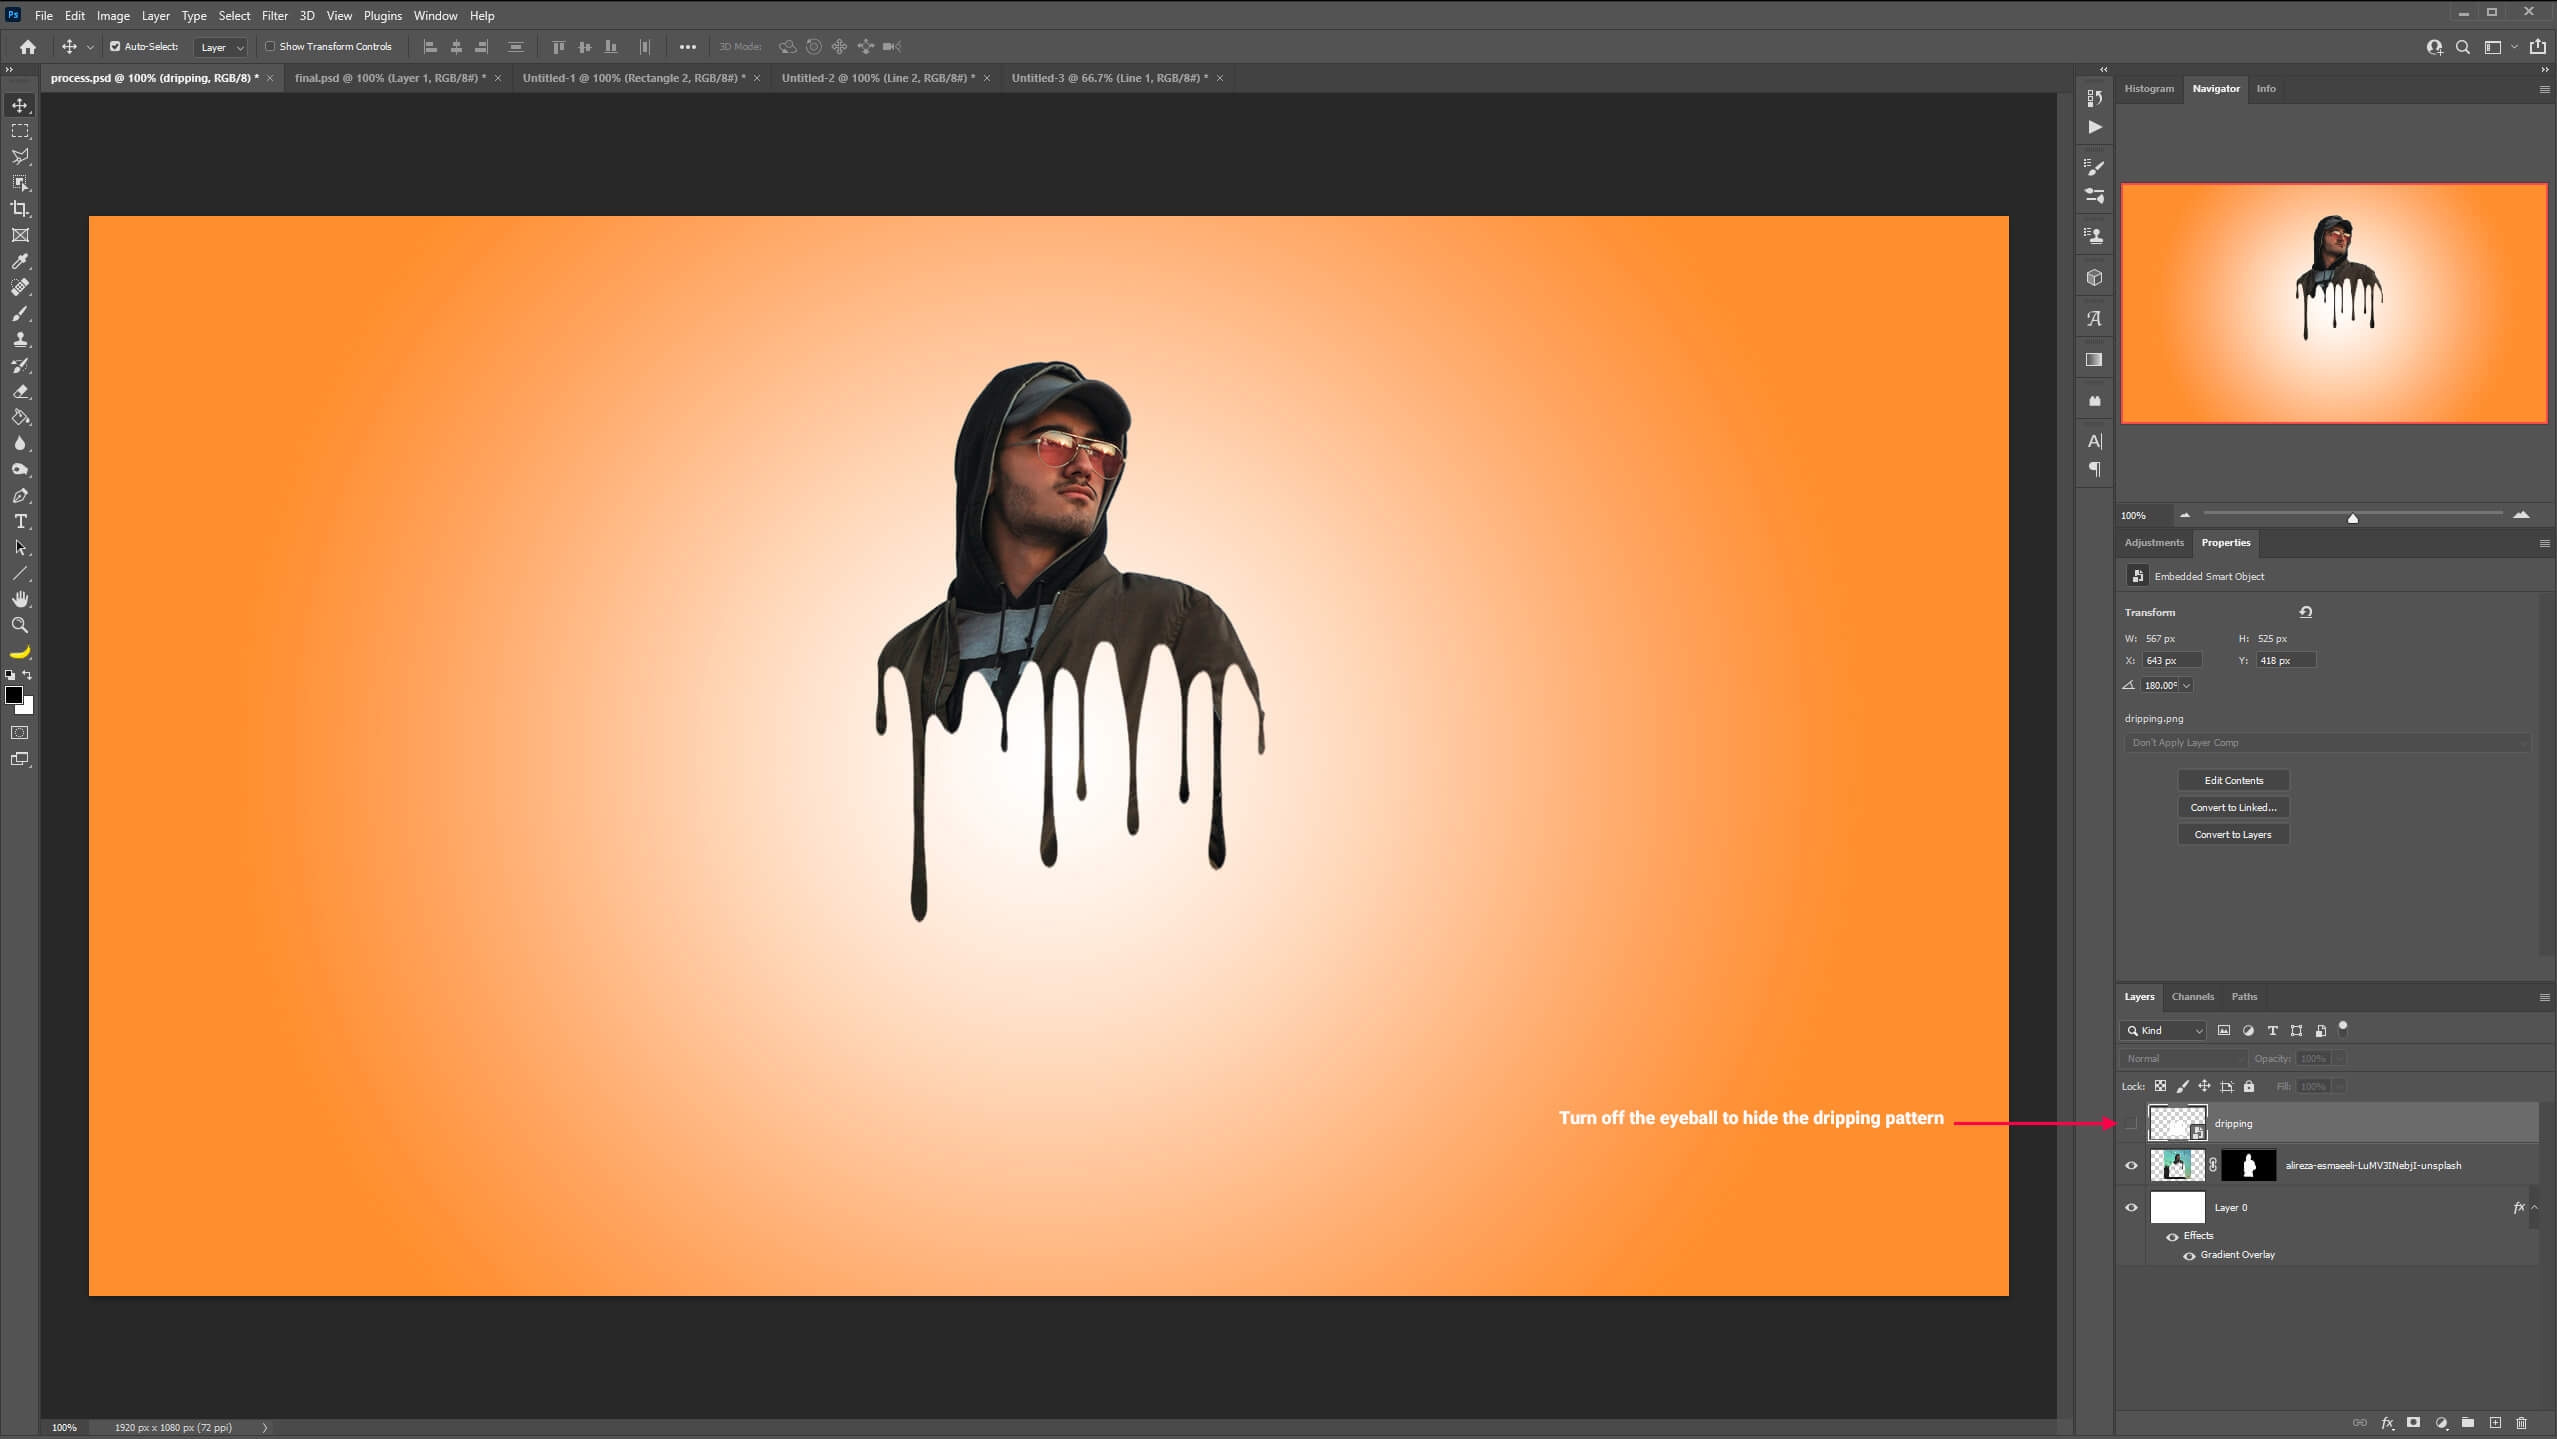
Next, hold down Ctrl and left-click on the dripping image thumbnail in your layer panel. This will activate the dripping image selection.
Then, with your dripping image selection active, select the subject thumbnail and press delete.
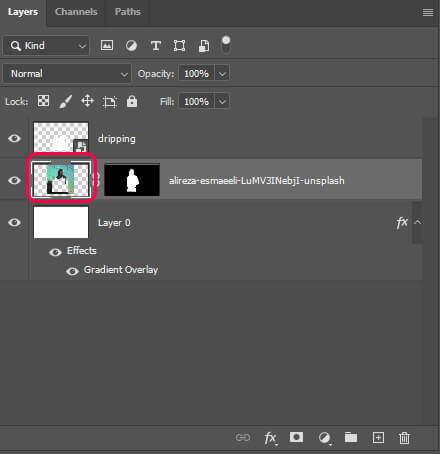
Click the eyeball to hide the dripping pattern.
And finally, press Ctrl + D to deselect.
You can refine the dripping effect using the Eraser Tool and delete unwanted parts.
Step 5: Create the Splatter Effect
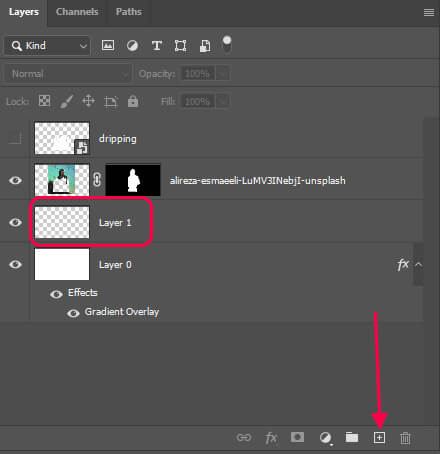
First, let’s create a new layer and drag it below the subject layer.
Next, press I to select the Eyedropper Tool and sample a color from our subject clothing. For this example, I chose a khaki green color from the subject’s jacket.
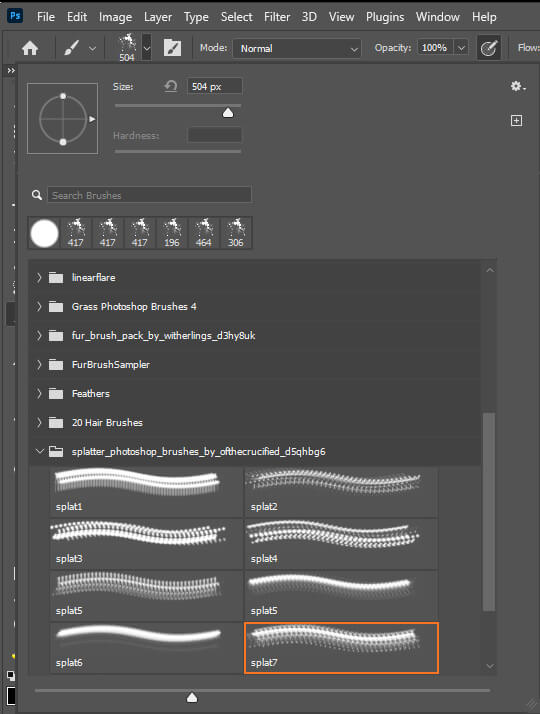
Then, open your Brush Tool by pressing B and select the splatter brush that you have downloaded for this tutorial at the beginning of the article.
Select the new layer you have just created and paint around the subject.

Step 6: Add a Drop Shadow
To finish with our tutorial, let’s add a drop shadow to make our subject pop.
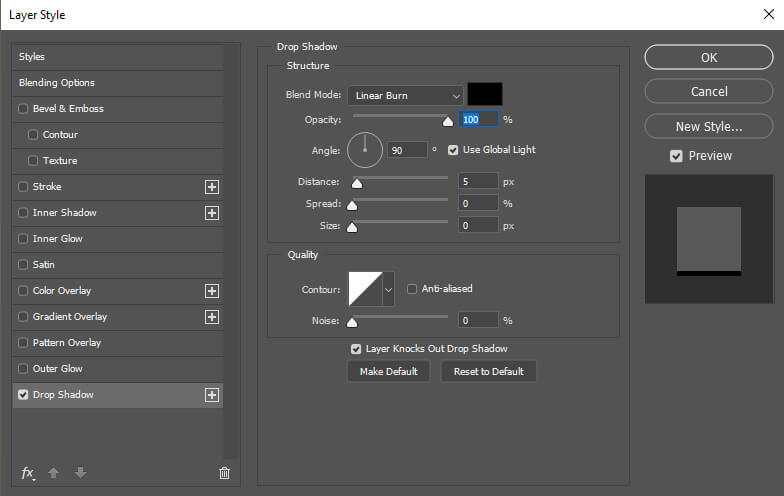
Double-click on the subject layer and select Drop Shadow. Copy the settings as shown in the image below:
And We Are Done!

After following this tutorial, you should be able to Create a Dripping/Splatter Effect in Photoshop. I hope you found this guide useful and easy to follow. If you have any questions or suggestions please let me know in the comments down below and I’ll get back to you as soon as possible.