What is Selective Color?
Selective color is a photo modification technique that involves converting a color shot to black and white while leaving a portion of the image in color.
In this tutorial, I’ll show you step by step how to achieve that Selective Color Effect simply using a Black & White adjustment layer, a layer mask, and a brush!
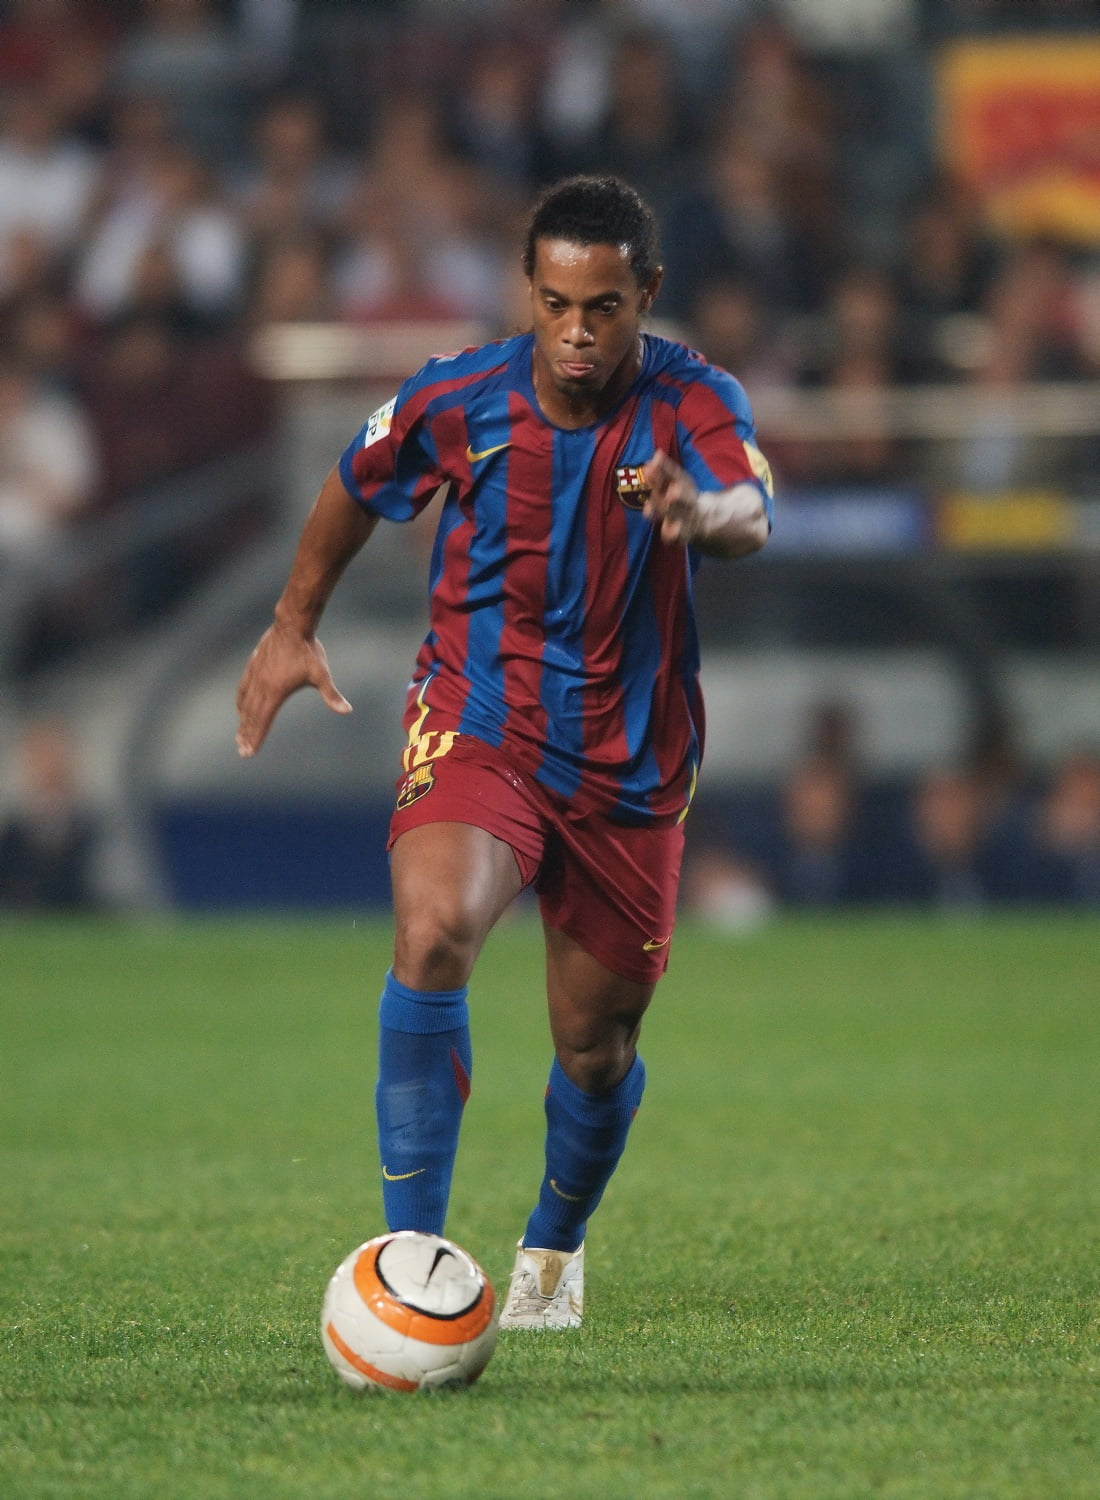
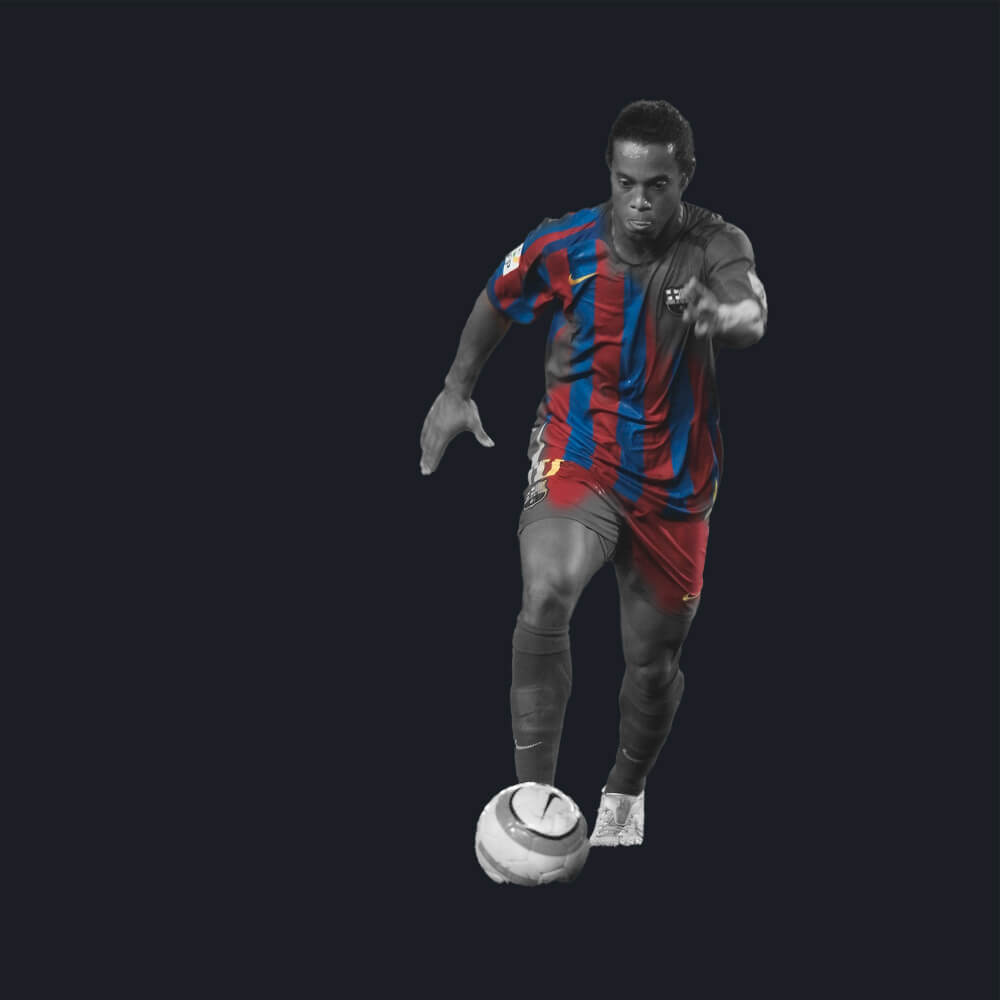
Here’s the image I’ll be starting with. You can use your own image to follow along. Simply choose any photo in which one object will remain colored. It could be anything, a dress, a flower, a phone booth,… As I’m a big fan of football (soccer) I’ll use this picture of Ronaldinho. ( Photo taken by Josep Tomàs on flickr.com)
In this tutorial, I’ll be using Photoshop 2022 but any version of Photoshop will work.
Click here to download the image and follow along.
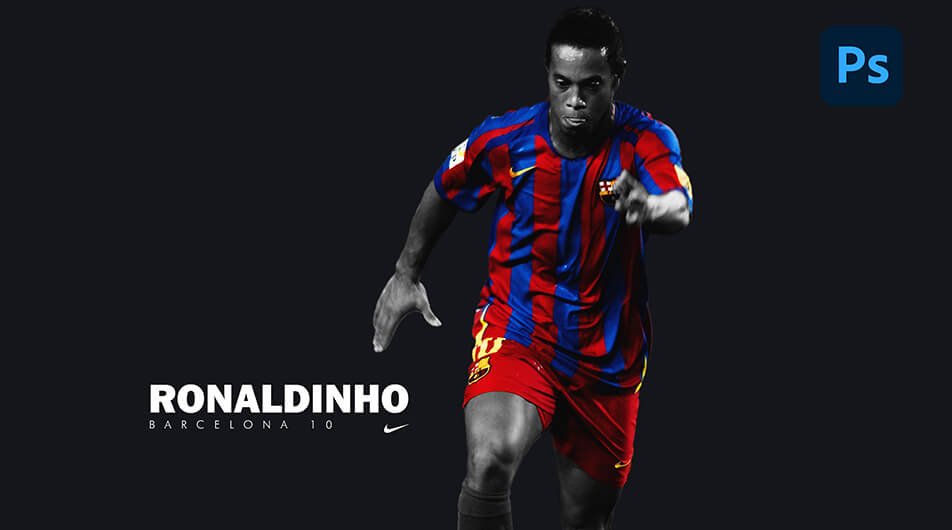
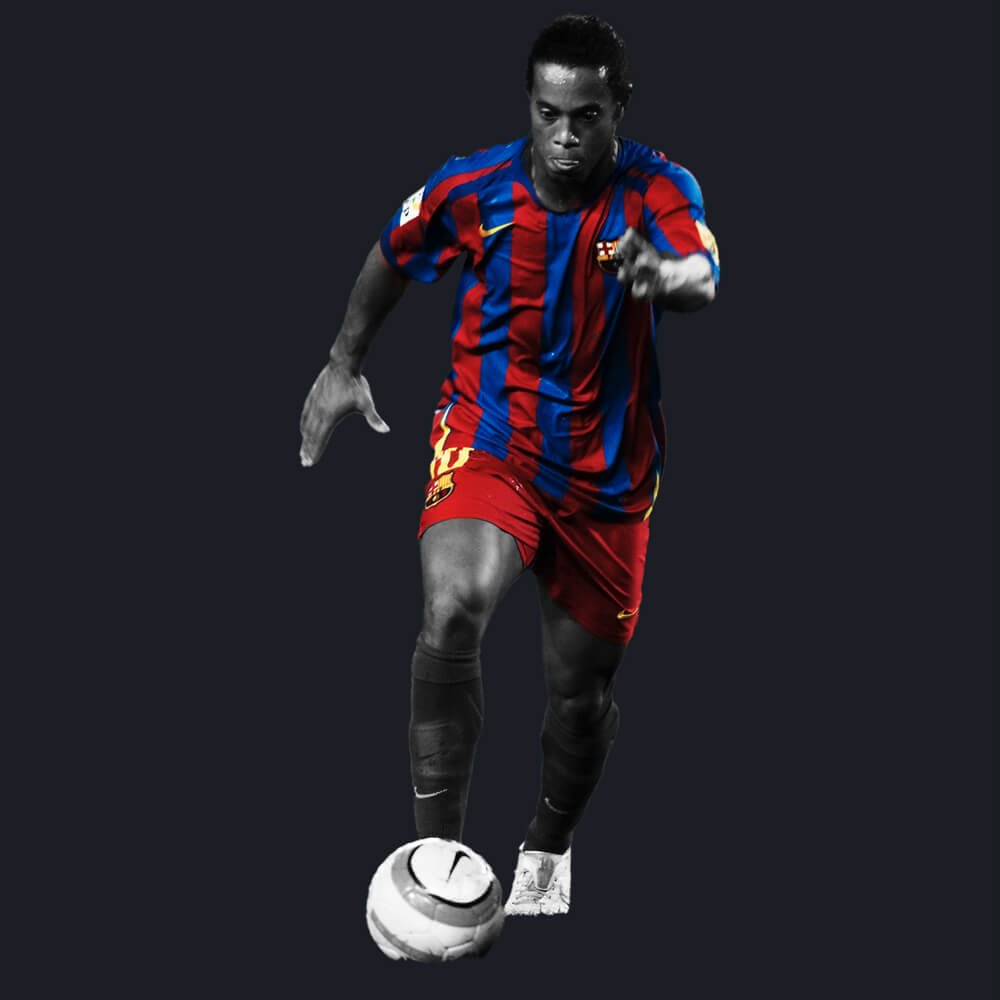
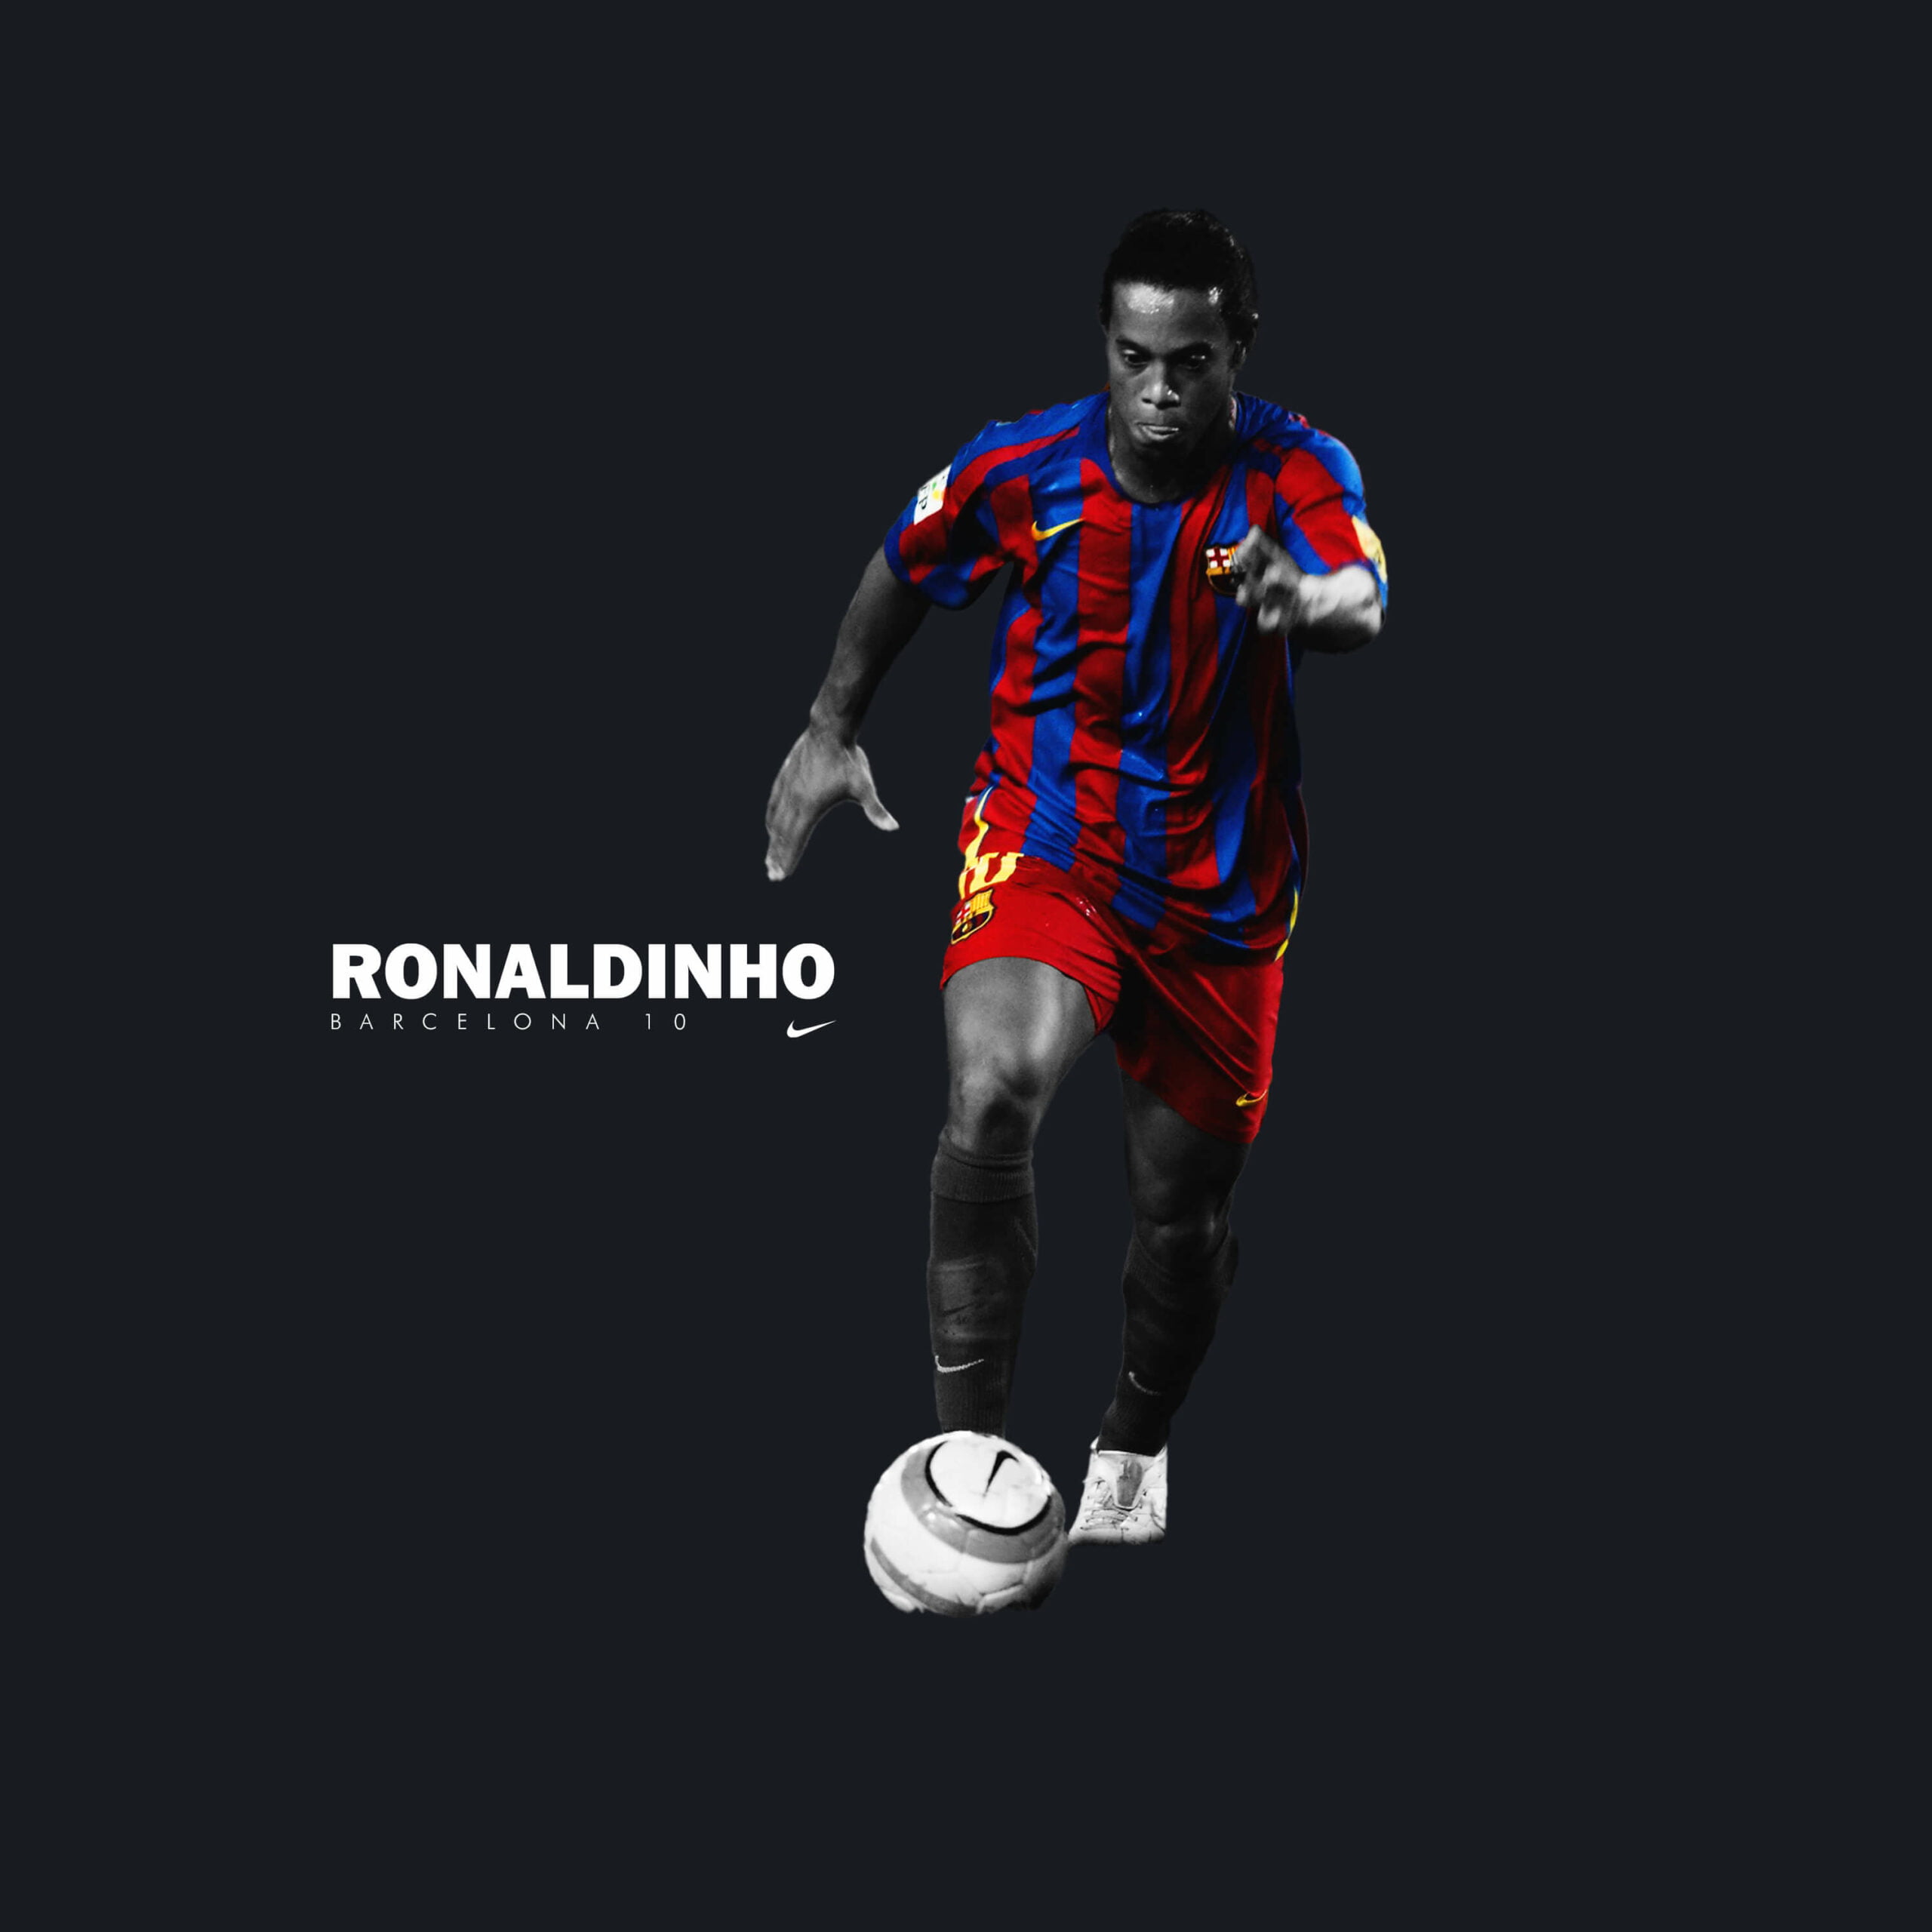
And here’s what the selective color effect will look like, leaving only Ronaldinho’s jersey in color.

How To Create A Selective Color Effect
Step 1: Remove the Subject from the Background
First, open up Photoshop and create a document with the following settings

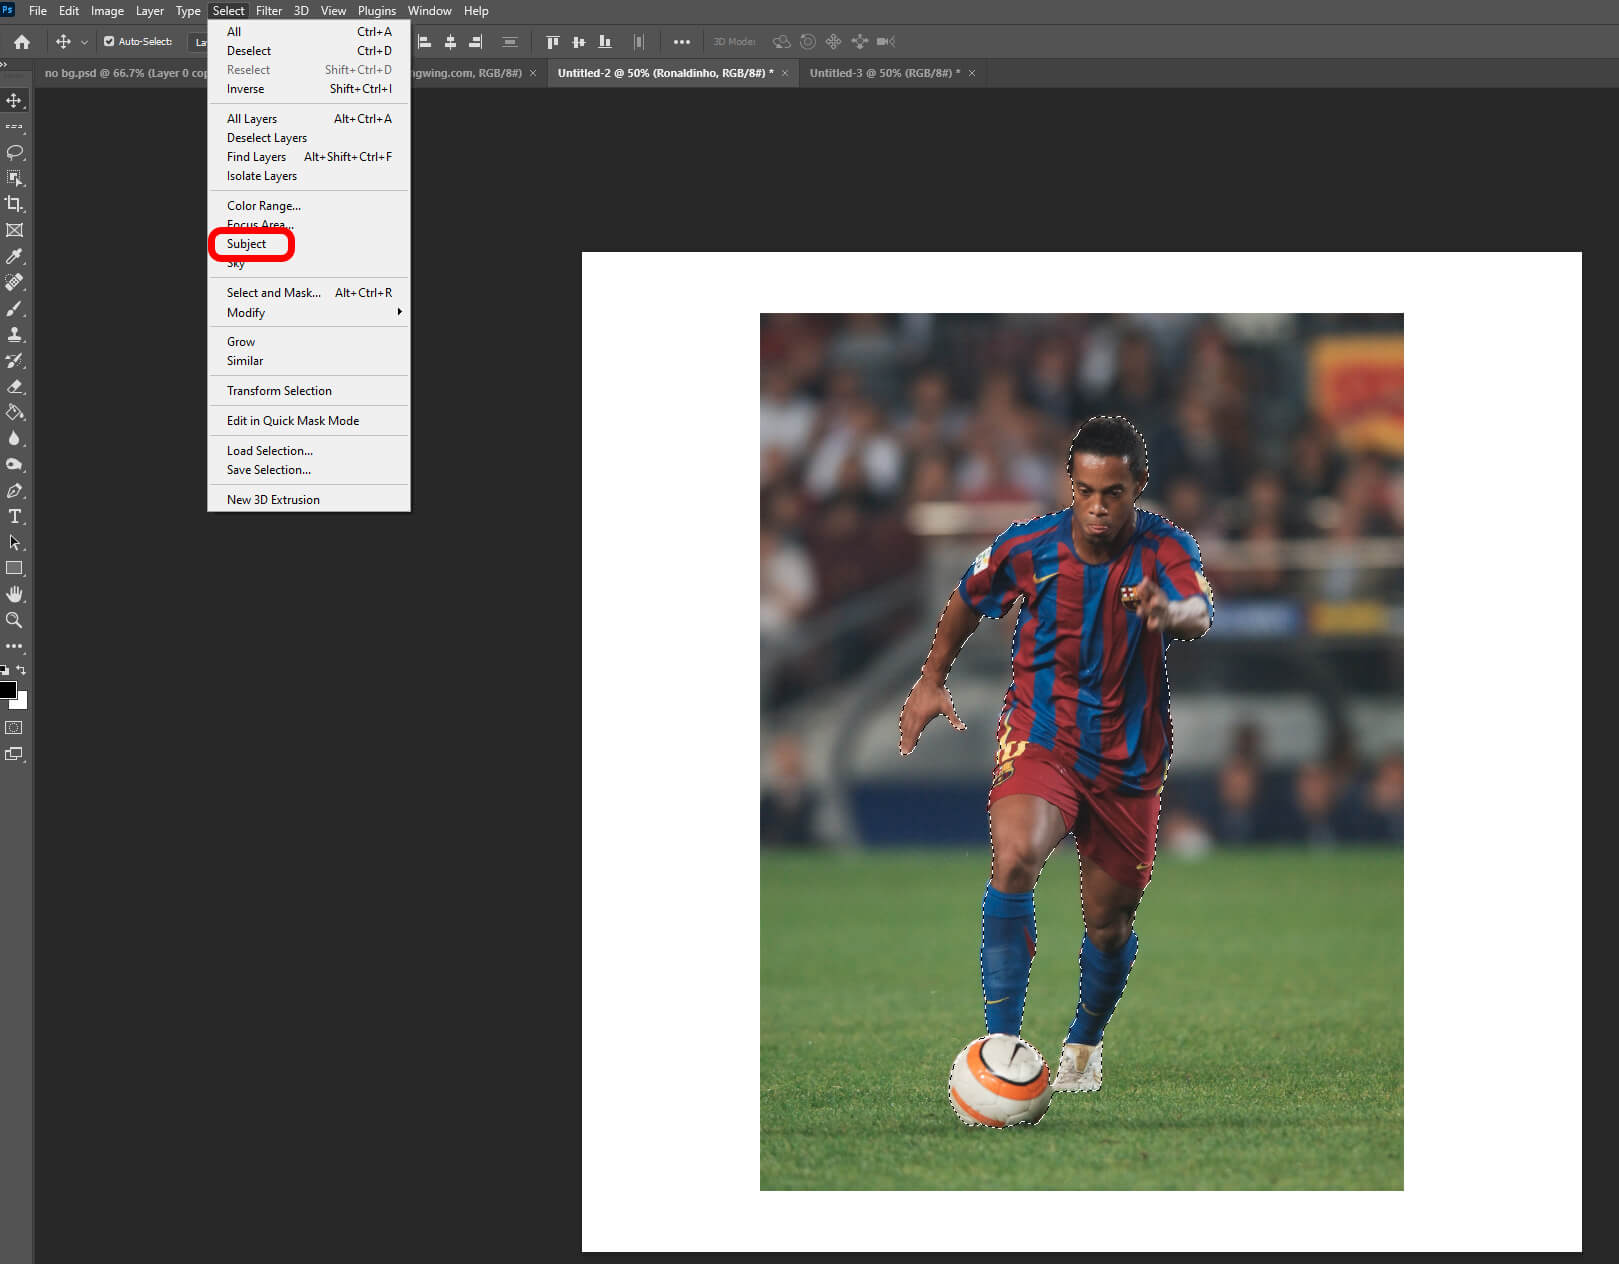
Import your image, resize it using the transform tool(Ctrl+T) and select the subject with any Selection Tool. In my case, the quick action select object did a great job. If you are not satisfied with your selection you can always refine it using the pen tool.
Go to Select > Subject
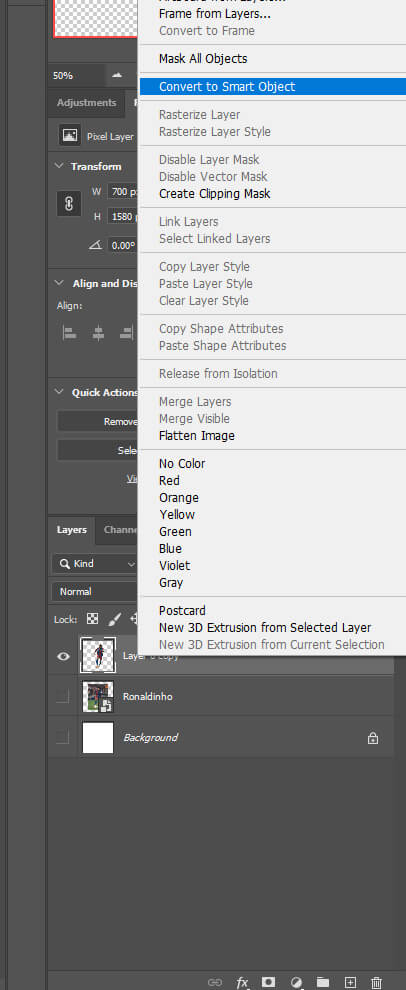
Next, press Ctrl + J to copy the selection in a new layer and turn off your background layer. Right-click on the layer and convert it into a smart object.
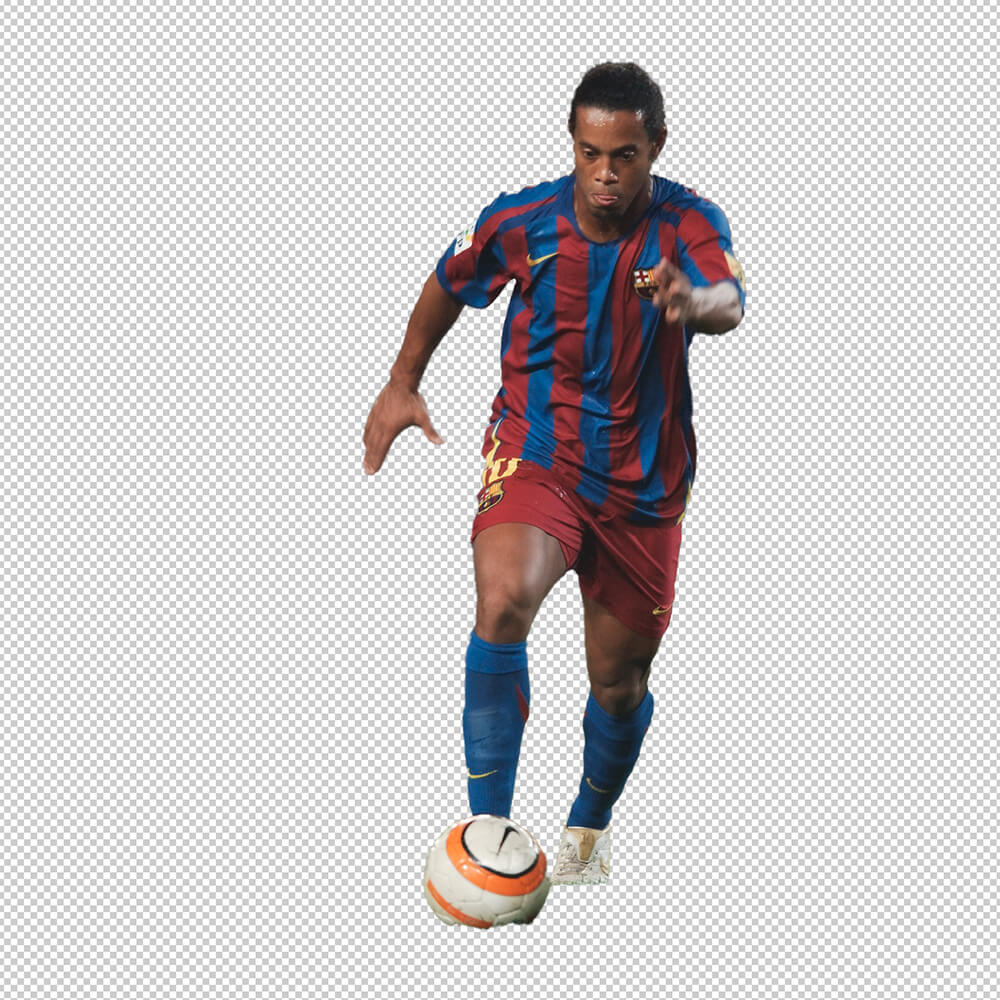
Your subject should now be removed from the background.
Step 2: Add Adjustement Layers
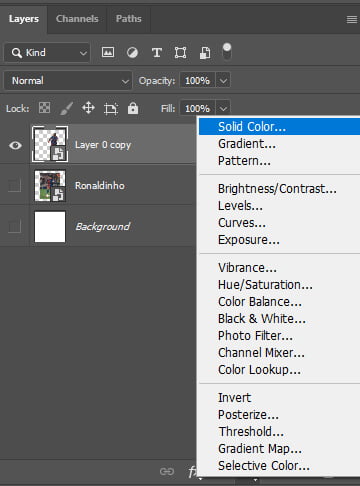
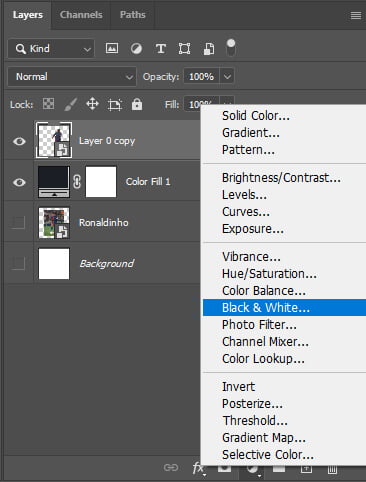
First, we’ll add a Solid Color Adjustment Layer for our background (this layer goes below the subject’s layer). I chose a dark blue (#14181f) but you can choose any color your want. We’ll then add a Black & White Adjustment Layer to turn our subject black and white.
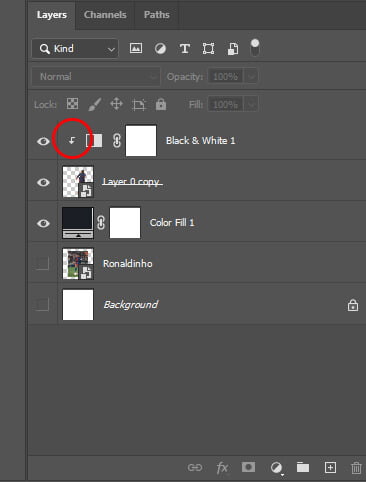
We now have to clip the Black & White Adjustment Layer to our subject so it only affects him and not the rest of the image. In order to do that click on the Black & White adjustment layer and press Ctrl + Alt + G.
Step 3: Bring Back Some Color
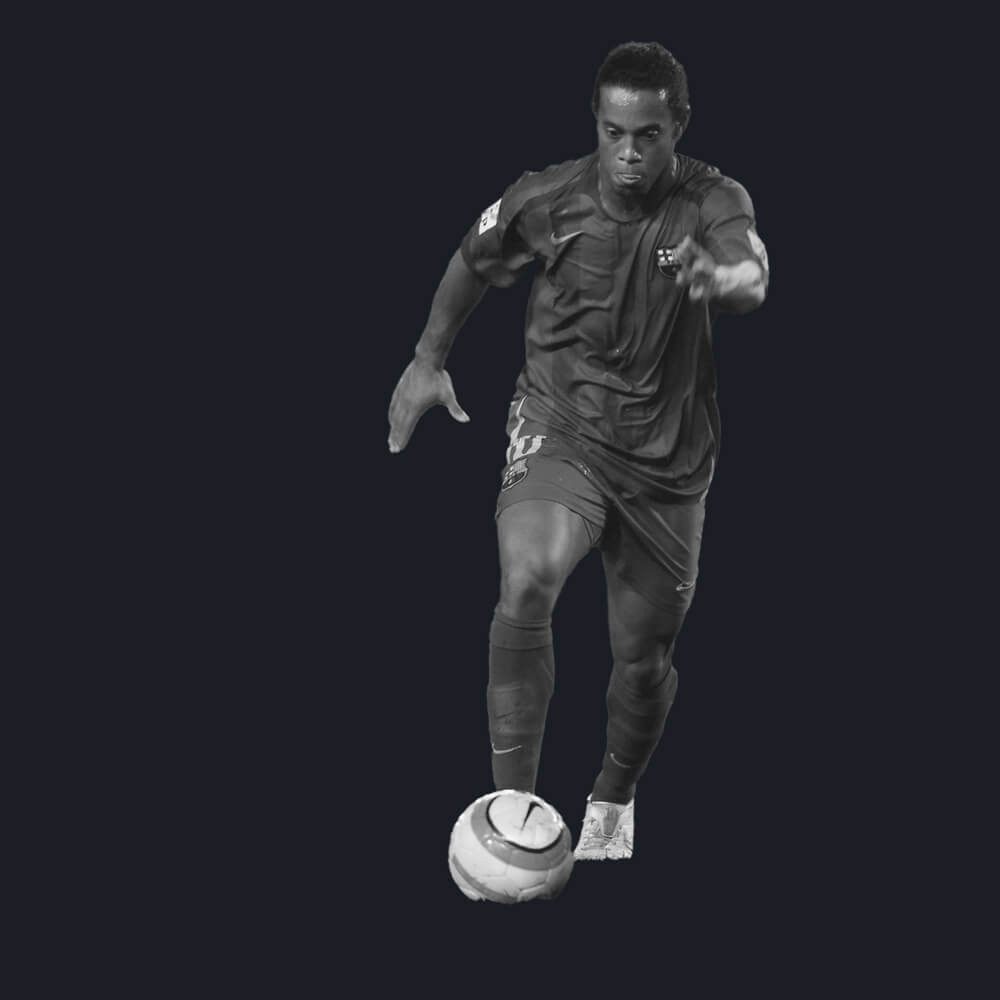
Now that our subject is totally black and white we’ll bring back the color of his Barcelona Jersey.
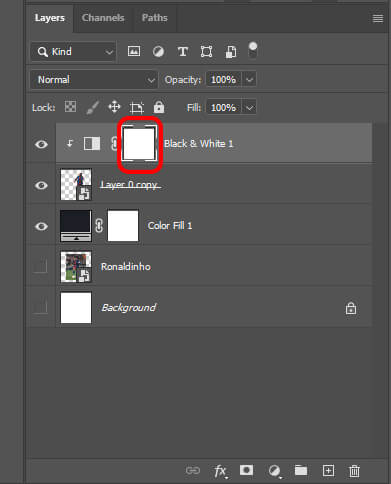
Photoshop‘s adjustment layers come with a built-in layer mask. Make sure to select the mask from the Black & White Adjustment Layer.
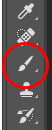
Then select a soft rounded brush in the Tool Bar; shortcut B. Then right-click anywhere in your document to open the Brush Preset Picker and click on the soft round brush. Press Enter (Win) / Return (Mac) on your keyboard when you’re done to close out of the Brush Preset Picker.
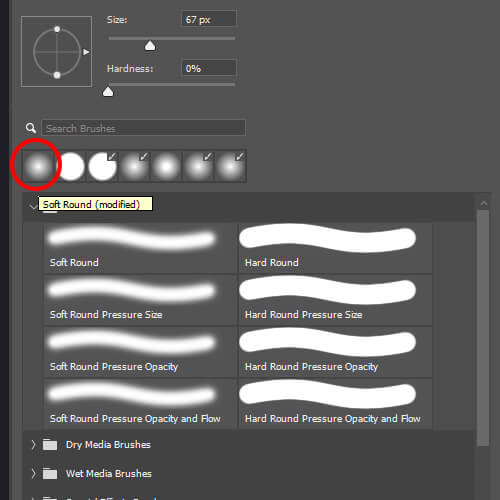
Brush Preset Picker
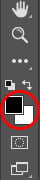
We can now reveal part of the original full-color image through the adjustment layer simply by painting with black on the layer mask. Set your Foreground Color to Black and paint over the subject to bring back the color of the original image. If you want to erase some of the color press X to select the white color and paint over it. To modify the size of the brush use ] – Increase Brush Size [ – Decrease Brush Size.
Step 4: Make the Subject Stand Out from the Background
Once you finish painting Ronaldinho’s jersey we’ll add another adjustment layer in order to make him stand out from the background.
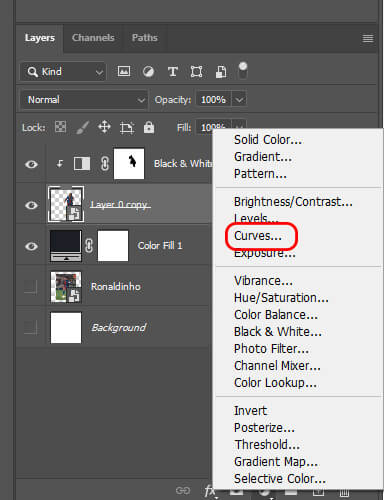
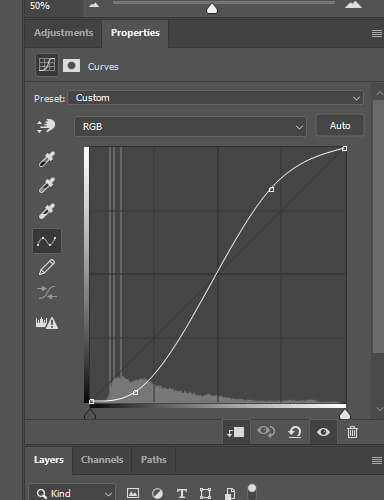
We’ll add a Curve Adjustment Layer and also clip it to the subject. Head over to the layer panel and select it then press Ctrl + Alt + G to clip it. Adjust the curve as shown below.
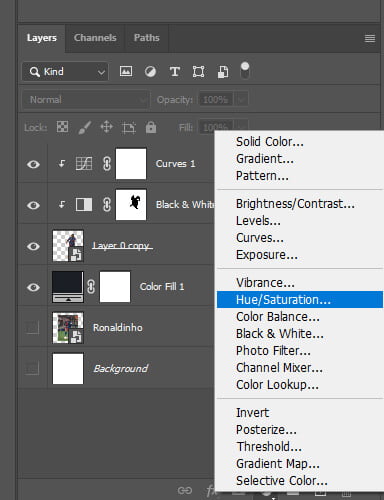
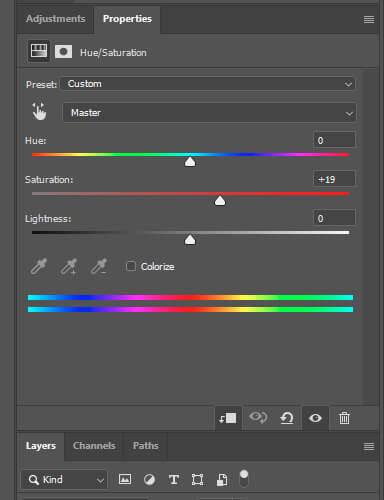
To make the subject stand out even more I also added a Hue/Saturation Adjustment Layer. Go Back to your layer panel and select it. Clip it to the subject ( Ctrl + Alt +G). Adjust the Saturation as shown below.
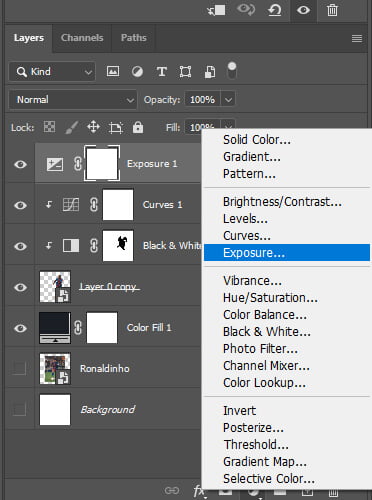
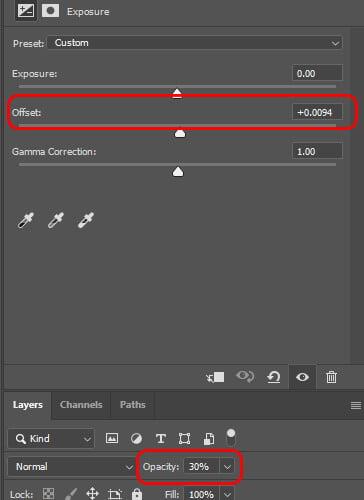
We’ll add one more Adjustment Layer. The Exposure Adjustment Layer. Once again go back to your layer panel and select it but this time do not clip it so that it affects the entire poster.
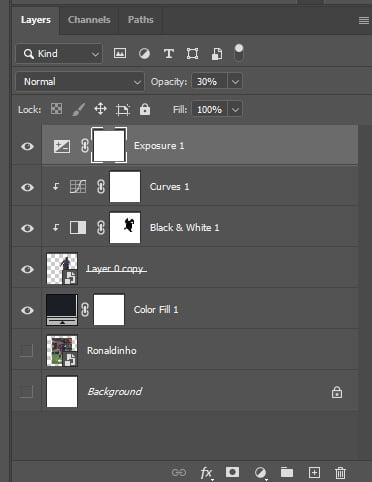
We are almost done. We just need to add the text. Here is a screenshot of what your layers should be like.
For the final touch, I added some text. Use the Text Tool (T) and place it where you wish.
I used Franklin Gothic Heavy and Futura. Click on the link to download them.
And we are done!
After following this tutorial, you should be able to recreate a Selective Color Poster in Photoshop. I hope you found this guide useful and easy to follow. If you have any questions or suggestions please let me know in the comments down below and I will get back to you as soon as possible.