The Auto-Blend Layers command helps you blend images for a panorama or collage, or combine multiple exposures of the same image.
In this tutorial, I’ll show you how to blend together two images from two different landscapes.
It will only take you a few minutes to achieve this effect thanks to this handy and easy-to-use auto-blend layers tool.
For this lesson, I’ll use Photoshop 2022.
This project uses the images below download them to follow along:
Photo by Yo Amo El Español from Pexels
Photo by Quang Nguyen Vinh from Pexels
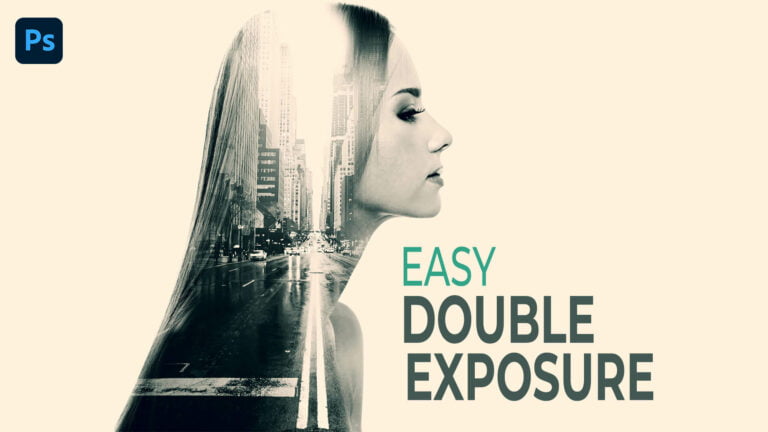
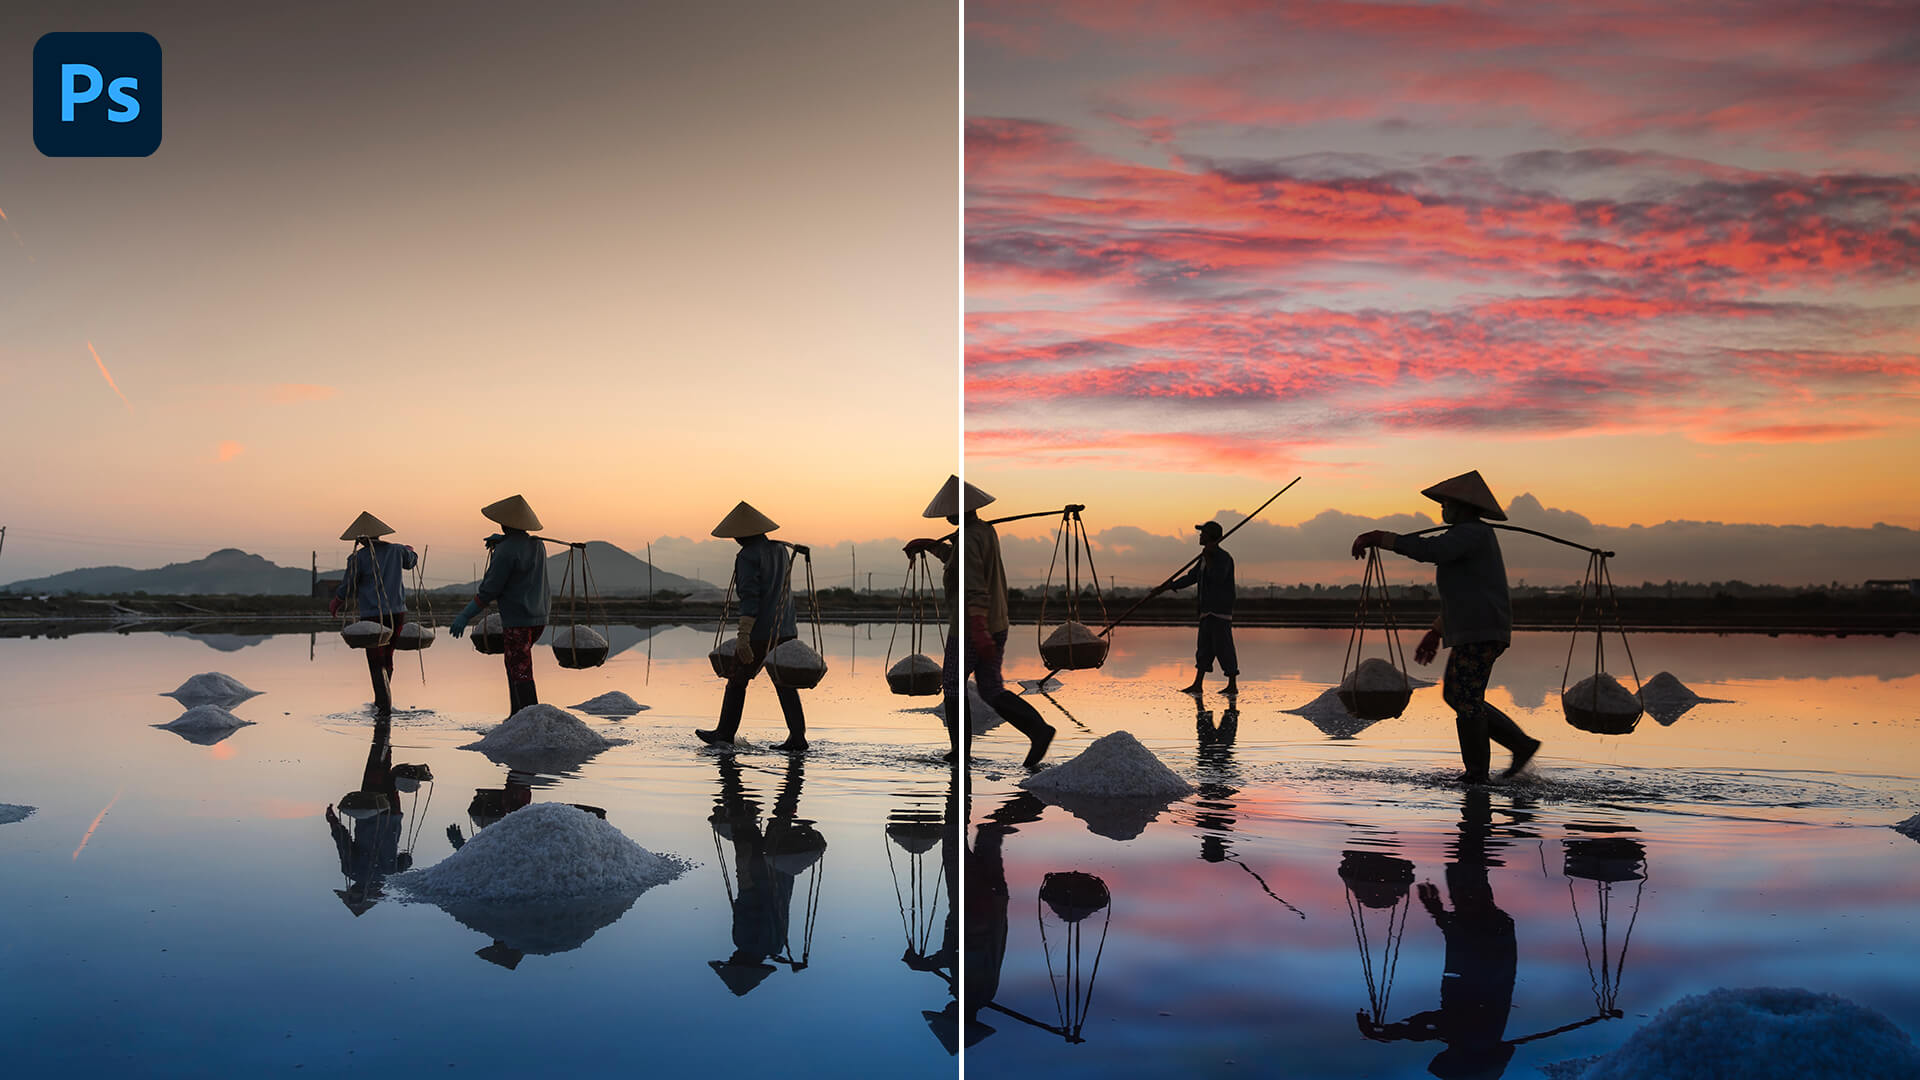
Final Image
Result after combining these two photographs.

Auto-Blend Layers in Photoshop
Step 1: Create the Composite Image
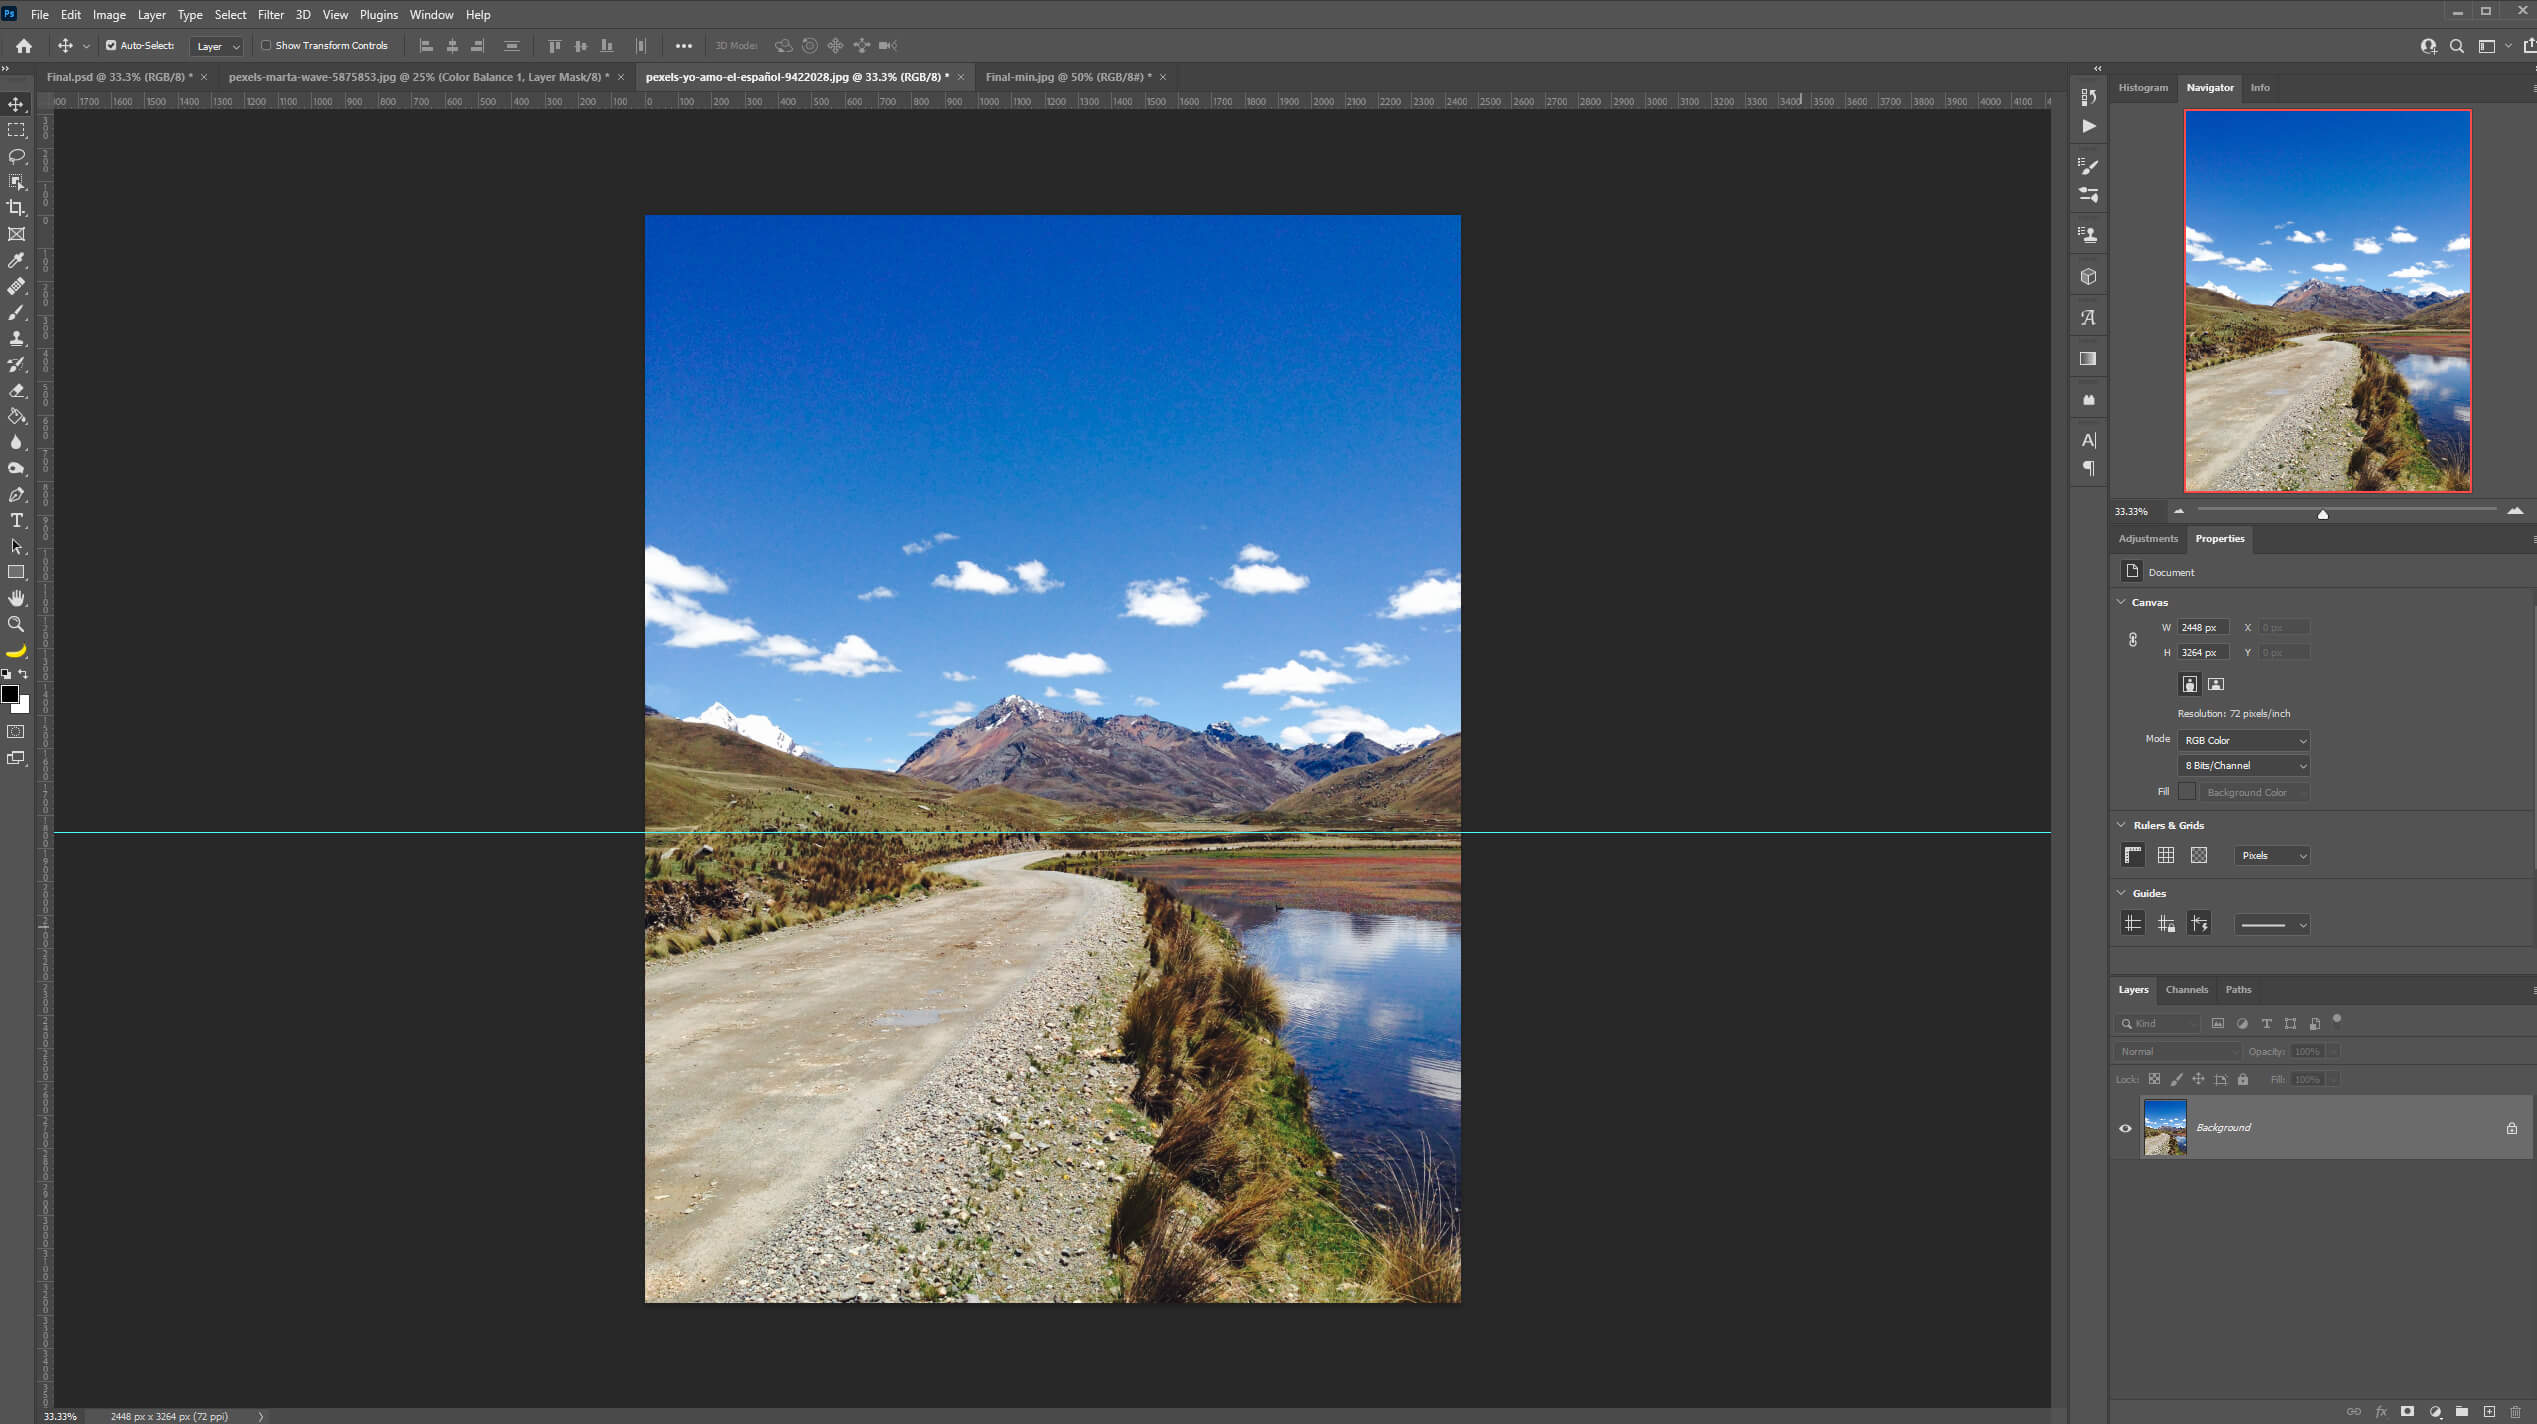
First, open up the first image in Photoshop then press CTRL +R to pull out the ruler.
Drag a guide to add a reference mark in order to add the second image.
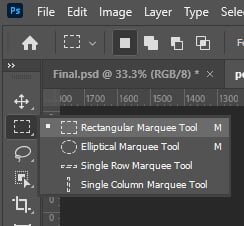
Next, select the Rectangular Marquee Tool located in the toolbar and draw a selection in the lower part of the image below the guide, then add a mask.

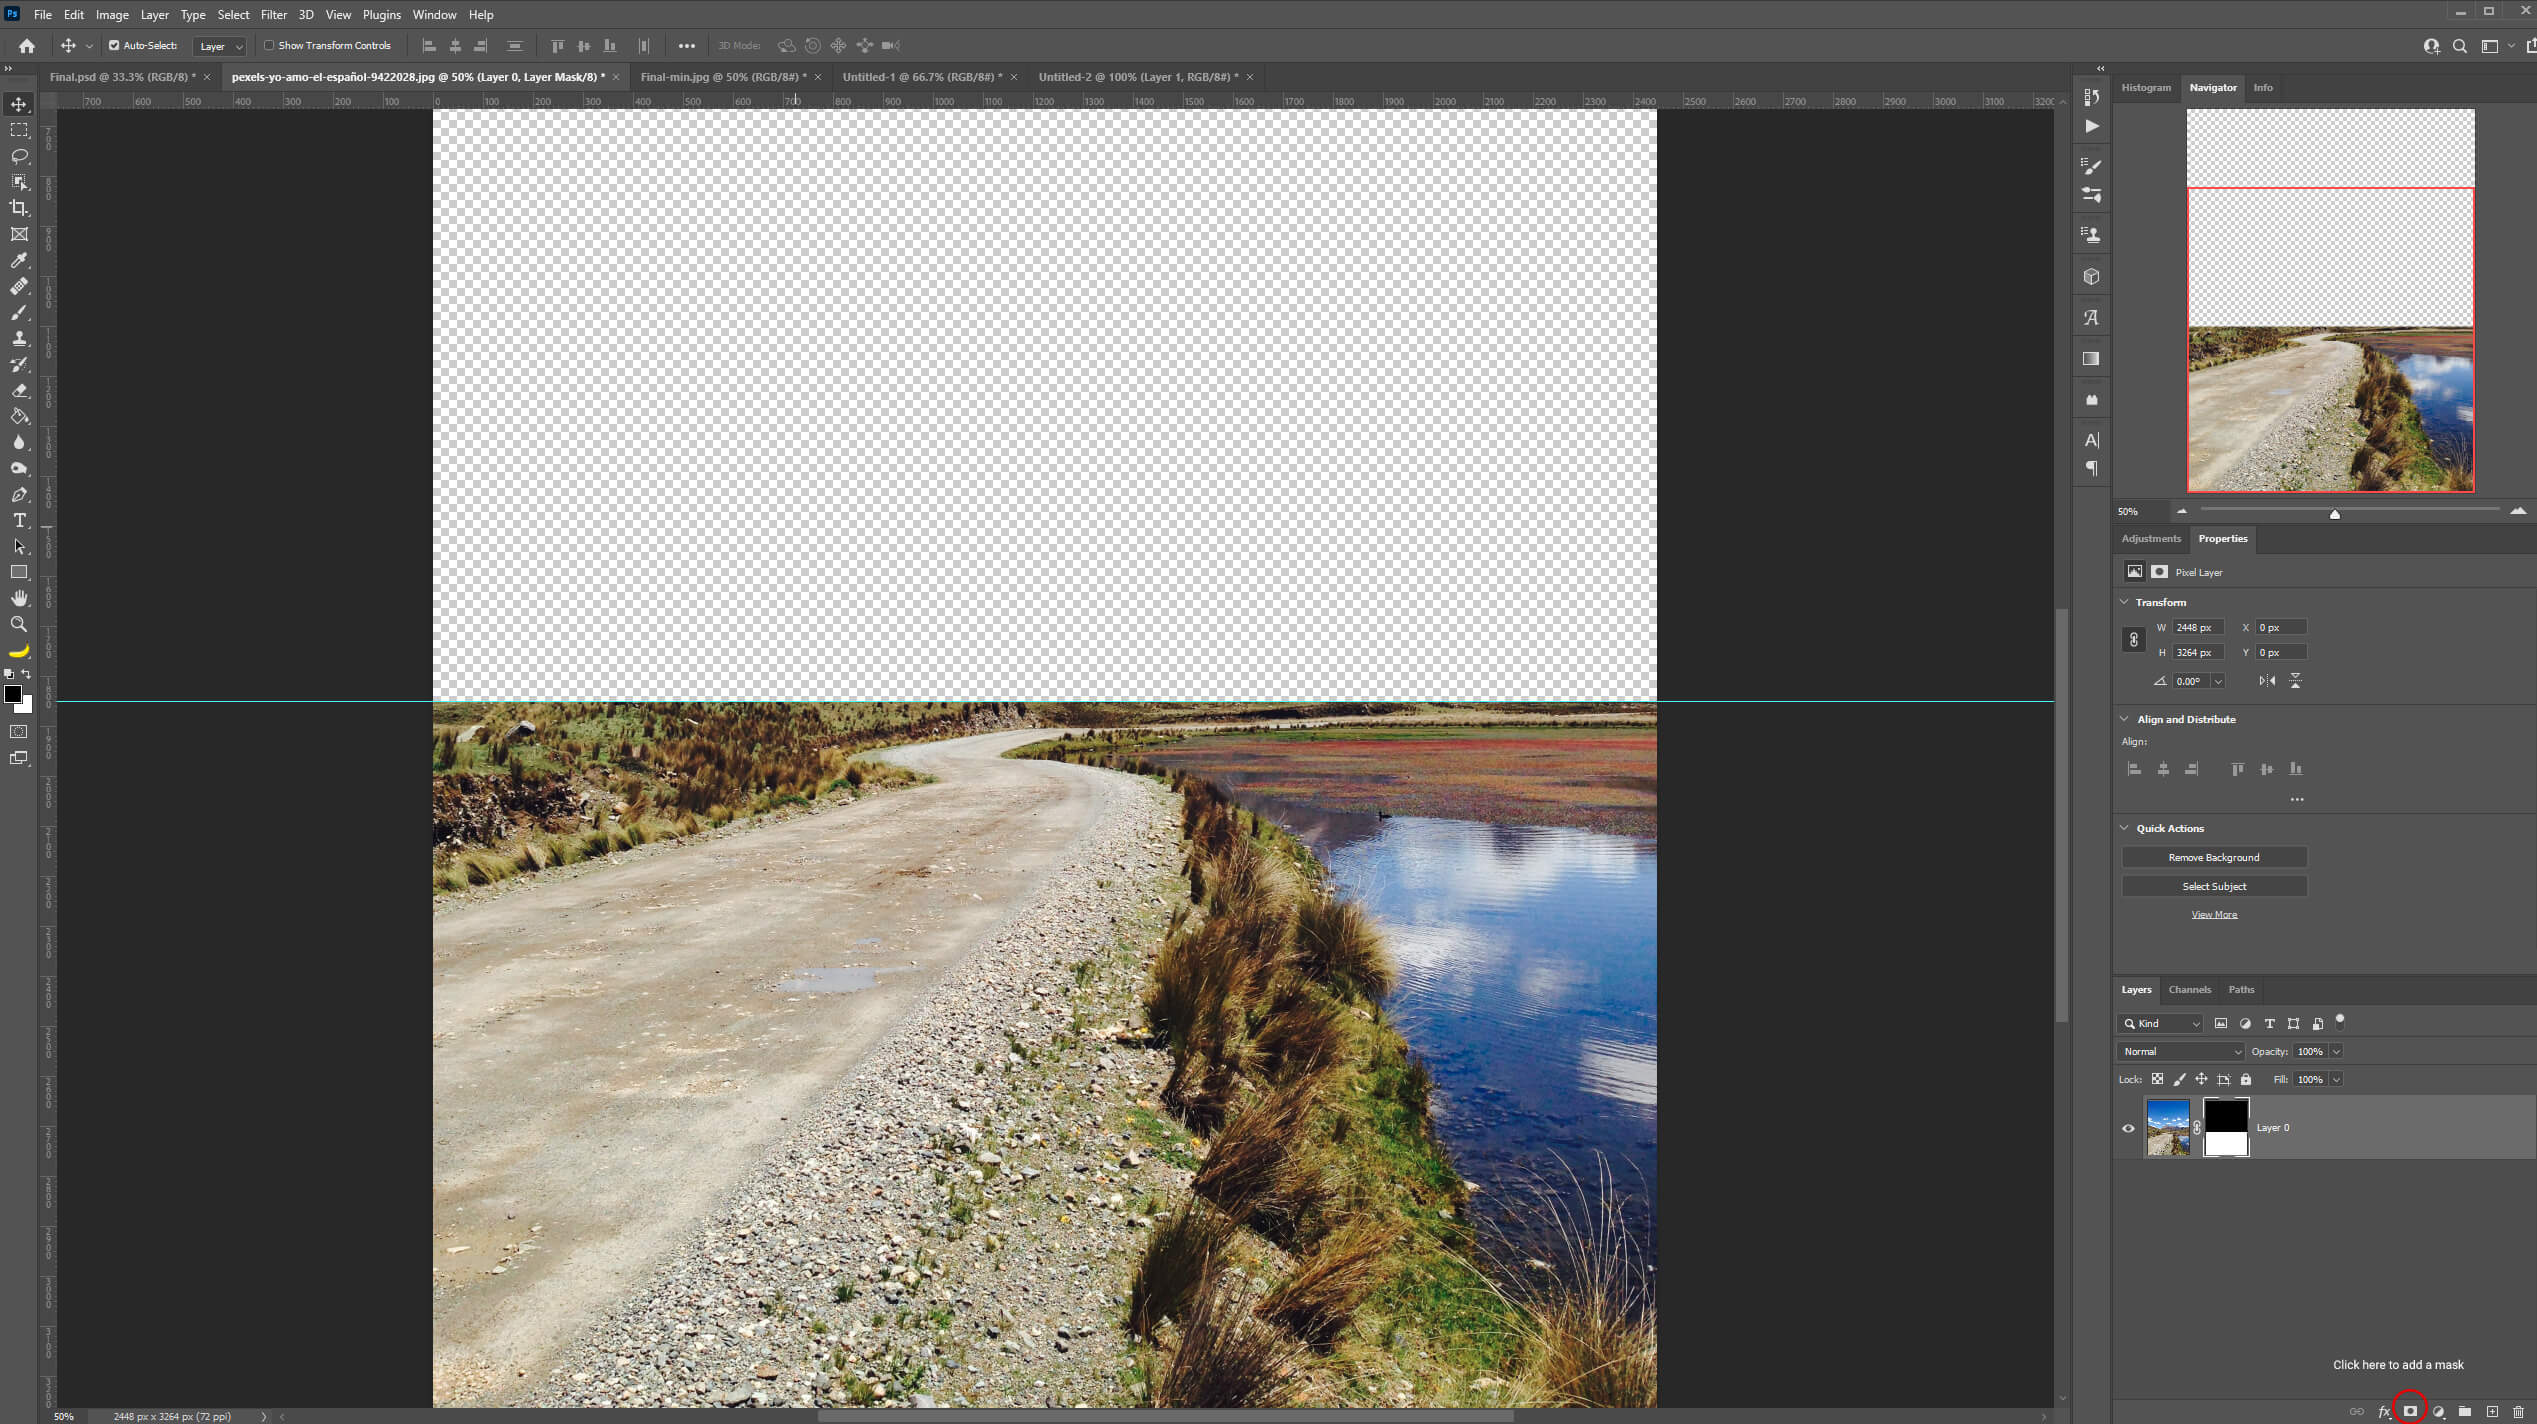
Press V to select the Move Tool and import the second picture in your document.
Then, adjust the image position as shown in the image below.
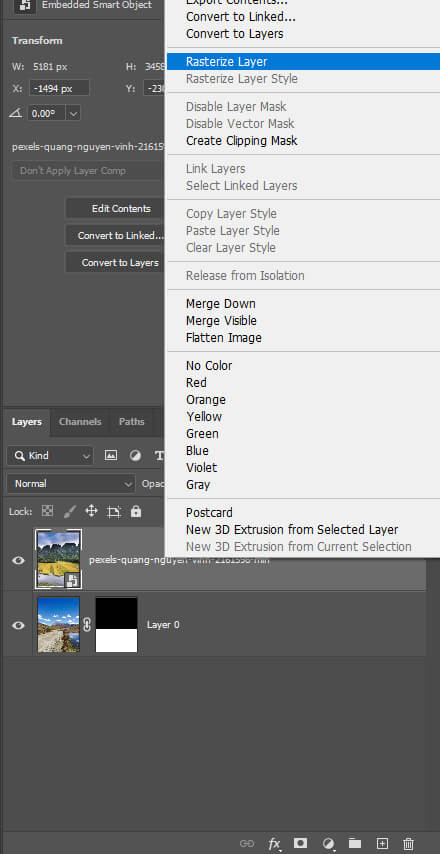
Convert that new layer to Rasterize Layer. Right-click on the layer > Rasterize Layer
Next, grab the Rectangle Marquee Tool again and draw a selection from the top part of the image slightly passing the guideline. Then, add a mask.
Hide the guide by pressing Ctrl +;
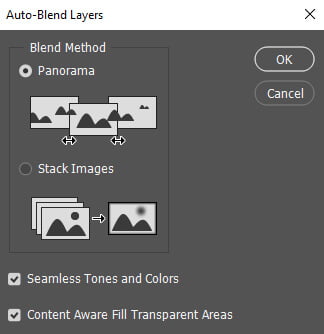
Step 2: Auto-blend Layers
Simply go to your Layer Panel and while holding CTRL select both Layers.
Next, go to Edit > Auto-Blend Layers. Select the Blend Method Panorama.
Photoshop will now blend the two pictures automatically.

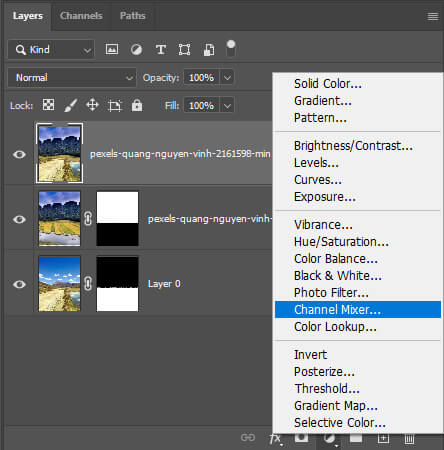
Steps 3: Adjustment Layers
Let’s add two Adjustment Layers to further mix the two photographs together.
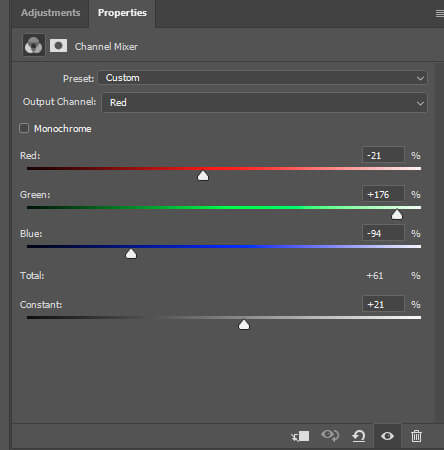
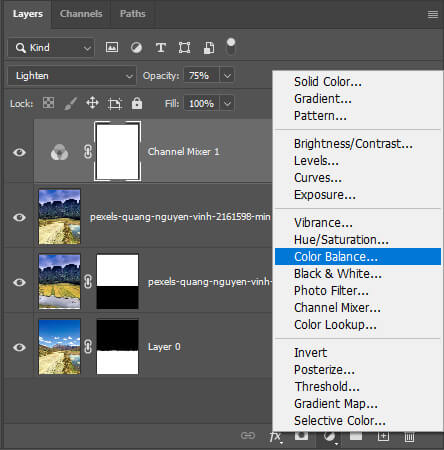
First, go to your layer panel and add a Channel Mixer.
Change the Blending Mode to Lighten and lower the opacity to 75% and copy my settings from the properties panel.

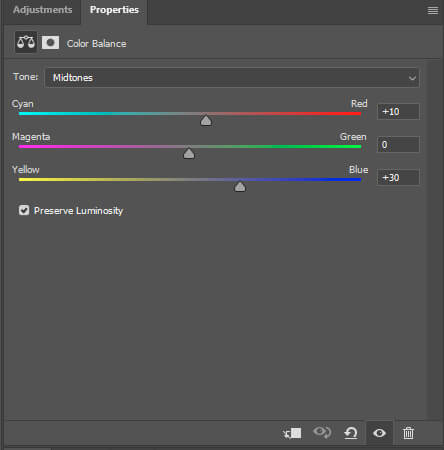
To finish with, let’s add a Color Balance Adjustment Layer. Copy my settings from the properties panel.
And We Are Done!
After following this tutorial, you should be able to Auto-Blend Layers in Photoshop. I hope you found this guide useful and easy to follow. If you have any questions or suggestions please let me know in the comments down below and I’ll get back to you as soon as possible.