For years now there has been a trend toward creating post or banner designs with distinct text styles. The majority of these designs use the art of adding text in various styles such as reflection, shadow, and long shadow.
Photoshop is obviously the best tool for quickly creating these cool edits. Long shadow text in Photoshop is something that people want to use in their posts because it looks cool and unique. It lends a professional appearance to the post image. One of the most famous examples is the Netflix Logo.
In this tutorial, I’ll show you how to make long shadow text in Photoshop in just a few steps. So, without further ado, let us begin!
I’ll be using Photoshop 2022 for this tutorial, but the method should be comparable to previous versions.
For this lesson, you can use the font below, but you can also use your own font for your own design.
Step 1
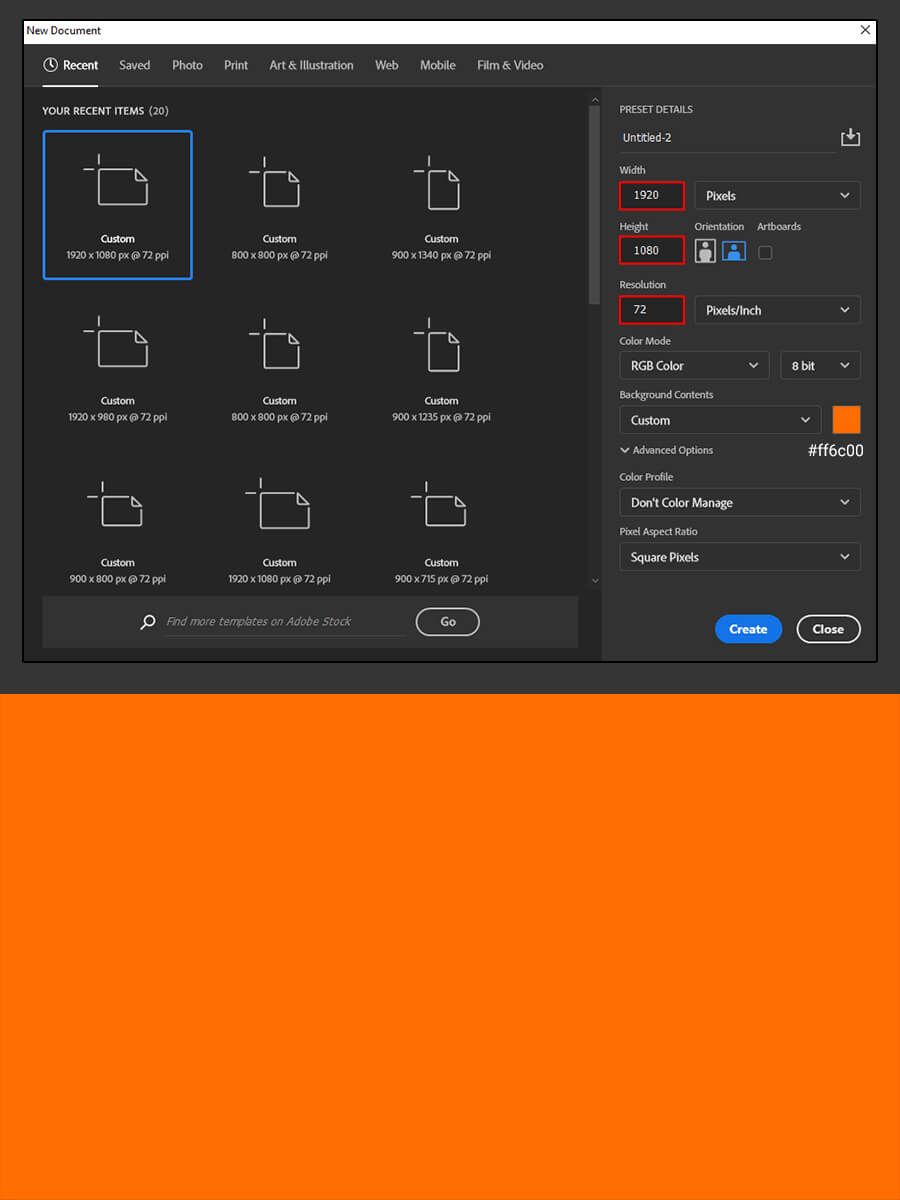
Begin by making a new document. You can choose your desired size or copy my settings in the image below. I’ll go with a nice orange for the background color, but feel free to use any color you want.
Step 2
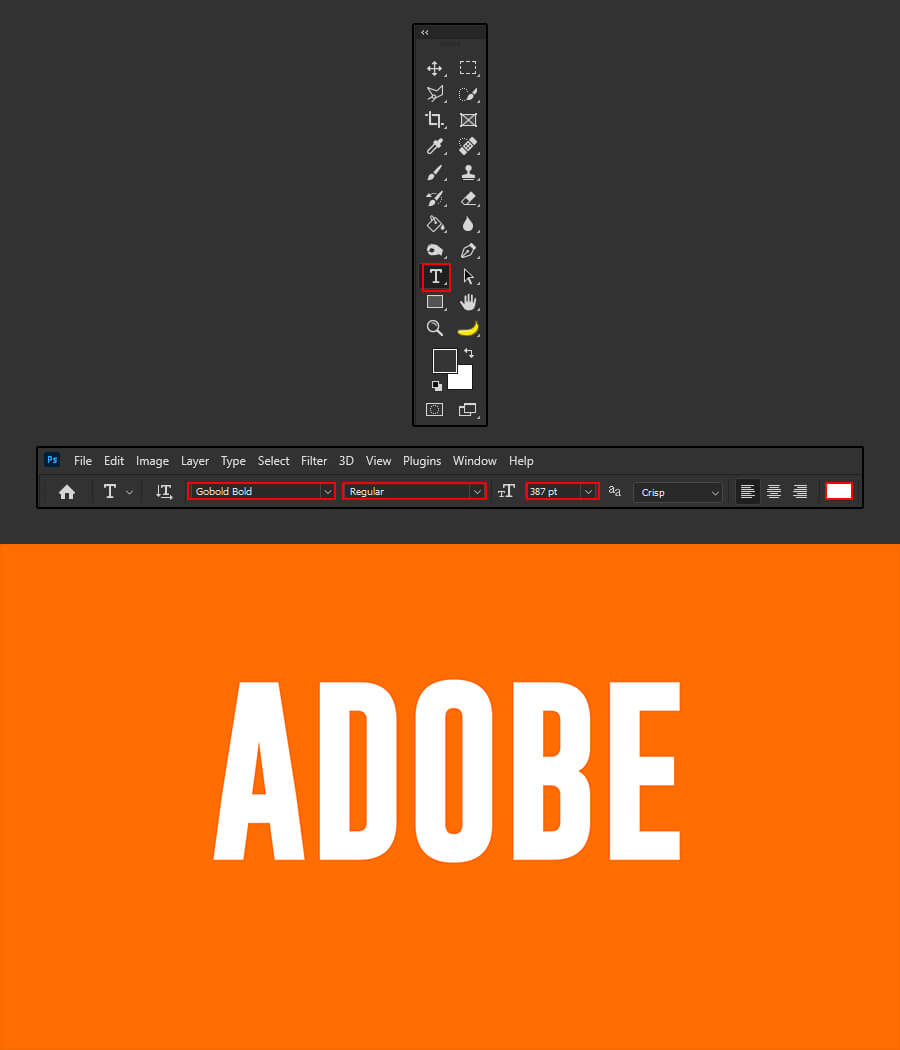
Use the Text Tool located in the toolbar or press T to add your text. Make sure the text color is set to white. For this tutorial, I’ll use Gobold Regular at 387 pt.
Press Ctrl + T to resize the text and place it in the center of the canvas.
Step 3
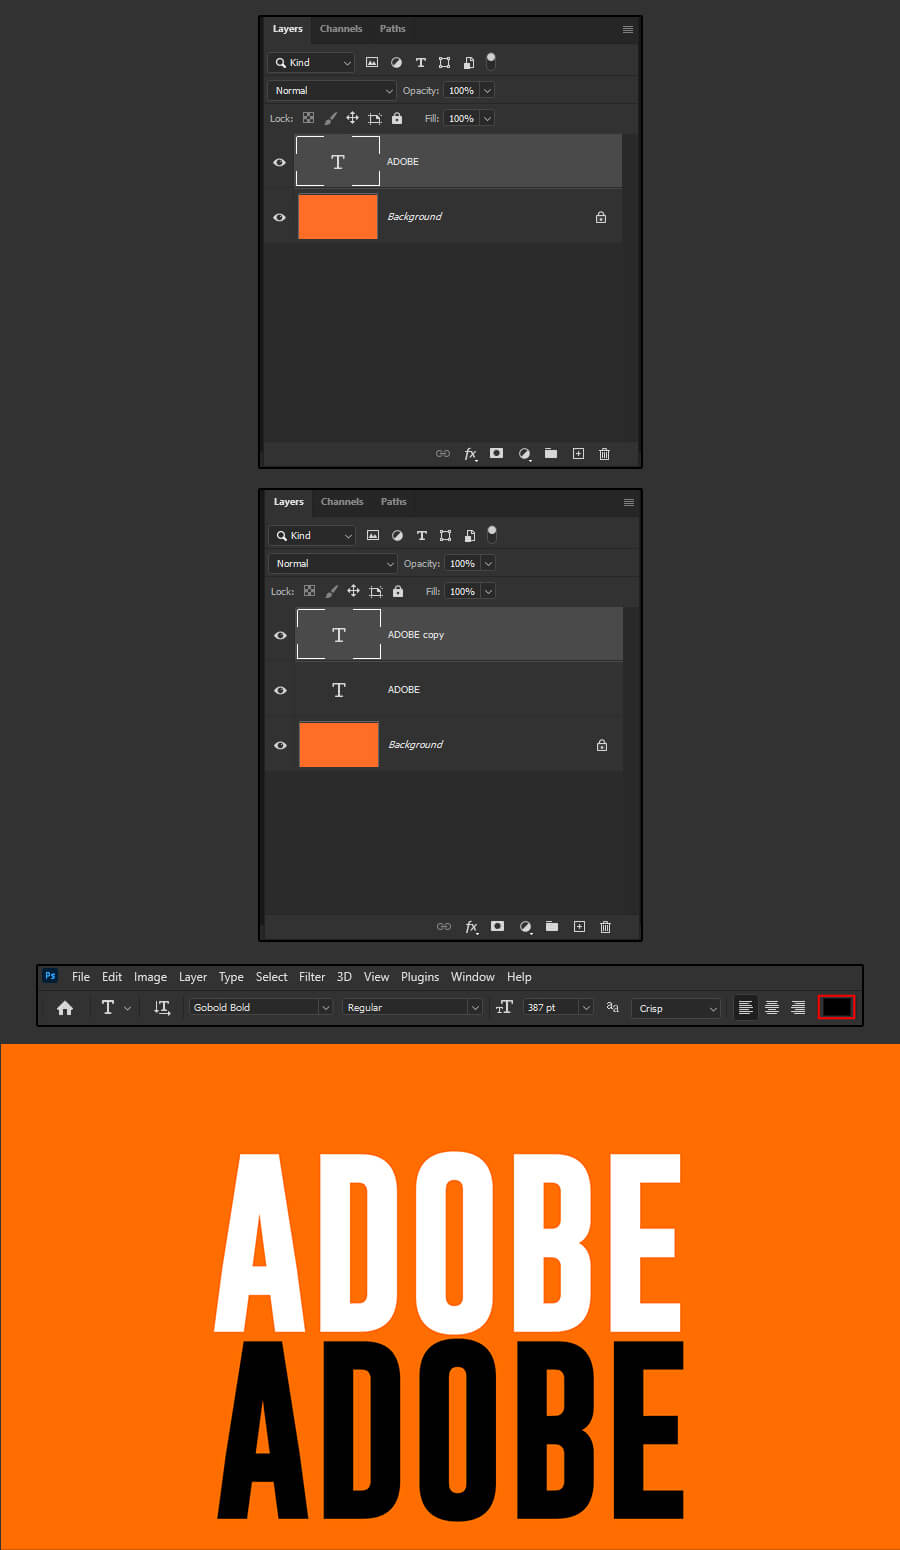
Next with the text layer selected press Ctrl + J to duplicate it. Change the new text layer color to black.
Step 4
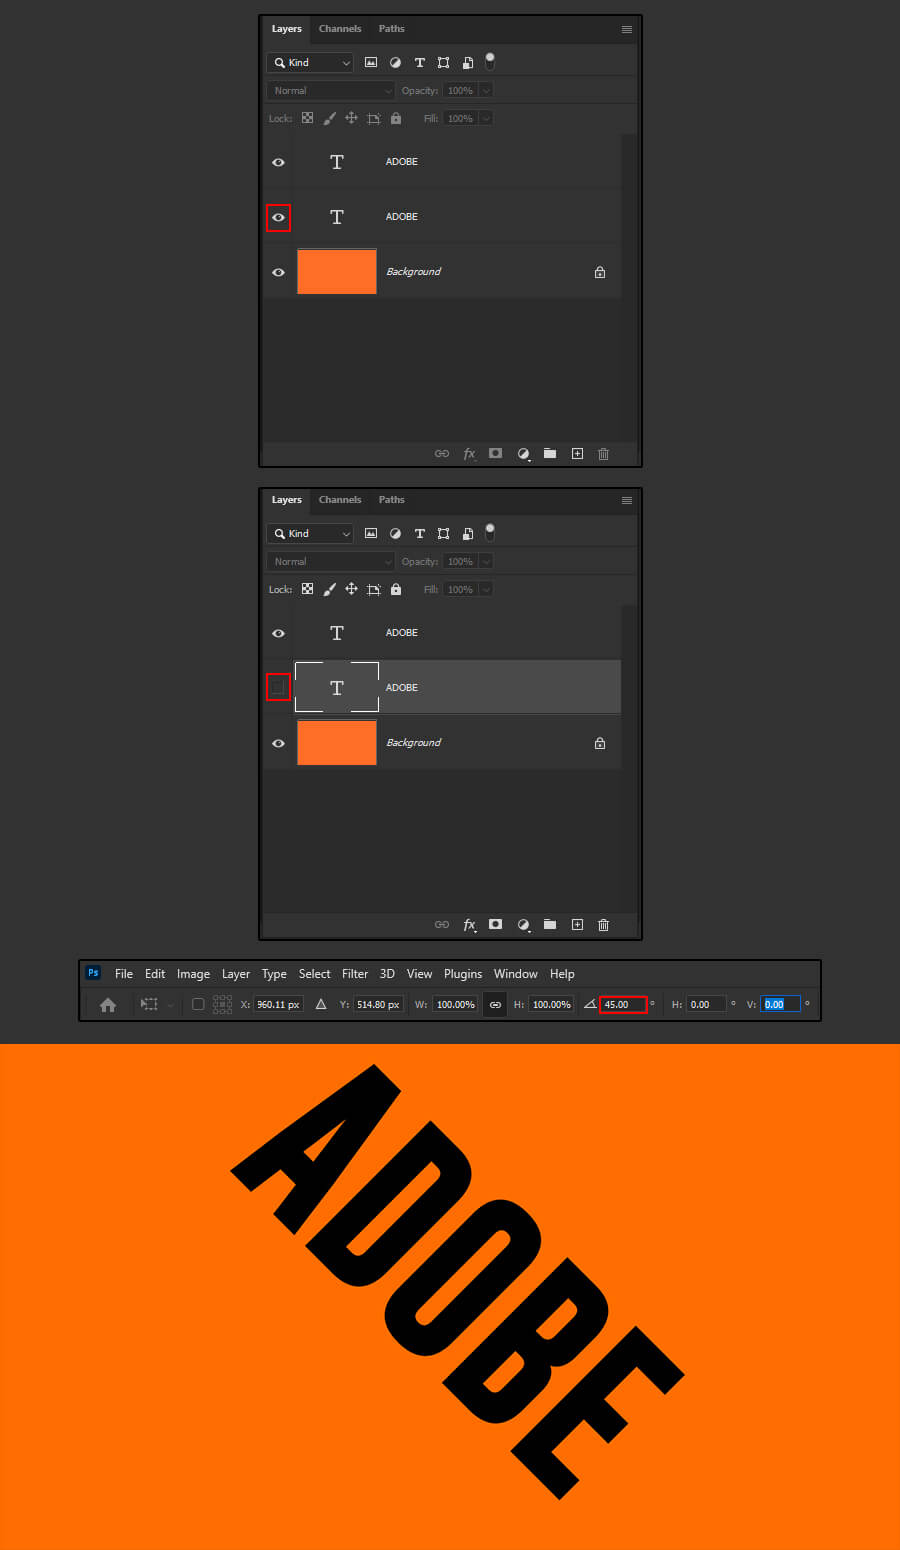
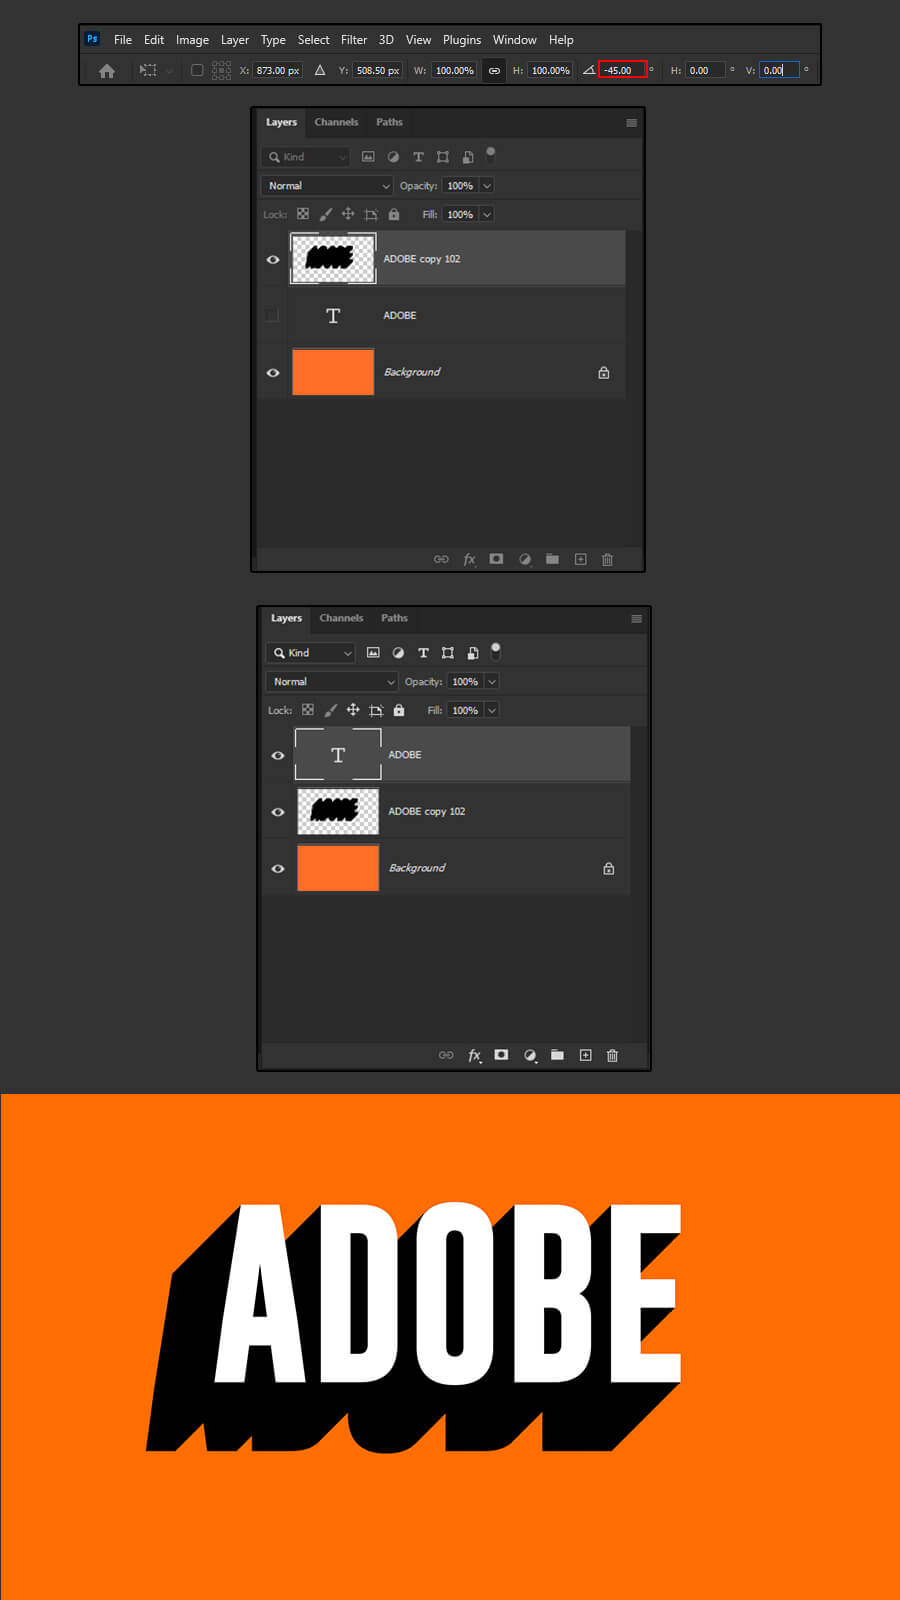
Next, click on the eye icon to hide the white text layer and rotate the black text layer to 45 degrees using the Transform Tool (Ctrl + T).
Step 5
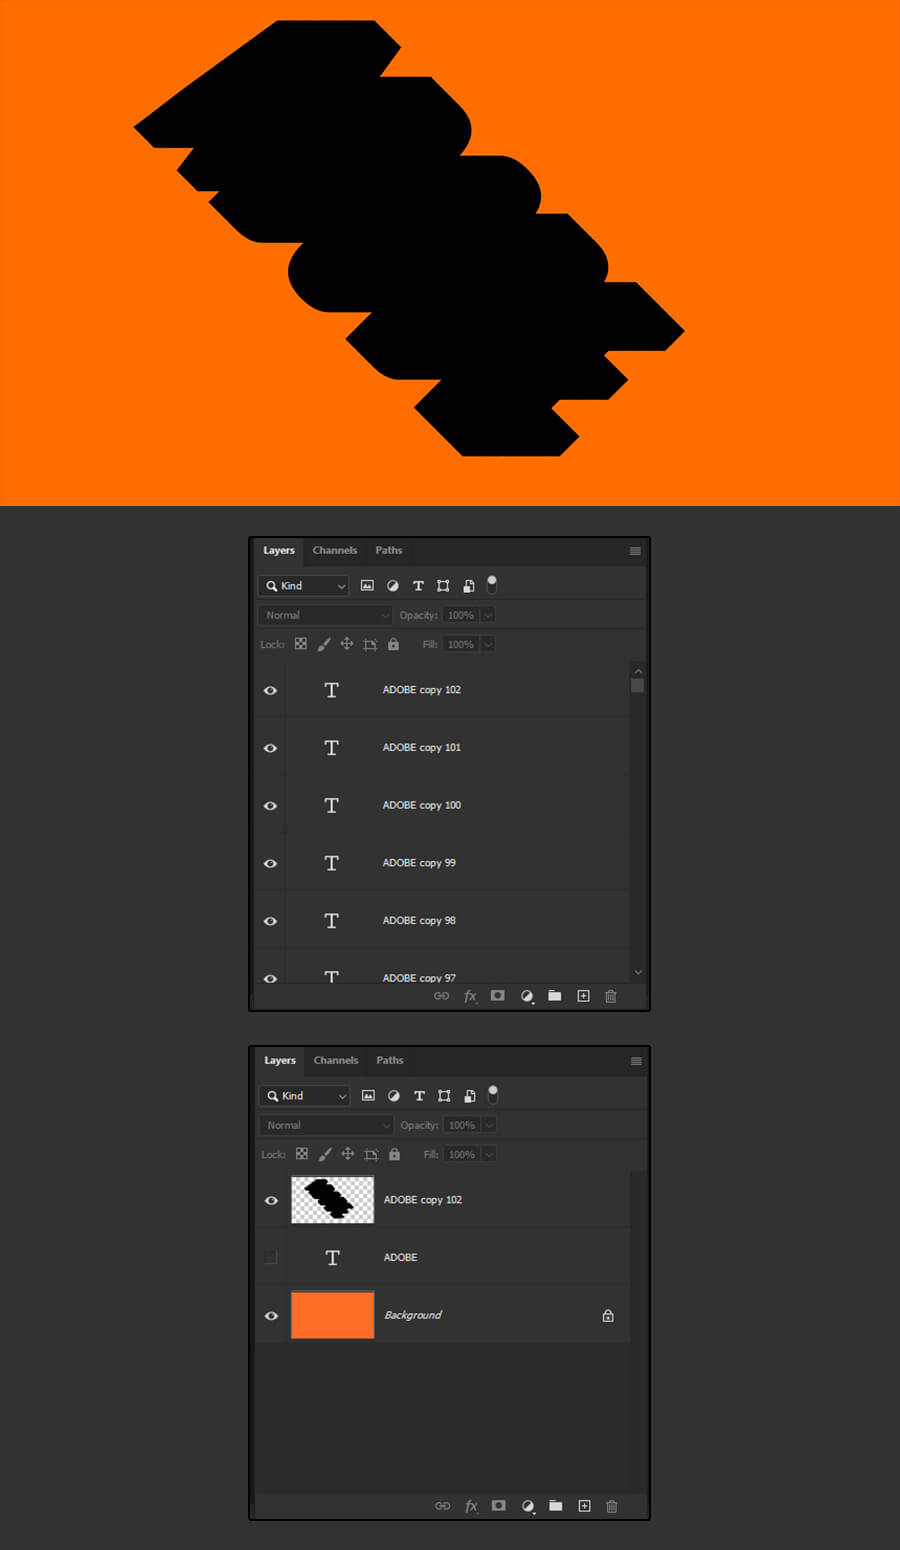
Next, I’ll duplicate the black text layer to create the shadow. Simply select the layer and hold Alt + Left Arrow Key. I’ll create about 100 copies of the same layer.
Once my 100 copies are created, I’ll merge them. Select the first text layer in the layers stack, hold shit and click on the last text layer at the bottom of the stack then press Ctrl + E.
Step 6
With the shadow layer selected press Ctrl + T and rotate it to -45 degrees.
By clicking on the eye icon, make the white text layer visible again and align it with the shadow layer. Make sure the white text layer is on top of the shadow layer in the layers stack.
Step 7
You’ll notice that the shadow doesn’t stretch all the way to the corner. To fix that, select the shadow layer and press Ctrl + J a couple of times to duplicate the layer. line up these new layers with the original shadow. Once you are done, select all the shadow layers and press Ctrl + E to merge them together.
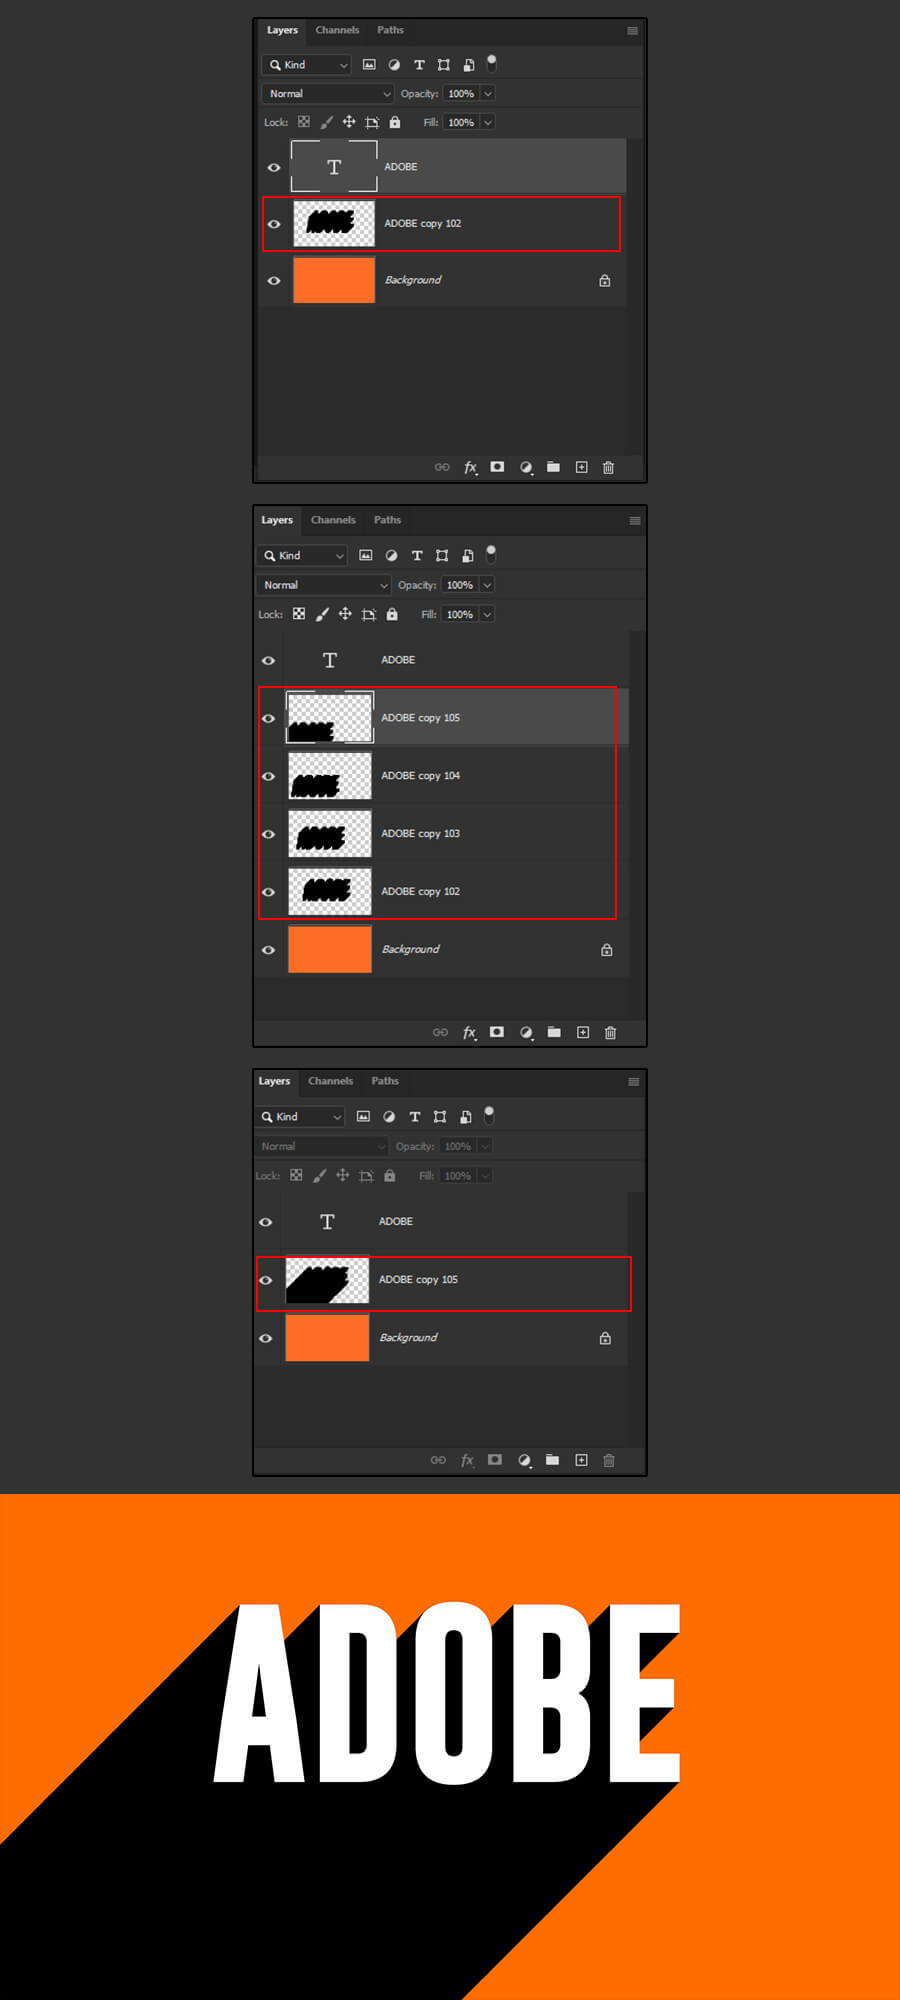
Step 8
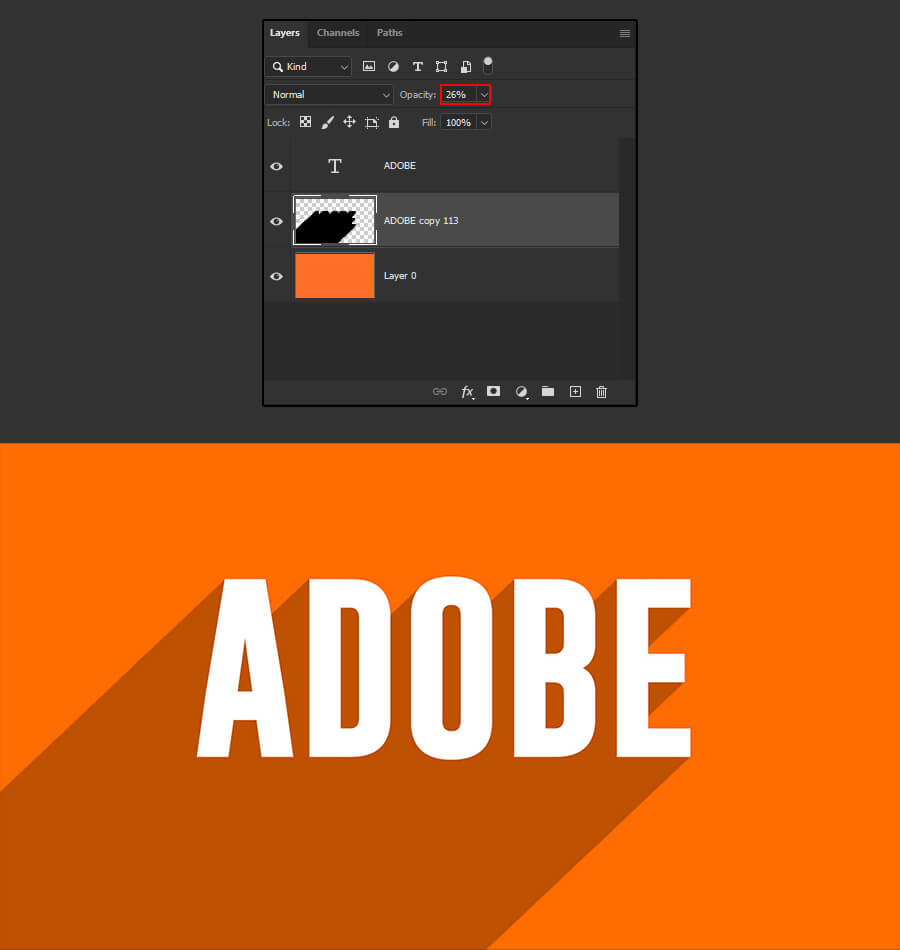
To finish with our design, select the shadow layer one more time and lower the opacity. For this tutorial, I’ll lower it to about 25% but feel free to lower it more or less depending on the effect you are looking for.