In this Photoshop tutorial, we’ll learn how to produce a Photoshop Text Warp Effect and how simple it is to twist while keeping our typography and the warping effect entirely editable!
Even though Photoshop is the most powerful and widely used photo editing application, when it comes to text editing, it falls short of programs like Indesign or even Illustrator.
Thanks to this quick and easy tutorial, you’ll be able to achieve a Text Warp Effect using the rectangle, warp, and text tool.
For this lesson, I’ll use Photoshop 2022.
Download the image and follow along.
Photo by Brando Makes Branding on Unsplash
https://unsplash.com/photos/TPoARluSmYs
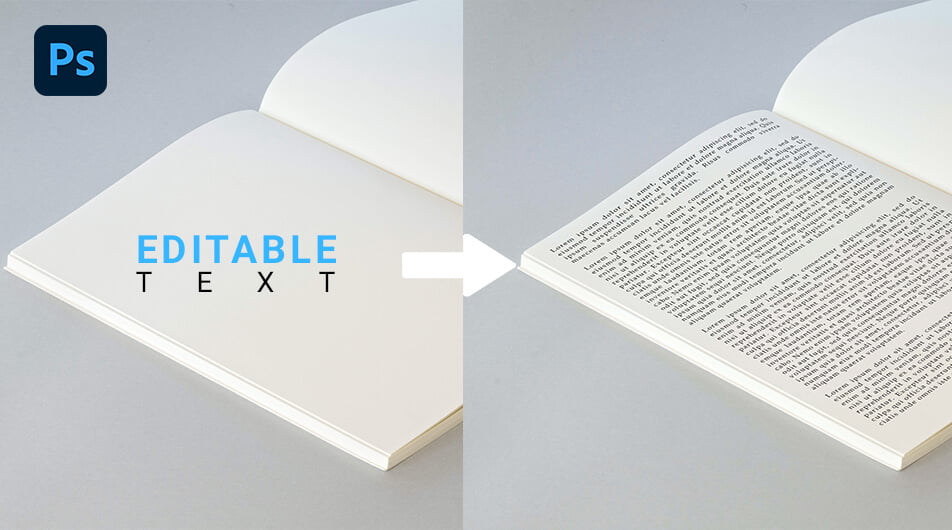
Final Image
Drag The Slider To See Before & After
Create a Warp Text Effect
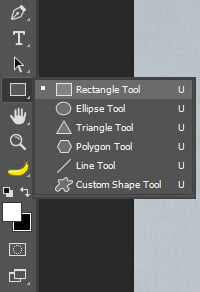
Step 1: Draw a Rectangle
First, open up the image in Photoshop and select the Rectangle Tool located in the toolbar.
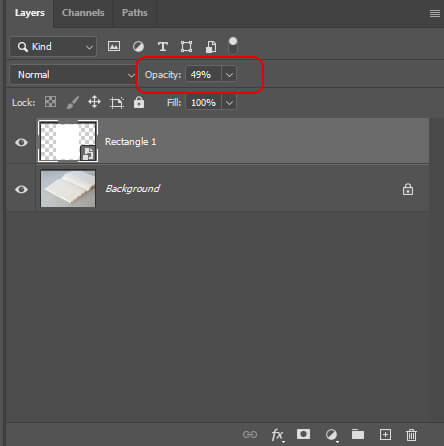
With the Rectangle Tool selected, draw a white shape that is roughly the size of a book page. Then convert this layer to a Smart Object by right-clicking on the layer > Smart Object.

Next, lower the opacity of the rectangle to about 50%.
Step 2: Place the Rectangle onto the Book Page
In order to place the white rectangle onto the book page, we’ll use the Transform Tool.
Press CTRL + T to activate the Trasform Tool. Then, while holding CTRL select one of the rectangle’s corners (your cursor will turn white) and try to match it with the corner of the book page. Do that with the four corners of the rectangle.

Once your rectangle is placed properly on the book, with your Transform Tool activated, right-click on the rectangle and select wrap.
Then set up your Warp Tool as follow:
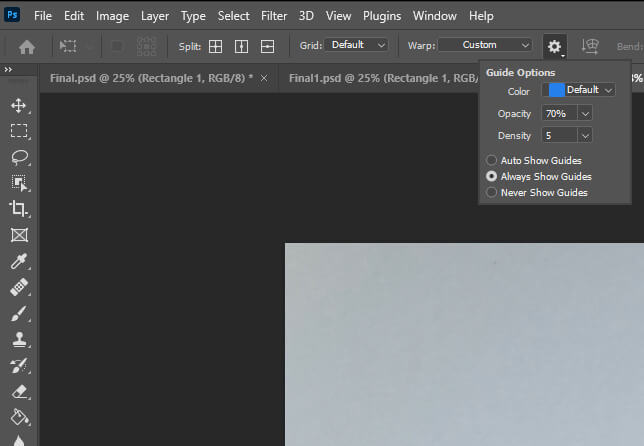
Now with the warp tool selected, adjust your rectangle to the book page using the handles so that it looks more realistic.
To finish with step 2, bring back the opacity of the rectangle to 100%.
Step 3: Add Your Text
To add your text, simply double-click on your rectangle layer thumbnail. It will open up a new window where we’ll be adding the text.
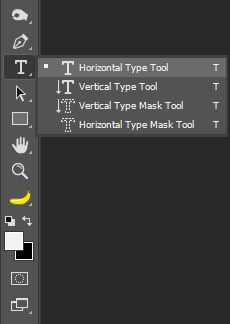
In the toolbar select the Horizontal Type Tool.
Choose a suitable font and color for the text. In this example, I’ll be using Book Antiqua in black.

With the text tool selected Left-click and drag to draw a shape on the page like so:
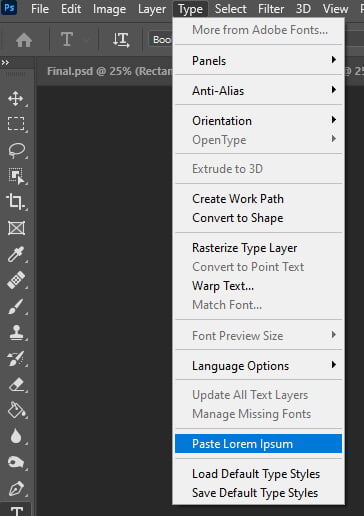
Release your mouse left button. You will notice that Photoshop has already typed some text. You can just delete it and write whatever you like. In this case, I am going to add some demo text. Go to Type > Paste Lorem Ipsum.
Once you are happy with the result press CTRL + S to save your file. Then, exit the window.
Your text should be on the book’s page.
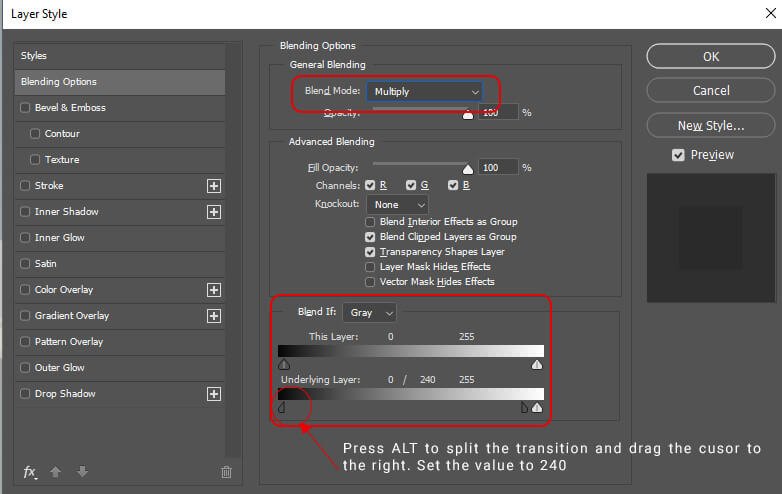
Next, right-click on the layer and select Blending Options. Change the Blending Mode to Multiply
Then, go to Blend if > Underlying layer. Select the left cursor while holding ALT to split the transition. Set the value to 240

And We Are Done!

What’s amazing about this method is that you can edit your text whenever you need to.
Just double-click on the Smart Object, change your text, save it and you are done.
After following this tutorial, you should be able to Create a Warp Text Effect in Photoshop. I hope you found this guide useful and easy to follow. If you have any questions or suggestions please let me know in the comments down below and I’ll get back to you as soon as possible.