In this tutorial, you’ll learn how to create a Stitched Text Effect in Photoshop. Once again there are many different ways to create that cool effect. In this lesson, I’ll show you one of the easiest methods to achieve that.
We’ll use the Type Tool as well as the Shape Tool to alter the stroke of our text.
Feel free to use any font you like for your design but for the purpose of this demonstration I’ll use a font called Moderna. You can download it by clicking on the link down below.
Final Image
Step 1
Create a new file in Photoshop at any size you like. In this case, I’ll make mine at 1920 × 1080 pixels, using #e70162 as the background color.

Step 2
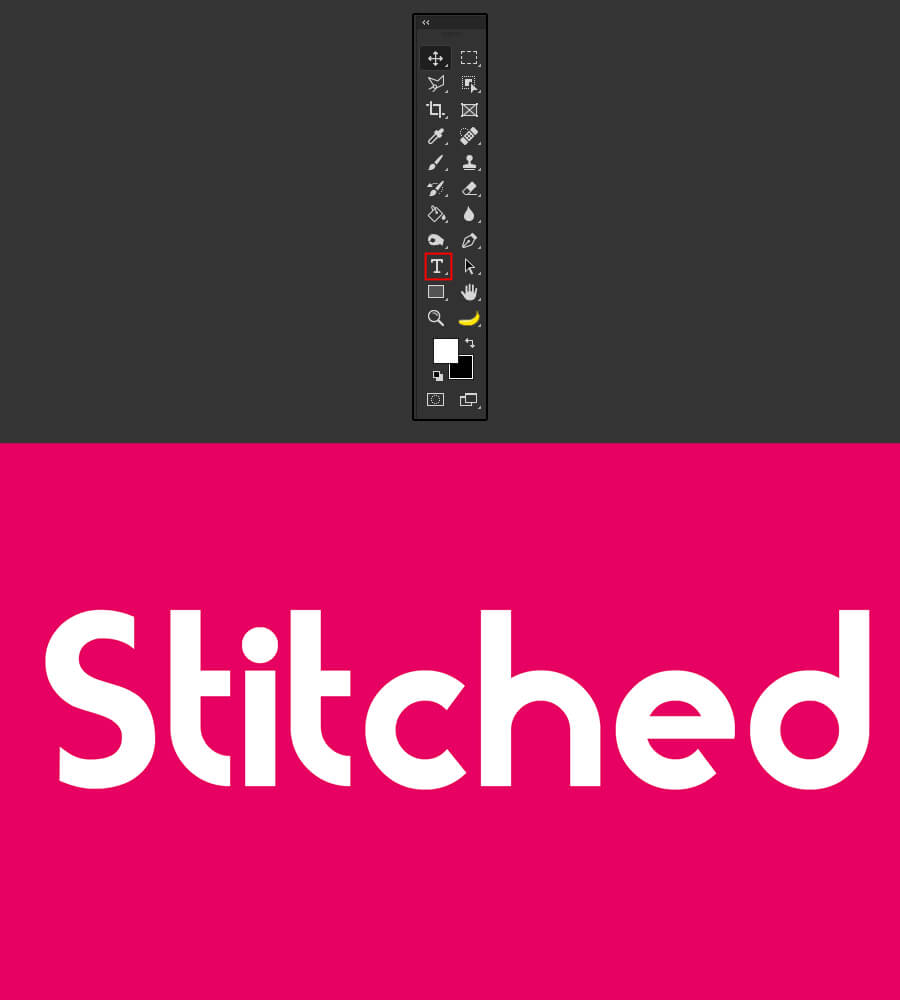
Select the Horizontal Type Tool (T) and start typing in whichever font you want. I’m going to use “Moderna” with the color set to white.
Press Ctrl + T to resize and place the text the way you want.
Step 3
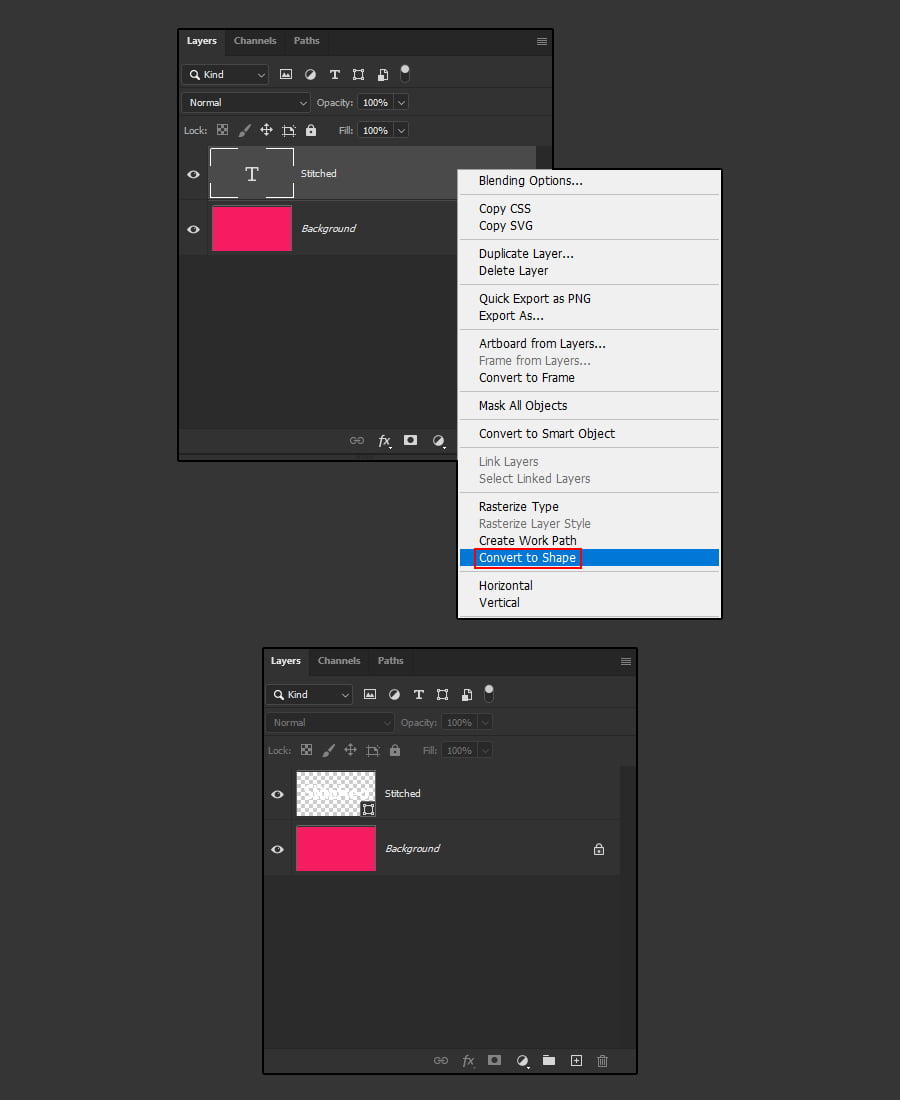
Right-click on the text layer and select Convert to Shape.
Step 4
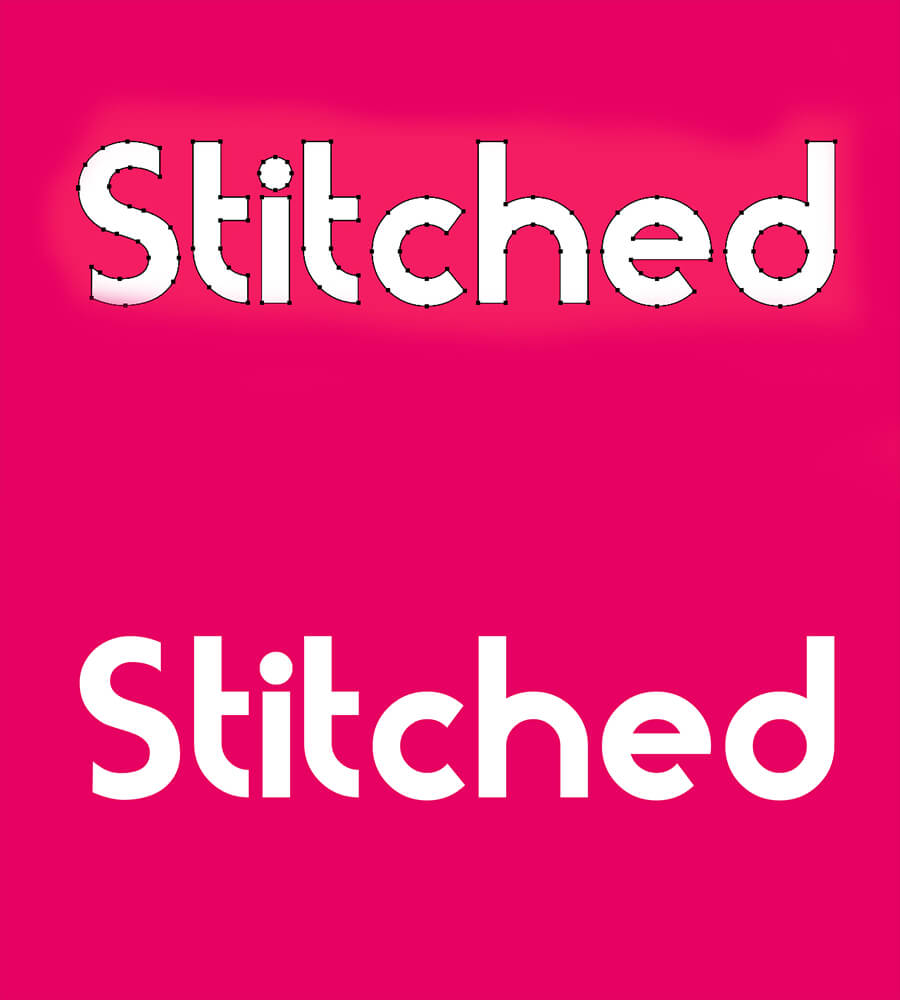
Next, if the Path Outline is visible, with the text layer selected, simply press Ctrl +H to hide it.
Step 5
With the text layer selected press U and head over to the top toolbar. Remove the Fill, select a white stroke, choose the thickness, and select the dotted stroke.
Step 6
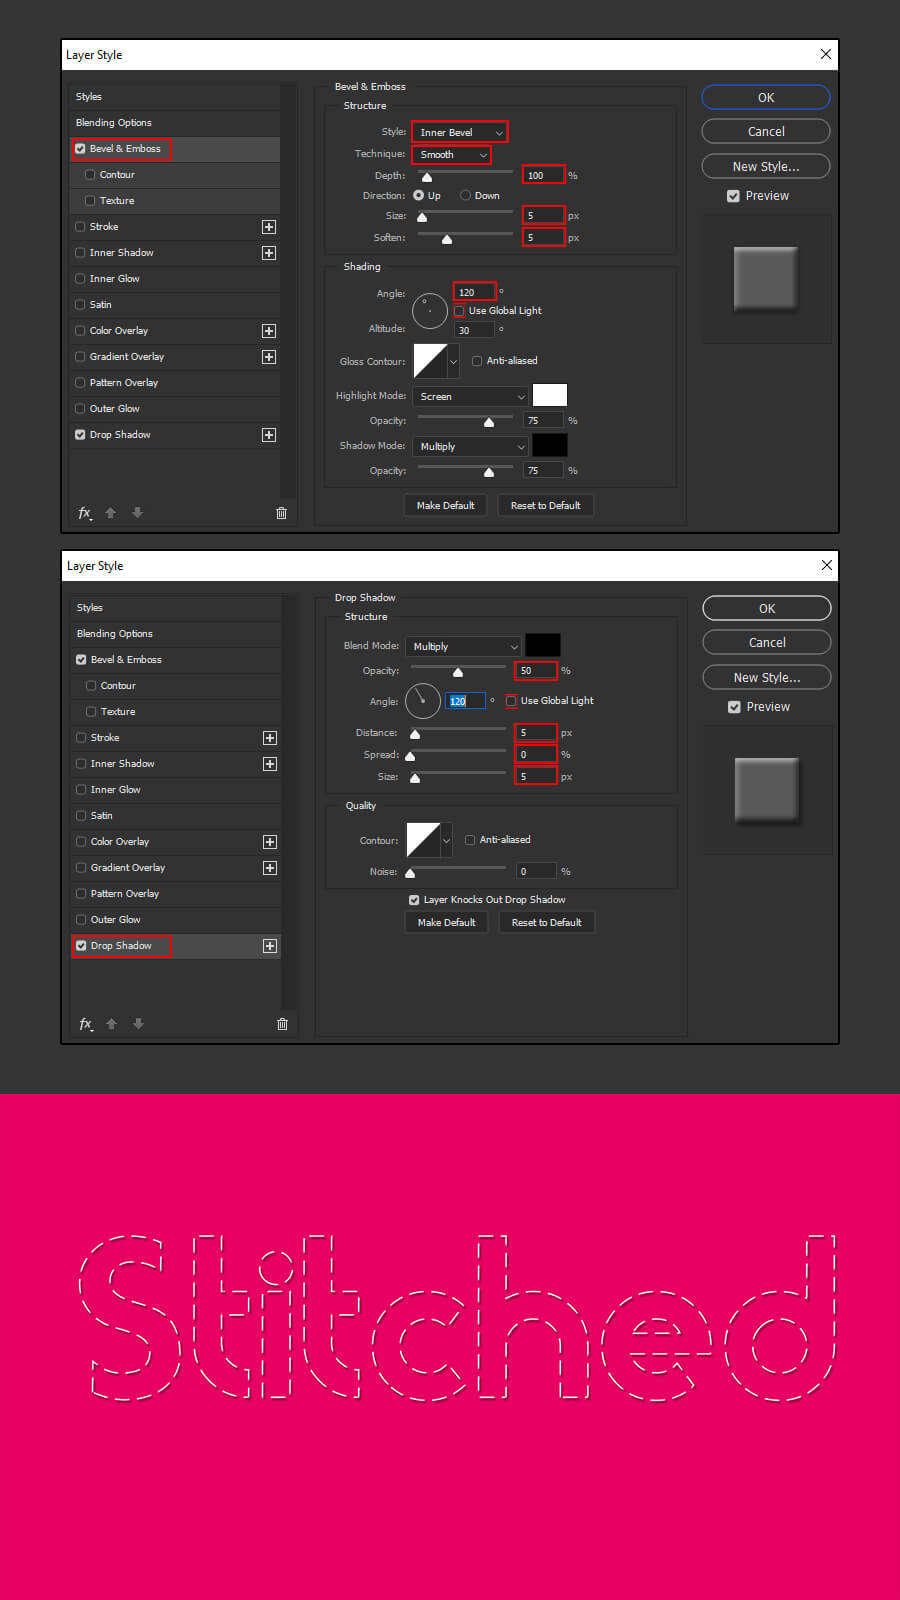
To make the design pop let’s add some Bevel & Emboss and s Drop Shadow. With the text layer selected, go to Layer > Layer Style > Blending Options. Check the boxes Bevel & Emboss and Drop Shadow. Enter the following values.
You should be able to Create a Stitched Text Effect in Photoshop after following this lesson. I hope you find this guide to be helpful and straightforward. Please let me know if you have any questions or recommendations in the comments section below, and I’ll respond as soon as possible.