In this tutorial, you’ll be learning how to create a motion blur text effect in Photoshop. This effect is usually used to add a wow factor to ordinary text and create interest for the viewer.
It will only take a few minutes to achieve this awesome effect so let’s get started!
For this lesson, I’ll use Photoshop 2022 but any version of Photoshop will work for this short demonstration.
This project uses the font below. You can download it to follow along or you can pick your own. In my opinion, sans-serif and bold fonts work best for this tutorial.
Font: Gotham Ultra Italic
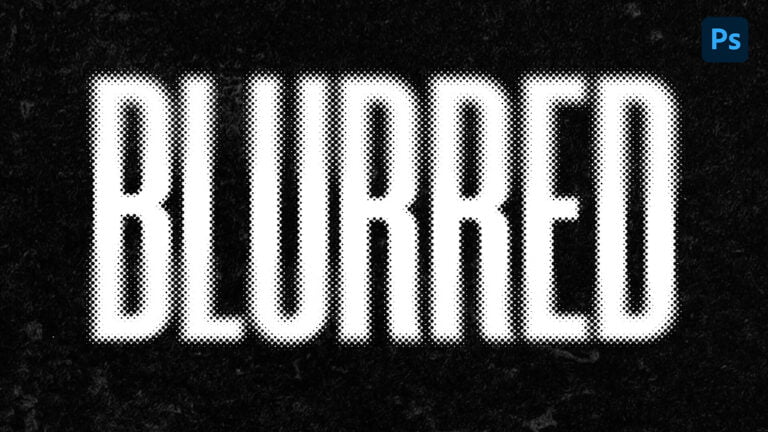
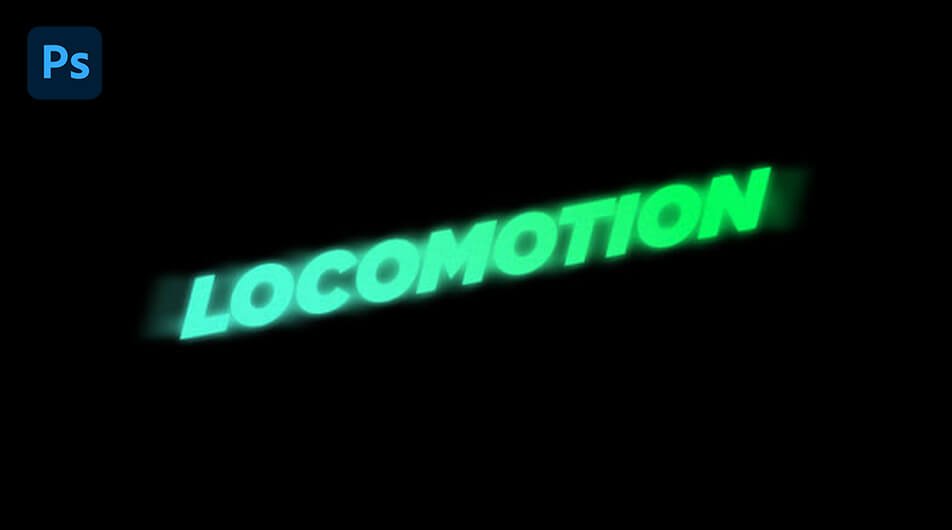
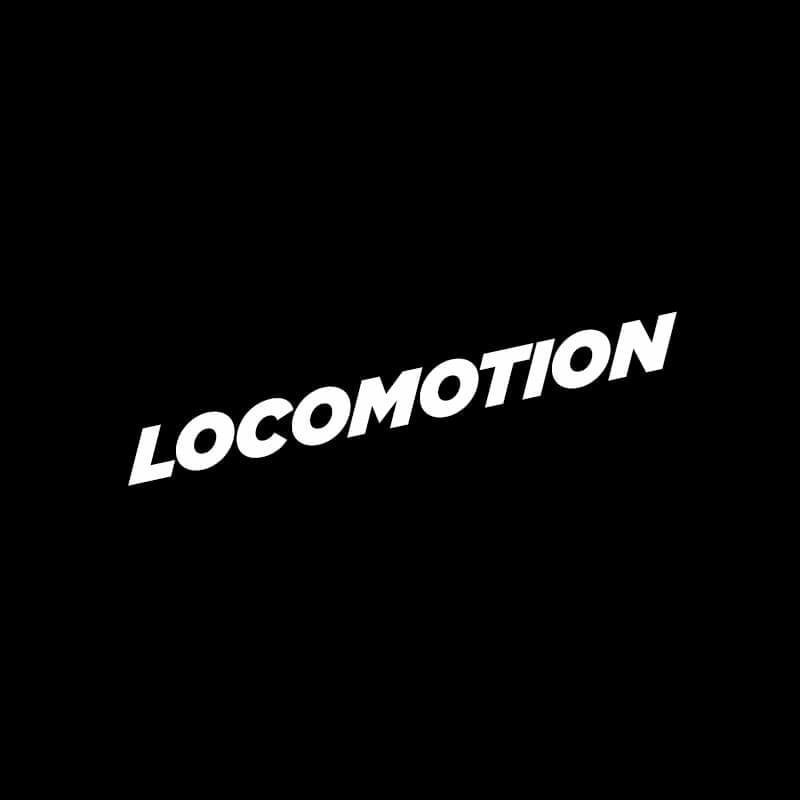
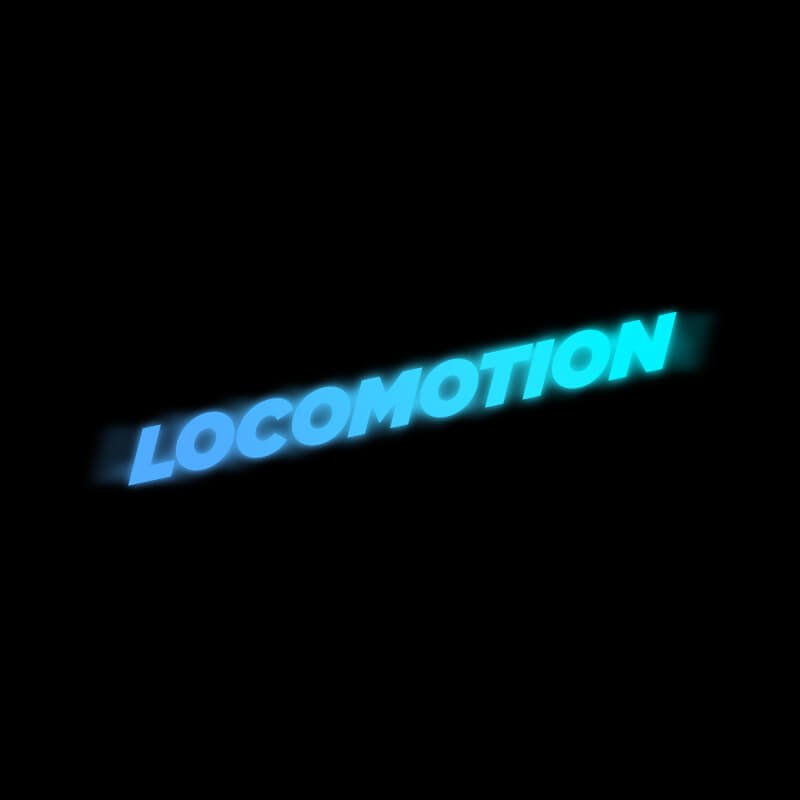
Final Image
After this tutorial, this is the result you’ll achieve:

Create a Motion Blur Text Effect
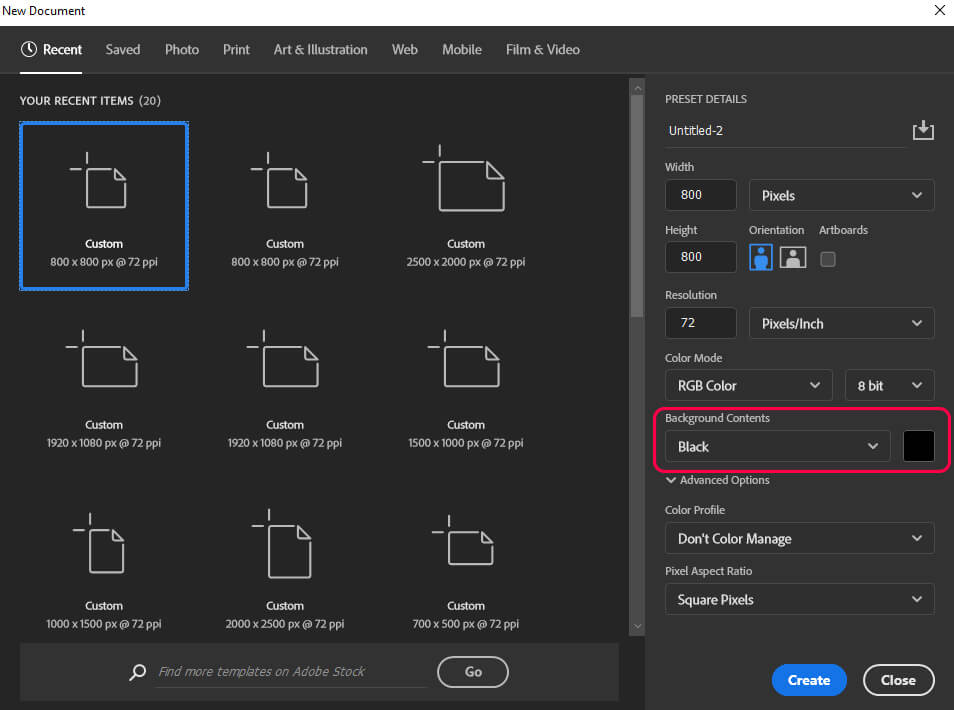
Step 1: Set up Your Document
Open Photoshop and press Ctrl + N to create a new document. You can copy my settings from the image below:
Set 2: Add Your Text
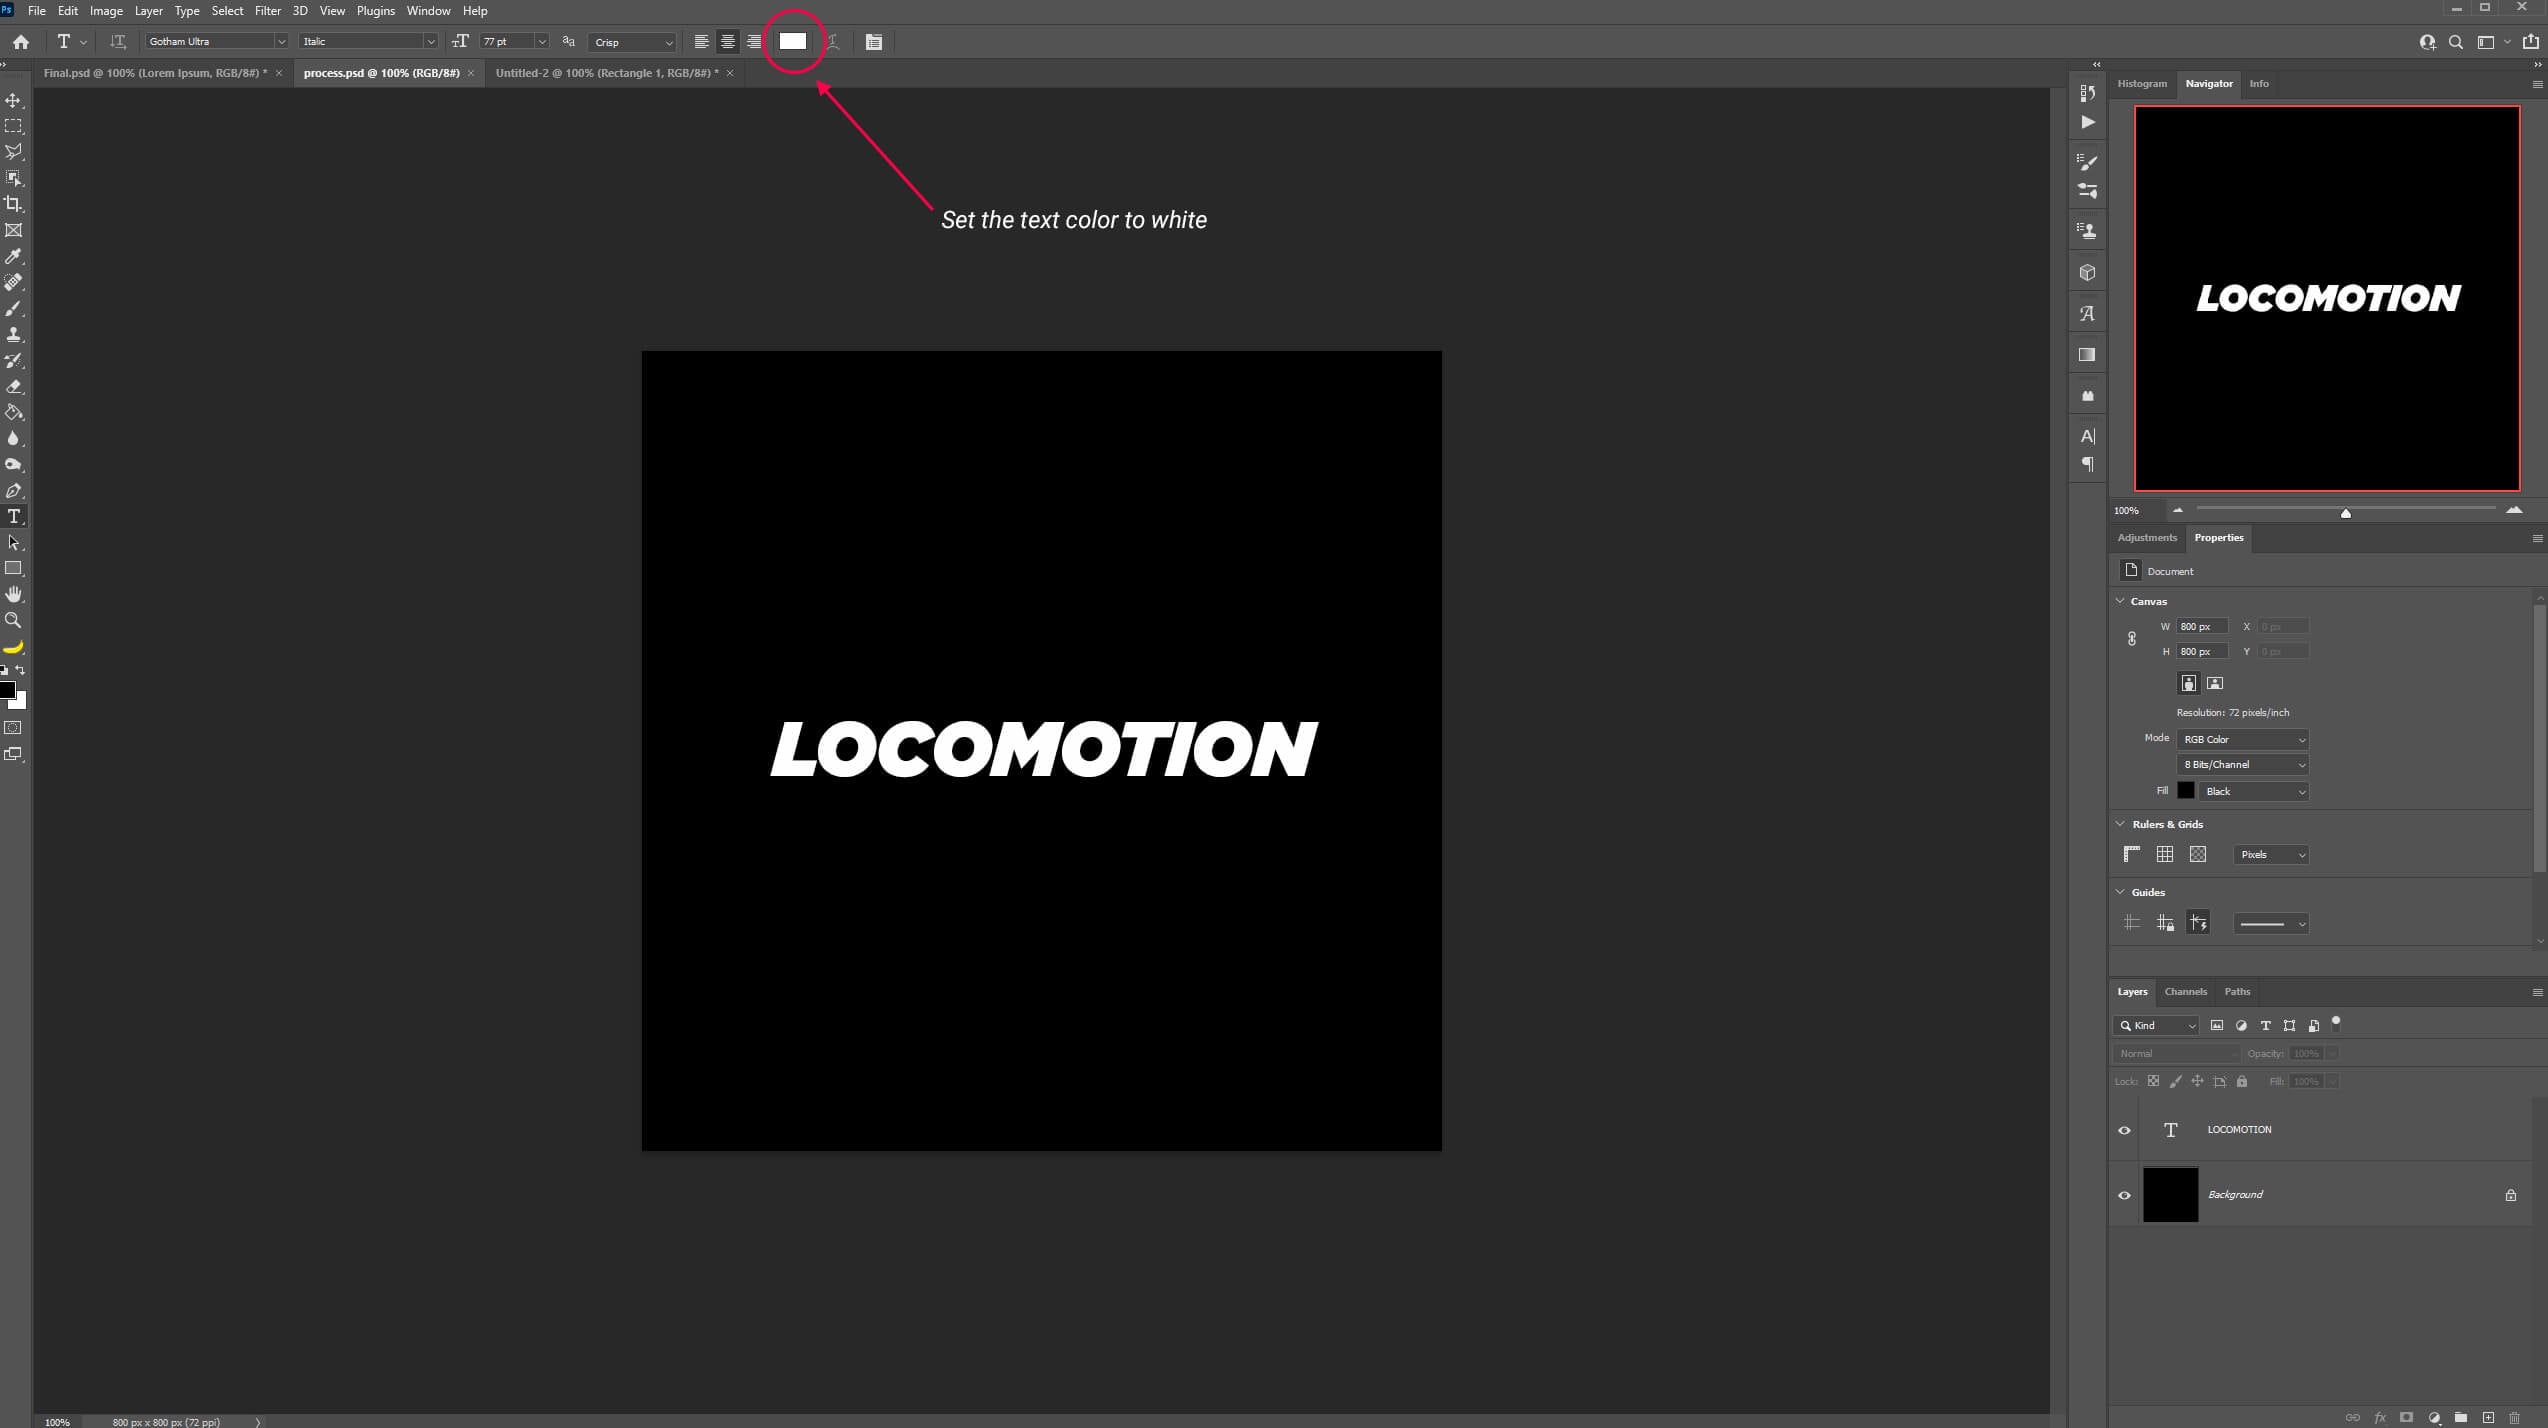
First, press T to enable the Text Tool and add your text. Make sure the text color is set to white. You can use the font provided for this tutorial or any font you like.
Next, let’s tilt the text to make it more interesting. With the text layer selected press Ctrl + T to activate the Transform Tool, then right-click and choose Skew.
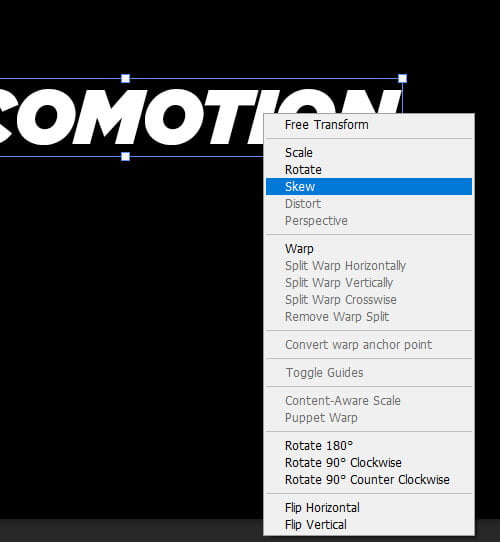
You can now adjust the text to your liking.
Step 3: Adding the Motion Blur Text Effect
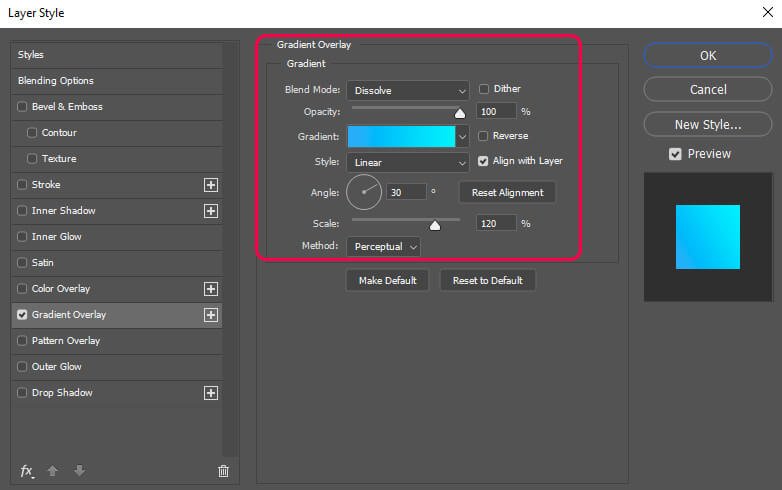
First, double-click on your text layer to make the window layer style pop and select Gradient Overlay.
Choose a gradient that you like and copy the setting as shown on the image below:
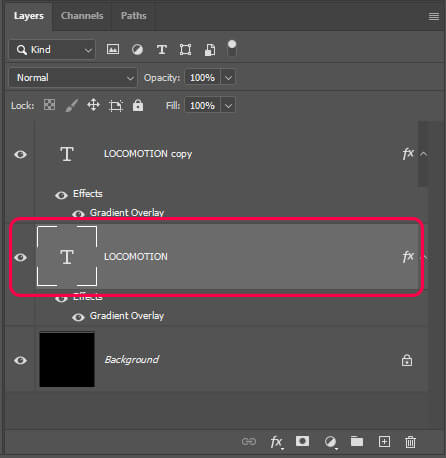
Next, press Ctrl + J to duplicate the text layer.

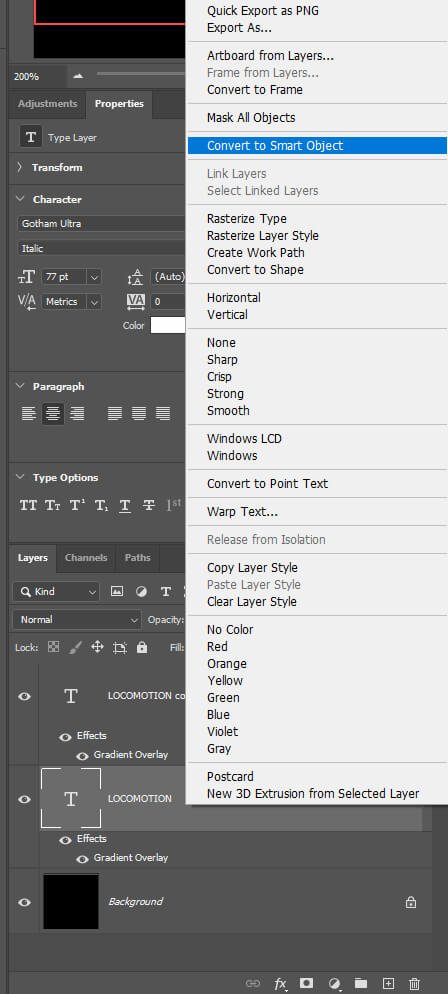
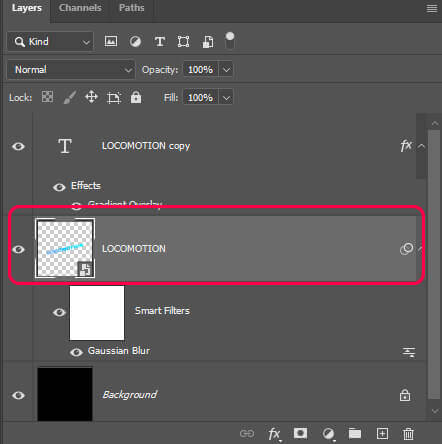
After that, select the first text layer, right-click on it and convert it to a Smart Object.
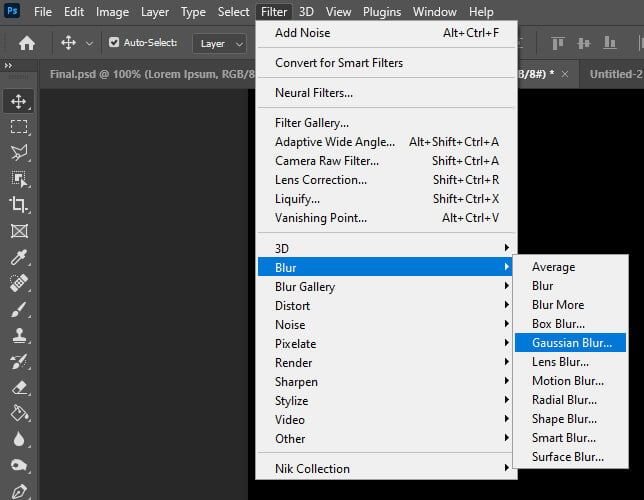
Then, select the text layer we have just converted to a Smart Object and go to Filter > Blur > Gaussian Blur.
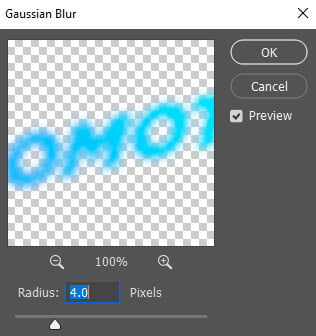
Set the blur to 4.0 pixels.
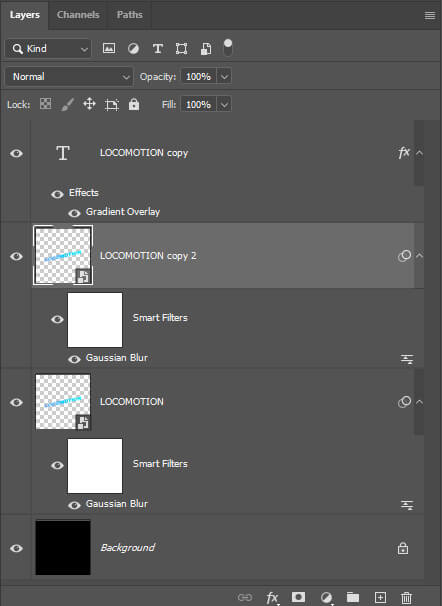
This time, let’s duplicate the Smart Object text layer (Ctrl + J).
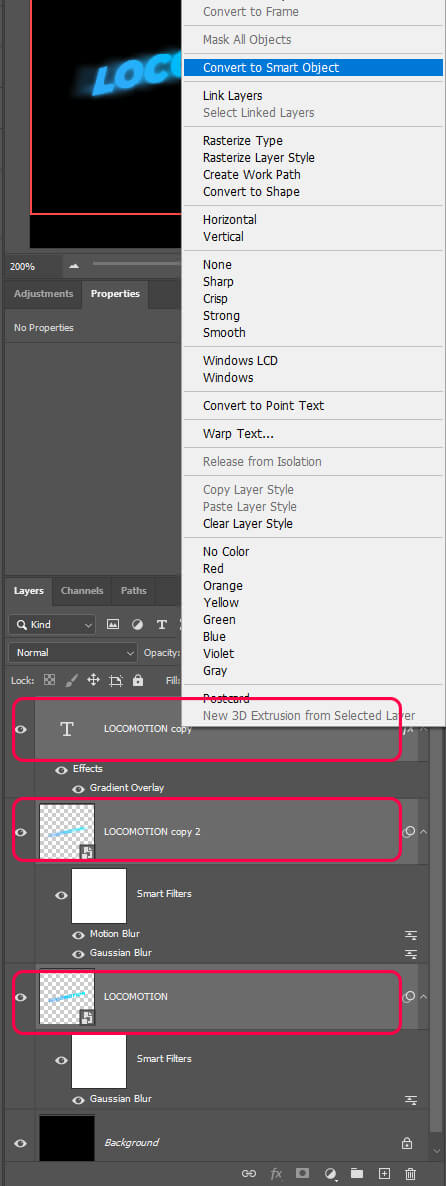
You should now have 3 text layers. (2 Smart Object and 1 Text Layer)
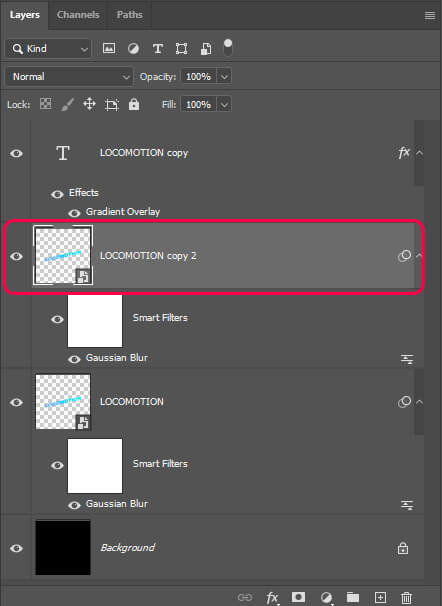
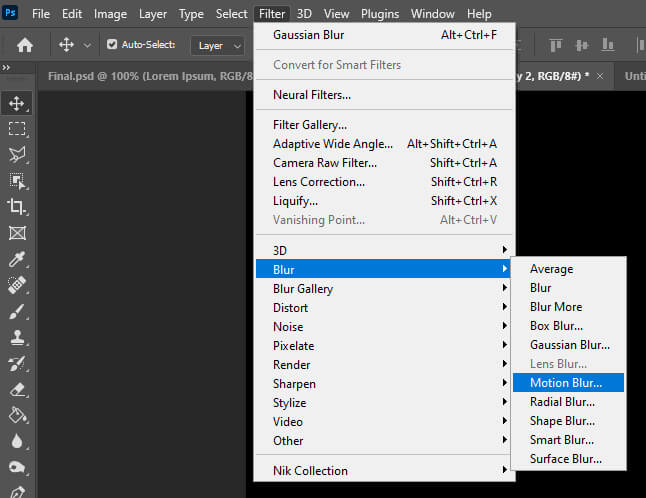
Next, select the top Smart Object text Layer and go to Filter > Motion > Blur.
Set the Motion Blur Distance to 90 pixels.

Up to this point, your text should look like this:
Step 4: Final Details
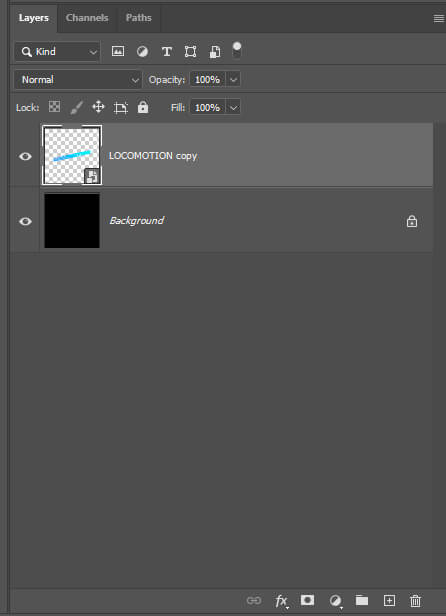
First, select all your text layers (Hold Ctrl and left-click on each of them) then, right-click and convert them to Smart Object. This will merge all the text layers together.
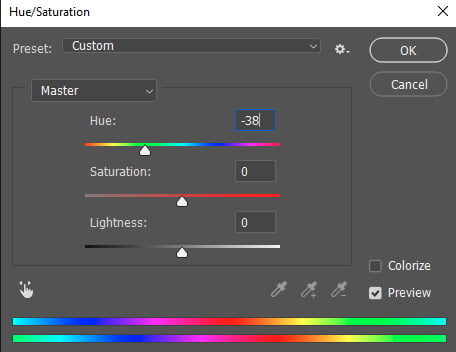
Next, let’s say you changed your mind and you want a different color for your text, simply press Ctrl + U and you’ll be able to modify the Hue and Saturation. For this example, I went for a more greenish color.
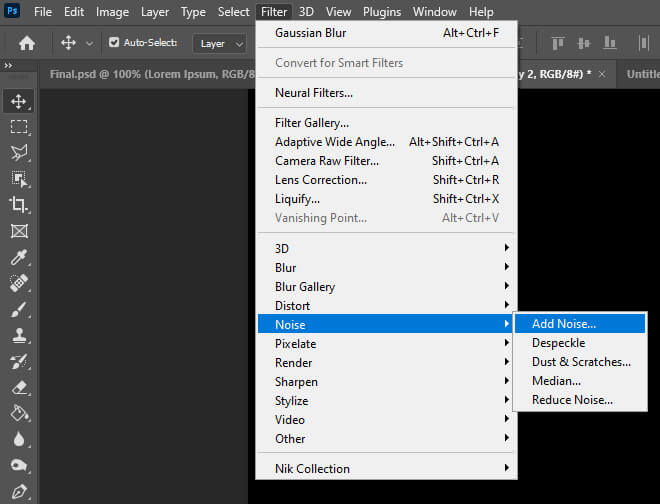
To finish our design, let’s add some Noise. Go to Filter > Add Noise.
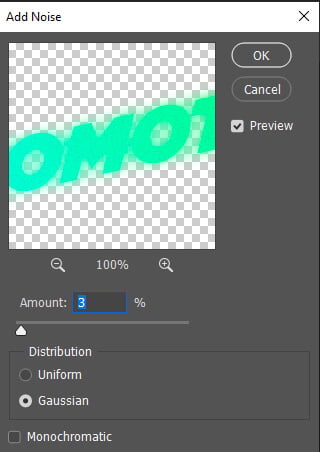
Set the noise amount to 3%.
And We Are Done!

After following this tutorial, you should be able to Create a Motion Blur Text Effect in Photoshop. I hope you found this guide useful and easy to follow. If you have any questions or suggestions please let me know in the comments down below and I’ll get back to you as soon as possible.