Today, I’m going to demonstrate how to apply a design to a textured background, such as wood.
This is ideal for making rustic wooden signs or any other appearance in which your artwork seems to have been painted on a surface and weathered over time.
To begin, we’ll need an image of the textured surface to which we’d like to apply our artwork.
Click here to download the wooden texture.
I’ll also be using two different fonts that you can download here as well as the Fleur de Lys.
In this tutorial, I’ll be using Photoshop 2022 but any version will work.
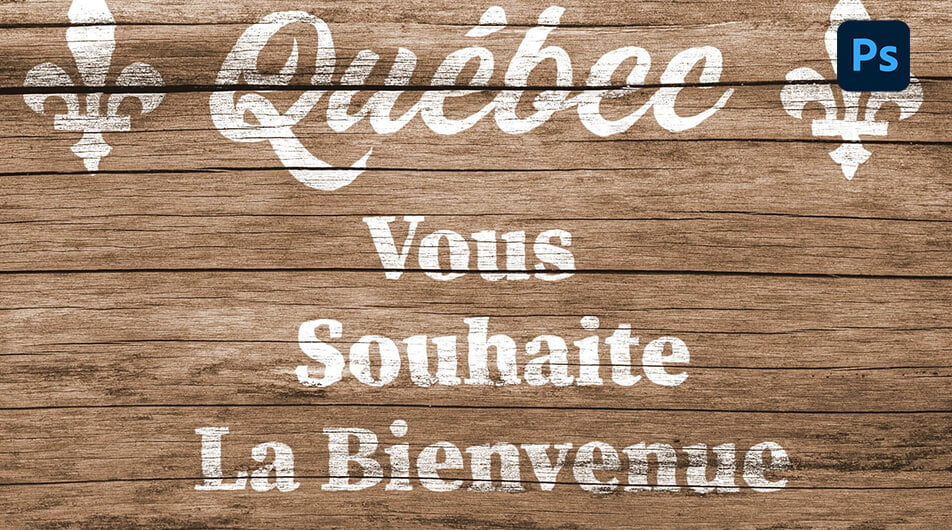
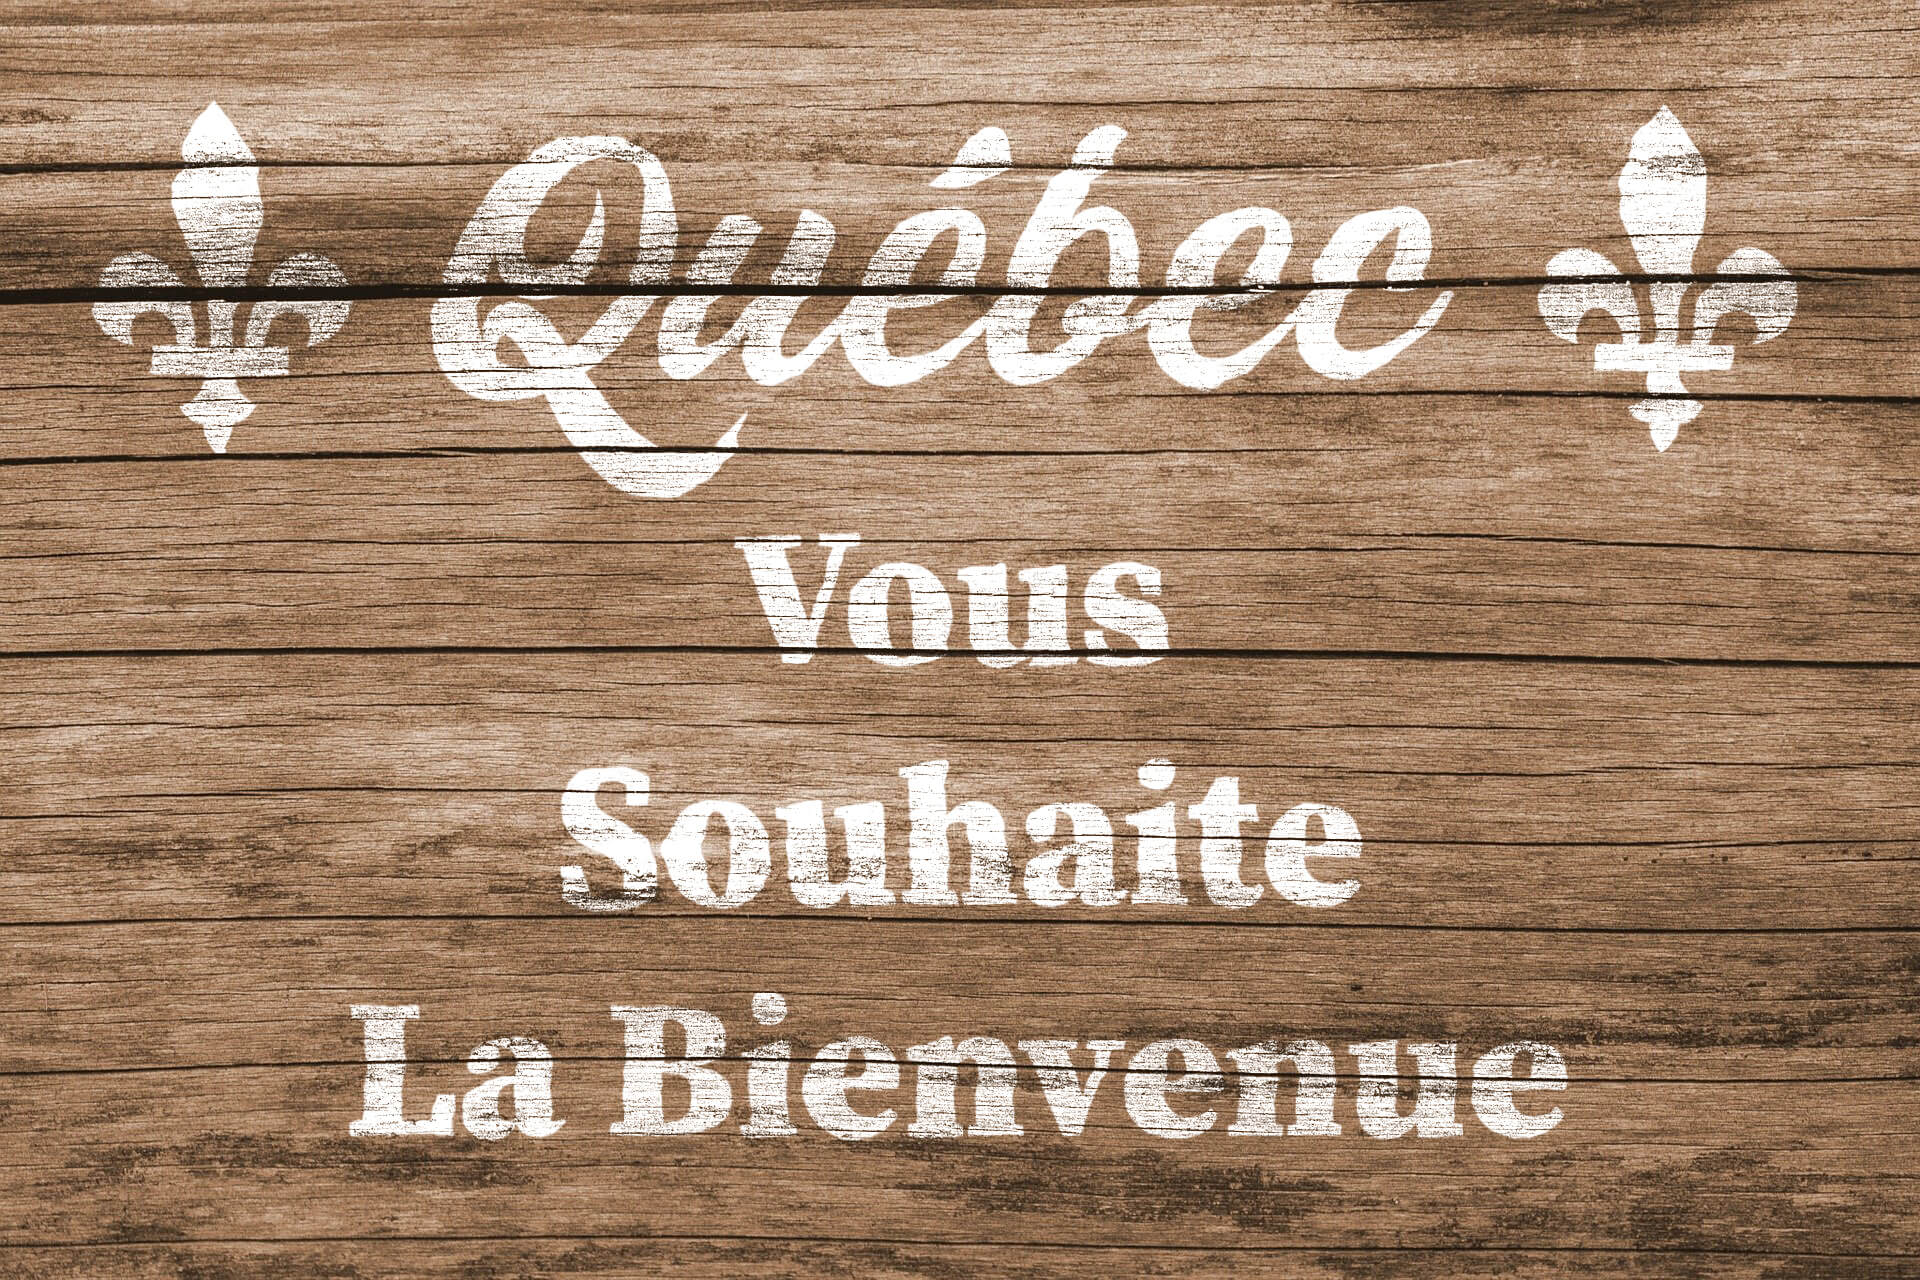
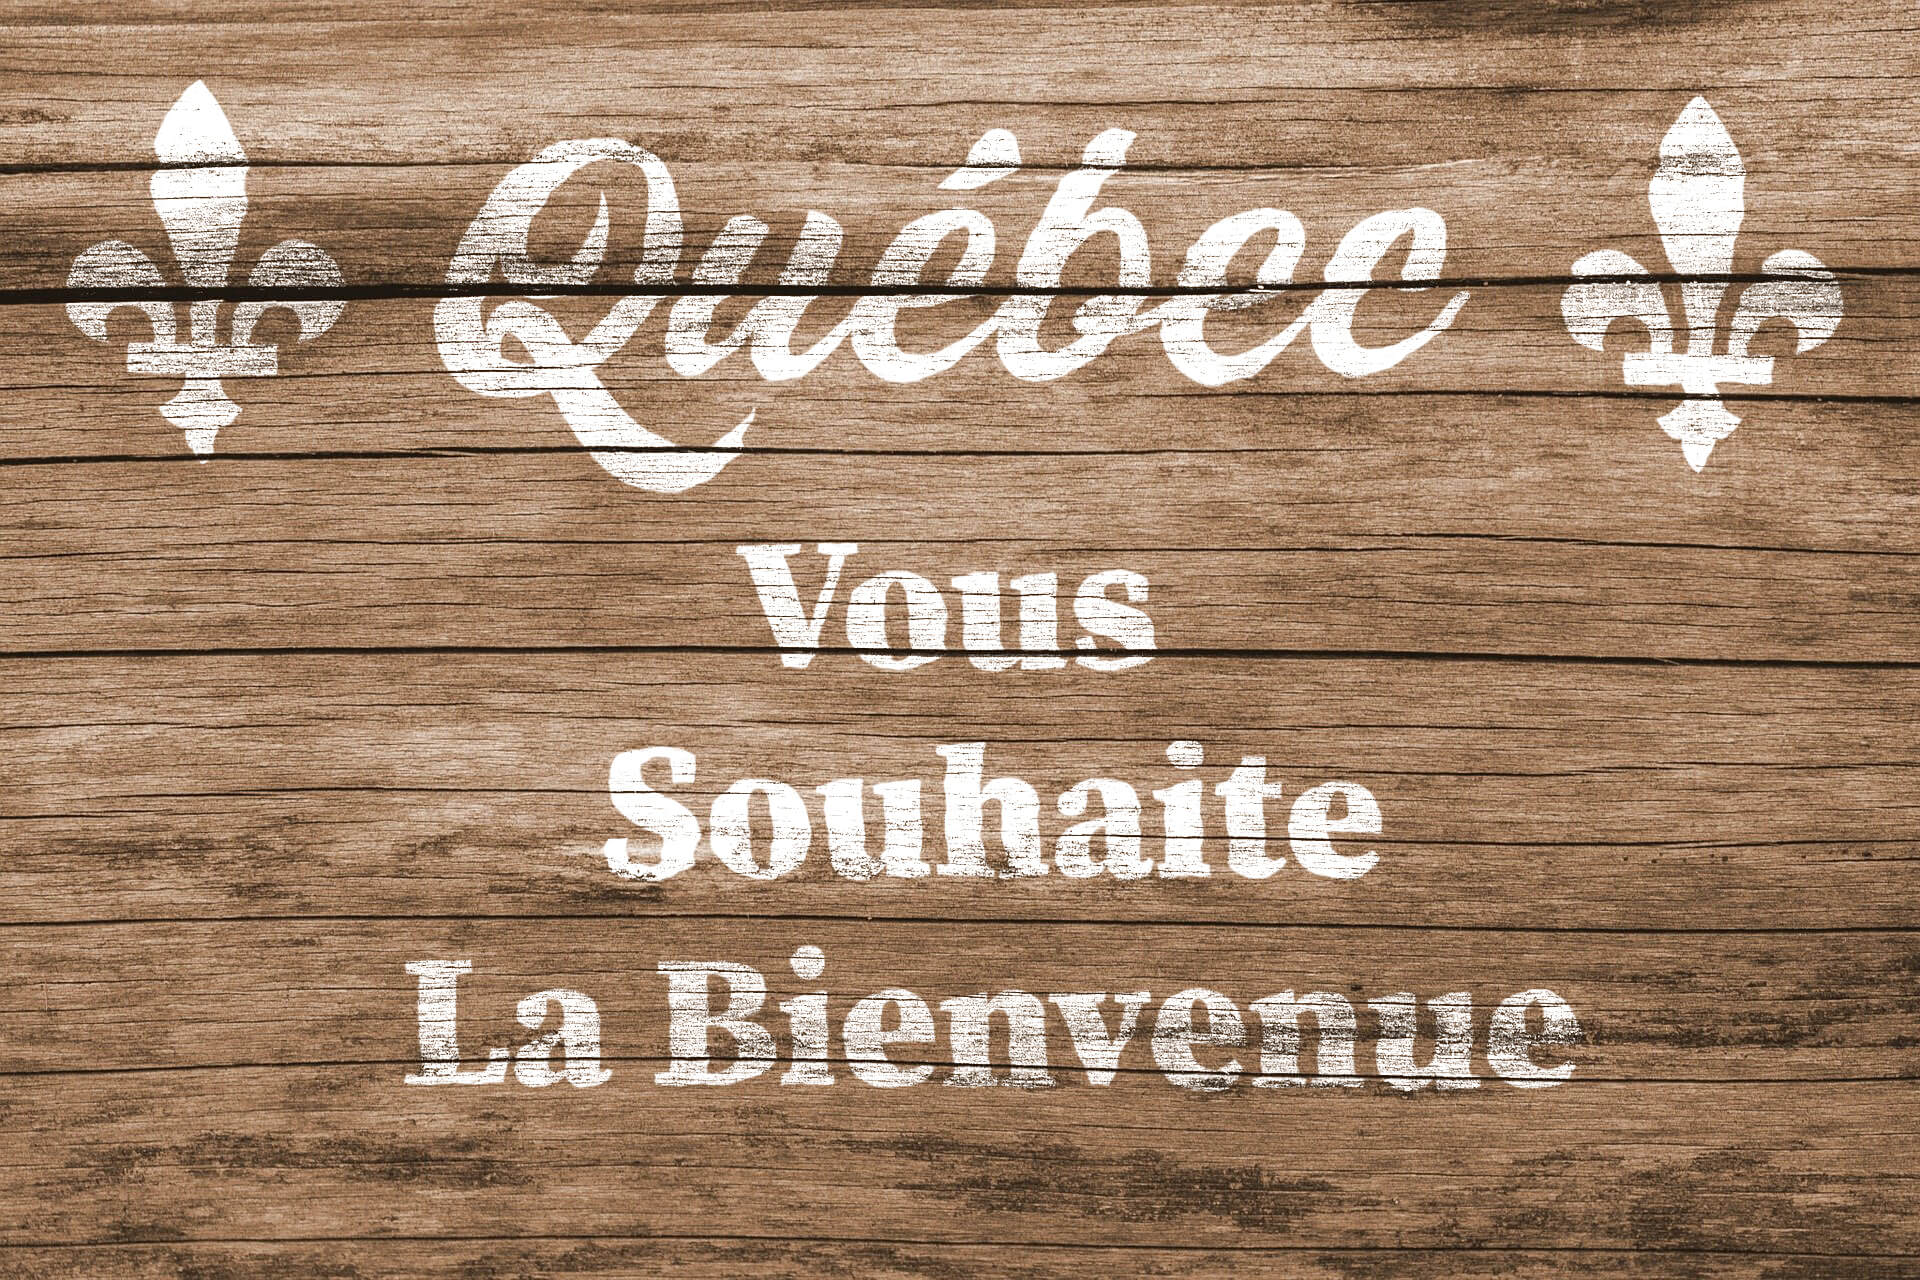
I’ll quickly take you through the process of creating this Québec sign design.
This is what the final result will look like.
How to Create a Realistic Rustic Wooden Sign
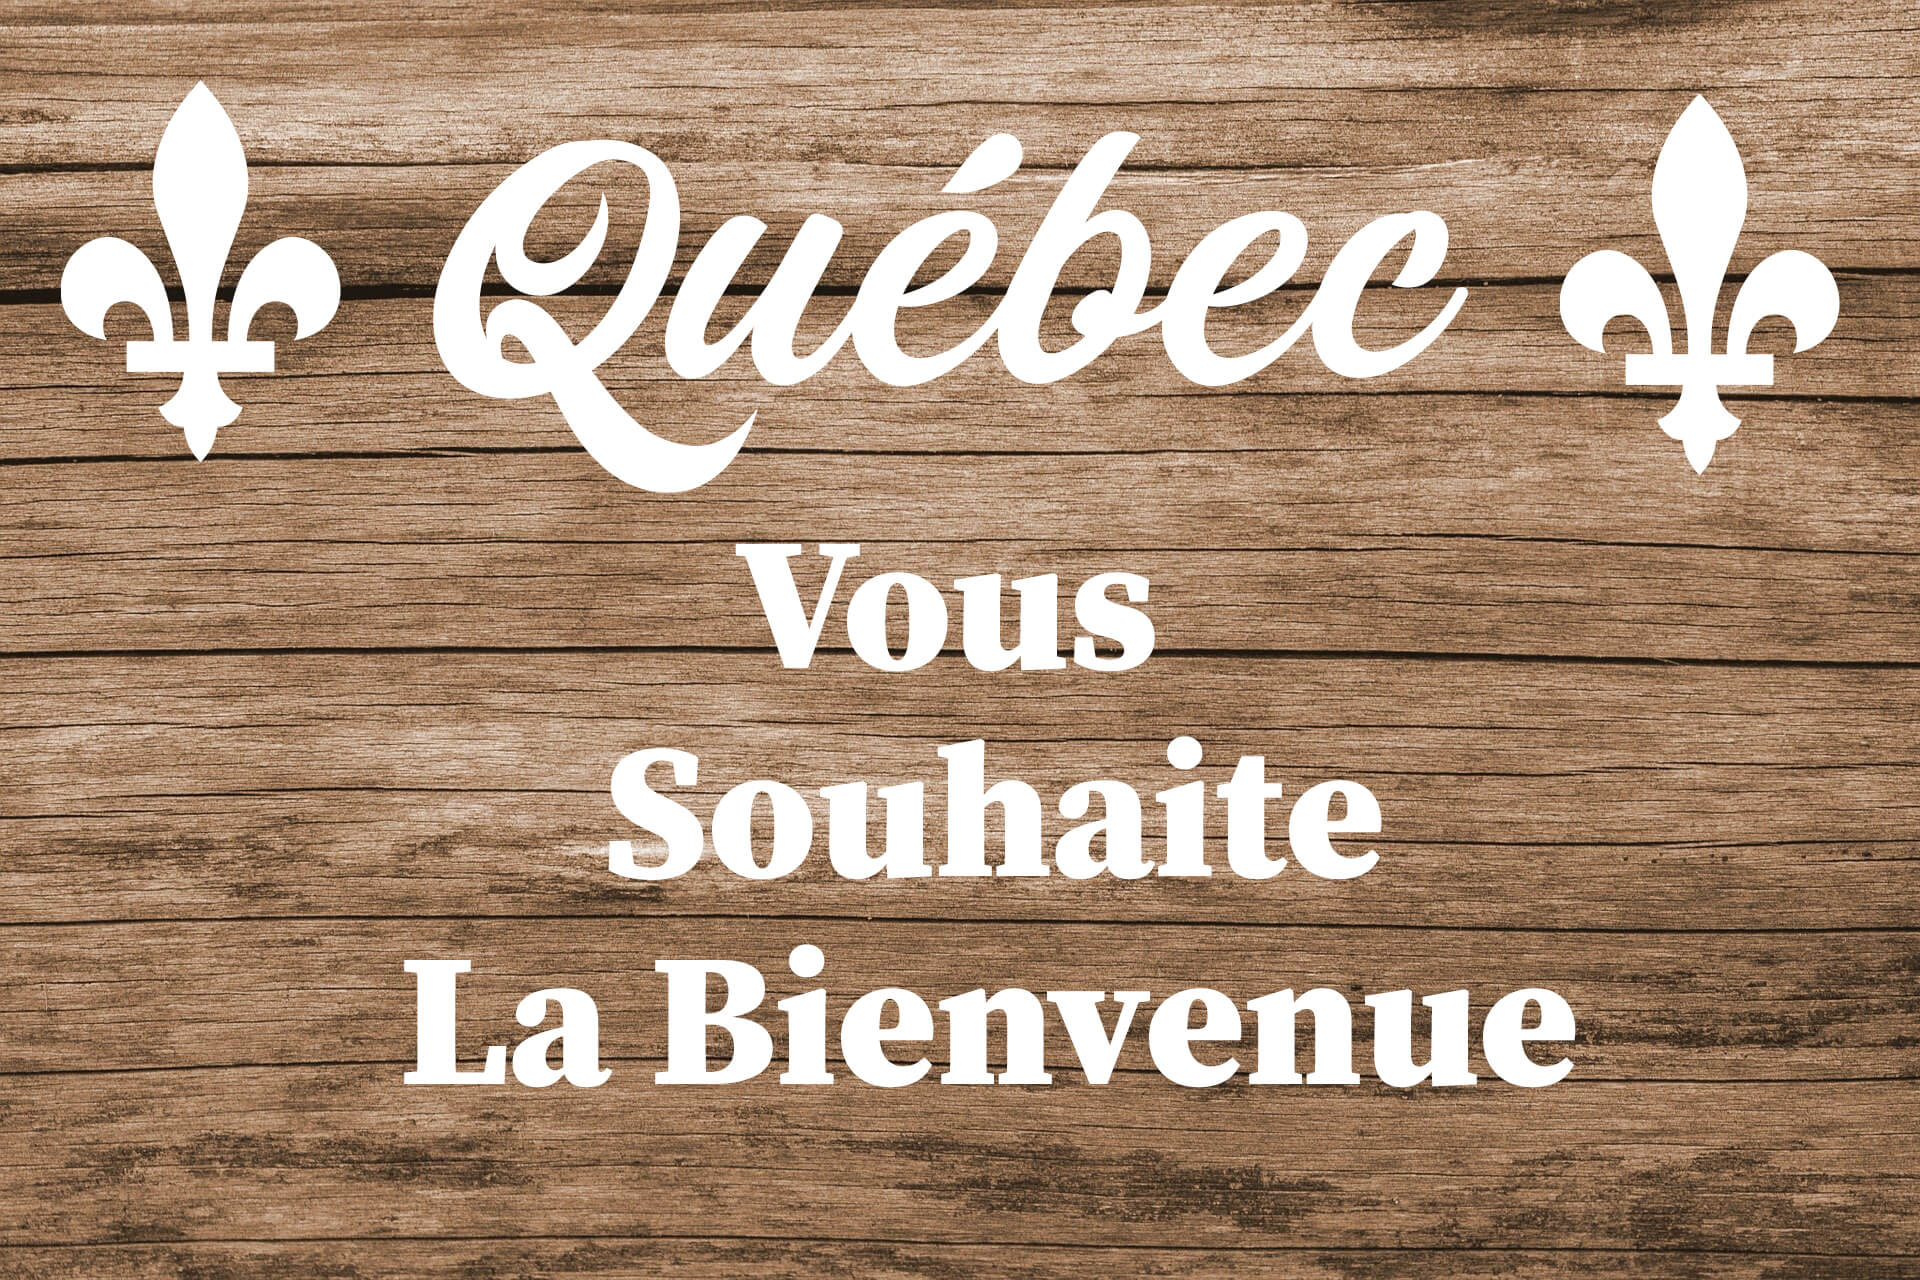
Step 1: Add Your Text and Design
To start with, open up your wooden texture in Photoshop.
We’ll need some artwork to go over the texture. You might use your logo, font design, or other imagery.
Select the Type Tool by pressing T to write your text.
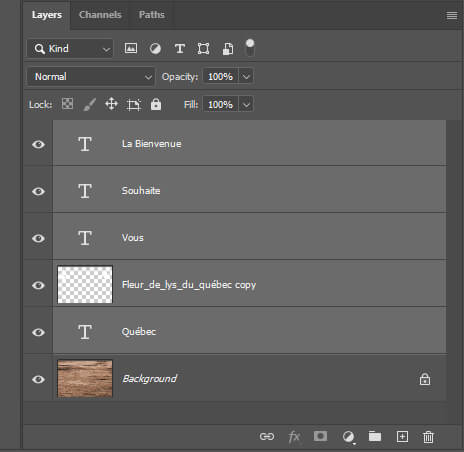
I used the typeface Painter for the world Québec and Source Serif Black Font for the text below. I also added two fleur de lys on each side of the word Québec.
Once you are done with your artwork, Hold Shift and select all the layers that make up the design, then hit Ctrl/Cmd + G to create a group.

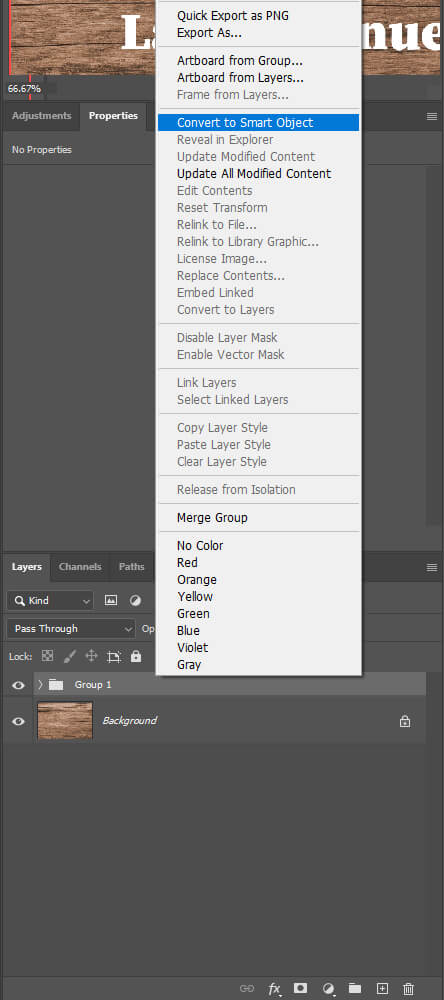
Step 2: Add Texturing to the Artwork
Let’s start by removing the clean digital aspect to give it a more hand-made appearance.
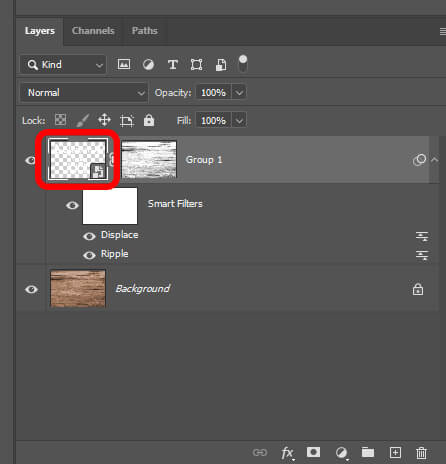
Right-click on the group and convert to Smart Object.
Next, Go to Filter > Distort > Ripple.
Change the Size to Large, then add a small amount of distortion between 10-20%.

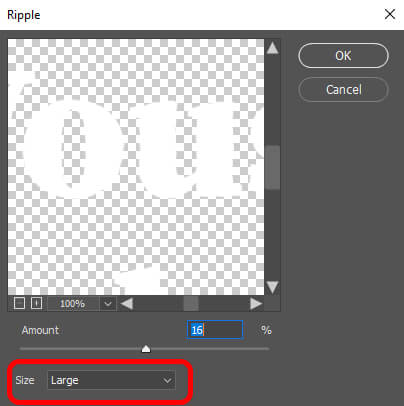
You can now notice that the digital appearance is less crisp.

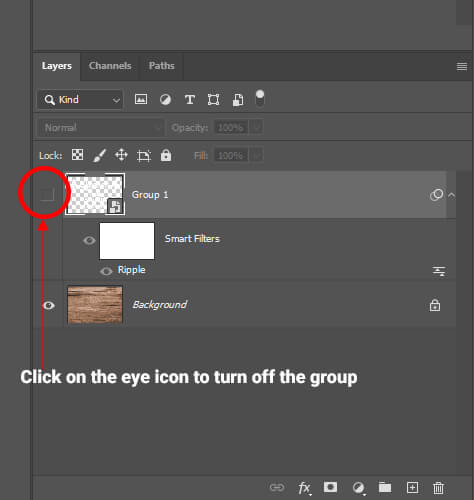
After that, turn off the visibility of the artwork group, leaving just the original texture.
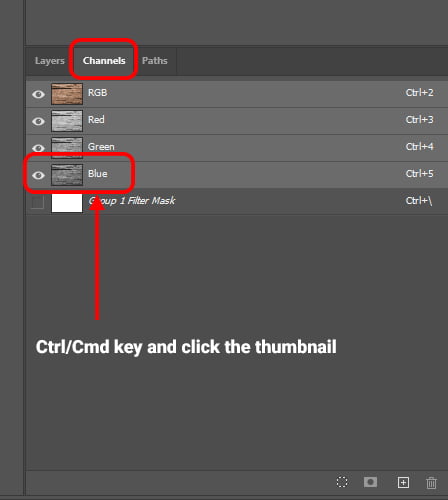
Then, navigate to the Channels panel, then hold down the CTRL/CMD key and click one of the channel thumbnails.
Usually Blue is the best option as it has the most contrast.
Return to the Layers panel and bring back the artwork.
While the selection is active, add a Layer mask to this group to automatically fill it with the texture.
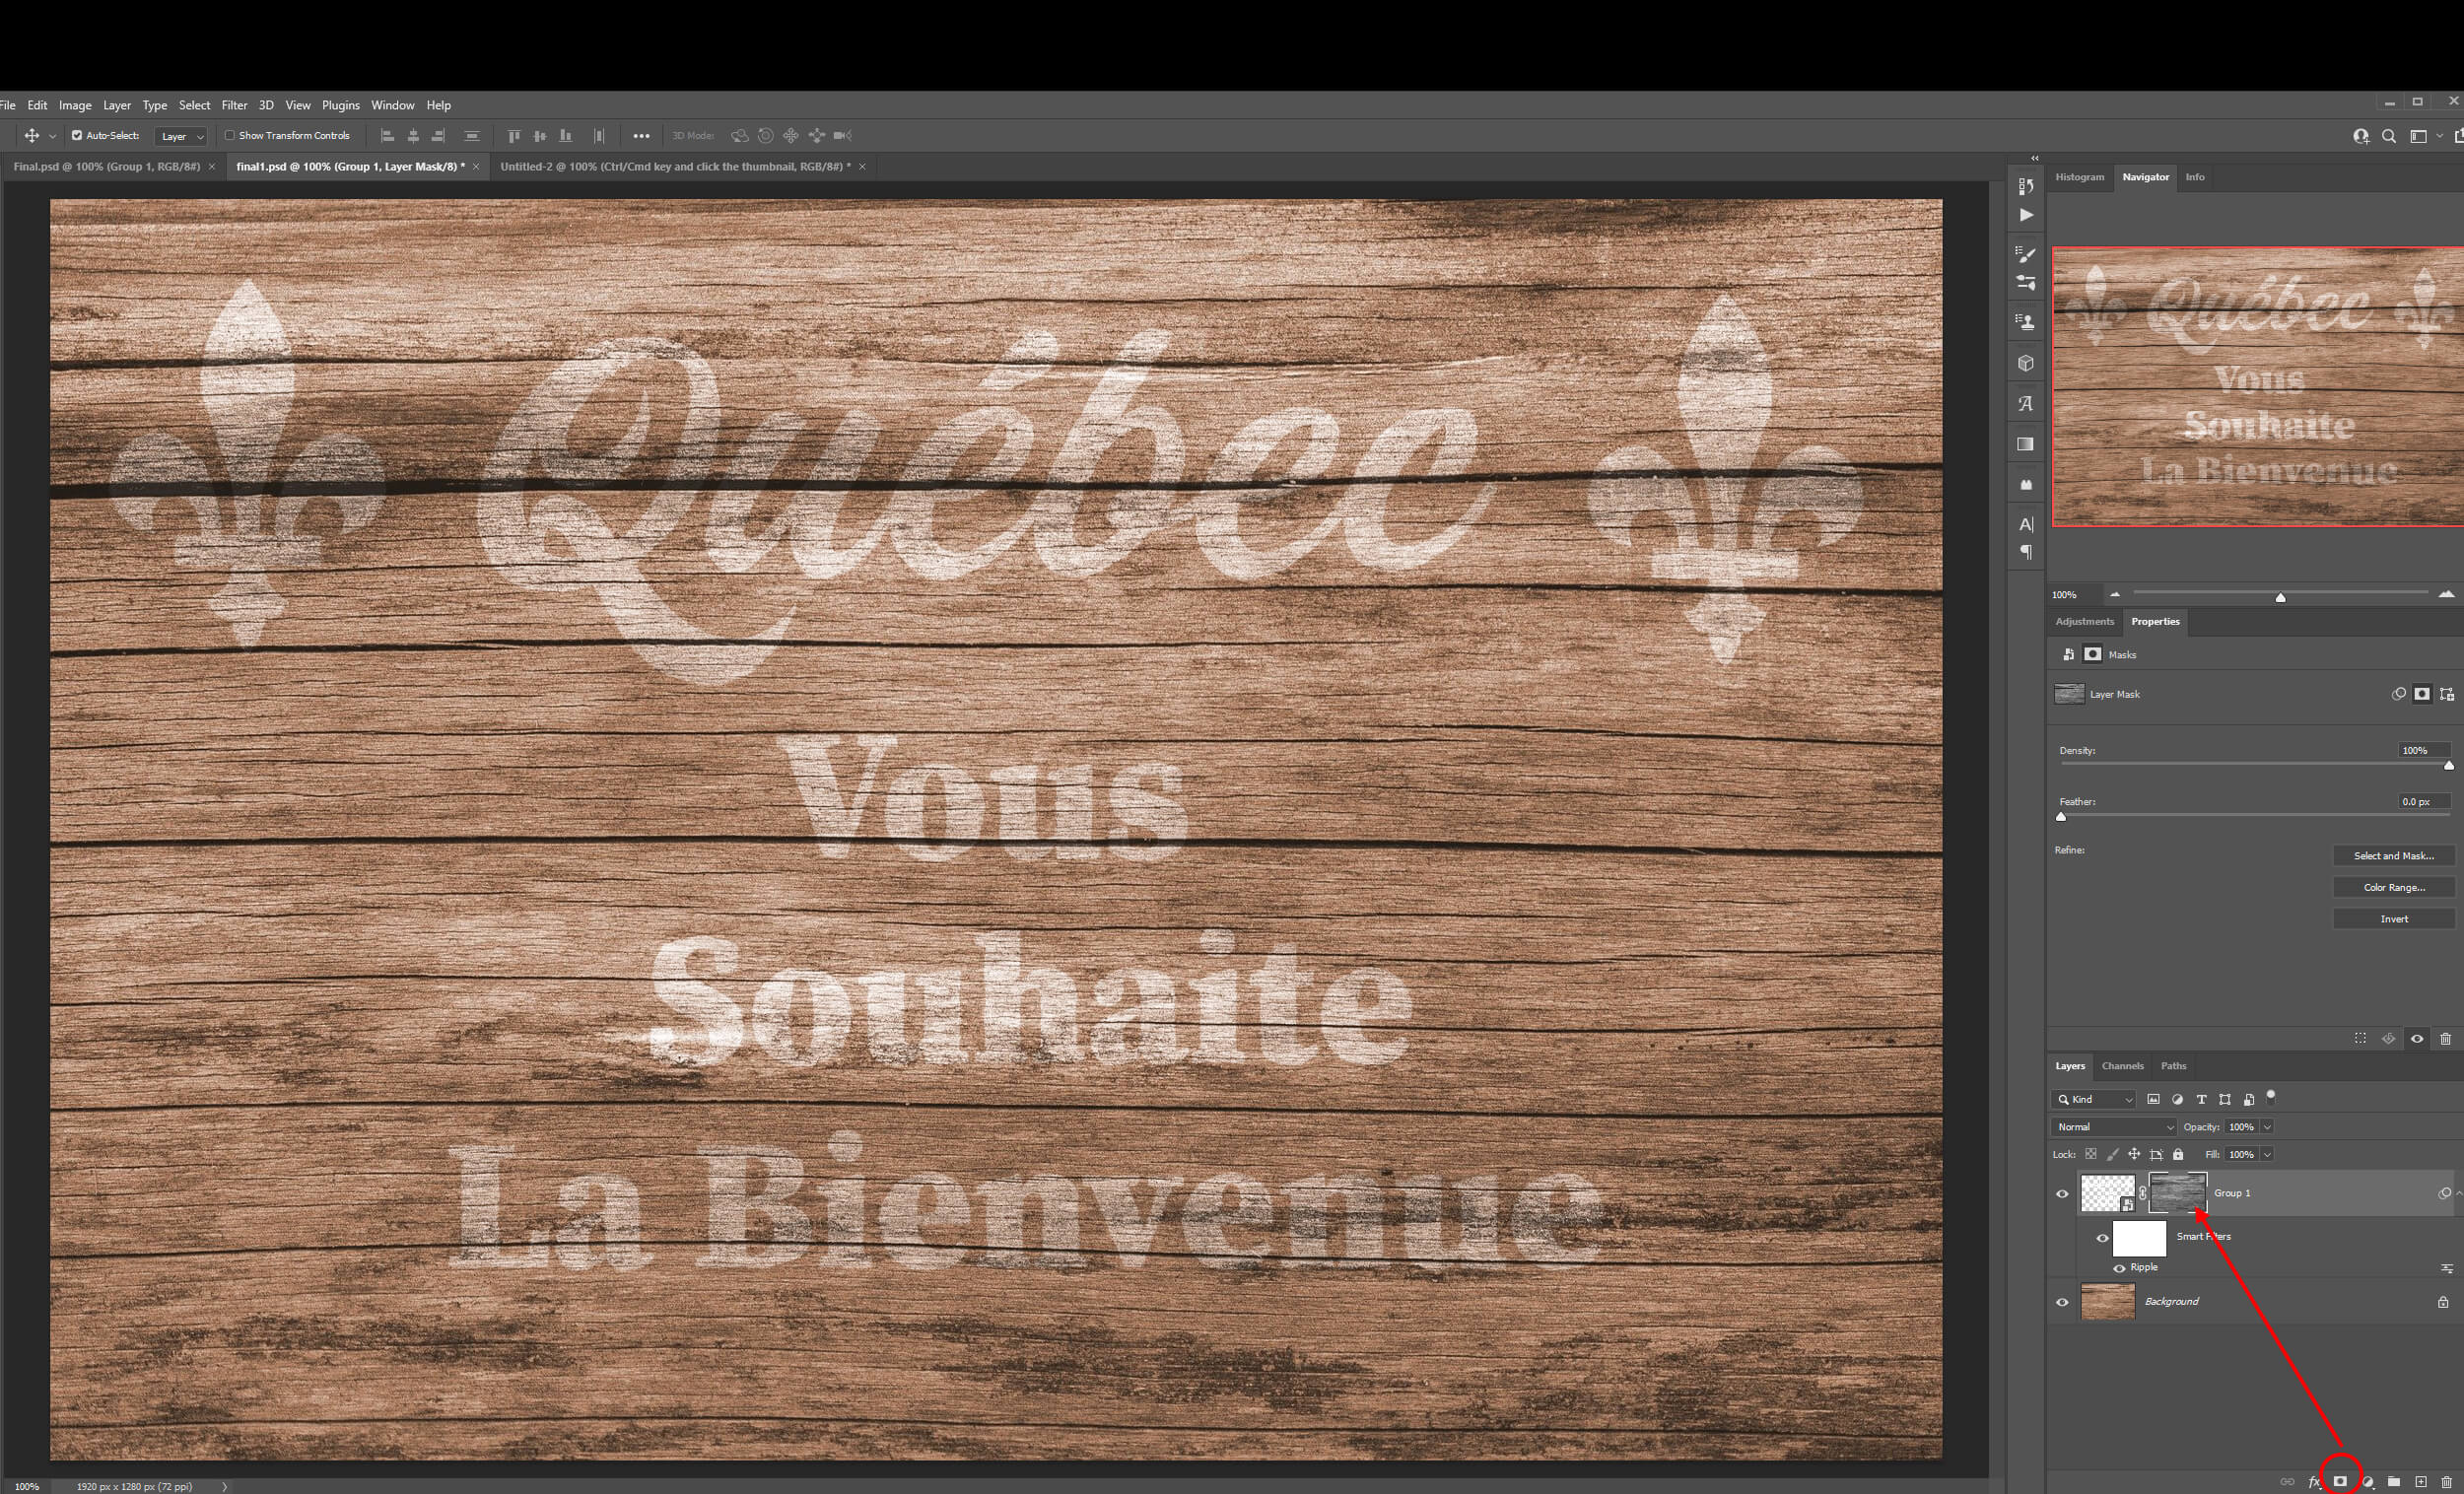
Depending on the brightness of the texture image, you may need to use CTRL/CMD+I to invert the mask.
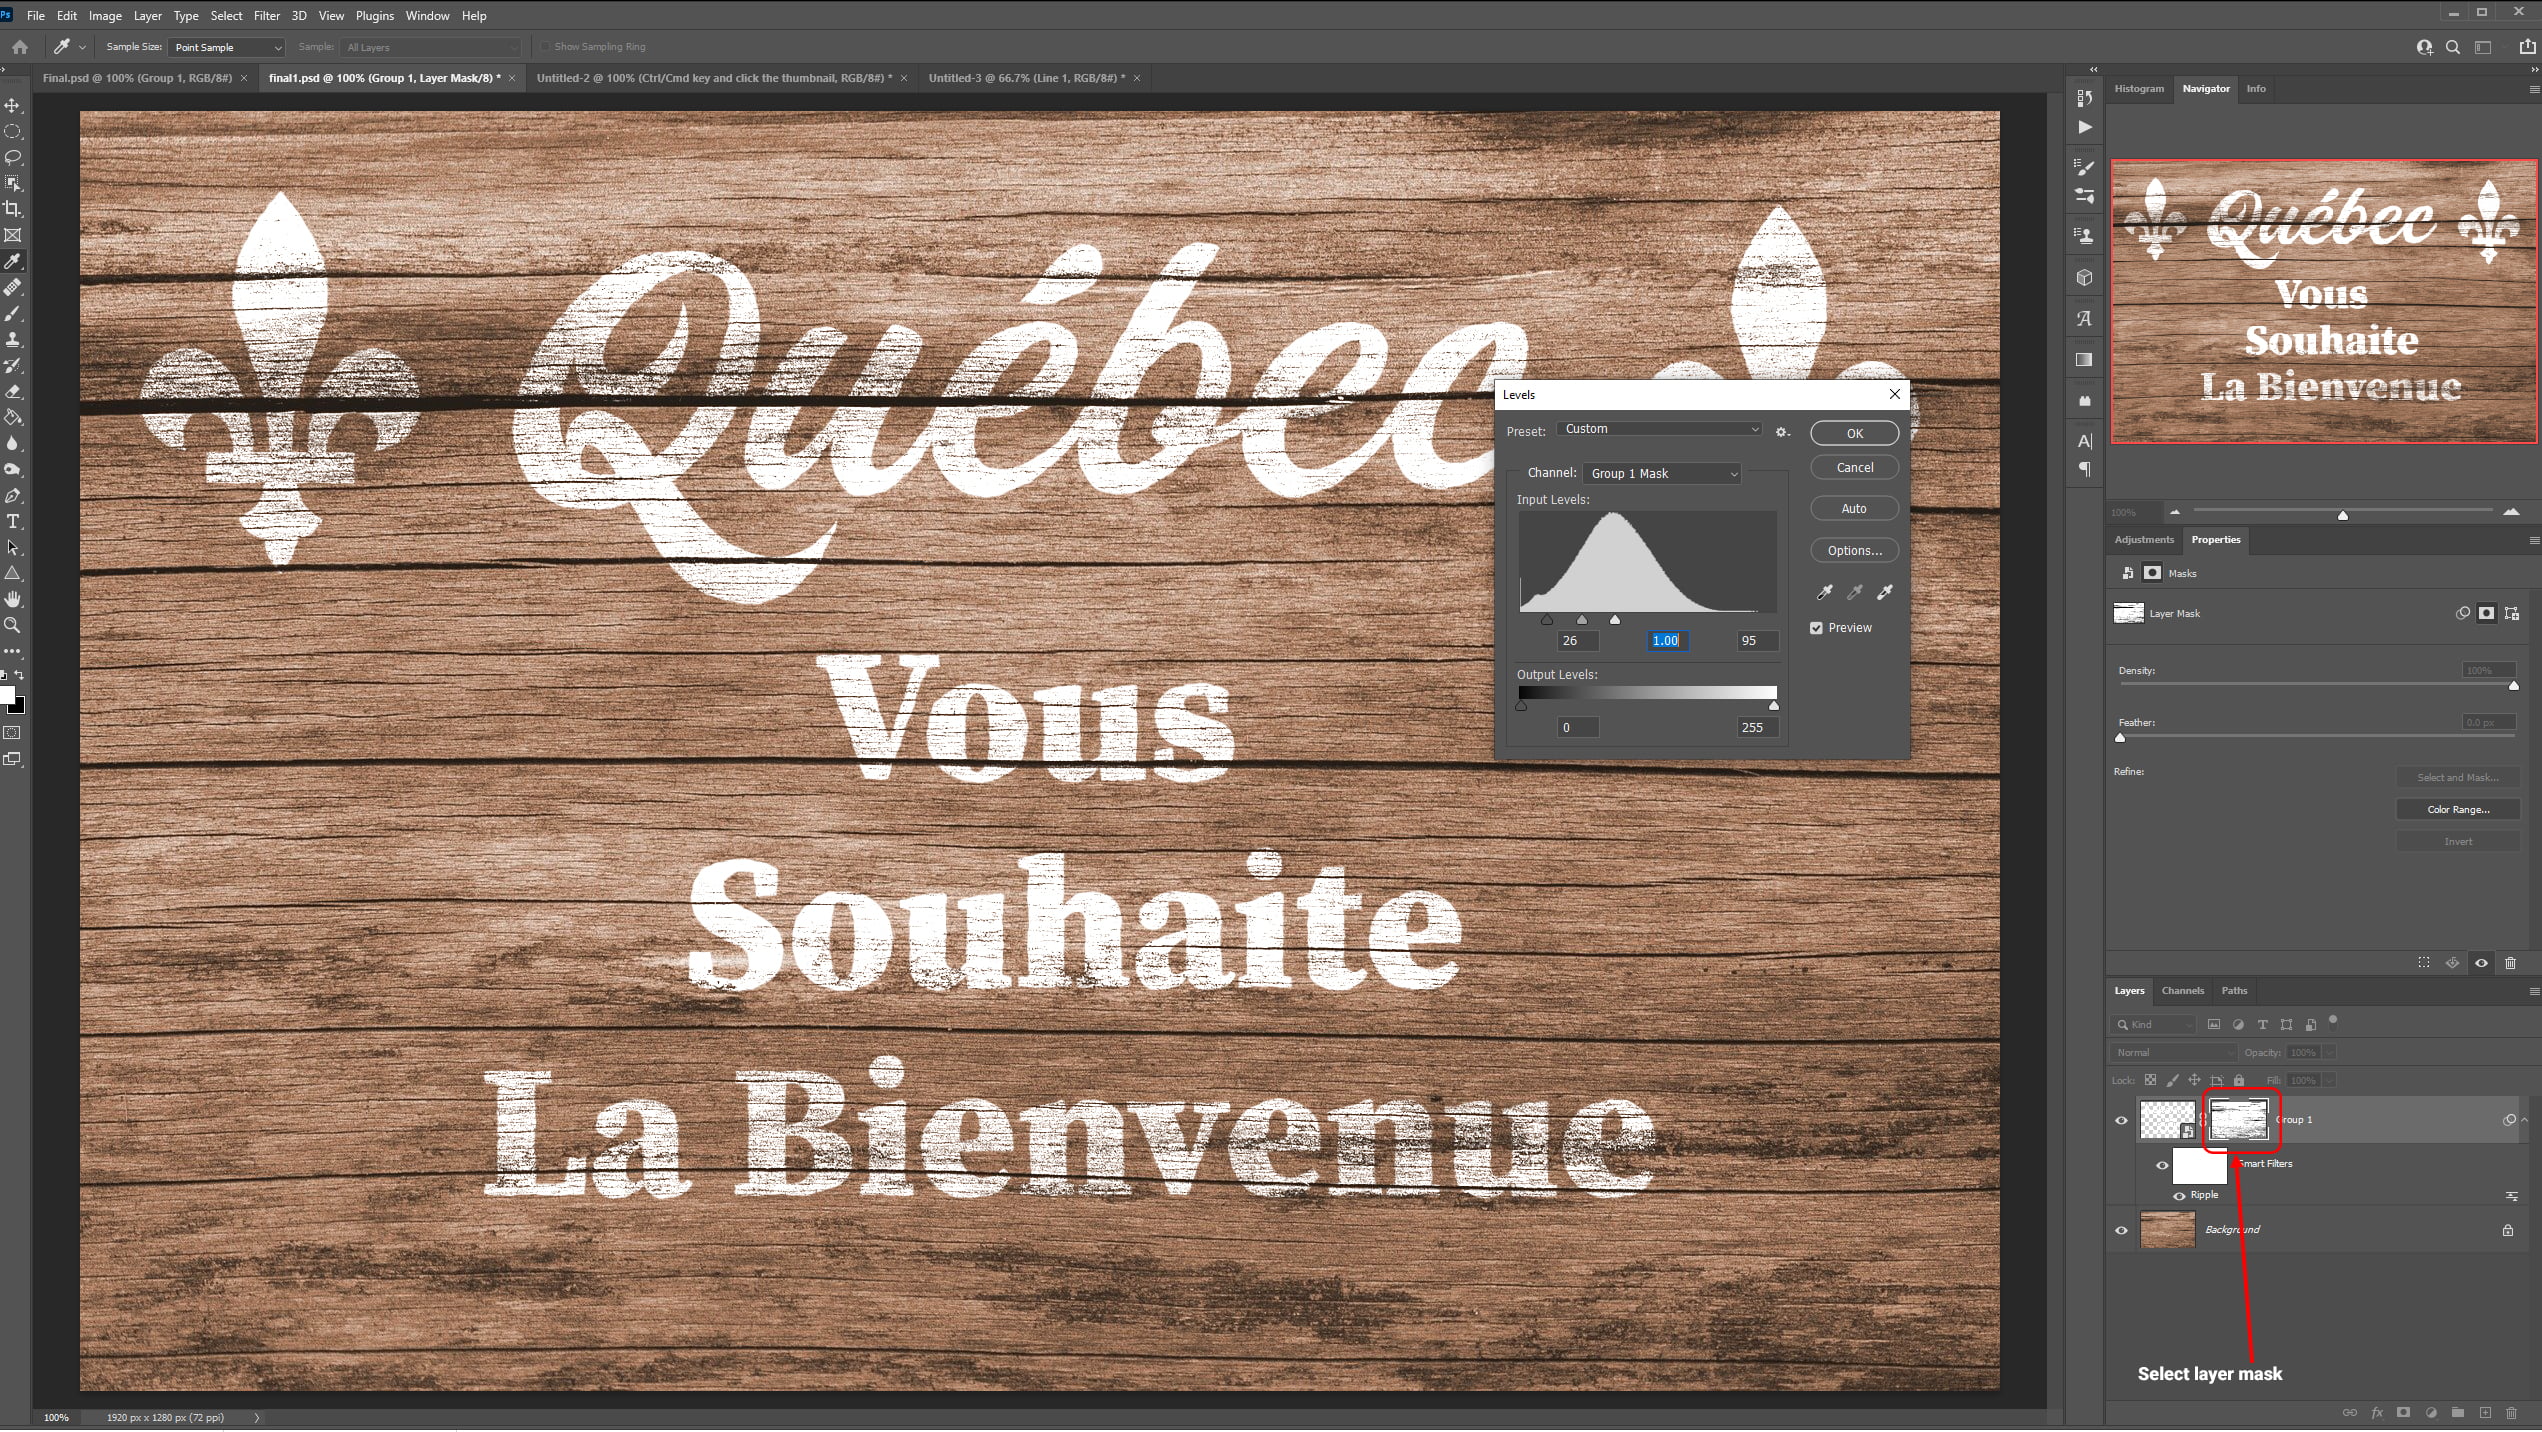
Because the present mask is fading the artwork too much, press CTRL/CMD+L while the mask thumbnail is selected to bring up the Levels.
To alter the look of the mask, move the sliders back and forth.
The darker the shadows, the more the artwork is erased; the lighter the highlights, the more the artwork is kept.
Step 3: Add a Displacement Map to Our Rustic Wooden Sign
The Displacement Map will help to boost the realism to make it seems like the artwork is really painted onto the texture.
First, turn off the visibility of the artwork again by clicking on the eye icon.
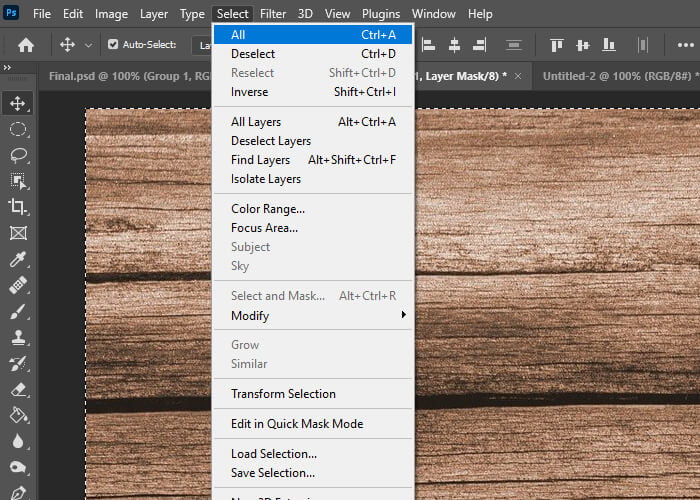
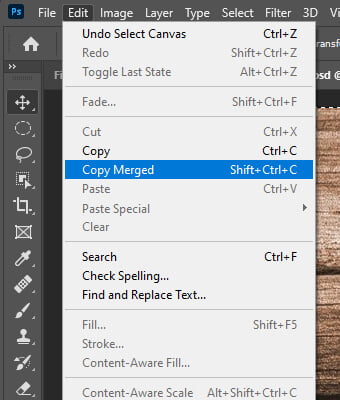
Then, go to Select > All or press Ctrl + A, followed by Edit > Copy Merged.
You’ll then create a new document and paste the texture.
Next, go to Image > Adjustments > Desaturate, then go to Filter > Blur > Gaussian Blur.
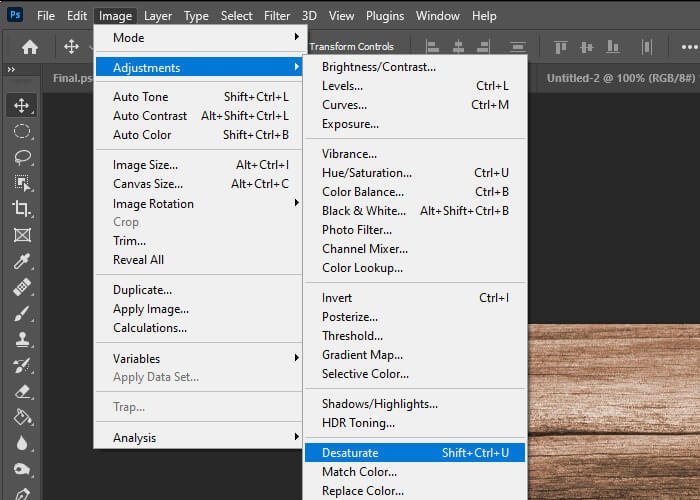

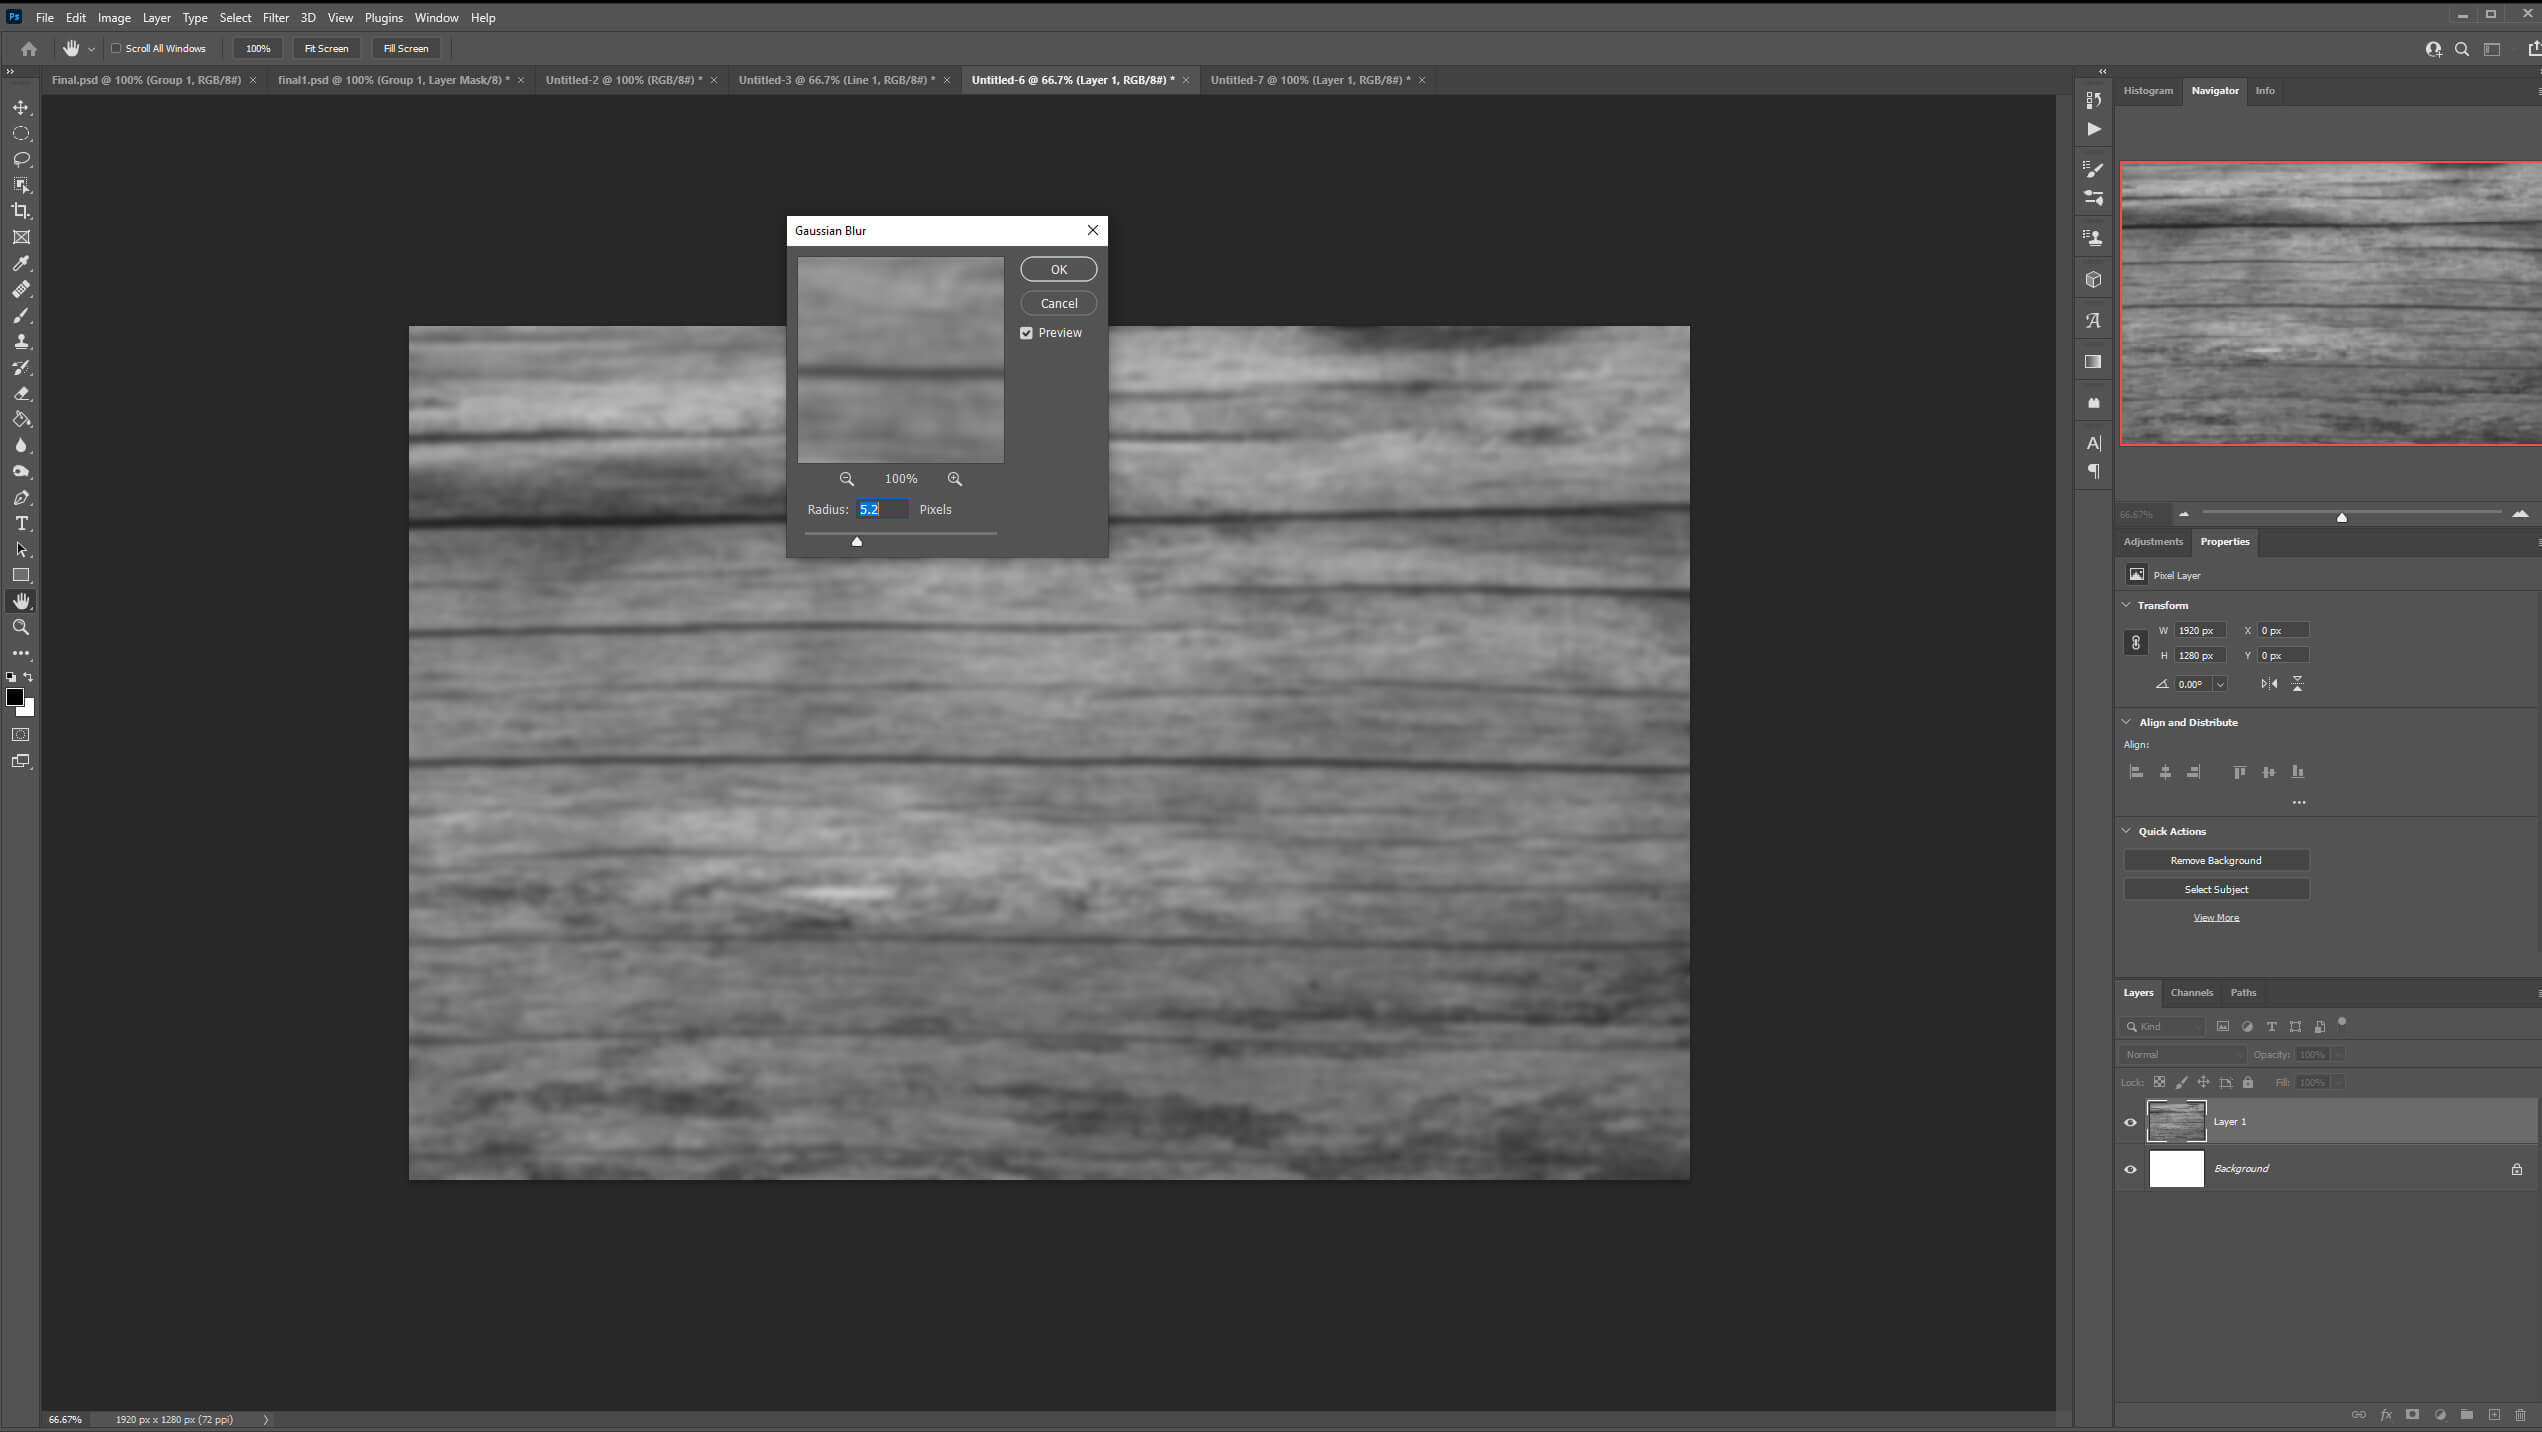
Because this image will be used as a displacement map, a small bit of blur will help to deform the artwork smoothly and without sharp edges.
Save this file as a PSD with a recognizable name by going to File > Save As.
Close the image to return back to the main document.
Restore the artwork’s visibility, then pick the group rather than the group’s mask; otherwise, the effect will be applied to the Layer Mask.
Next, go to Filter > Distort > Displace.
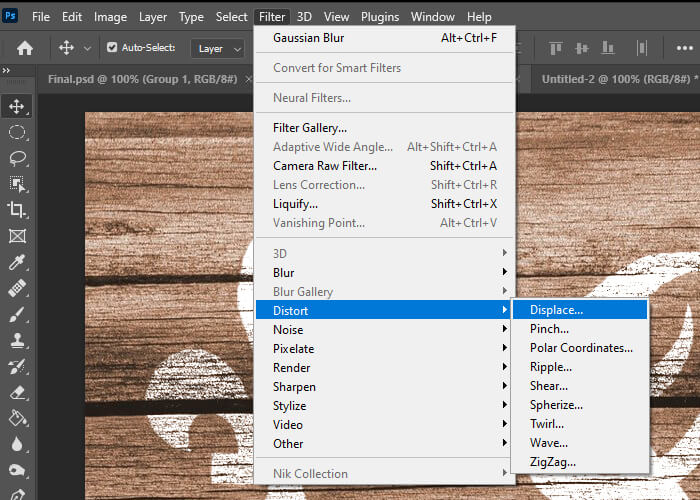
Keep the default values, then navigate to the displacement map file we just made.
This Displacement filter distorts the artwork gradually around the texture’s bumps and shapes.
The end result is a Rustic Wooden Sign look in which the artwork has been worn away where there are cracks or dirt inside the texture.
This article focused on utilizing a wooden texture, but the same process can be used to apply your artwork to rusty metal, brick walls, concrete, or any other dirty material.
And We Are Done!
After following this tutorial, you should be able to Create a Realistic Rustic Wooden Sign in Photoshop. I hope you found this guide useful and easy to follow. If you have any questions or suggestions please let me know in the comments down below and I’ll get back to you as soon as possible.