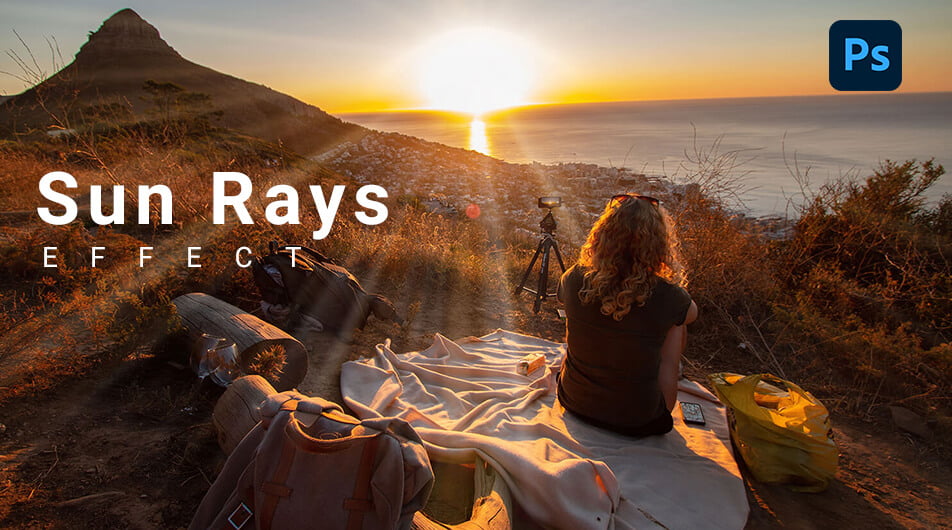
Even if the sky is gloomy or the sun has already set, you can add a touch of that magical shine to your image in post-production. Just follow this easy tutorial where I’ll teach you in a few simple steps how to apply a realistic sun rays effect in Photoshop.
Sun rays may add a layer of intrigue and depth to a photograph and make it more interesting to look at.
In this tutorial, I’ll show you how to add sun rays using Gradient Adjustment Layer in Photoshop.
For this lesson, I’ll use Photoshop 2022.
Click here to download the image and follow along.
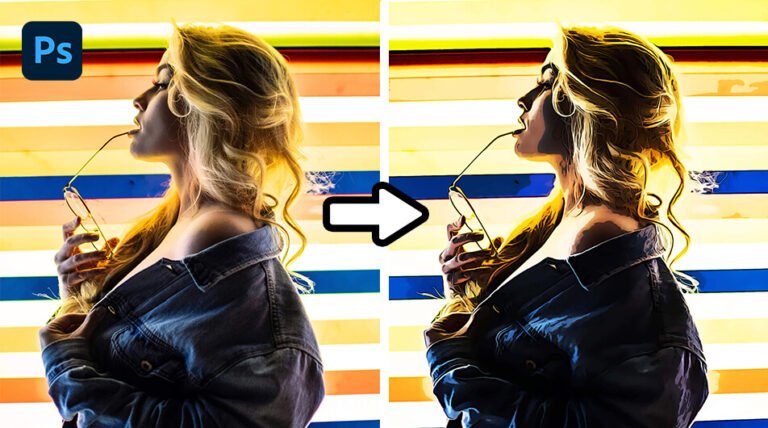
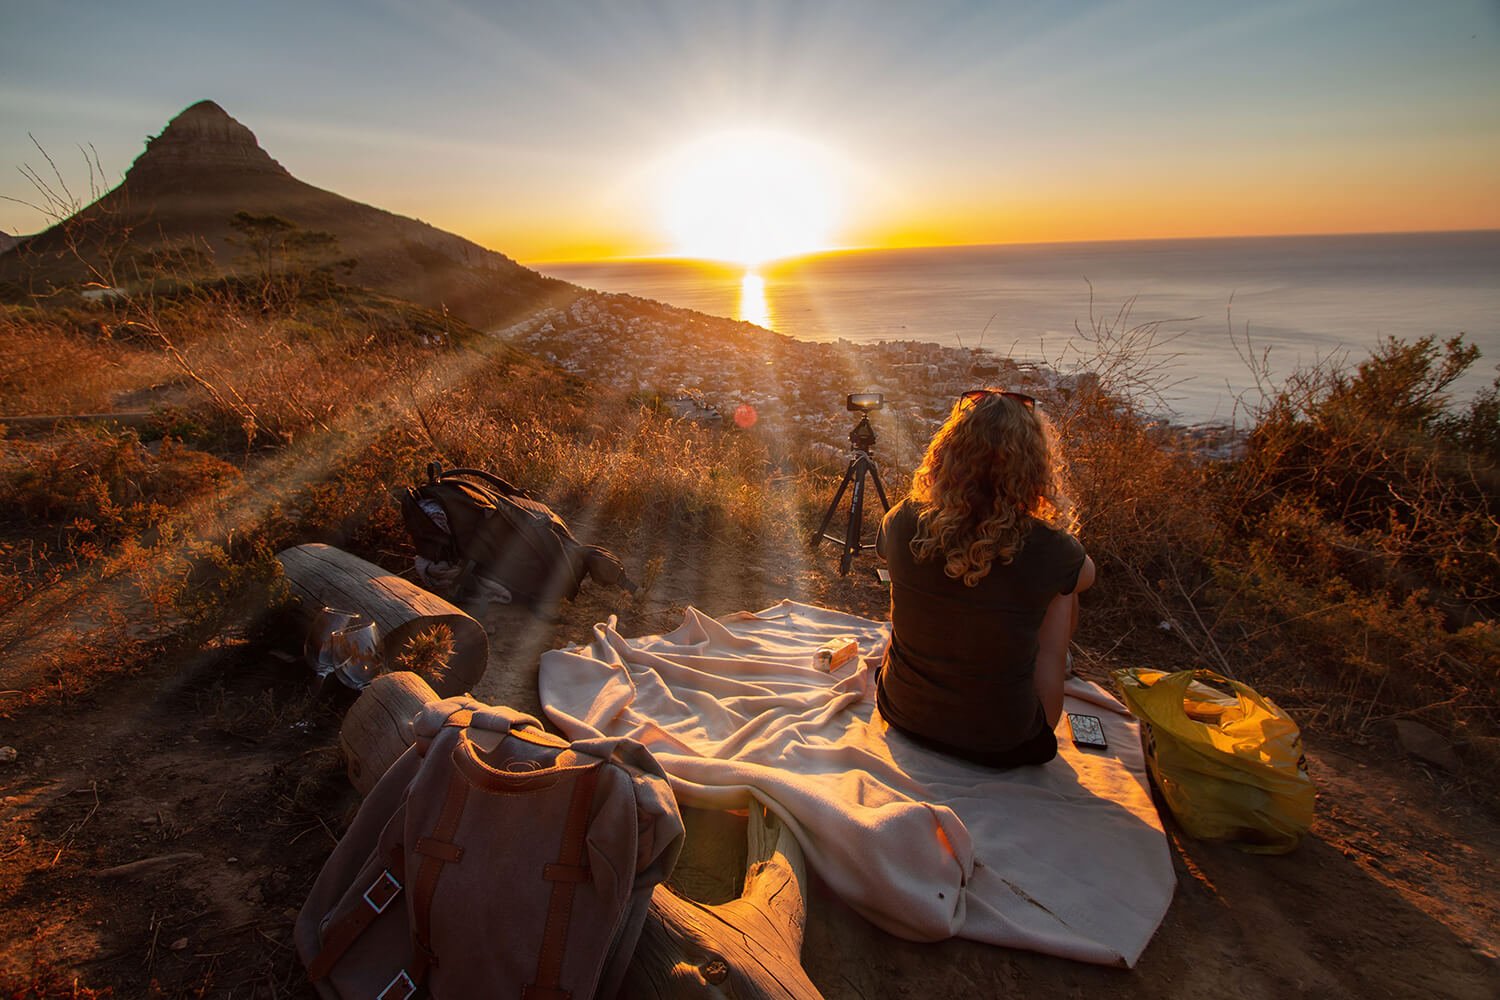
Final Image
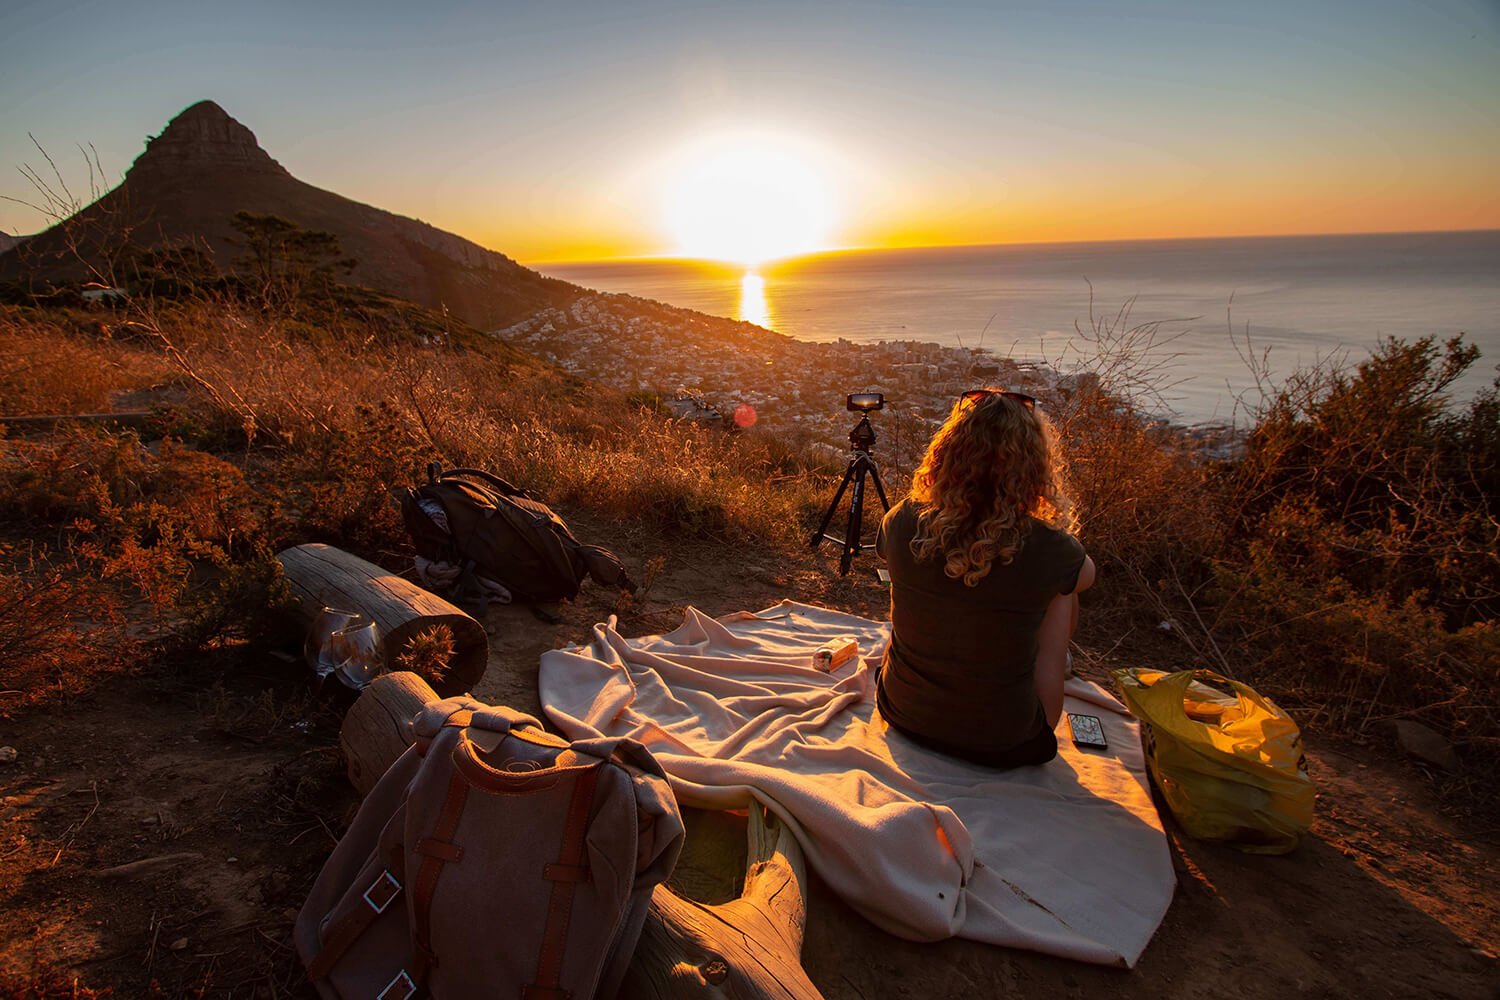
Drag The Slider To See Before & After
Create a Realistic Sun Rays Effect
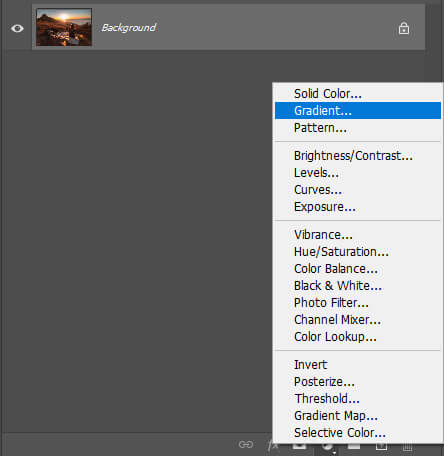
Step 1: Setting up Our Sun Rays
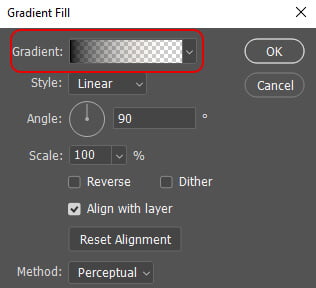
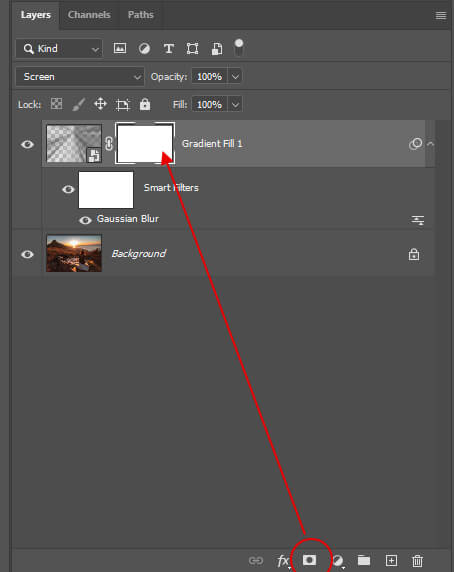
Open up the image in Photoshop and head over to your Layer Panel. From the drop-down menu choose Gradient Adjustment Layer.
Next, double-click on the Gradient Section to open up the Gradient Editor.
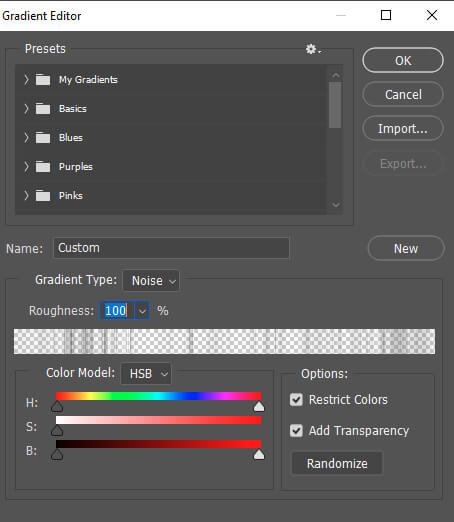
Then, set the Gradient Type to Noise to create an interesting pattern that resembles sun rays.
Set the Roughness to 100%.
Change the Color Model to HSB and use the H, S, and B sliders to control the color of the noise.
Reduce the Saturation slider to its minimum value.
In the Options Section, check Restrict Colors, and Add Transparency.
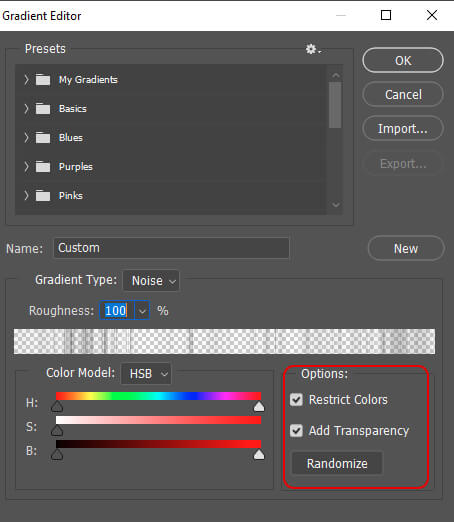
If you don’t like the current noise pattern, click the Randomize button to cycle through alternative patterns and then press OK to close the window.
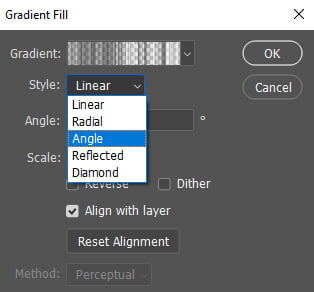
Next, set the Gradient Style to Angle and place the Sun Rays on the sun. Press ok to exit the window.
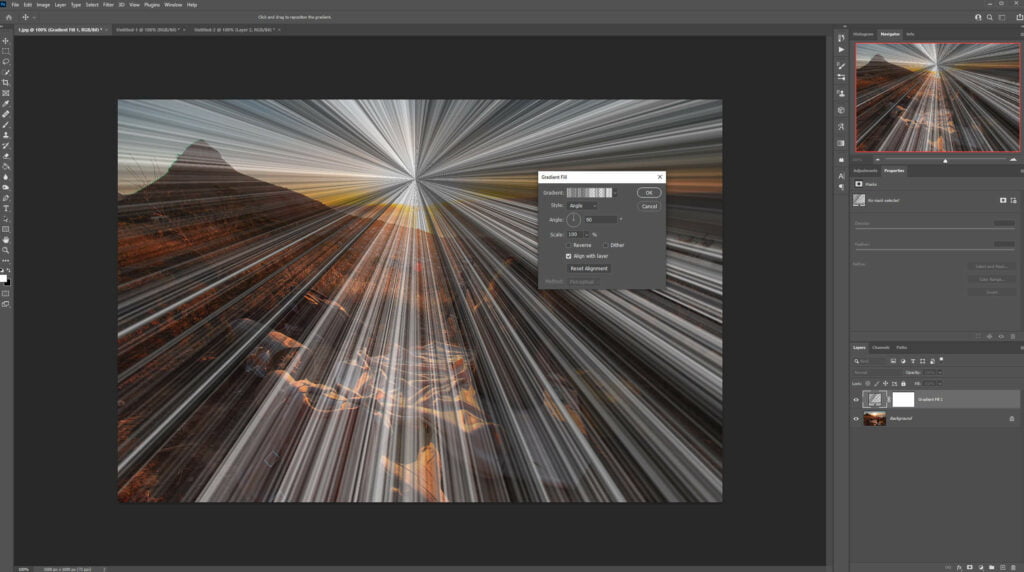
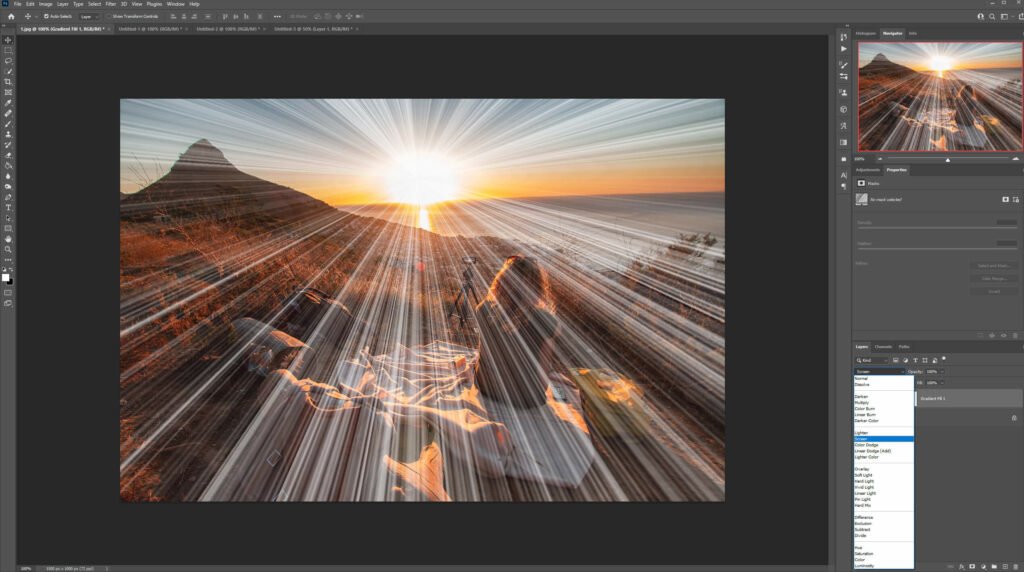
Change the Blending Mode to Screen.
Step 2: Refining our Sun Rays
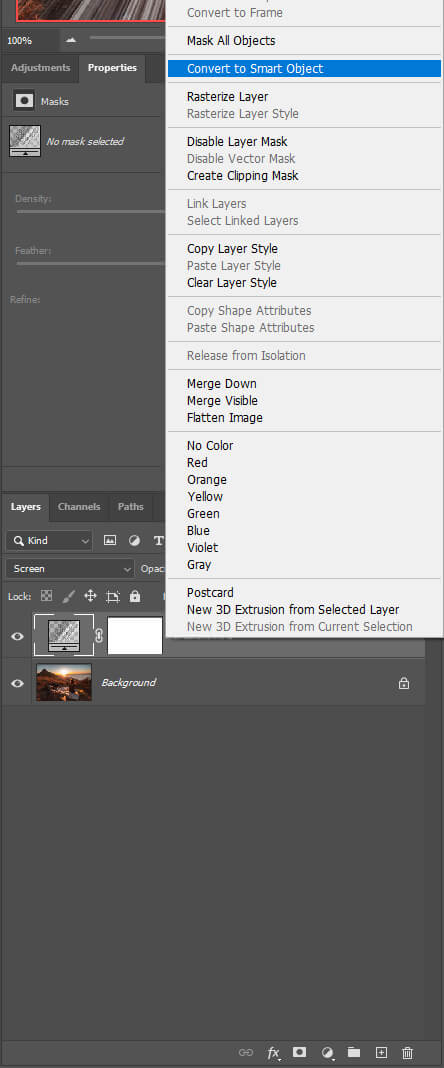
First, right-click on the layer and convert it to a Smart Object.
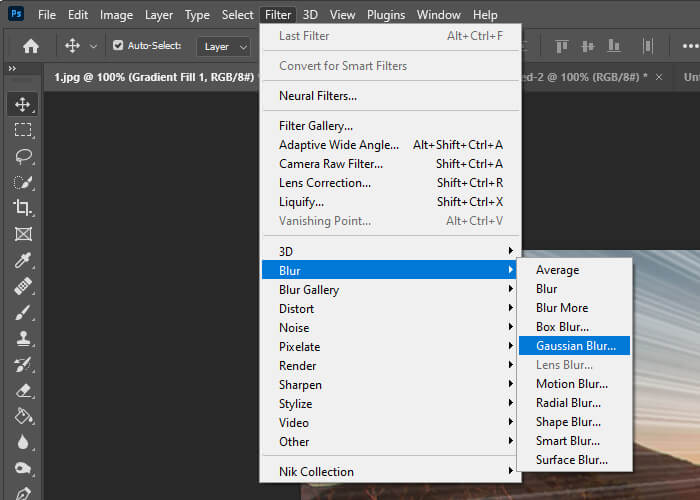
Next, select that top layer and go to Filter > Blur > Gaussian Blur.
Set the Radius to 20.
So far your image should look like this:

We’ll now add a layer mask then press B to select the Brush Tool and make sure your foreground color is set to Black.
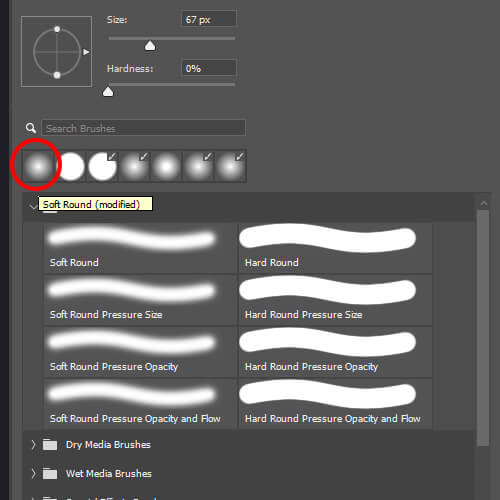

Set your Brush Opacity to 100% and the Flow to 30%.

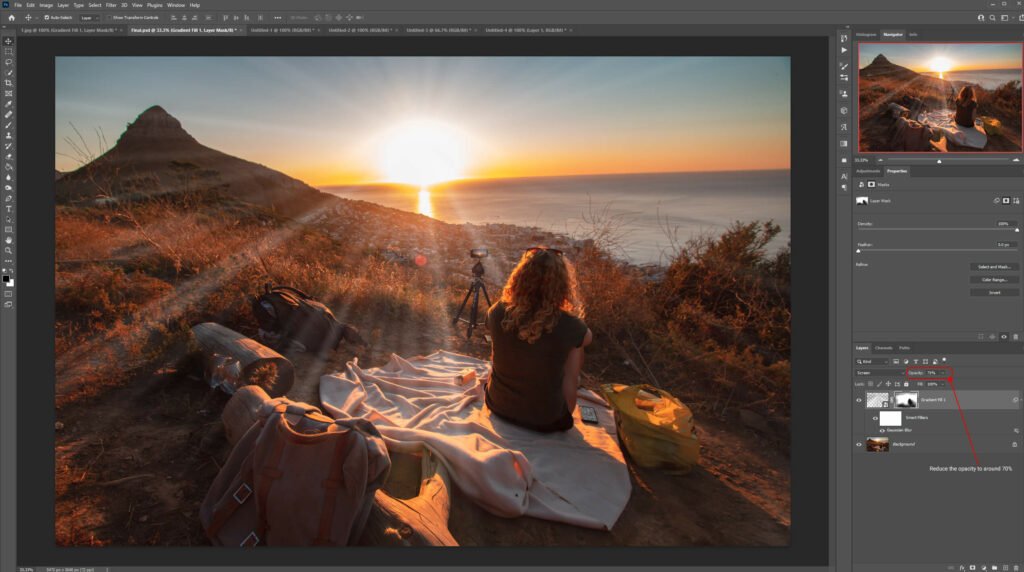
Now select the Layer Mask and paint on the areas where you want to remove the sun rays. In this case, I painted over the lady and beyond her and her bags as the light is blocked by them.
Reduce the opacity of that layer to around 70%
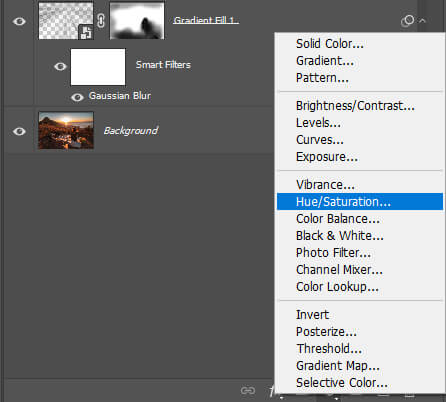
To finish with, we’ll add a Hue/Saturation Adjustment Layer to color the sunlight.
Head back to your Layer Panel and select Hue/Saturation then clip it to the sunray layer (CTRL + ALT + G) so that it only affects the sunlight.
Next, check the colorize option and choose a color that you like. For this picture, I chose a nice yellow. You can also adjust the saturation.
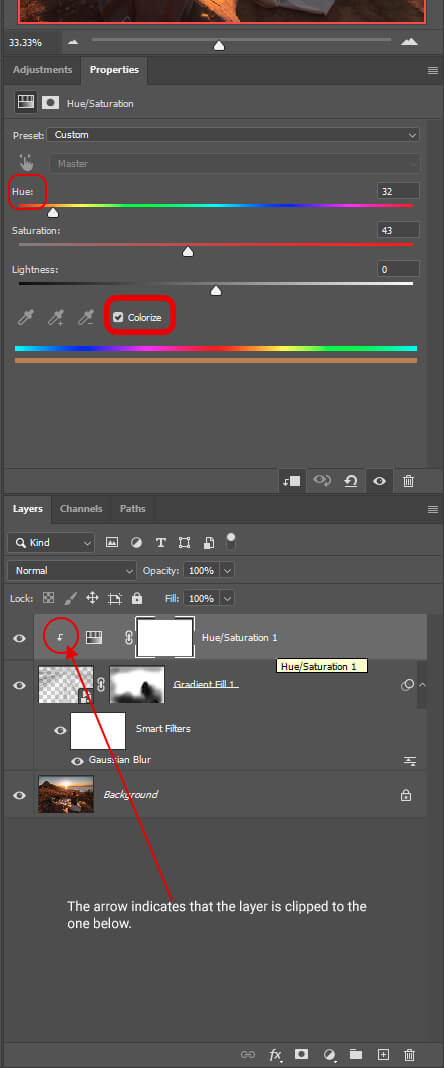
Hue/Saturation Settings
And We Are Done!

After following this tutorial, you should be able to Create a Realistic Sun Rays Effect in Photoshop. I hope you found this guide useful and easy to follow. If you have any questions or suggestions please let me know in the comments down below and I’ll get back to you as soon as possible.