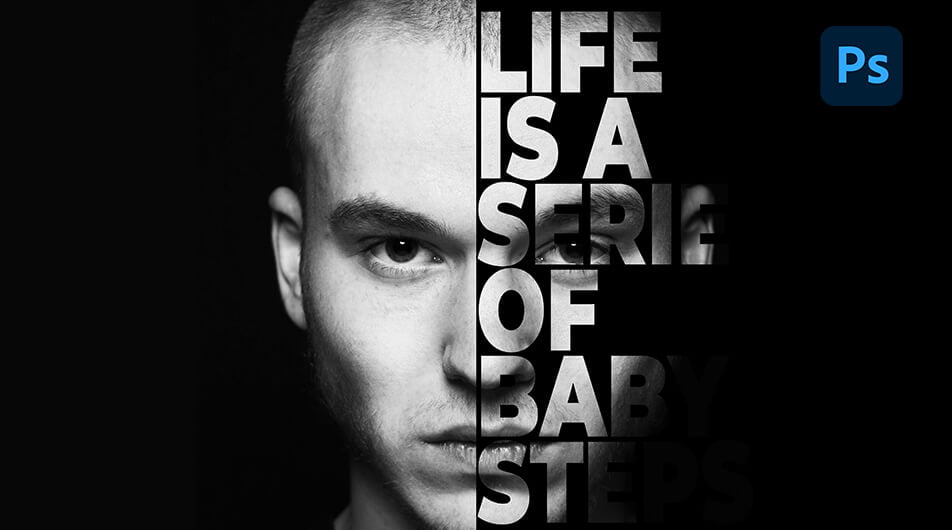
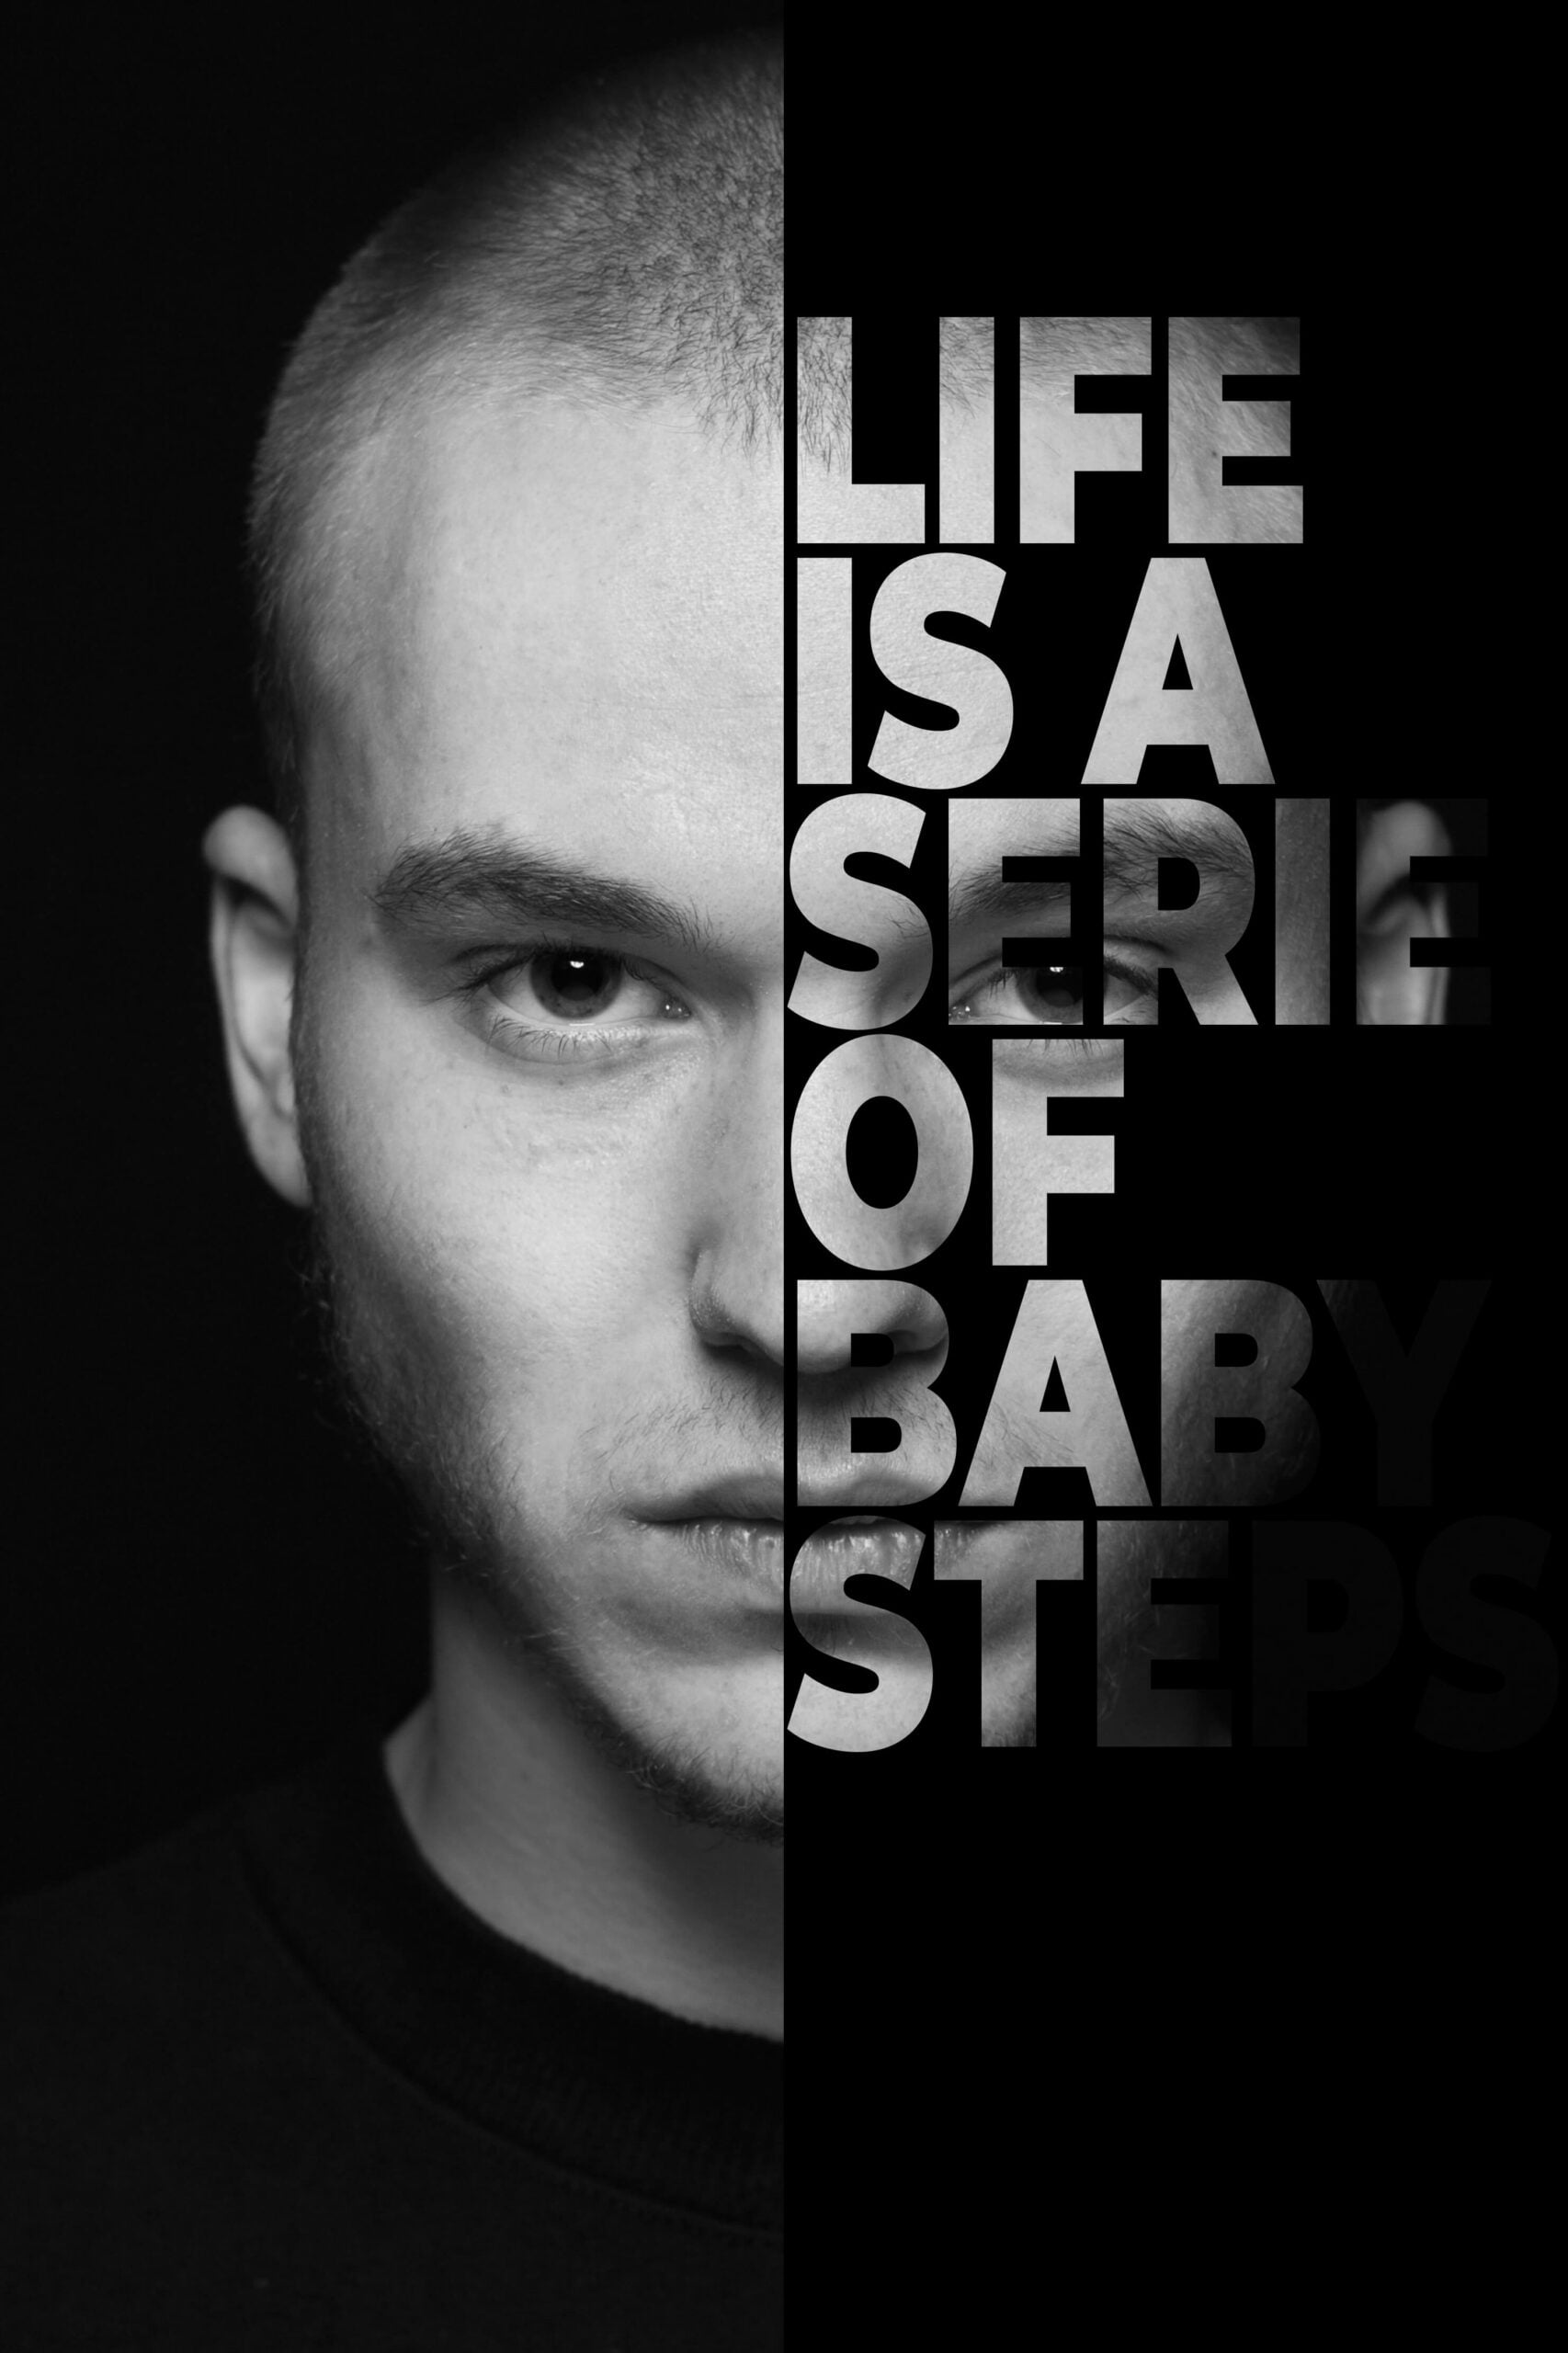
In this tutorial, I’ll teach you how to create a Text Portrait Effect in Photoshop in literally a few clicks. All you need is a portrait photography. You can download the one I’m using or any portrait photography of your choice.
In this short process, I’ll be using Photoshop 2022 but any version of the software will work.
Click here to download the image and follow along.

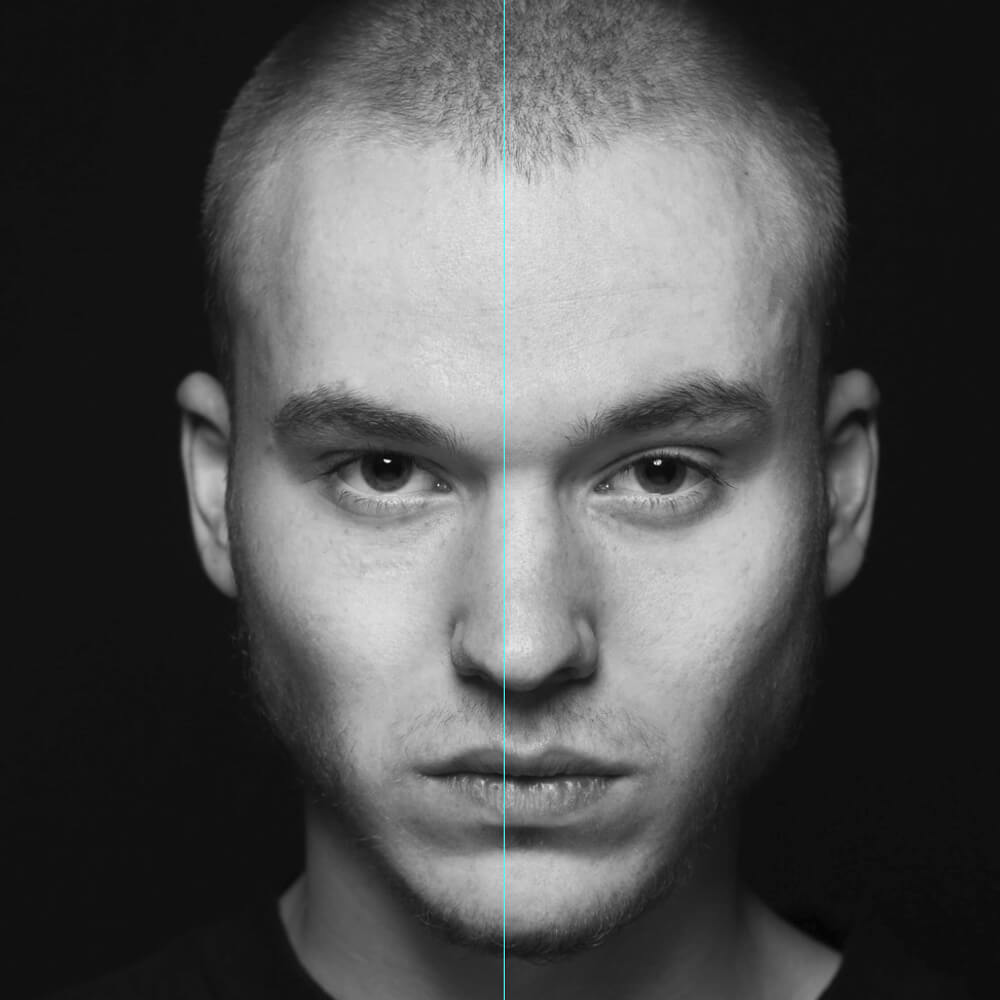
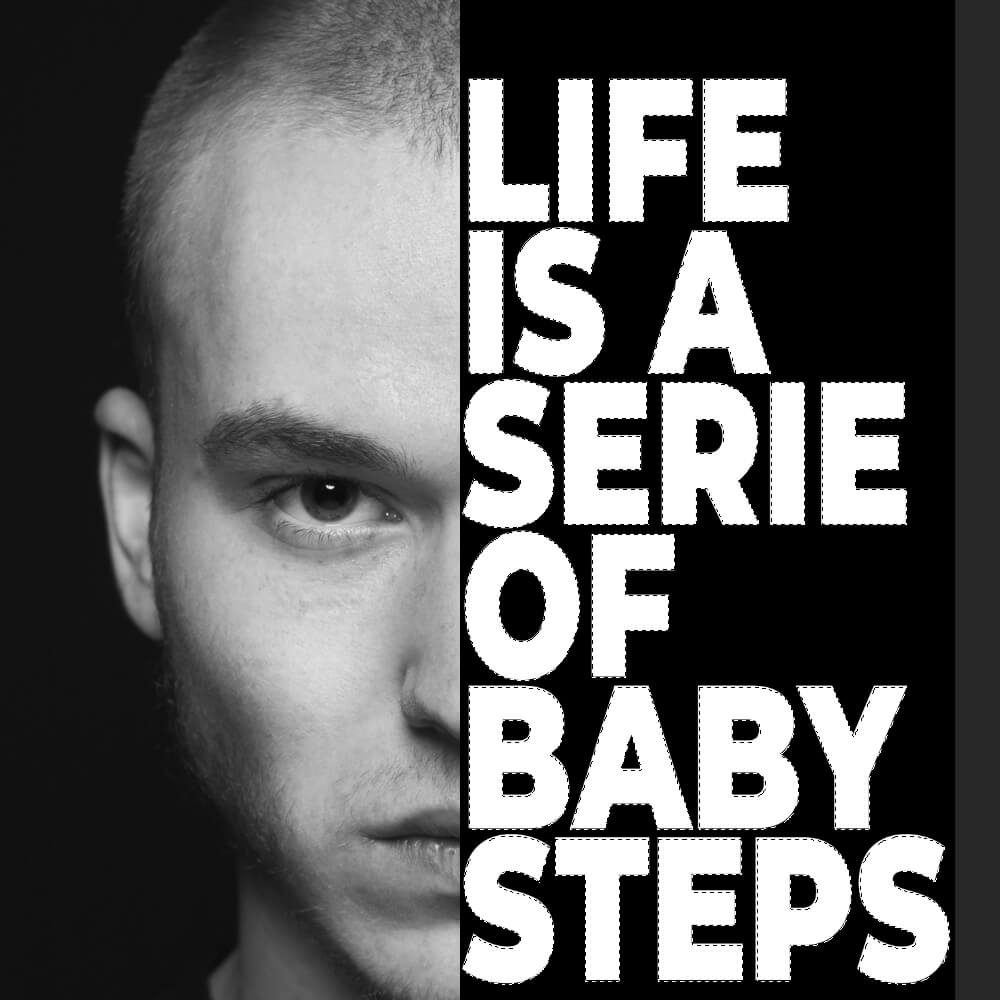
And here’s the final result.
How to Create a Text Portrait Effect
Step 1: Guideline
First, drag your guideline in the center of your portrait. To bring up your Ruler press Ctrl + R and drag it to the center of the image.
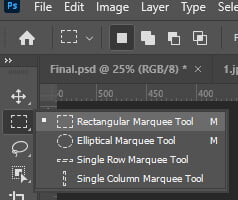
Step 2: Use the Rectangle Marquee Tool
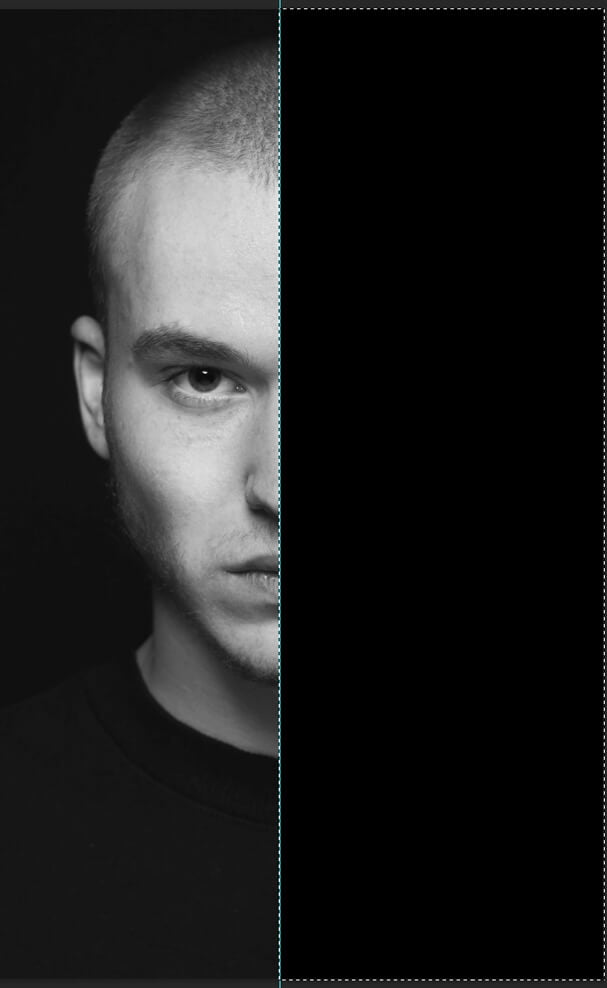
Select your Rectangle Marquee Tool in the toolbar and make a selection of over half of your image.
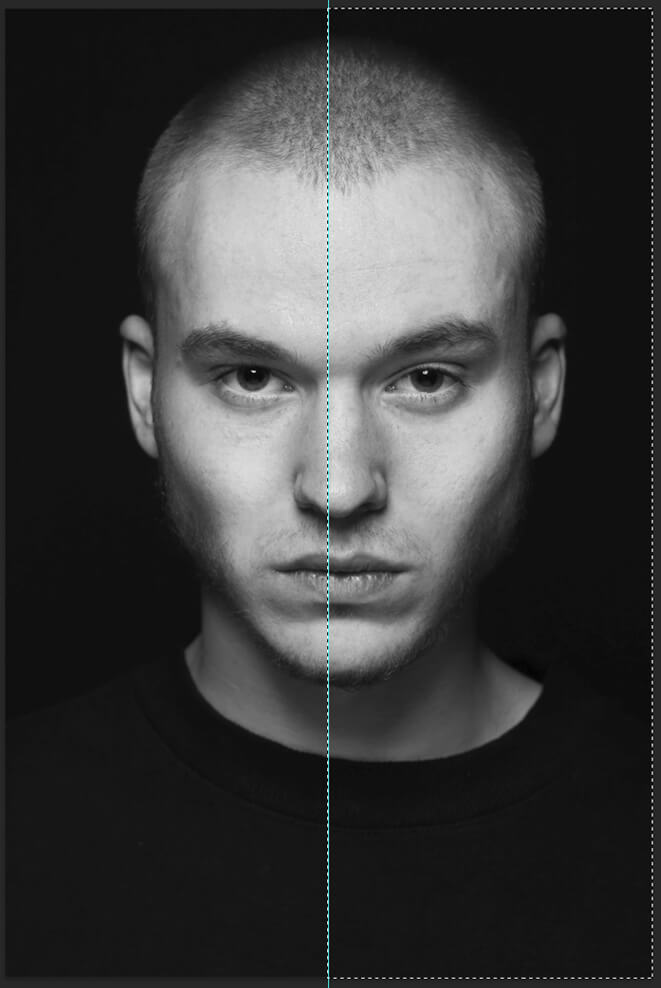
Select half of your image
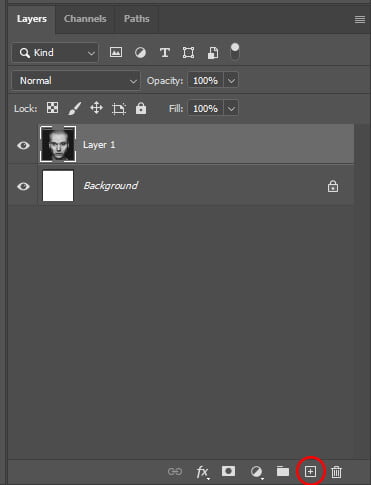
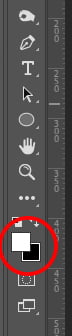
Next, create a new layer with your selection active. On this new layer press alt or option + Delete to fill your selection with black. Make sure your foreground color is set to white. Once your selection is filled with black press Ctrl + D to undo your selection.
Step 3: Add Font
You’ll now choose a heavy font and type something. For this tutorial, I chose Montserrat Black.
Use the Text Tool by pressing Ctrl + T and type anything you want.
Click here to download the font.

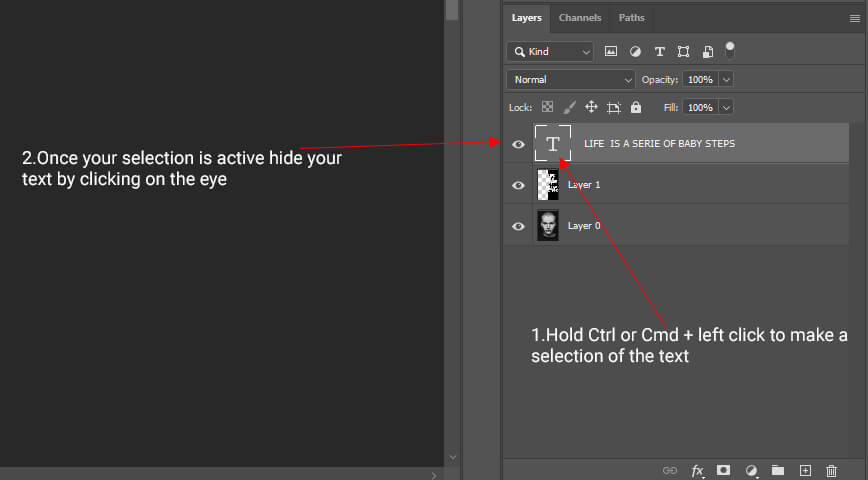
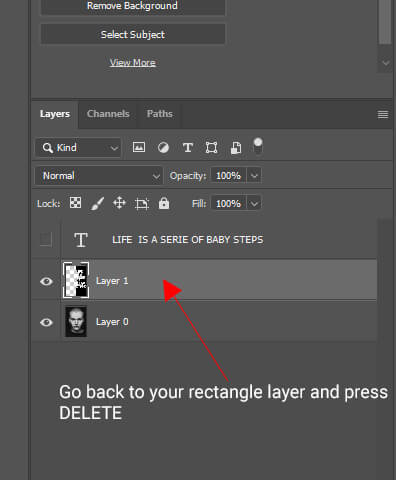
After that, hold Ctrl or Cmd and click on your text layer to make a selection of your text.
Once your selection is active hide your text by clicking on the small eye icon.
To finish, go back to your rectangle layer and press Delete.
Press Ctrl + D to undo your selection.
And we are done!

After following this tutorial, you should be able to create a Text Portrait Effect in Photoshop. I hope you found this guide useful and easy to follow. If you have any questions or suggestions please let me know in the comments down below and I will get back to you as soon as possible.