In this tutorial, I’ll show you how to achieve a Cyberpunk Effect in Photoshop in seconds using color grading.
The Cyberpunk effect has been used in lots of movies nowadays, for example, Blade Runner 2049 or Ghost In The ShellI’ as well as video games like Cyberpunk 2077.
For this lesson, we’ll use Camera Raw Filter. I’ll teach you how you can create and save your Cyberpunk Effect settings and apply them in any picture in just a few clicks.
For this tutorial, I’ll use Photoshop 2022.
Click here to download the image and follow along but you can use any picture you like.
Final Image
Drag The Slider To See Before & After
Create a Cyberpunk Effect
Step 1: Duplicate and Convert to Smart Object
Open up the image in photoshop and select your layer in the layer panel. Press CTRL + J to duplicate it.
Next, right-click on it and choose Convert to Smart Object.

Step 2: Camera Raw Filter
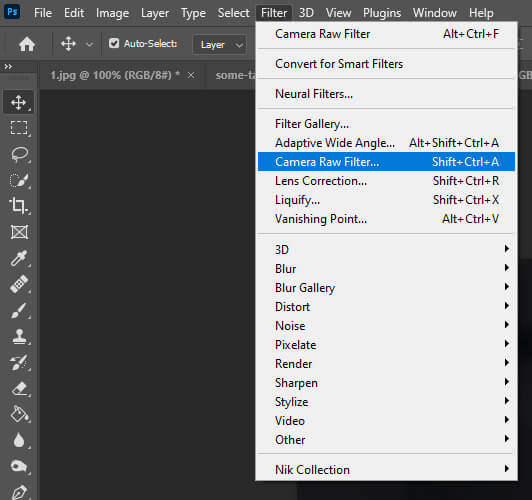
It’s time to head over to Camera Raw. Go to Filter > Camera Raw Filter.
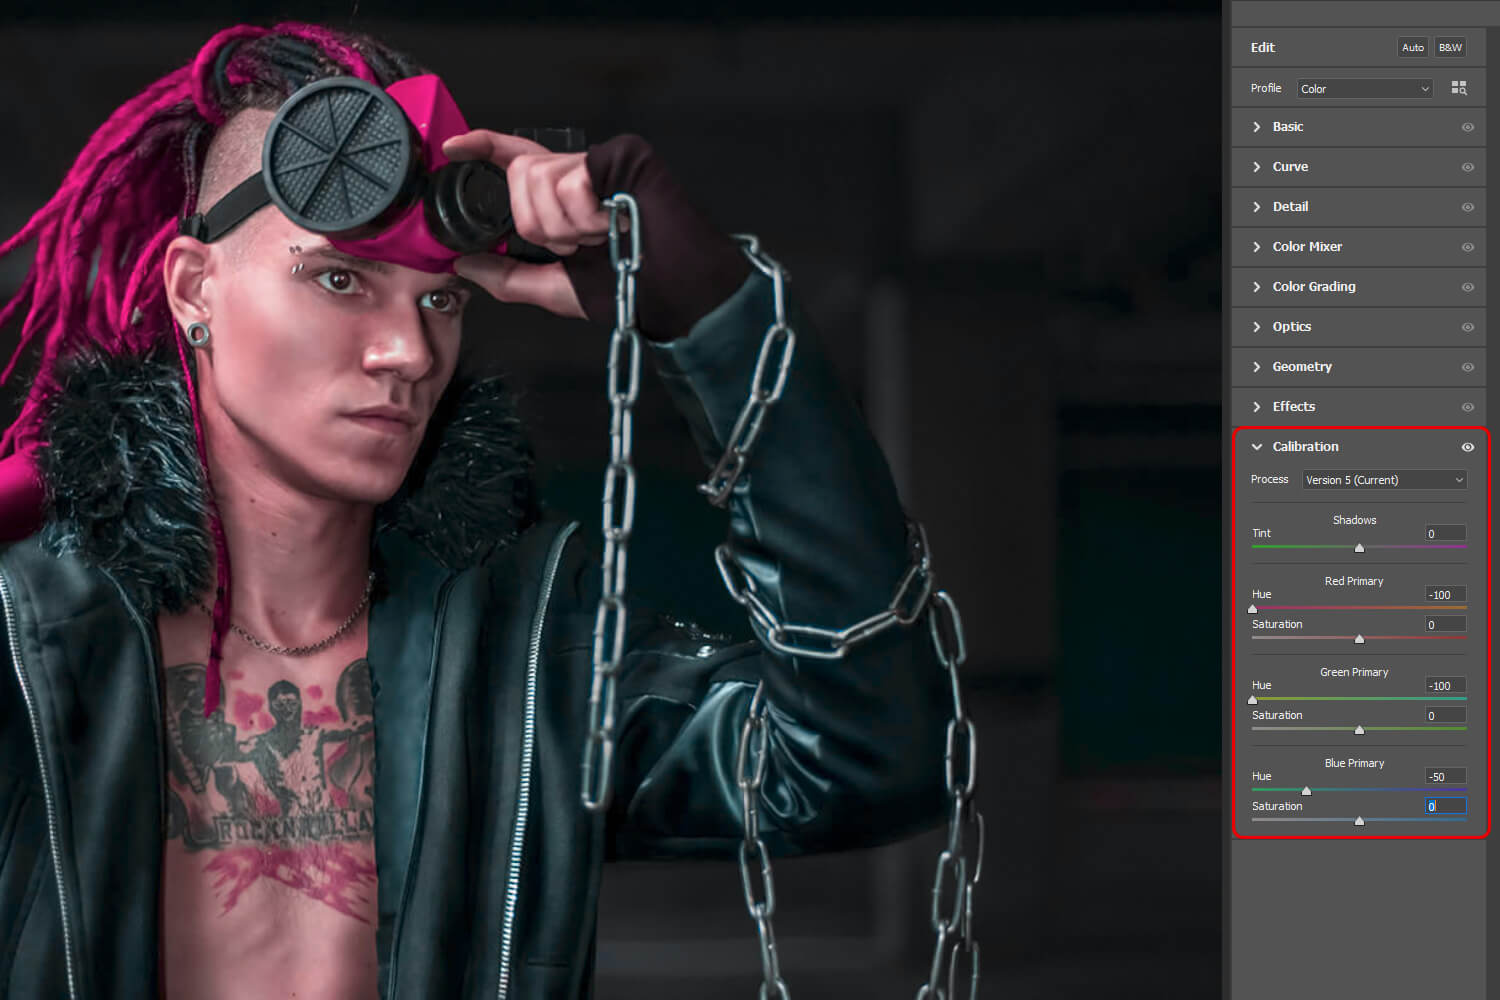
Once inside Camera Raw go to Calibration and set the colors as follow:
Red Primary: Hue -100/Saturation 0
Green Primary: Hue -100/Saturation 0
Blue Primary: Hue -50/Saturation 0
Next, go to Basic and adjust the settings as follow:
Temperature: 0
Tint: +100
Contrast: 0
Highlights: 0
Shadow: +30
White: 0
Blacks: -50
Clarity: 0
Vibrance: 0
Saturation: 0

After that select Curve and set the values as follow:
Input: 192
Output: 192
Step 3: Save these Cyberpunk Effect Presets
Our Cyberpunk Effect is ready but let’s save these presets so that if you have to apply the effect with a different picture in the future you’ll be able to do it in seconds.
First, left-click on the three dots and select save settings.
Then, choose the location where you want to save your settings on your computer and name it Cyberpunk Effect.
Next time you want to load these settings for a different picture, go back to Camera Raw Filter, left-click on the three dots and instead of save settings, select load settings.
Photoshop will automatically apply your Cyberpunk Effect to your new image allowing you to activate that effect in a few seconds.
And We Are Done!

After following this tutorial, you should be able to Create a Cyberpunk Effect in Photoshop. I hope you found this guide useful and easy to follow. If you have any questions or suggestions please let me know in the comments down below and I’ll get back to you as soon as possible.