In today’s tutorial, I’ll teach how to change the color of any object into a gold color.
We’ll apply an awesome Gold Effect using Photoshop 2022 just by using adjustment layers.
Let’s dive into it.
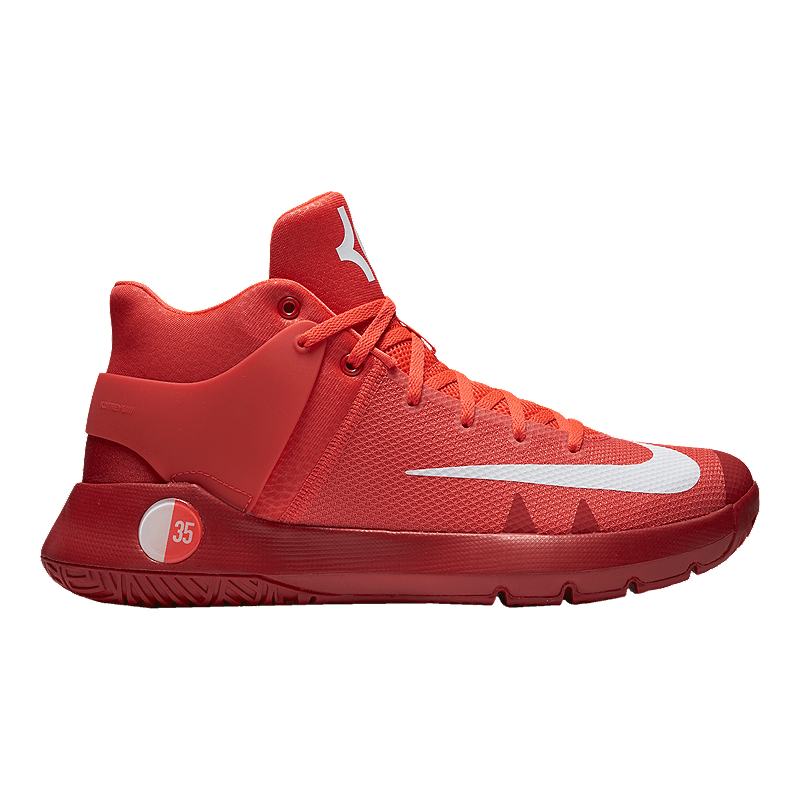
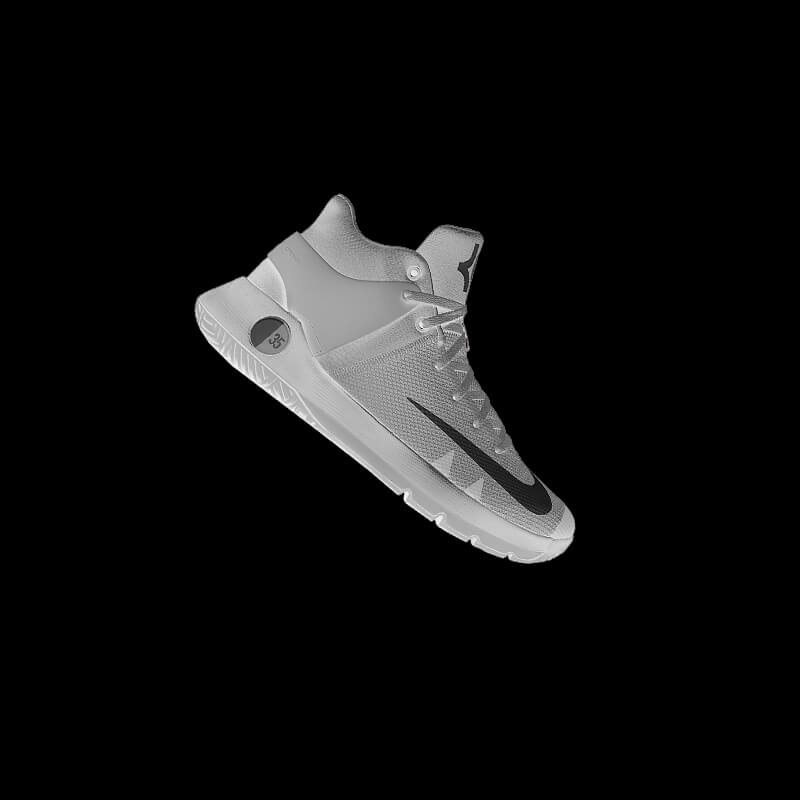
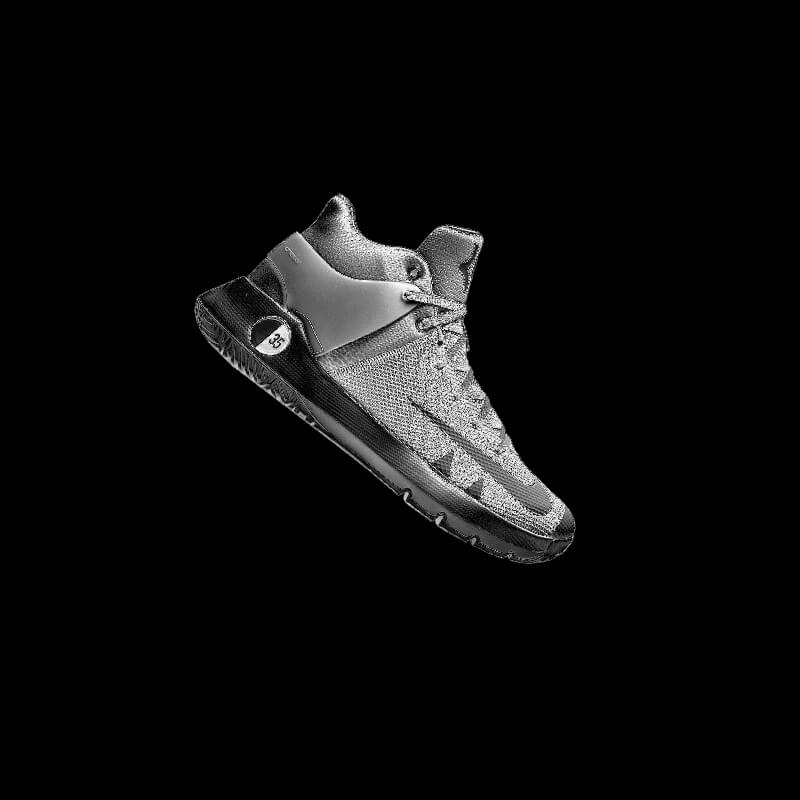
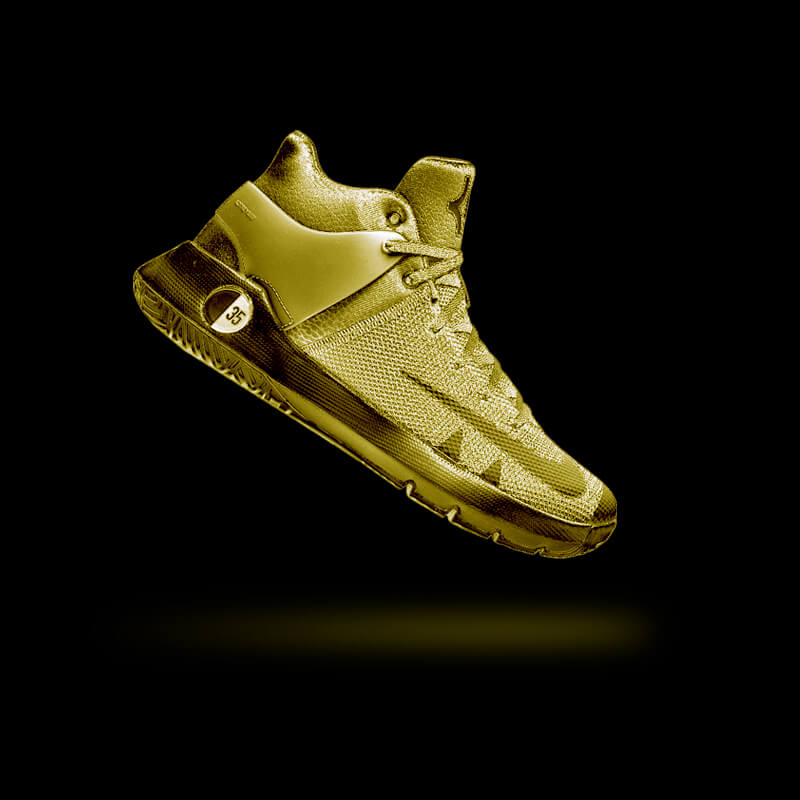
For this tutorial, I chose the Nike KD Trey 5 IV Crimson but you can choose any image you want to create that gold effect in Photoshop.
Click here if you want to use the same image as me and follow along.
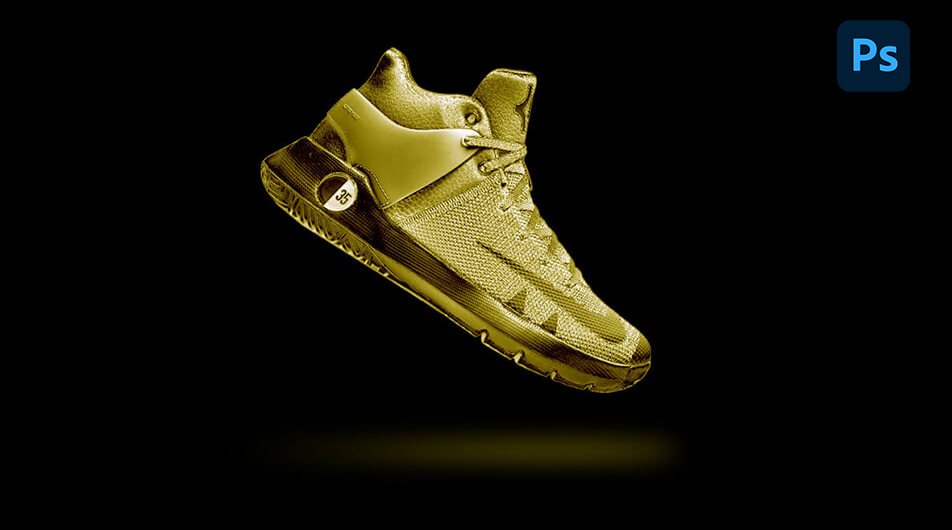
Here is the final result.

How to Create an Awsome Gold Effect in Photoshop
Step 1: Create a New Document
Just copy the settings from the image below and don’t forget to set the background color to black.

Next, import your image and place it the way you like by using the Transform Tool (Ctrl + T).

Step 2: Let’s Create the Gold Effect
First, duplicate your layer. Select the layer and press Ctrl + J.
Then, select that new layer and go to Image > Adjustment > Black & White.
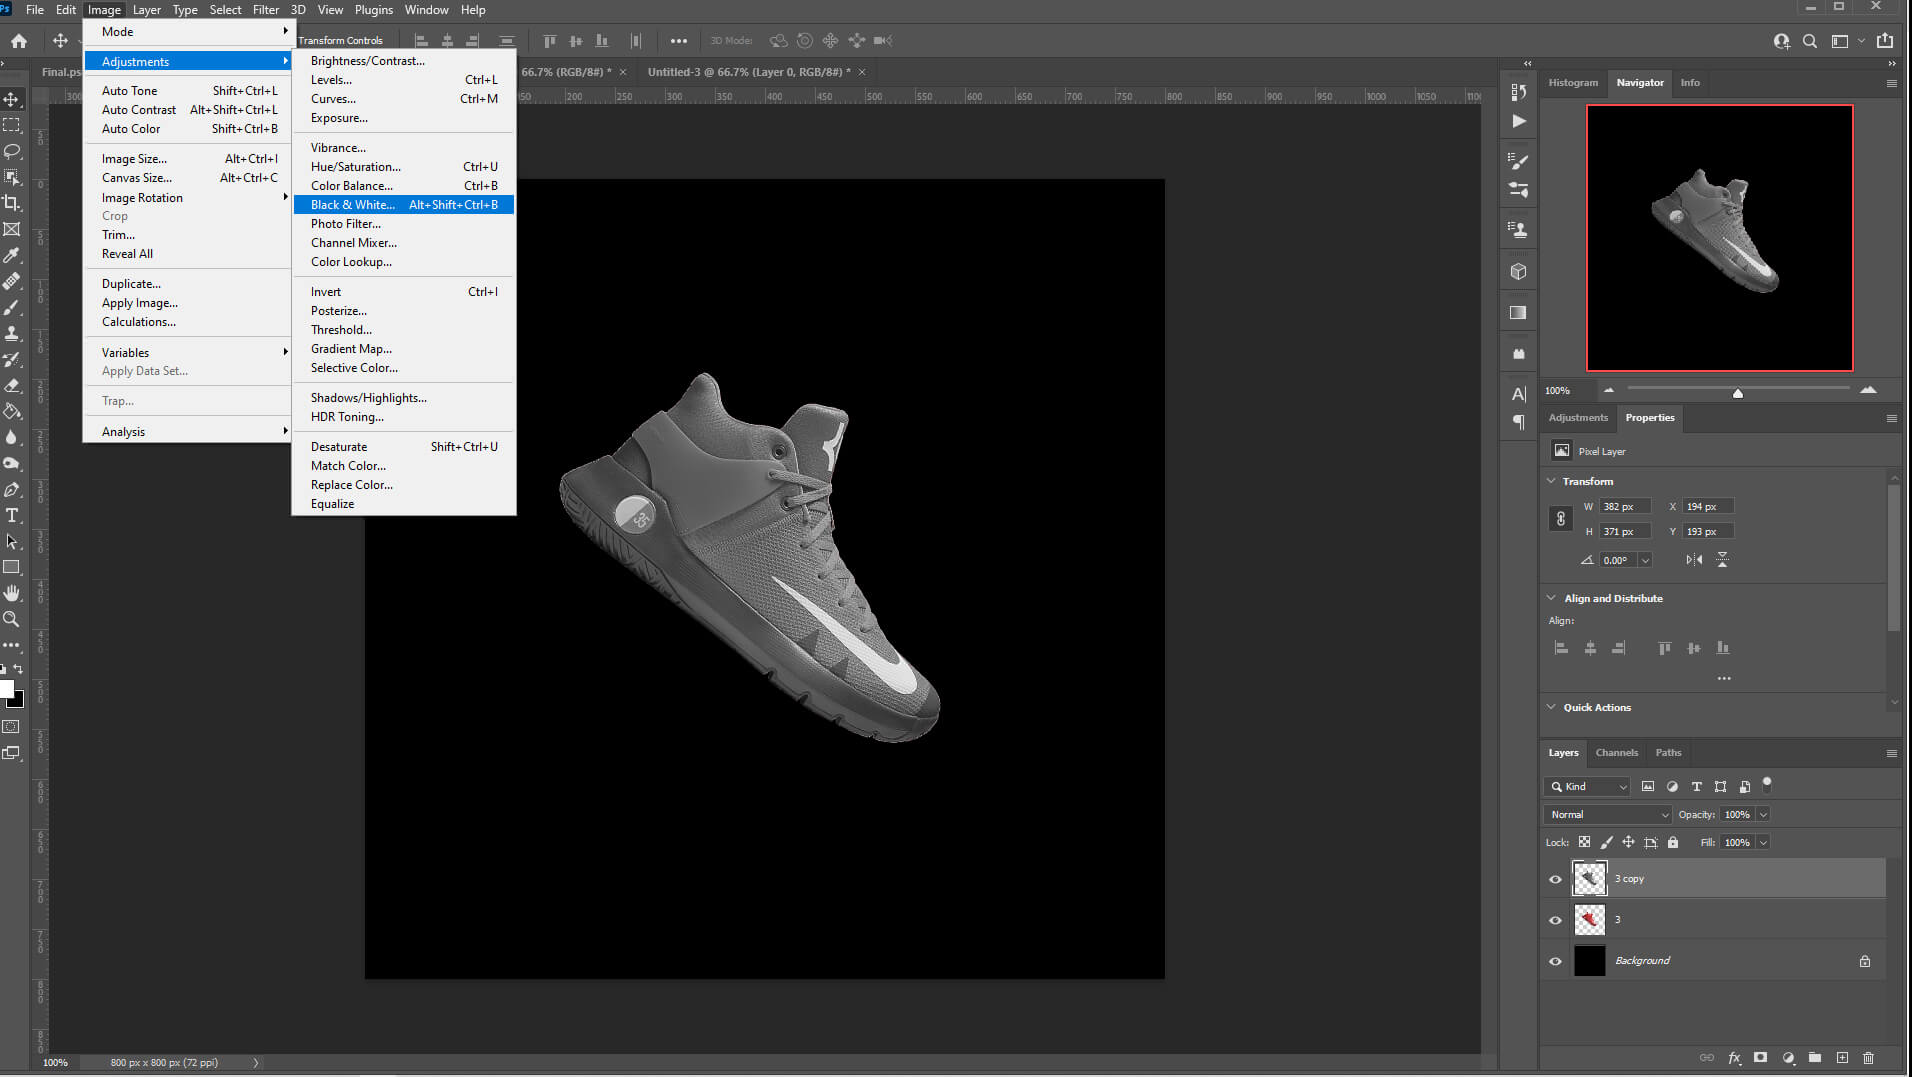
Next, duplicate the Black & White Layer by pressing Ctrl + J.
Then go to Image > Adjustment > Invert.

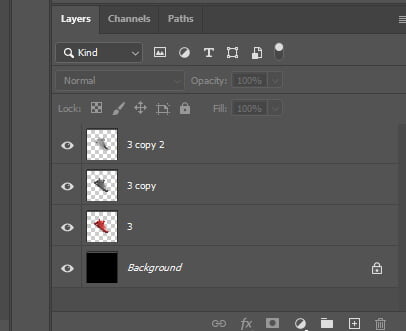
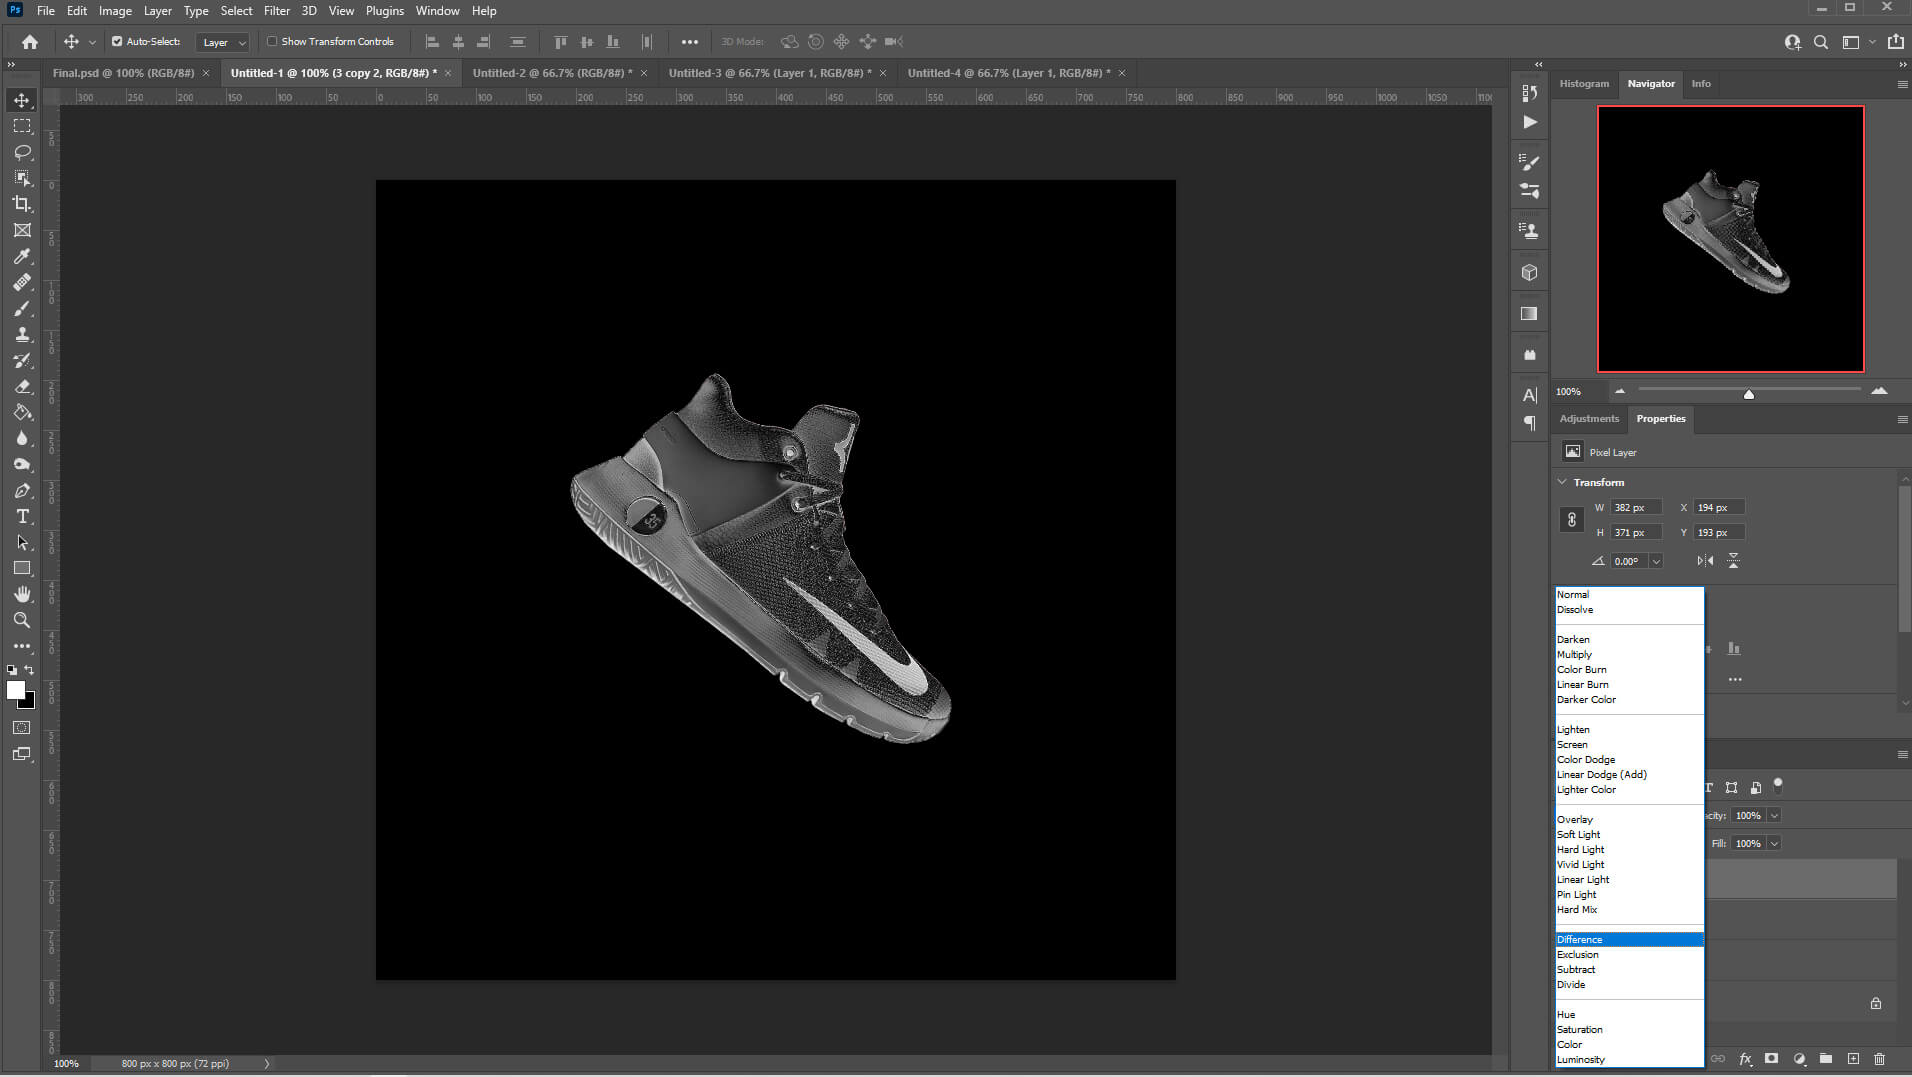
Then, select the top layer and change the blending mode to Difference.

We’ll now merge the top layer with the one below. Right-click on the top layer and choose to Merge Down.
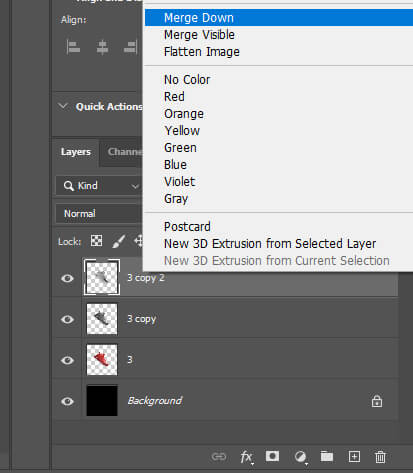
Once the top layer is merged down duplicate it by pressing Ctrl +J.
Go to Image > Adjustment > Invert one more time and change the blending mode of the top layer to Difference once again. To finish, right-click on the layer and select Merge Down again.
Your shoe should now be looking like this:
To finish our design we’ll add a few r adjustment layers to get that Gold Color.
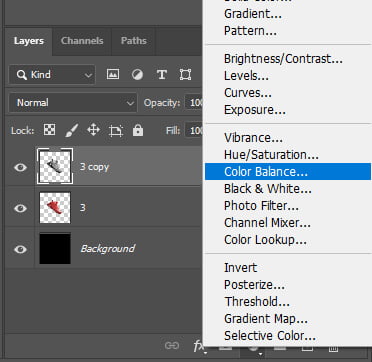
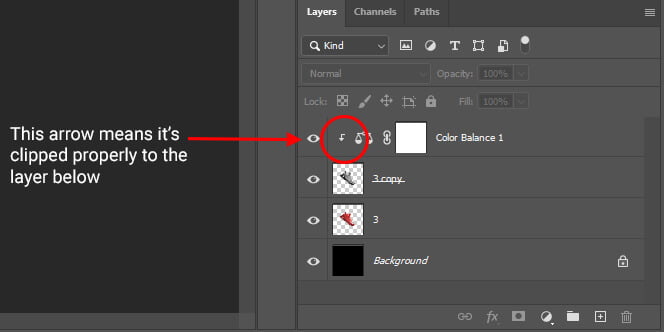
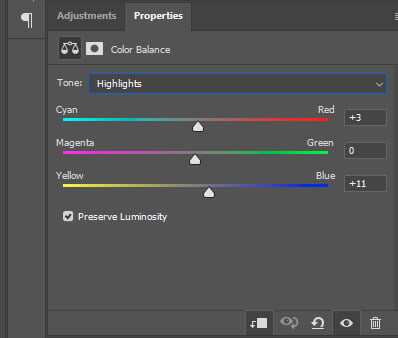
Select the top layer and choose Color Balance. Clip your Color Balance layer by pressing Ctrl + Alt + G so it only affects the shoe and not the background.
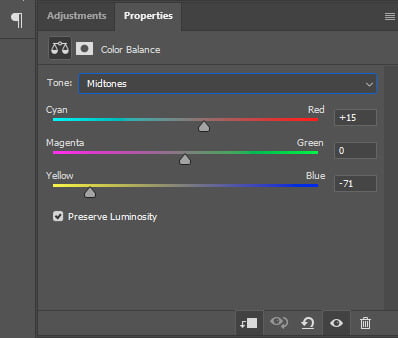
Now copy the settings for the Midtones, Shadows, and Highlights.

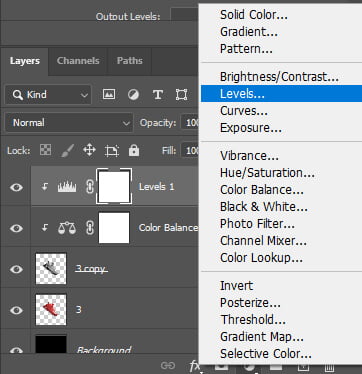
We’ll now add a Level Adjustment Layer and clip it to the layer below by pressing Ctrl + Alt + G.
Then, copy my Levels Settings.

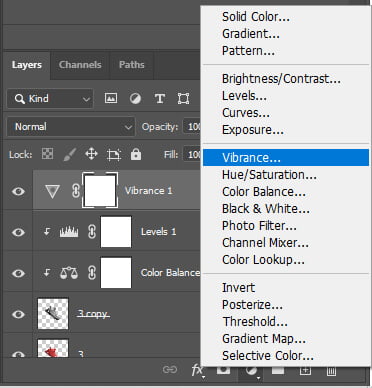
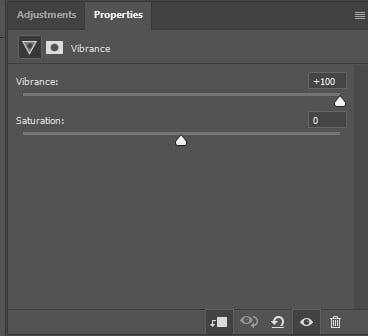
Let’s add our last adjustment layer. The Vibrance Adjustment Layer and boost it to the maximum. Don’t forget to clip it like the previous ones.
After that, copy my Vibrance settings.
This is the final result. I just added a golden drop shadow but this is entirely up to you. Use your imagination to create something that is yours and unique.
And we are done!
After following this tutorial, you should be able to create an awesome Gold Effect in Photoshop. I hope you found this guide useful and easy to follow. If you have any questions or suggestions please let me know in the comments down below and I’ll get back to you as soon as possible.