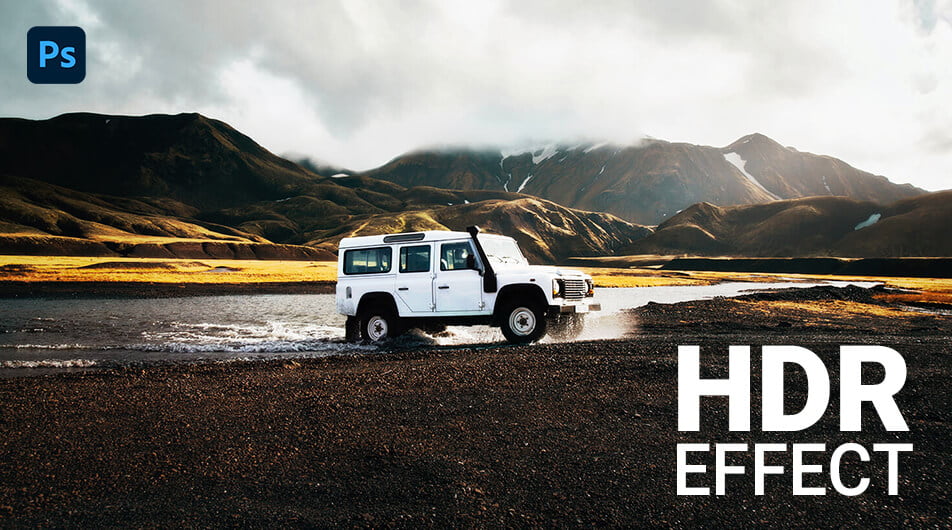
HDR is an abbreviation for High Dynamic Range, which is a method that involves integrating many images into one image such that features from all components (shadows, highlights, and mid-tones) are apparent in the final HDR image.
There is, however, a technique to perform HDR Effect in Photoshop without merging numerous exposures into a single shot.
In this tutorial, I’ll teach you how you can achieve an HDR Effect in Photoshop in a non-destructive way for much more control.
I’ll be using Photoshop 2022 for this lesson, but the procedure should be similar to other versions.
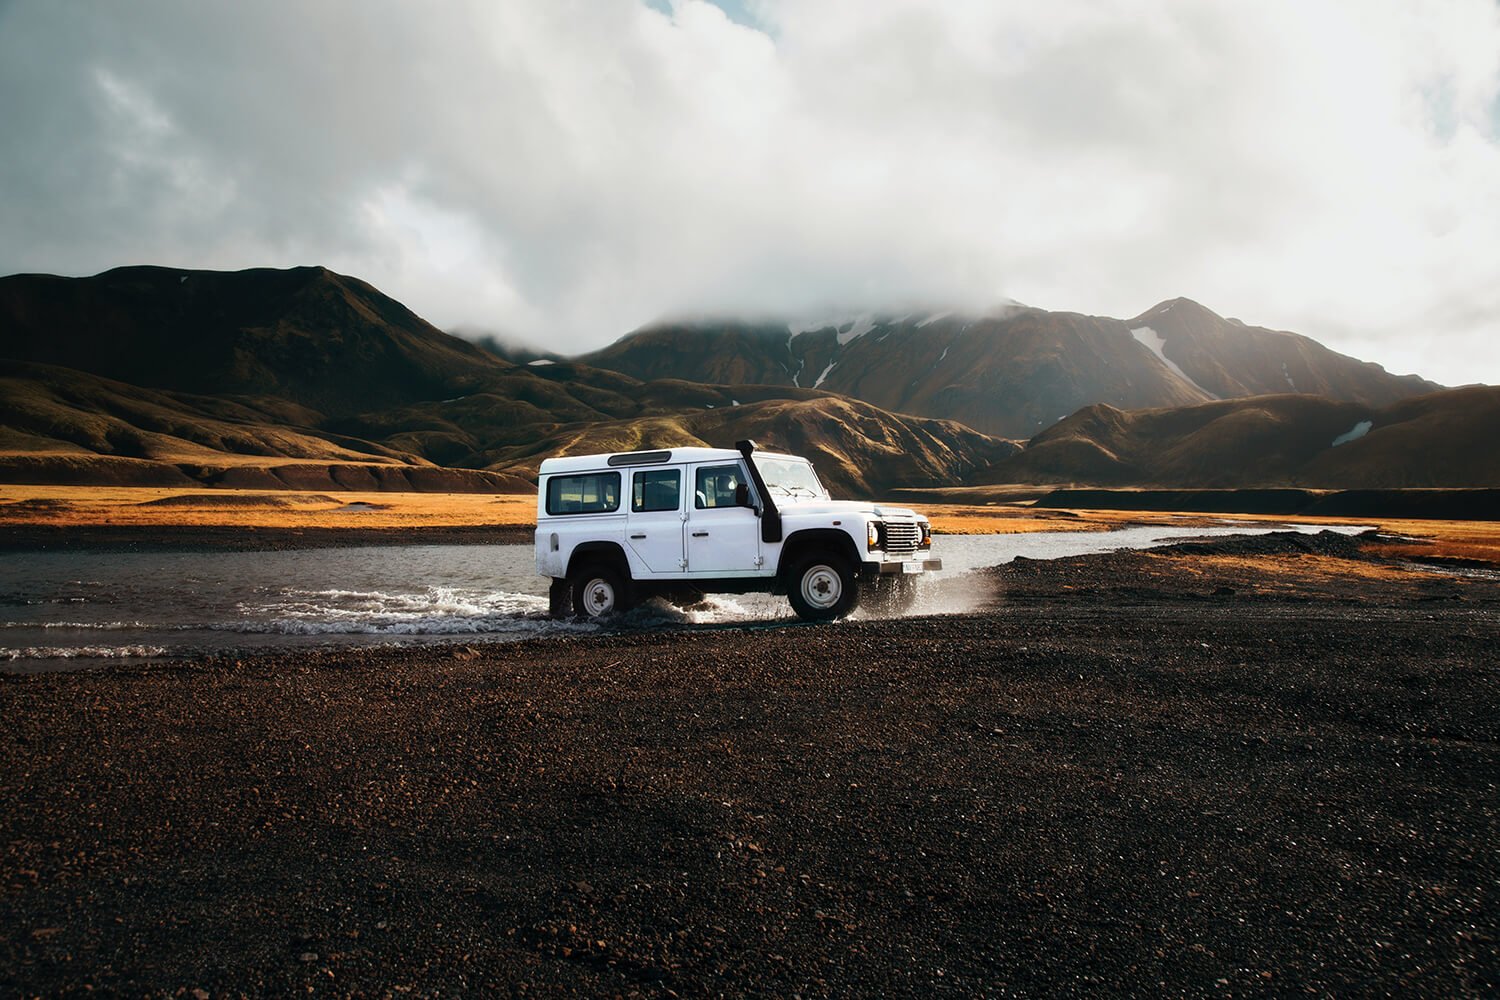
For this lesson, you can use the image below, but you can also use your own image for your own design.
Image by Jon Flobrant on Unsplash.
Video Tutorial
Step 1
Open your image in Photoshop.
Step 2
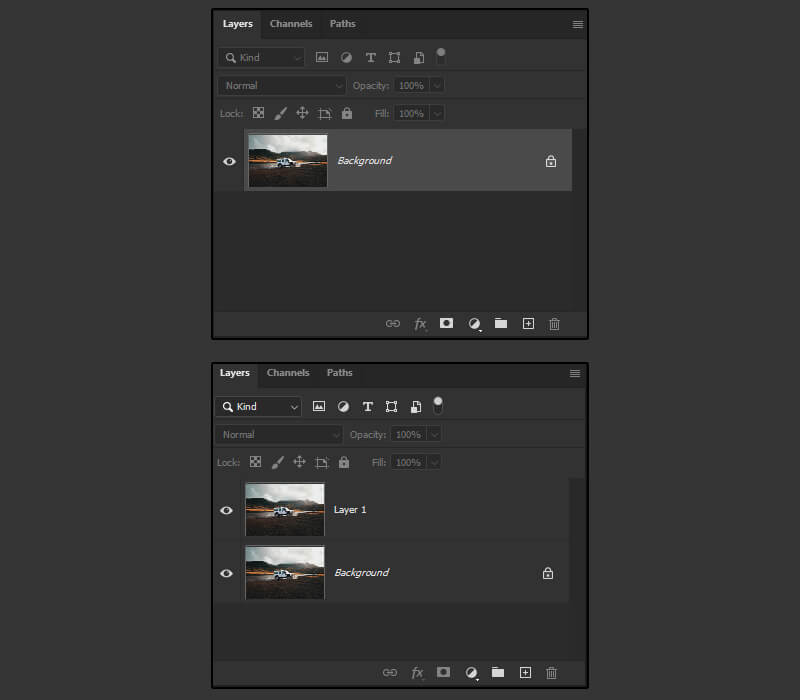
Duplicate the Background Layer by pressing Ctrl +J.
Step 3
Next, with layer 1 selected go to Filter > Convert to Smart Filters and hit OK.
Step 4
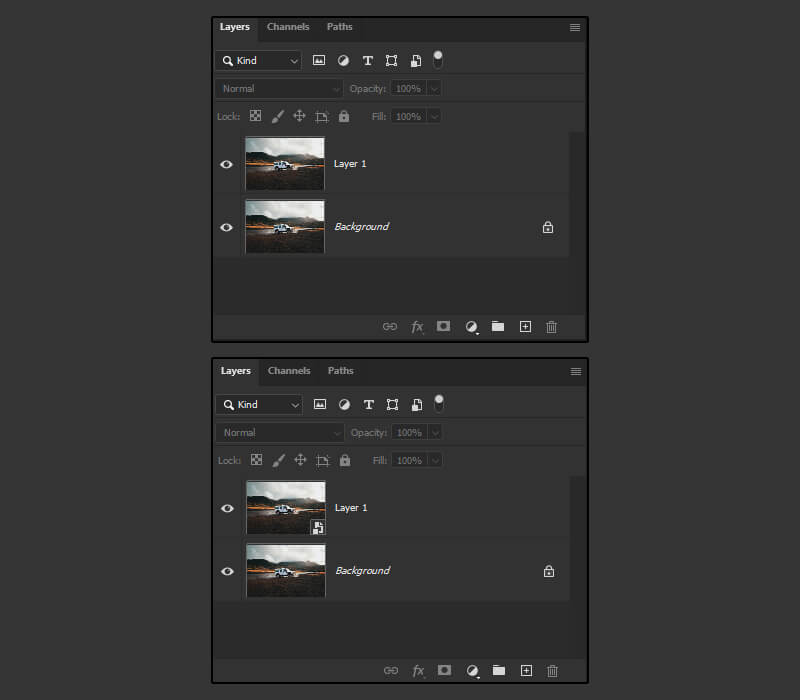
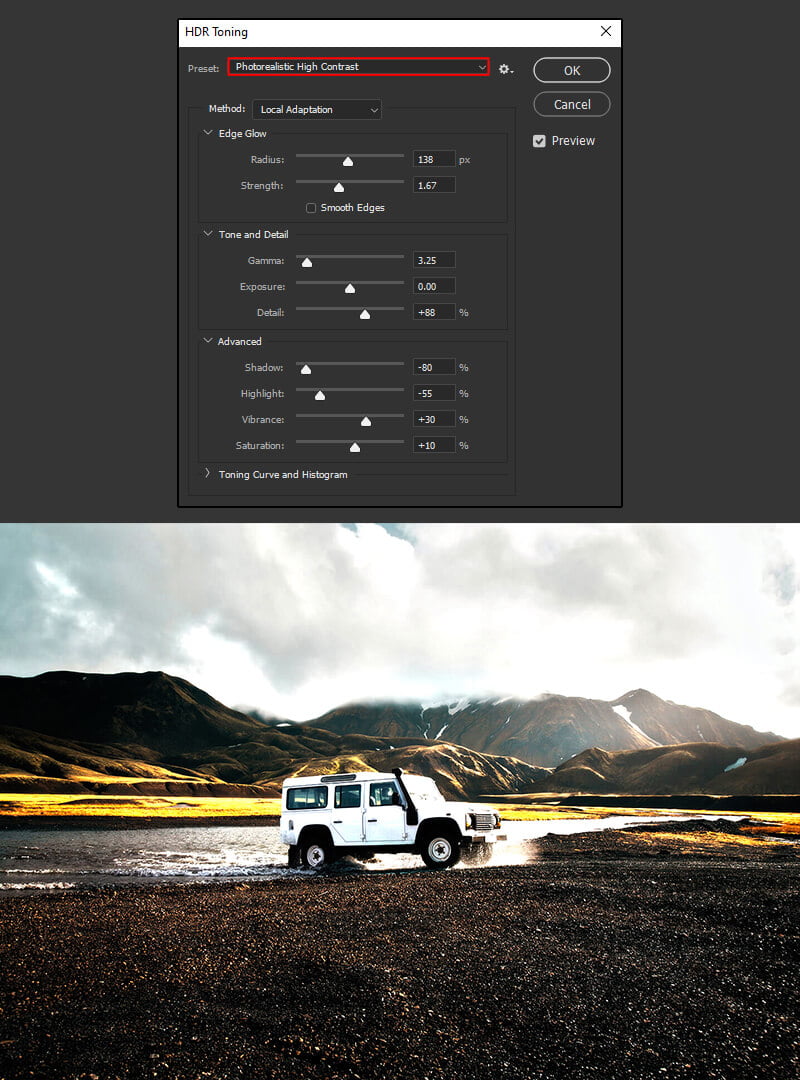
Double-click on the thumbnail of layer 1. This will open up a new document. In this new document, go to Image > Adjustments > HDR Toning and hit OK.
In the Drop Down Menu Preset choose Photorealistic High Contrast and hit OK. Next, press Ctrl + S to save the changes. Once it’s saved go back to the original document. Layer 1 has been updated.
Step 5
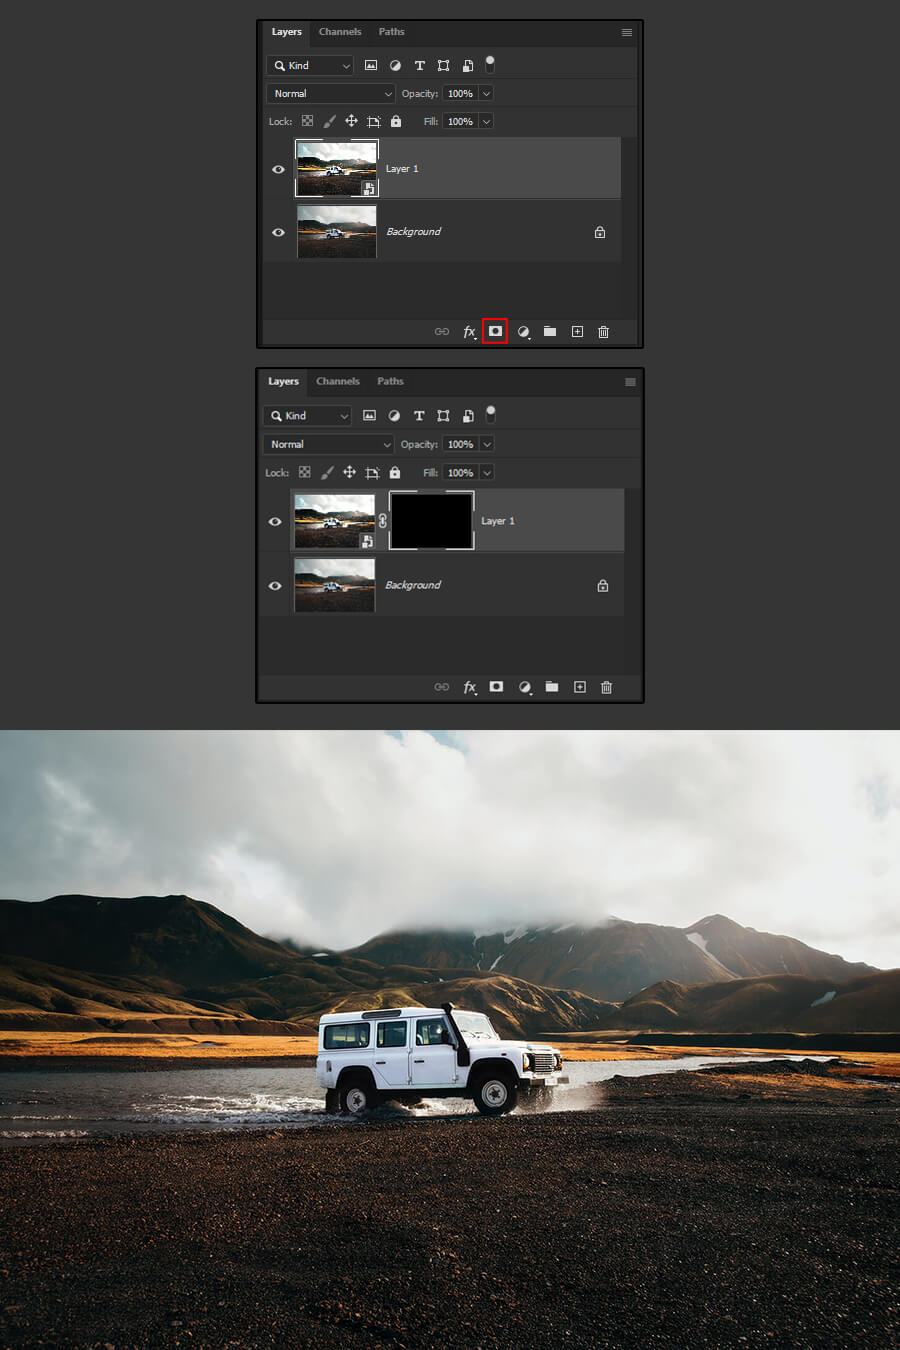
Select Layer 1, hold the Alt button and click on the mask icon to create a black mask.
Step 6
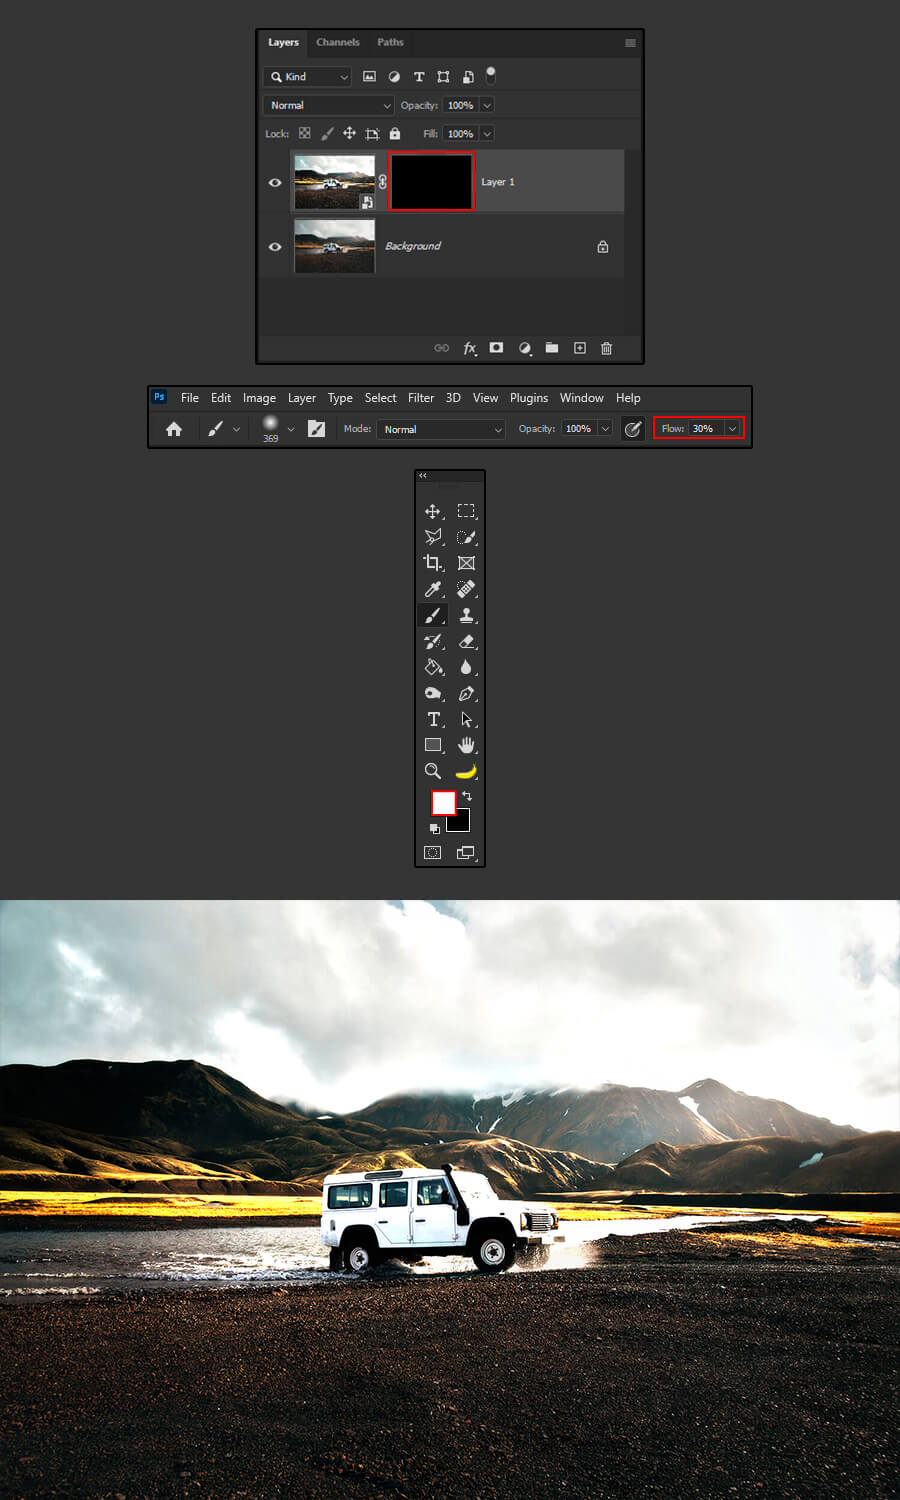
Take the Brush Tool (B) and set the flow to around 30% when the layer mask is selected. After that, paint the area where you’d like the effect to appear. Ensure that the foreground color is white.
For this example, I’ll paint over the car and the background of the image.
Step 7
To finish with the design, I’ll lower the opacity of the mask to tone down the HDR effect a little bit.