Do your landscape photos lack star trails? Maybe the weather wasn’t cooperating, or maybe your camera isn’t the finest at photographing long exposures, and if that’s the case, don’t worry because you can still produce star trails in Photoshop that look realistic.
The best part is that this effect only requires one image.
In this lesson, I’ll teach you how to effortlessly generate star trails in Photoshop.
In this tutorial, I’ll be using Photoshop 2022 but any version will work.
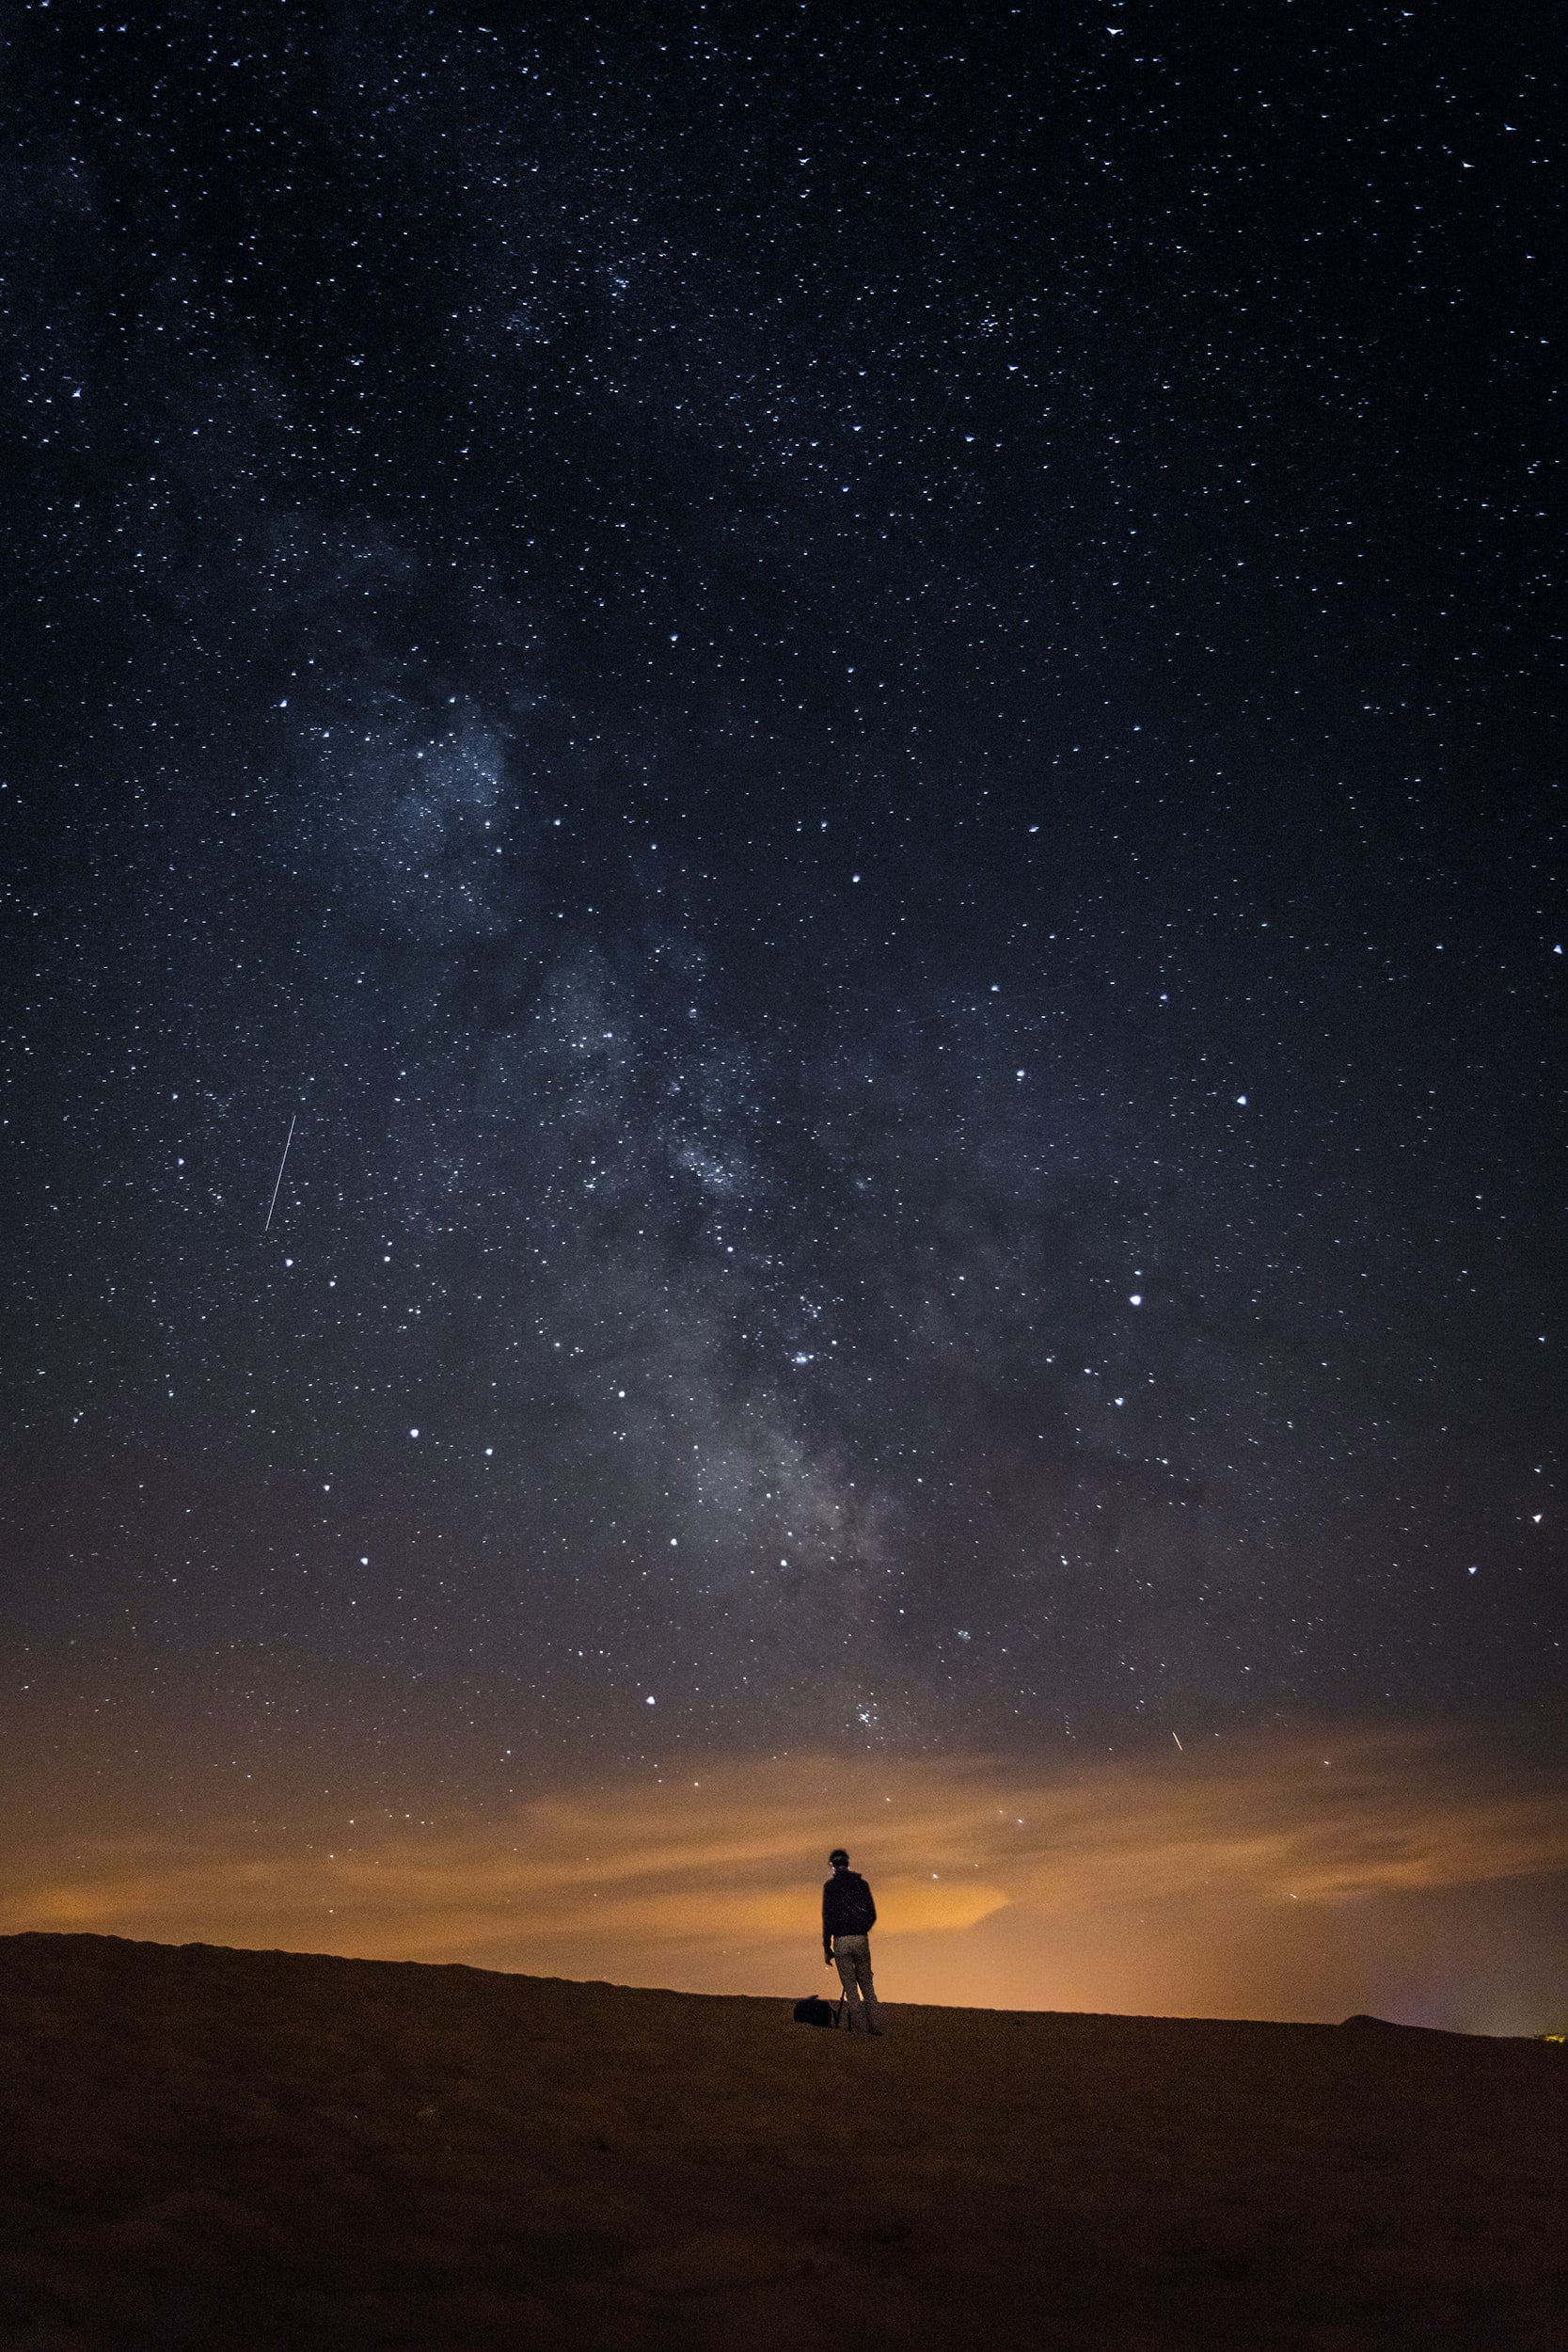
Click here to download the image and follow along.
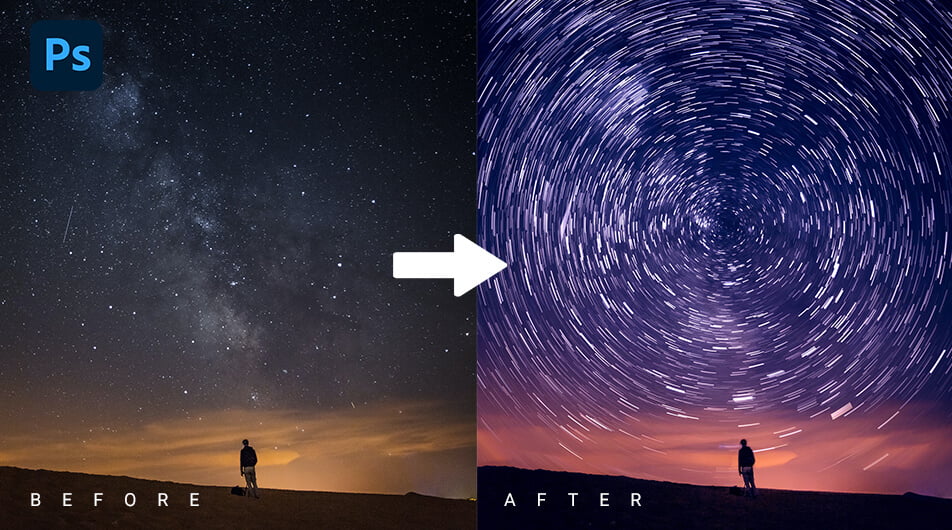
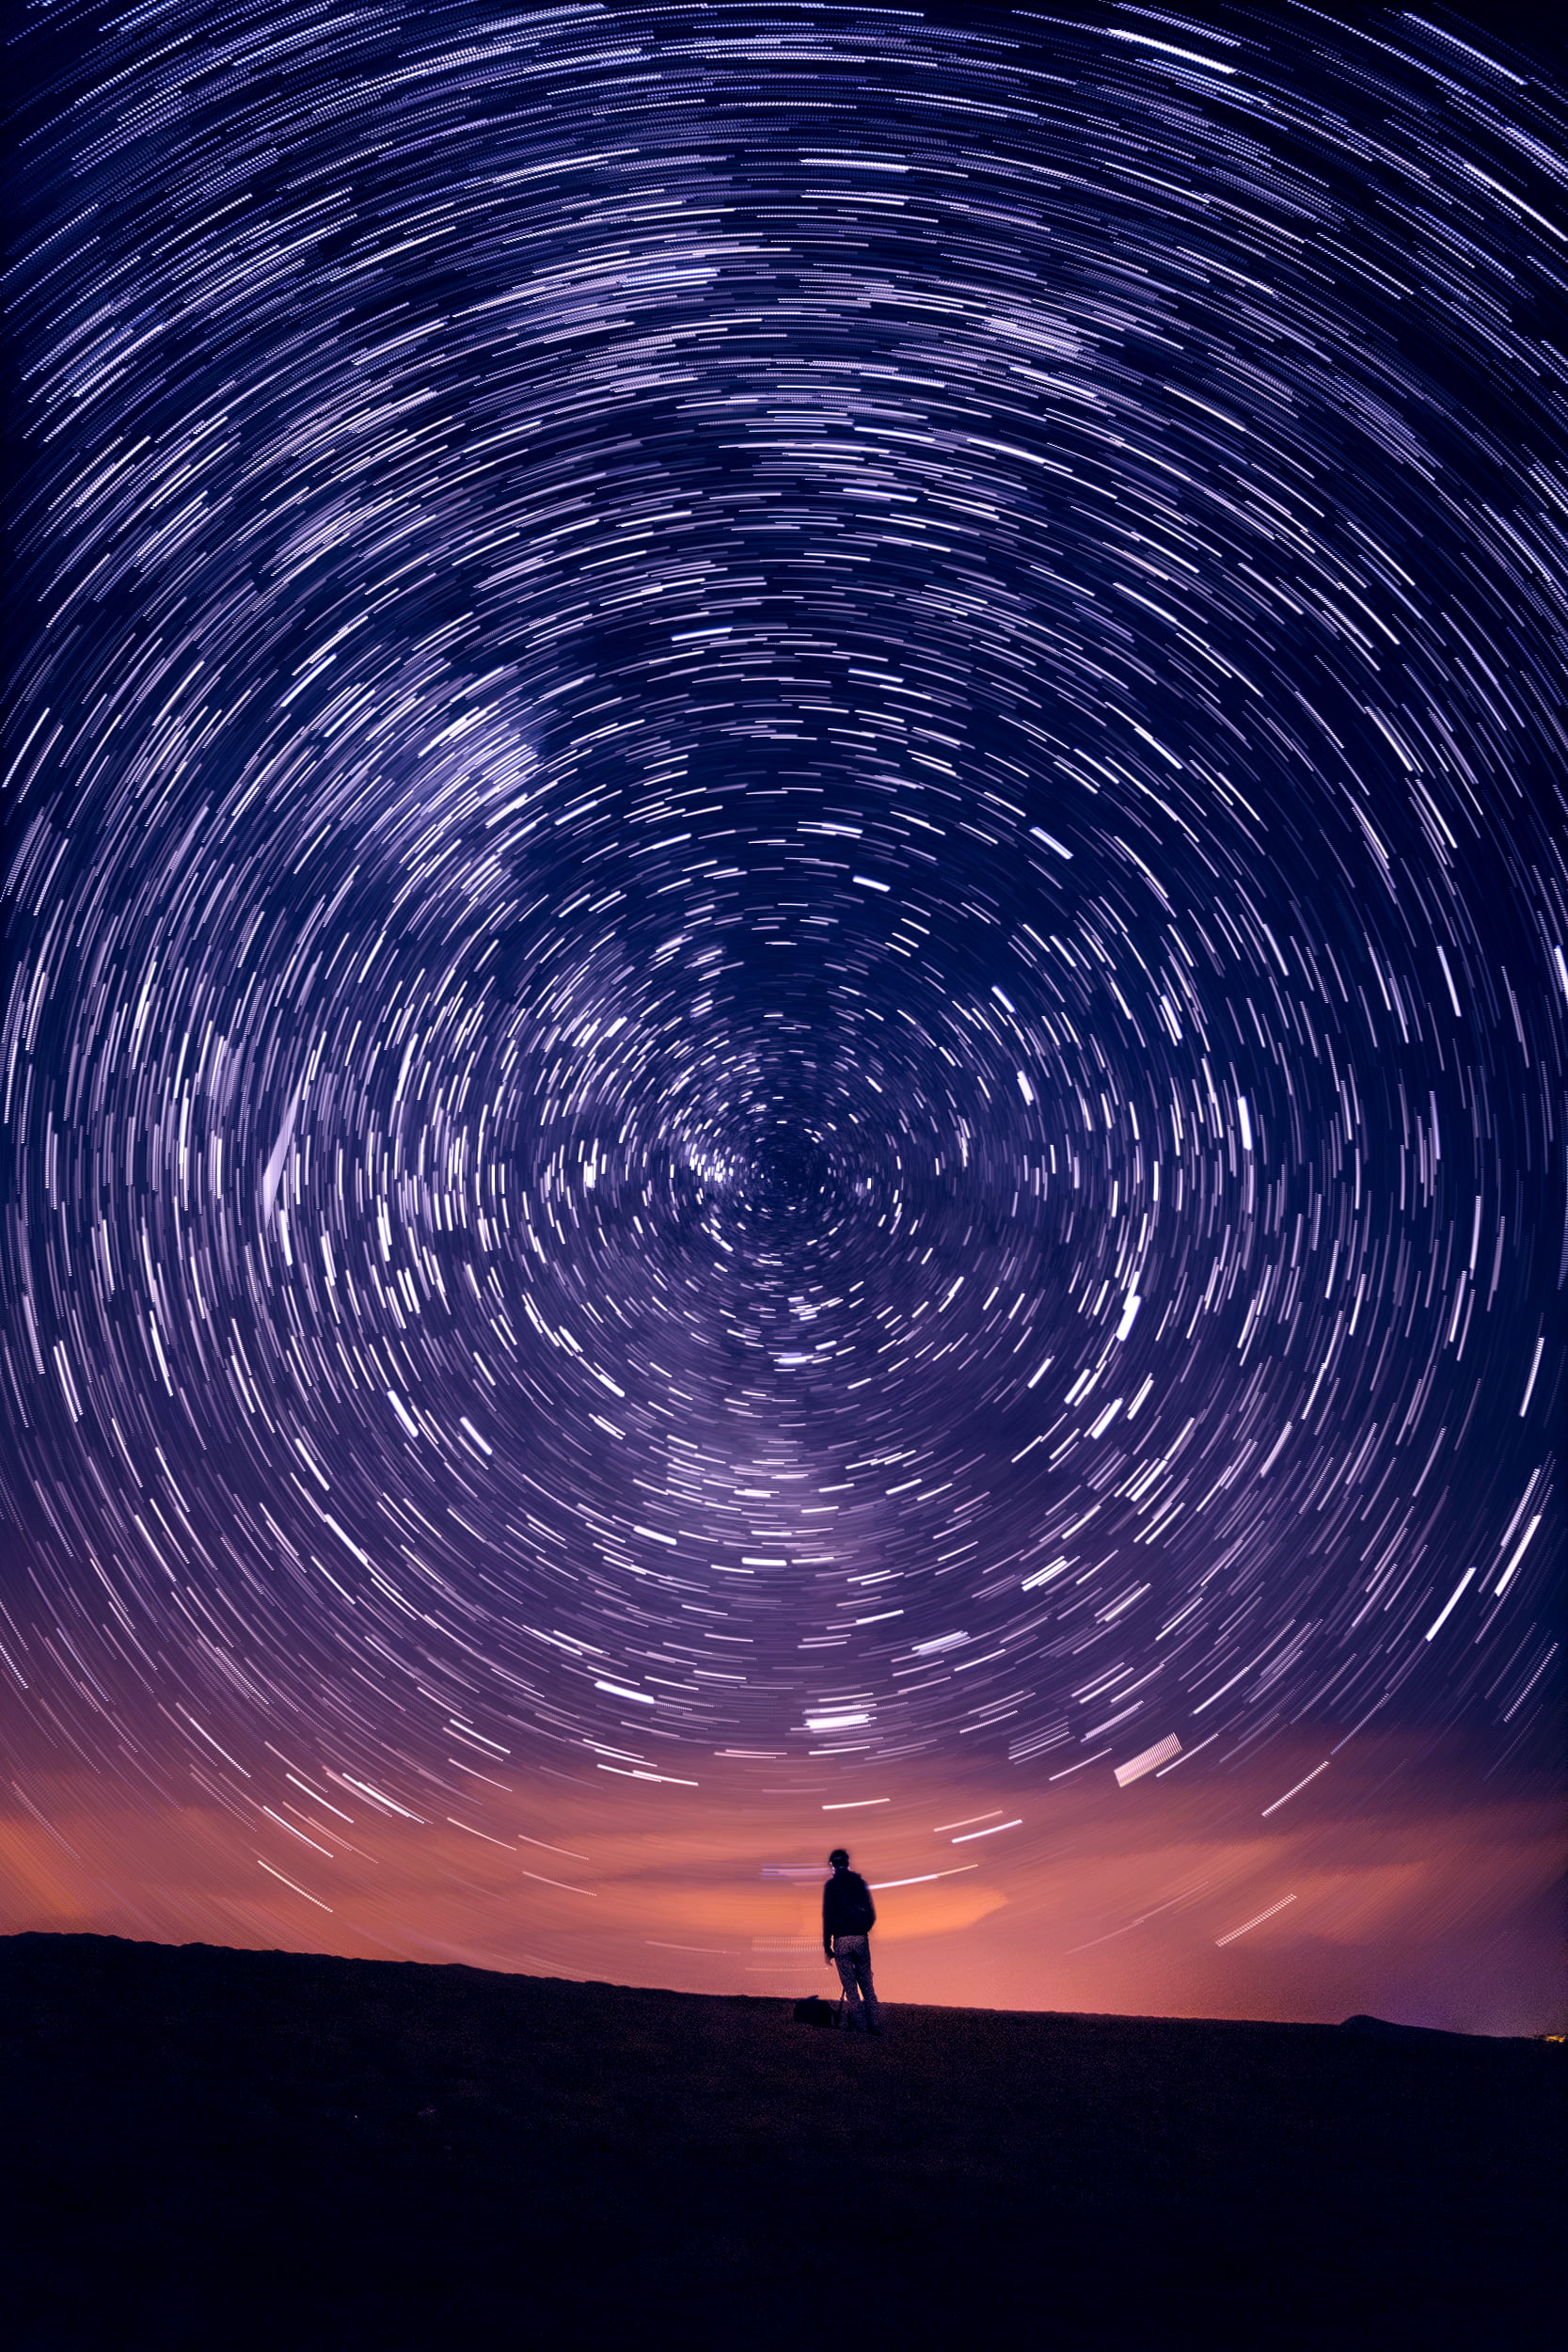
Final Image
Drag The Slider To See Before & After
How to Create Star Trails
Step 1: Duplicate your Background
Open up your image in Photoshop and duplicate the layer by pressing CTRL + J.
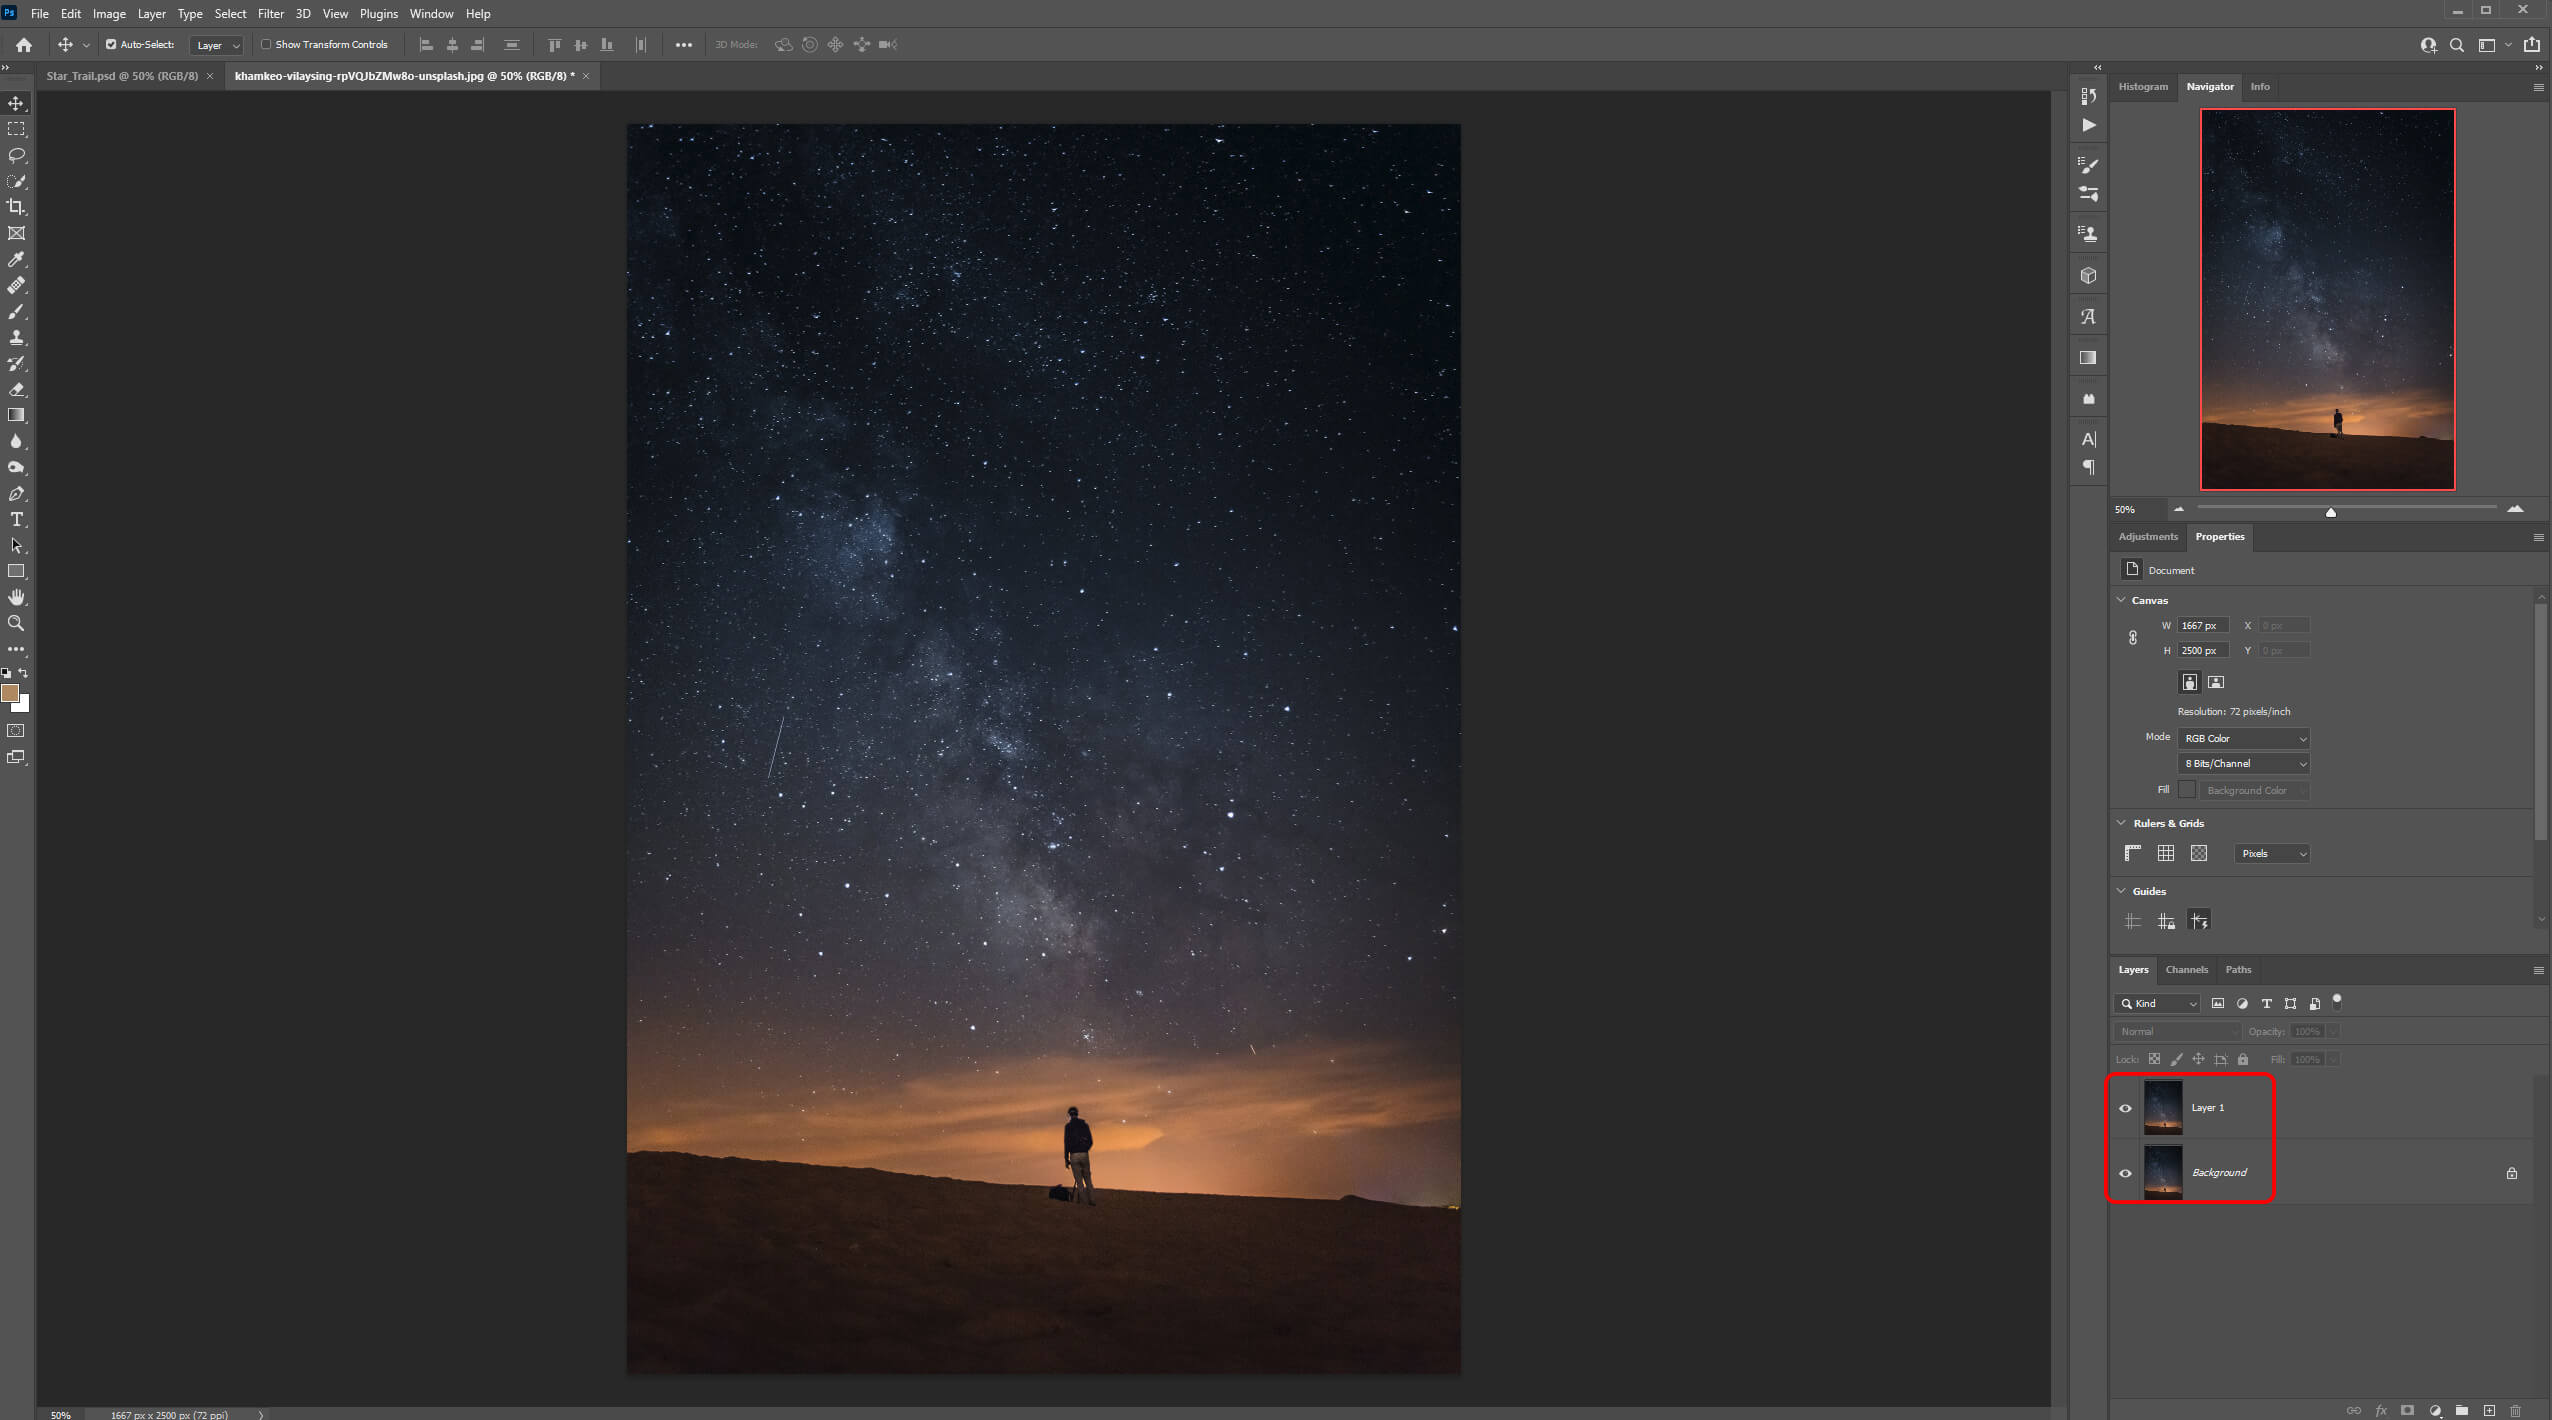
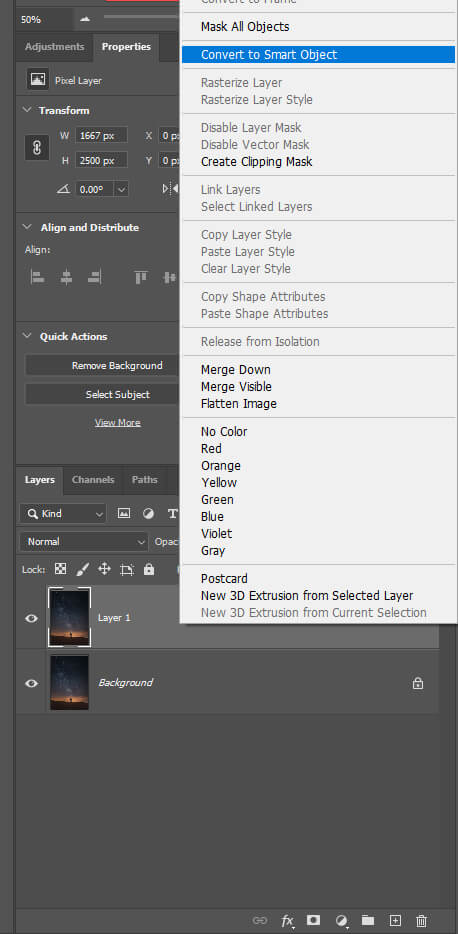
Next, right-click on this new layer and convert it into a Smart Object.
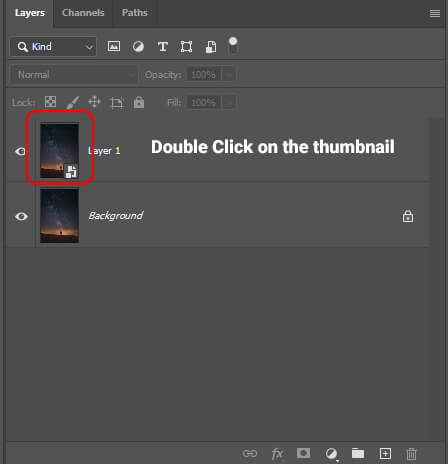
Step 2: Create the Effect
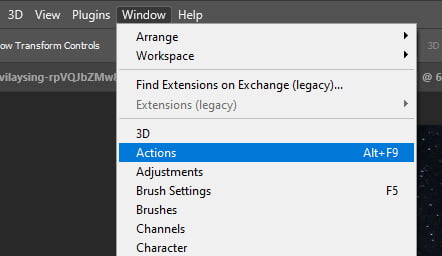
Double click on the thumbnail of the Smart Object Layer then, go to Window > Actions.
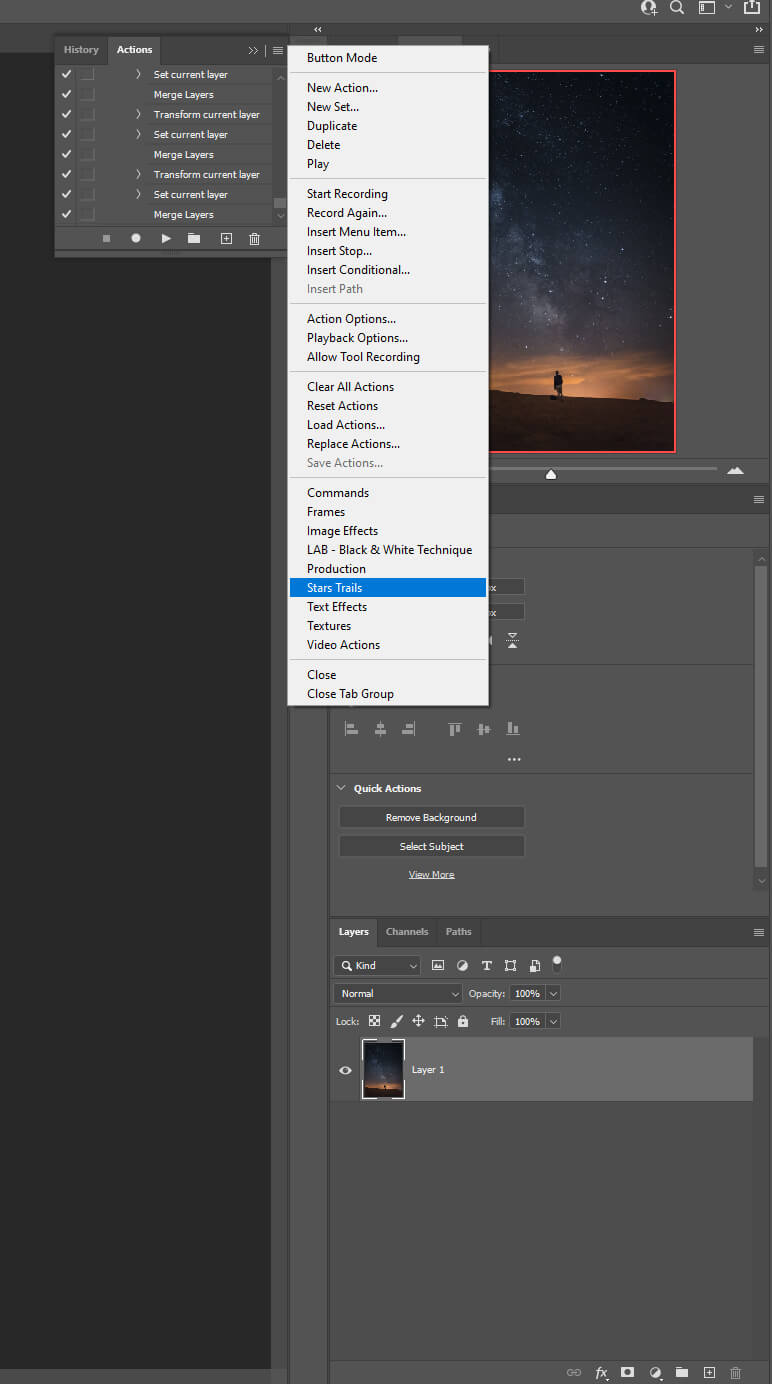
Next, select Stars Trails.
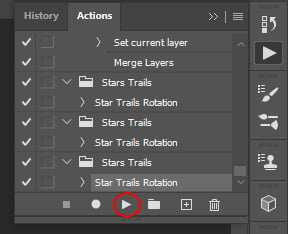
Then, select Star Trails Rotation and click on the Play Button.
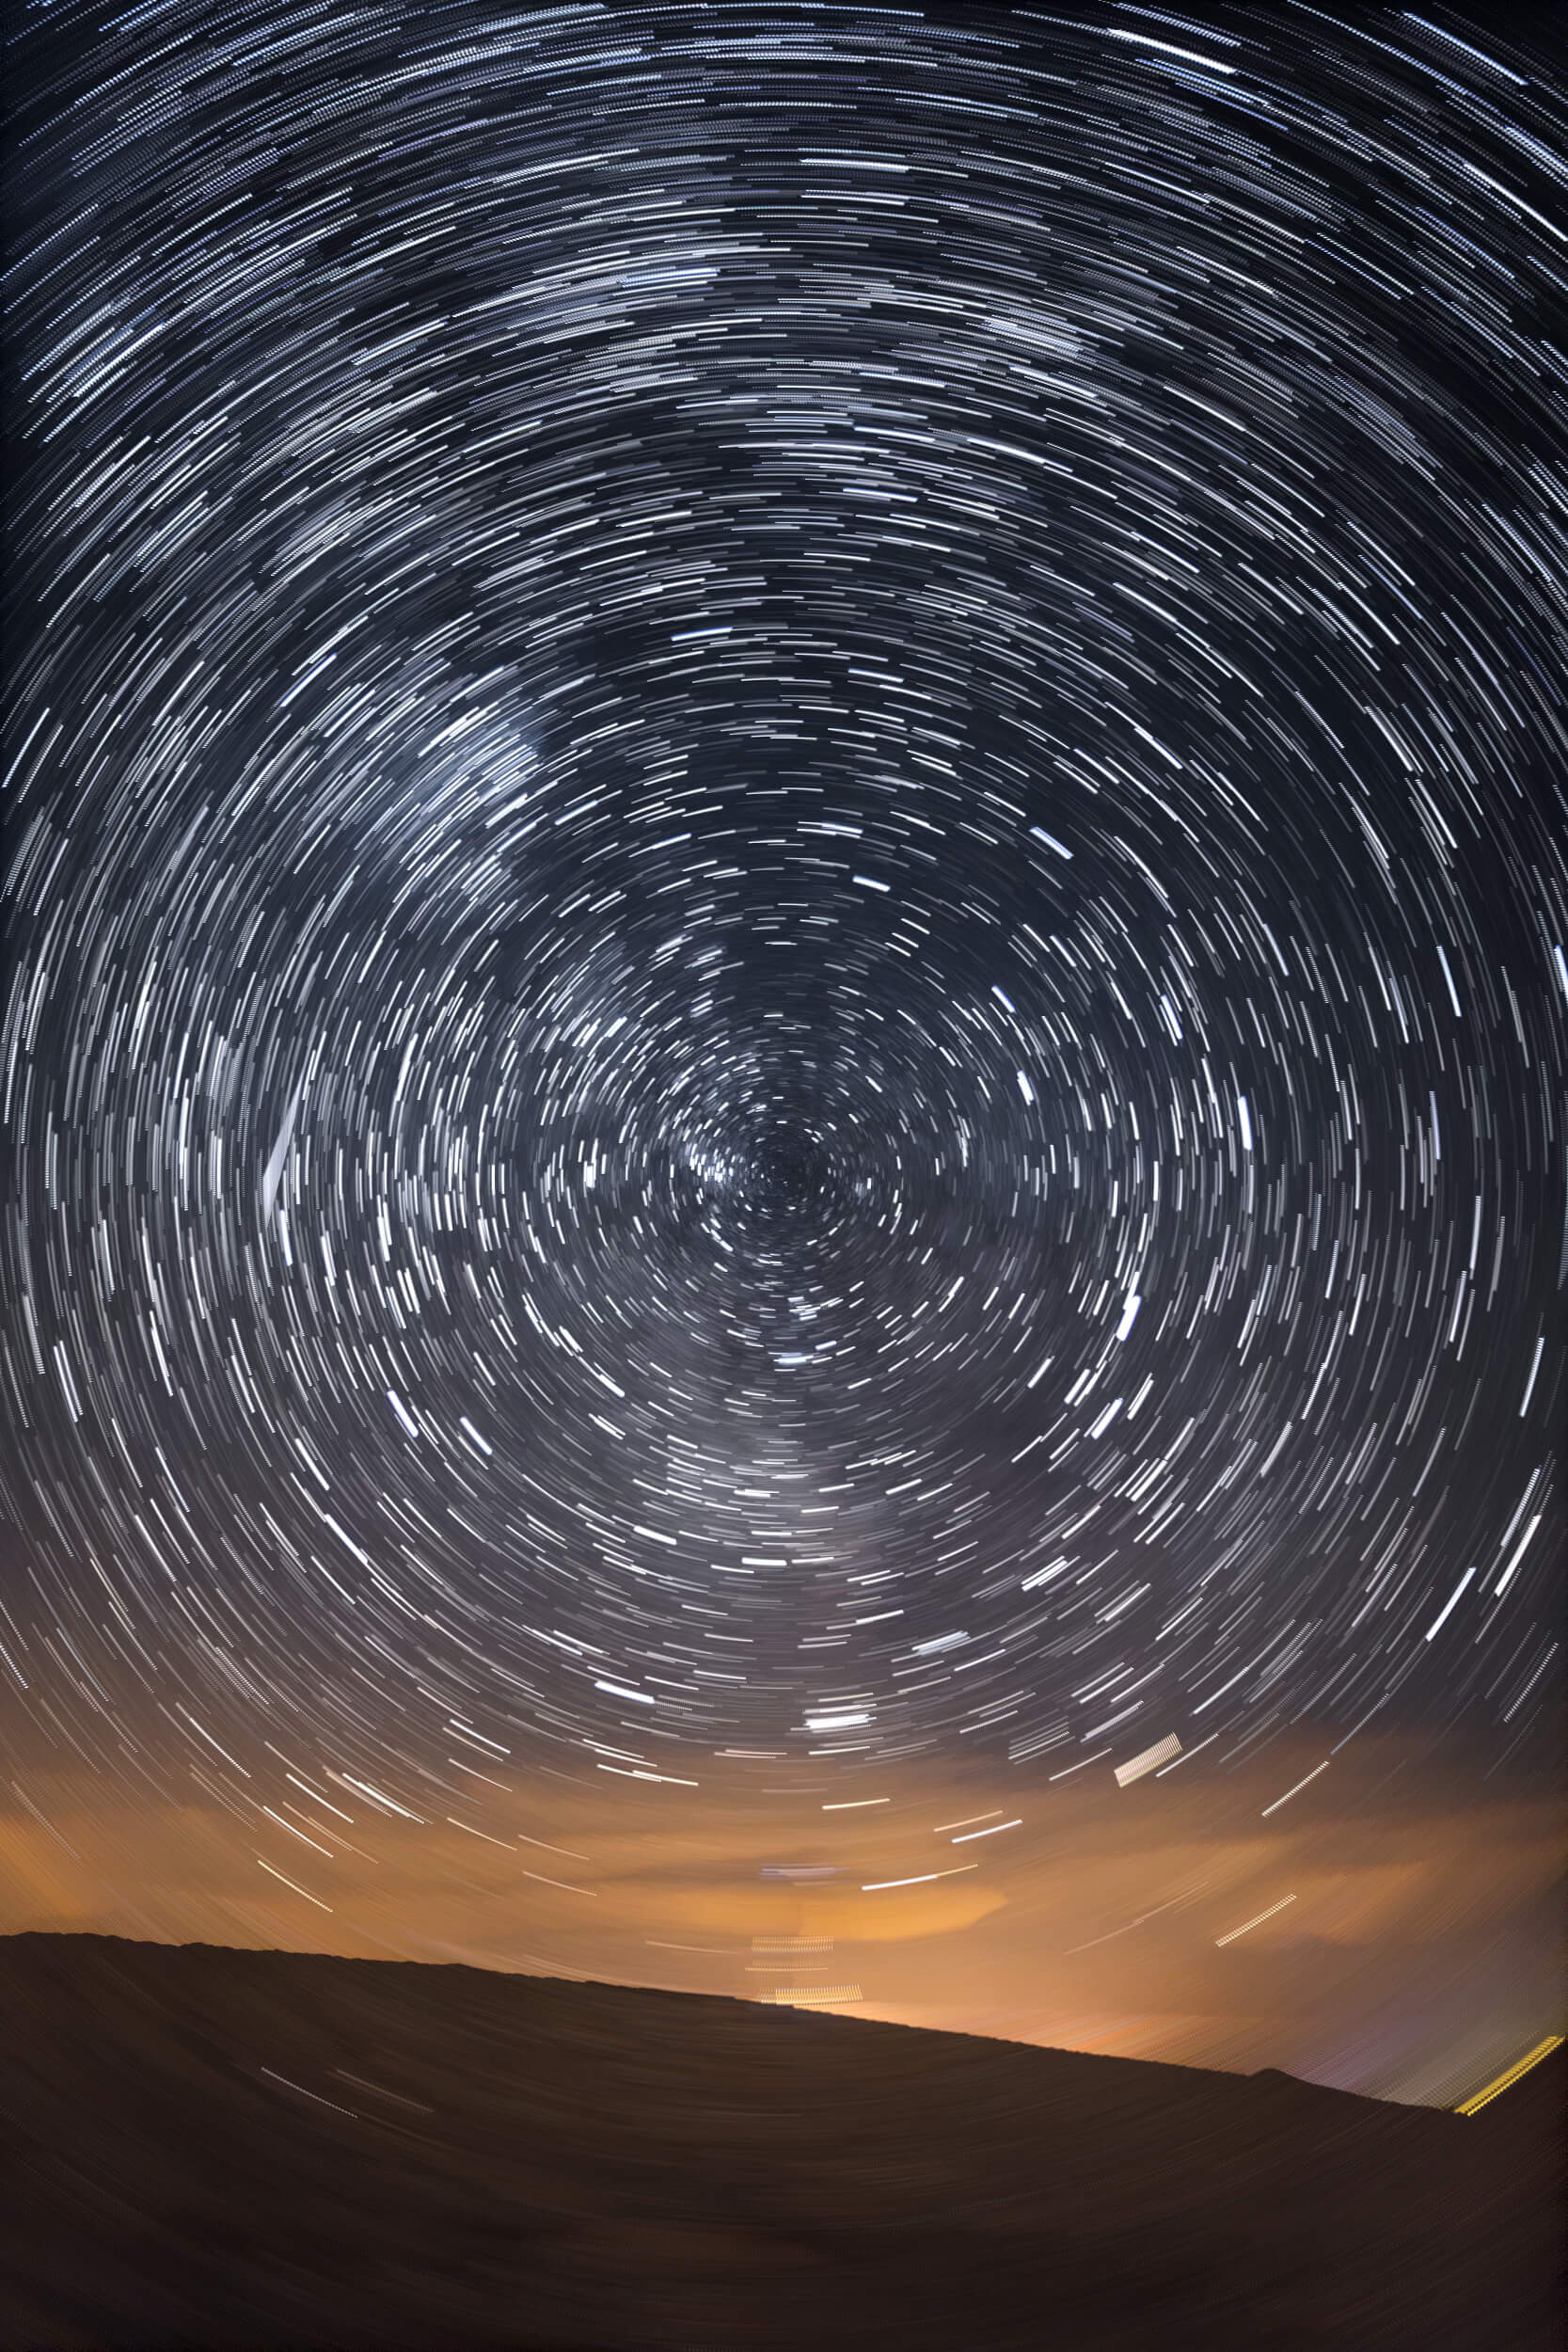
Next, press CTRL + S to save and exit out the window.
So far your image should look like the image below.
Step 3: Let’s Make Some Adjustments
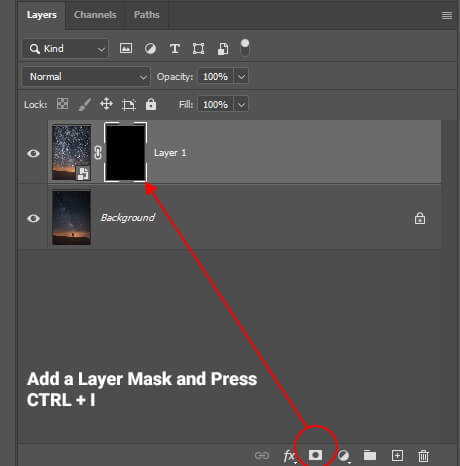
First, let’s add a Layer Mask to the top layer then press CTRL + I to invert that mask.
By inverting the mask, the star trails will disappear but don’t worry we’ll bring them back.
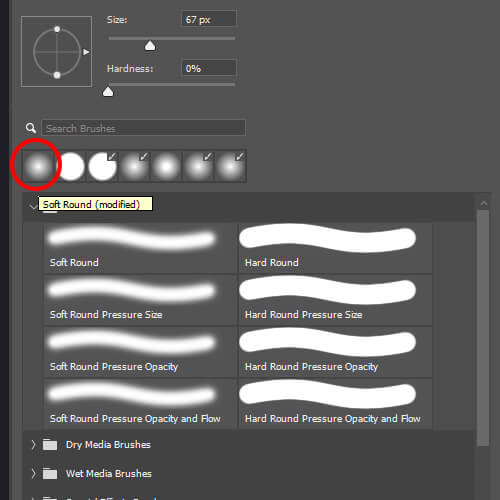
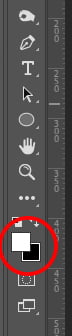
Next, press B and select a Soft Round Brush. Make sure the foreground color is set to white.
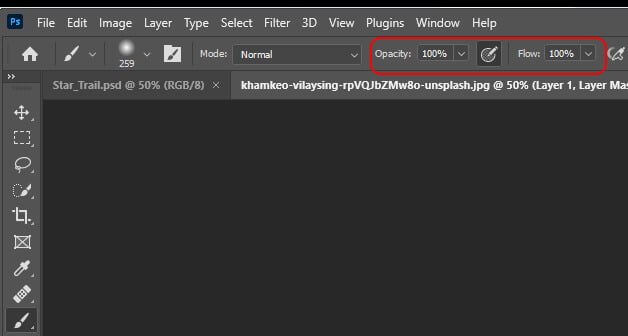
Set the Opacity and the Flow of your brush to 100%.
We can now bring back the star trails by painting in white on our Layer Mask.
Only paint the sky and go around the person by adjusting the size of your brush.
Do not paint the ground.
If you need to erase some of the Stars Press X to change the foreground color to black. (White makes the stars to show, black makes them disappear)
The top of your Layer Mask should be white and the bottom should be black.

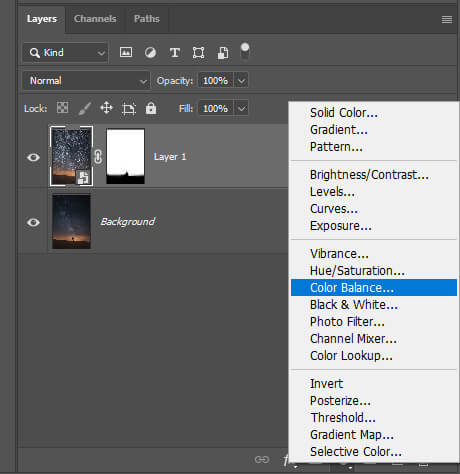
To finish our project we’ll add 1 adjustment layer.
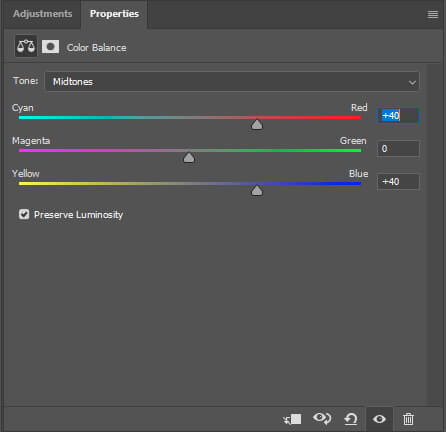
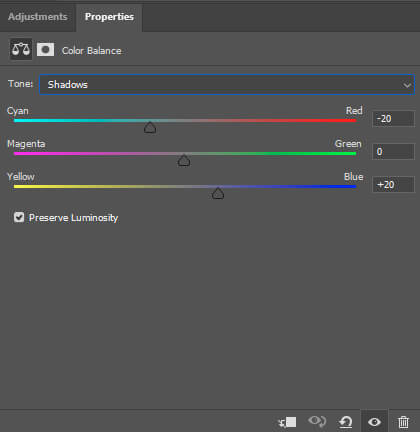
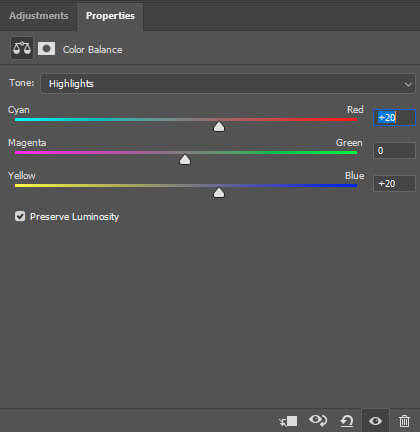
First, go to your Layer Panel and add a Color Balance Adjustment Layer then, set the Midtones, Shadows, and Highlights as shown below.
And We Are Done!

After following this tutorial, you should be able to Create Star Trails in Photoshop. I hope you found this guide useful and easy to follow. If you have any questions or suggestions please let me know in the comments down below and I’ll get back to you as soon as possible.