This Photoshop CC 2022 tutorial explains how to add images, text, and graphics to a photograph while keeping perfect perspective with the Vanishing Point Filter.
Thanks to this Photoshop Tool you’ll be able to build a basic grid and panels keeping the perspective of your current image.
When importing your text or graphic onto that grid, they automatically distort, adapt, and adopt the same viewpoint as the plane/grid.
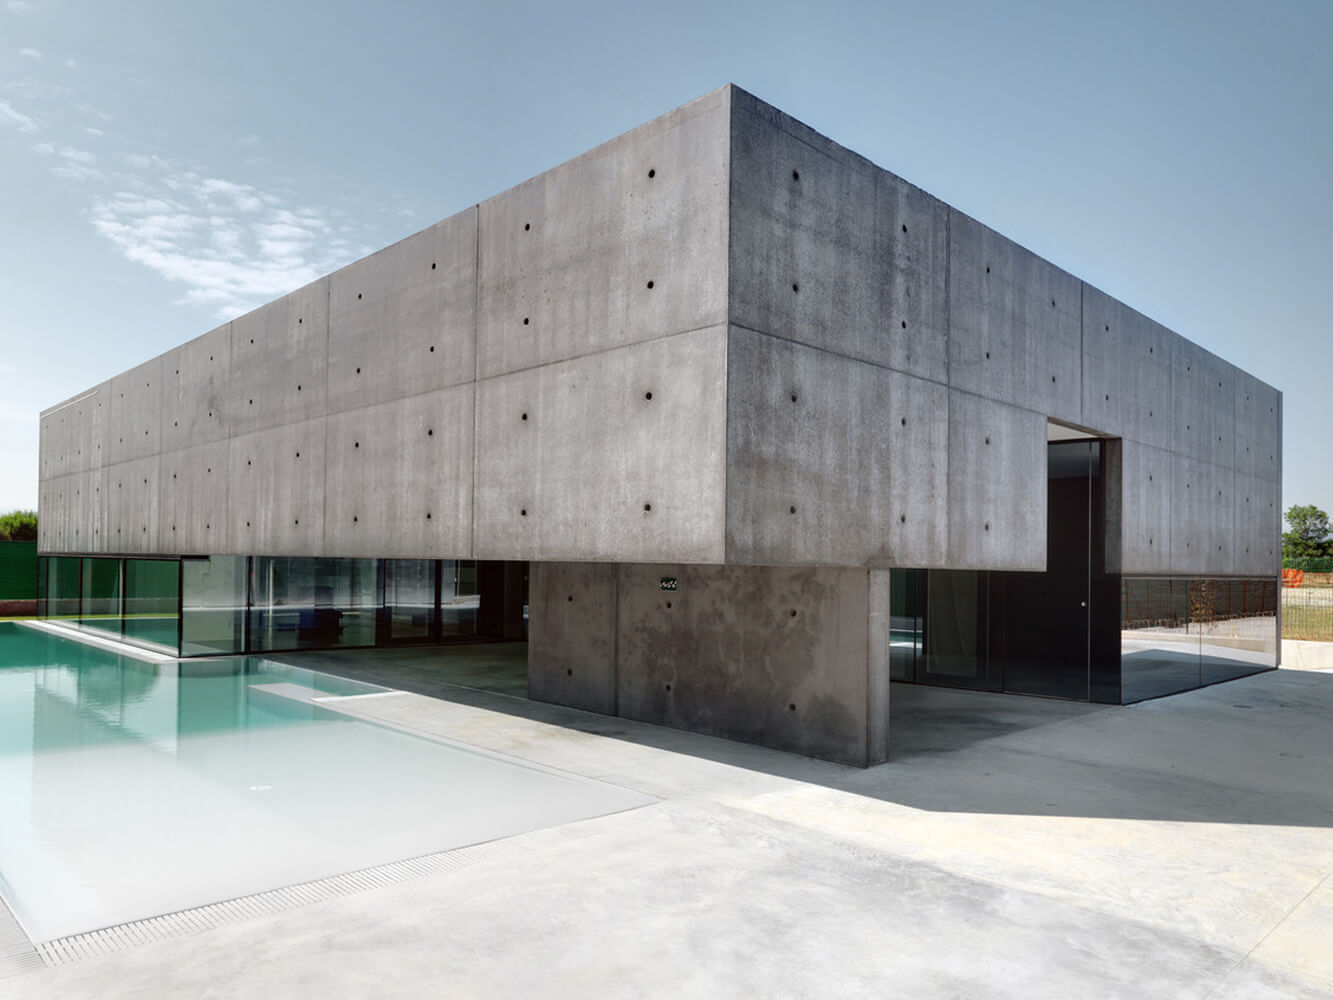
Click here to download similar images and follow along.
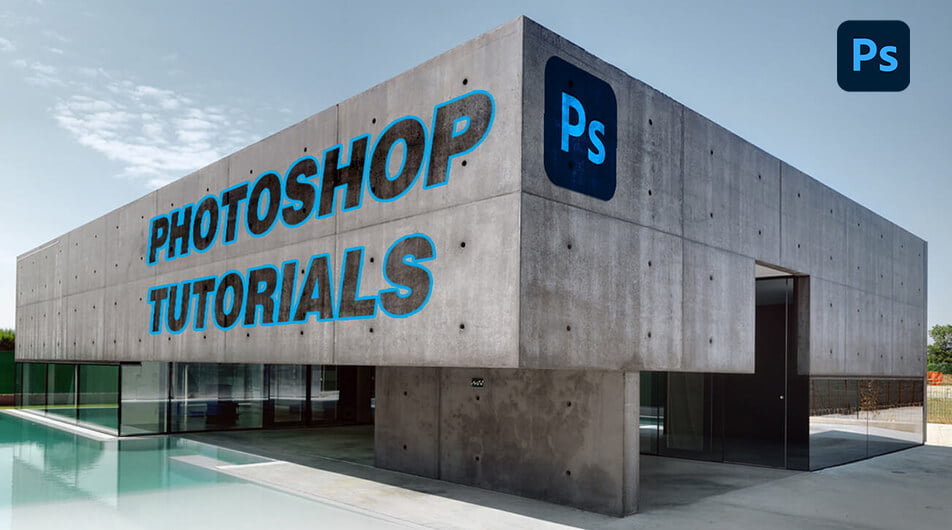
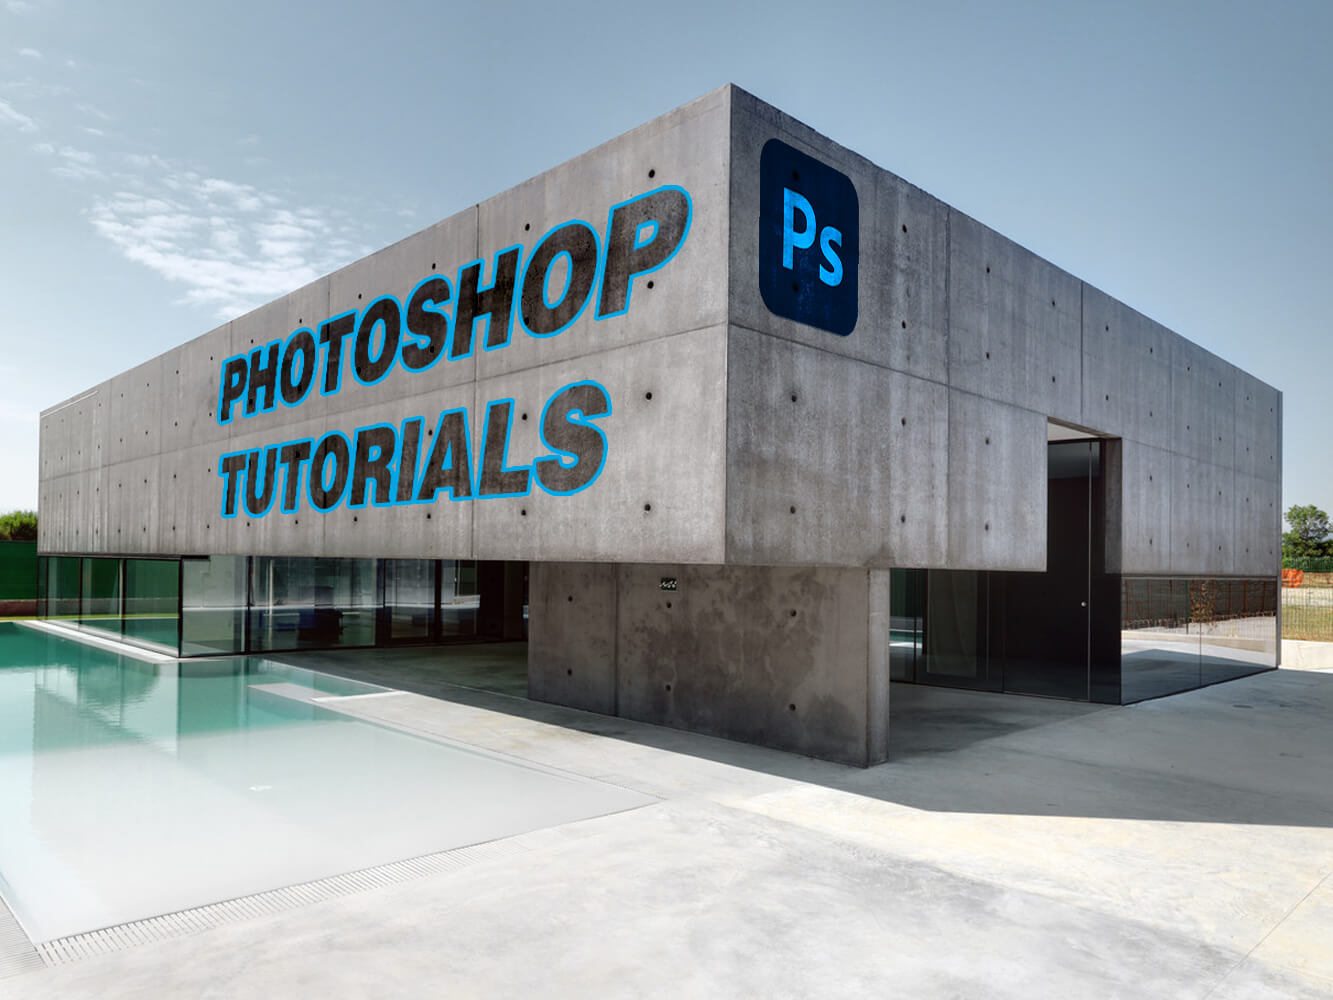
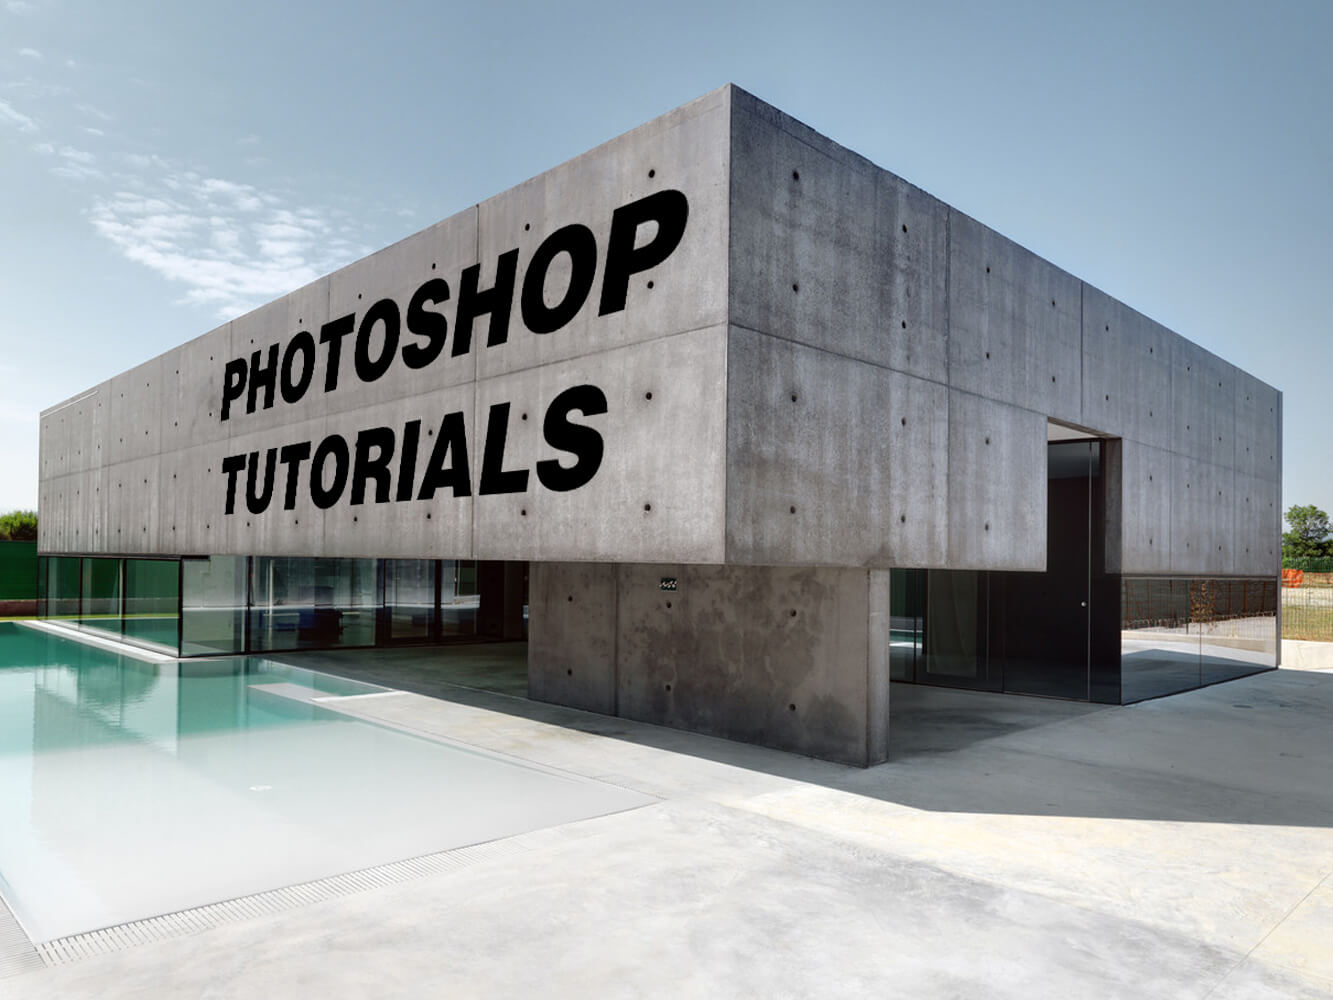
Here is the final result
How to Use the Vanishing Point Tool in Photoshop
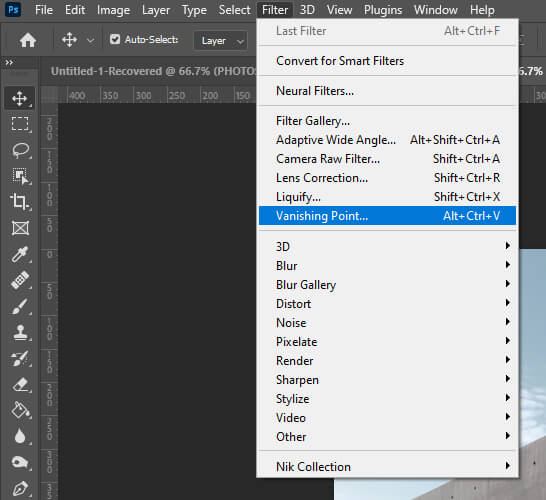
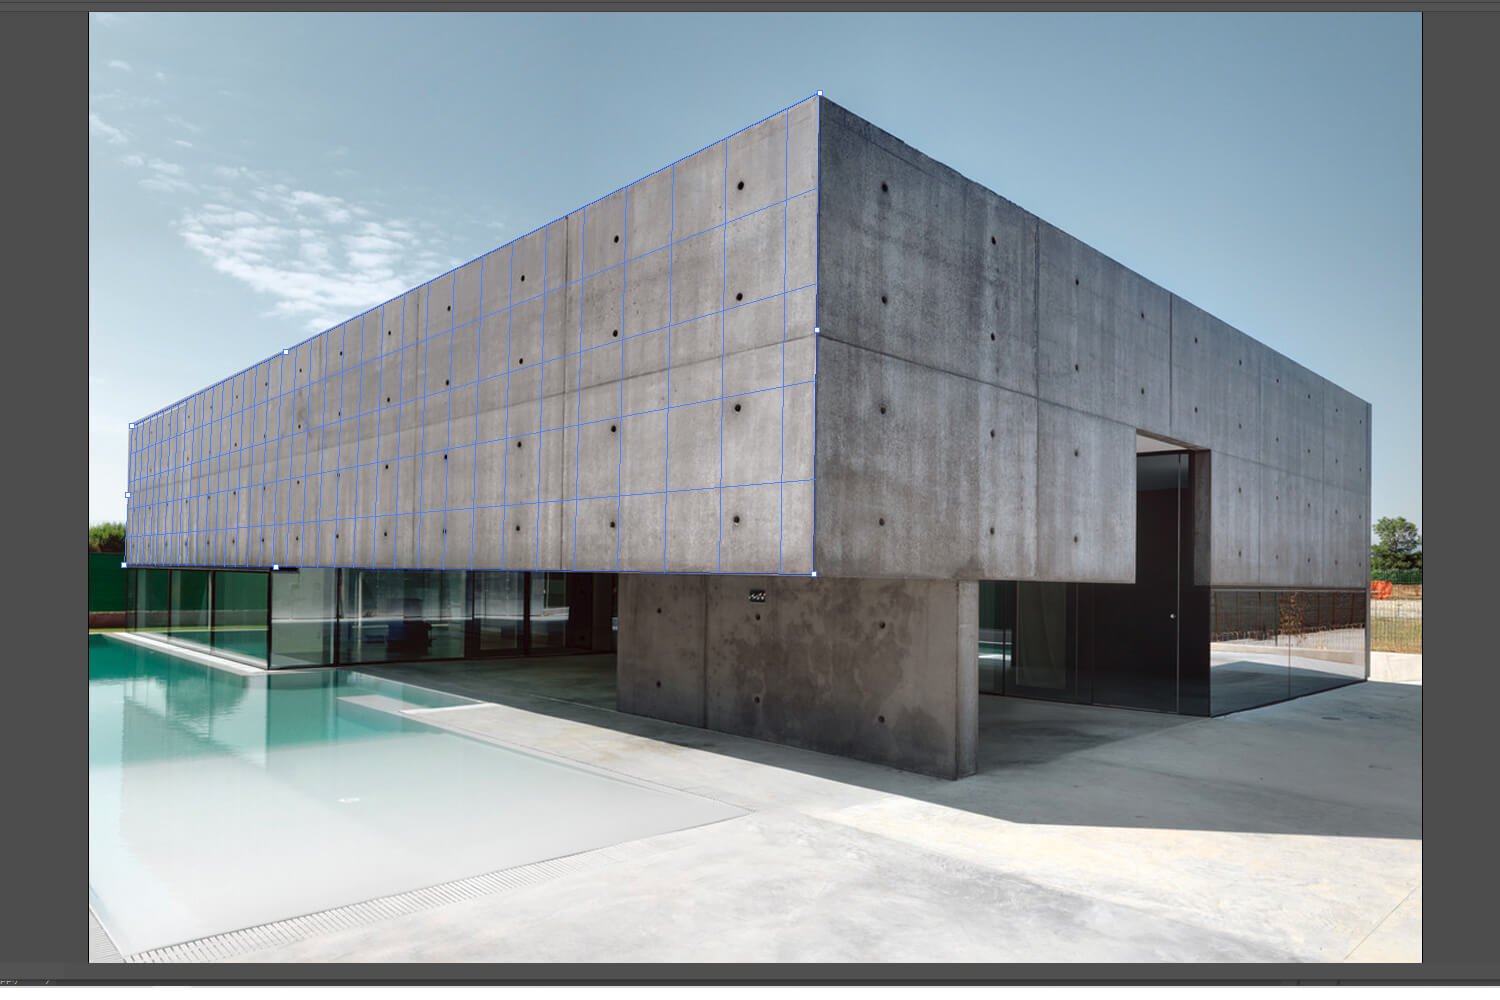
Step 1: Create Plane/Grid
First, open your image in Photoshop and add a blank layer from your Layer Panel. Next, select that blank layer then go to Filter > Vanishing Point.

We’ll select the section where we want your text or graphic to be placed.
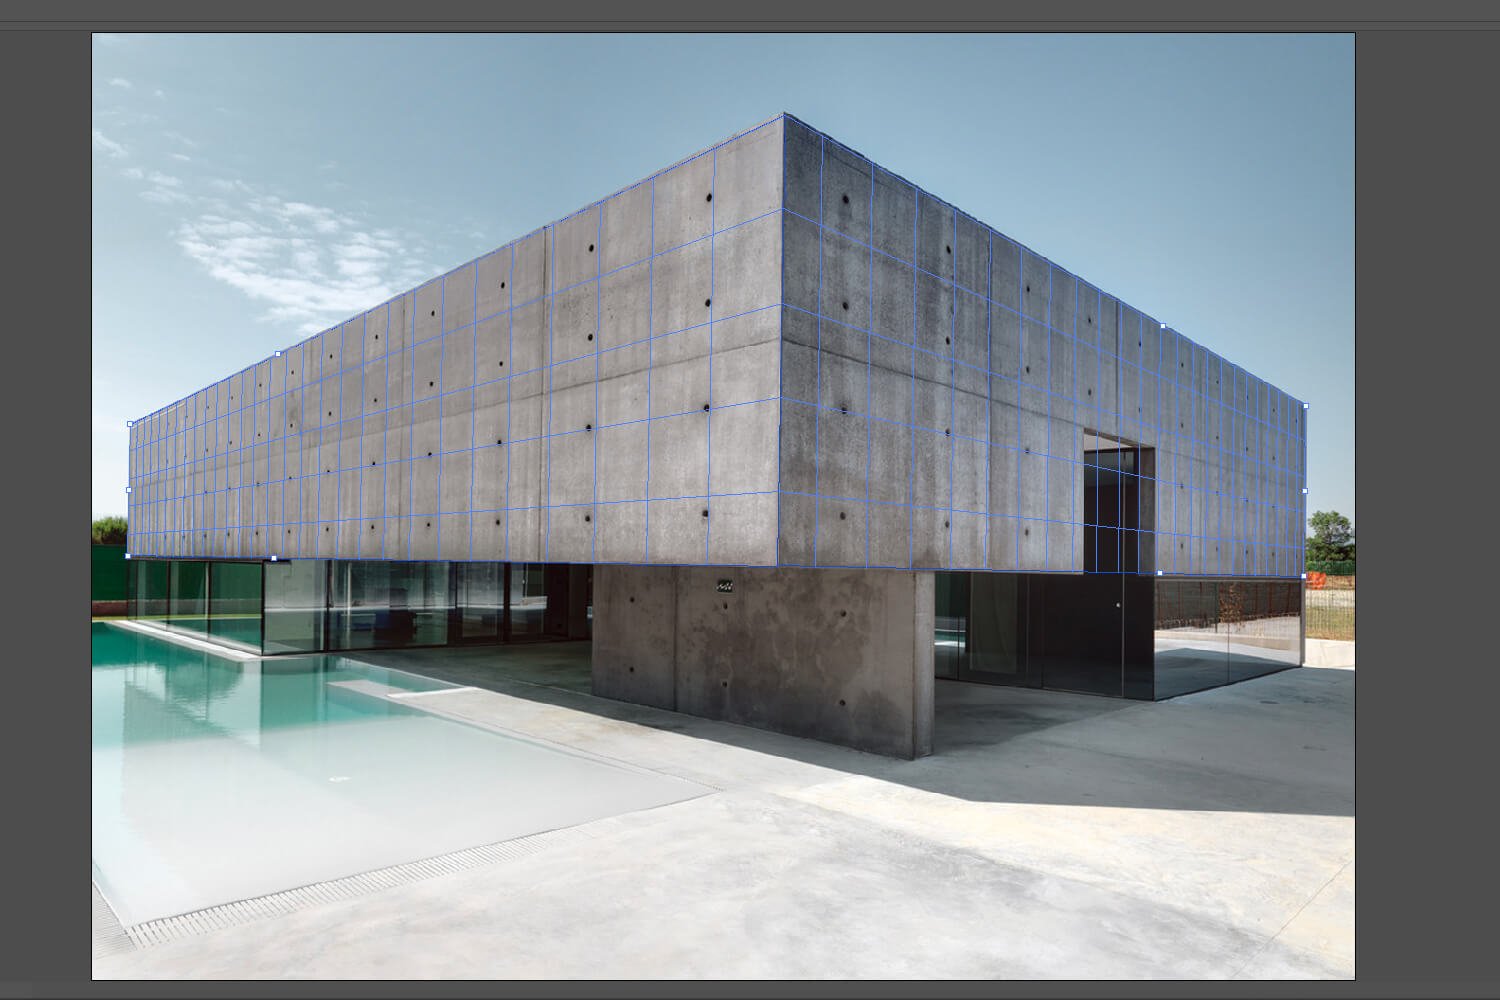
If you have another plane where you want to put your text or graphic just Hold/Cmd to branch off a new plane. It should line up perfectly with the other wall. If it doesn’t adjust it manually.

This is what your image should be like after applying the Vanishing Point Filter on those two walls. Once it is done press OK.
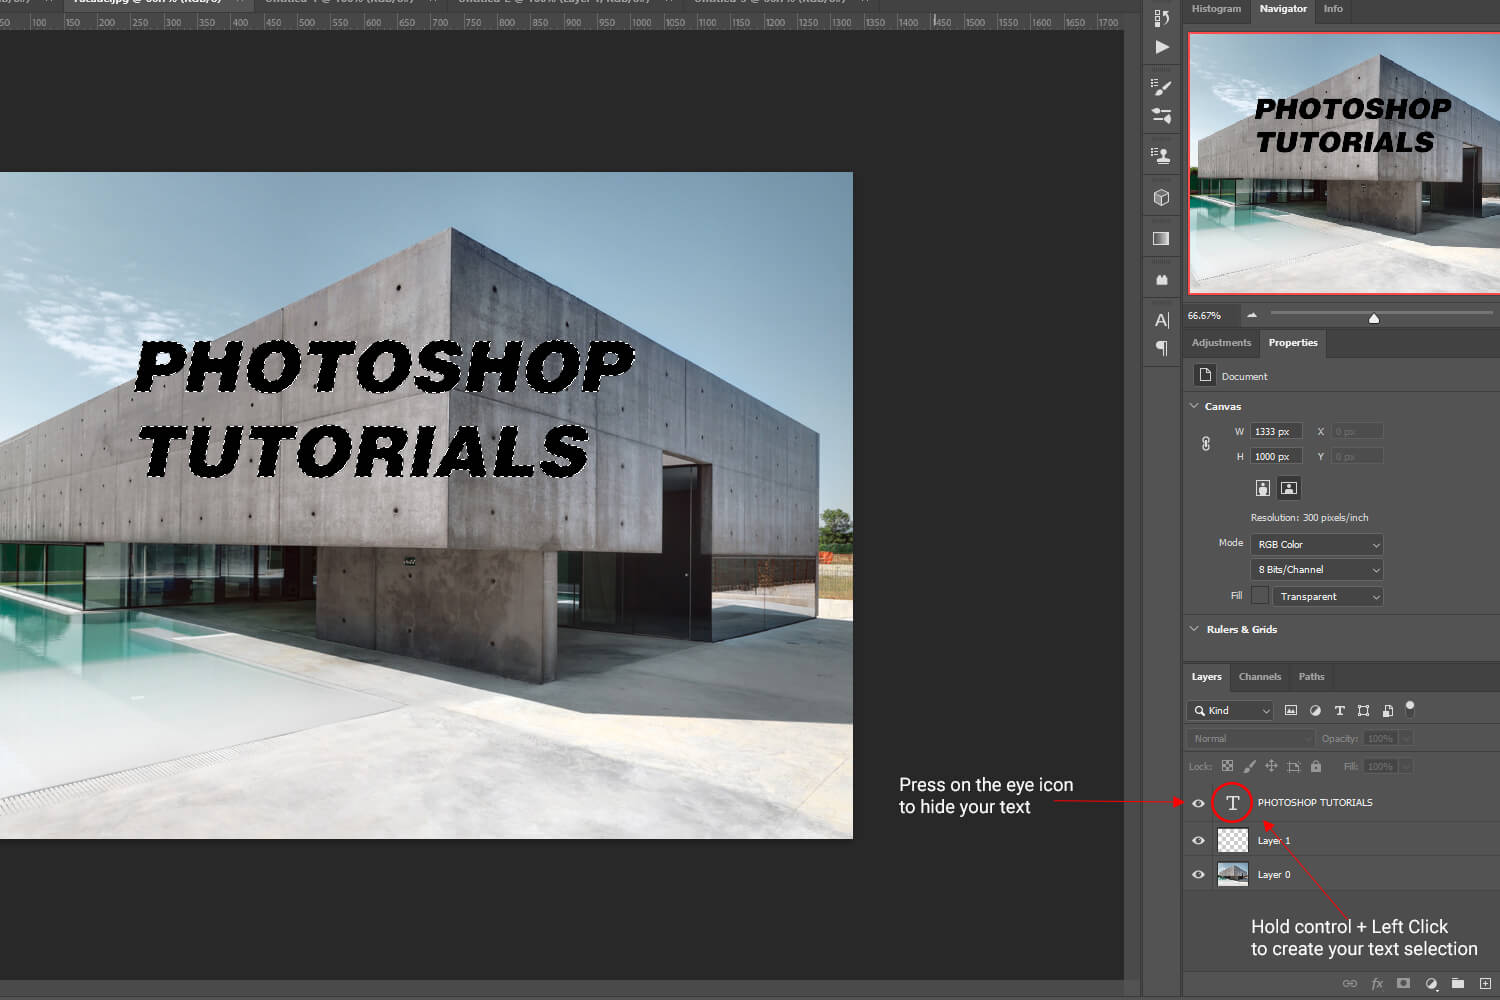
Step 2: Add your Text & Graphic
In this example, I’m going to use some text and a graphic. Let’s start with the text.
Press T and type your text. Once your text is typed hold Ctrl/Cmd and click on the T of the text layer in the layer panel to make a text selection. Once your text selection is active hide the text by pressing on the eye icon and copy your selection by pressing Ctrl + C. Press Ctrl + D to undo your selection.
Next, select your blank layer and go back to Filter > Vanishing Point. Press Ctrl + V to paste your text and adjust it the way you want. Your text should perfectly aline with the wall.
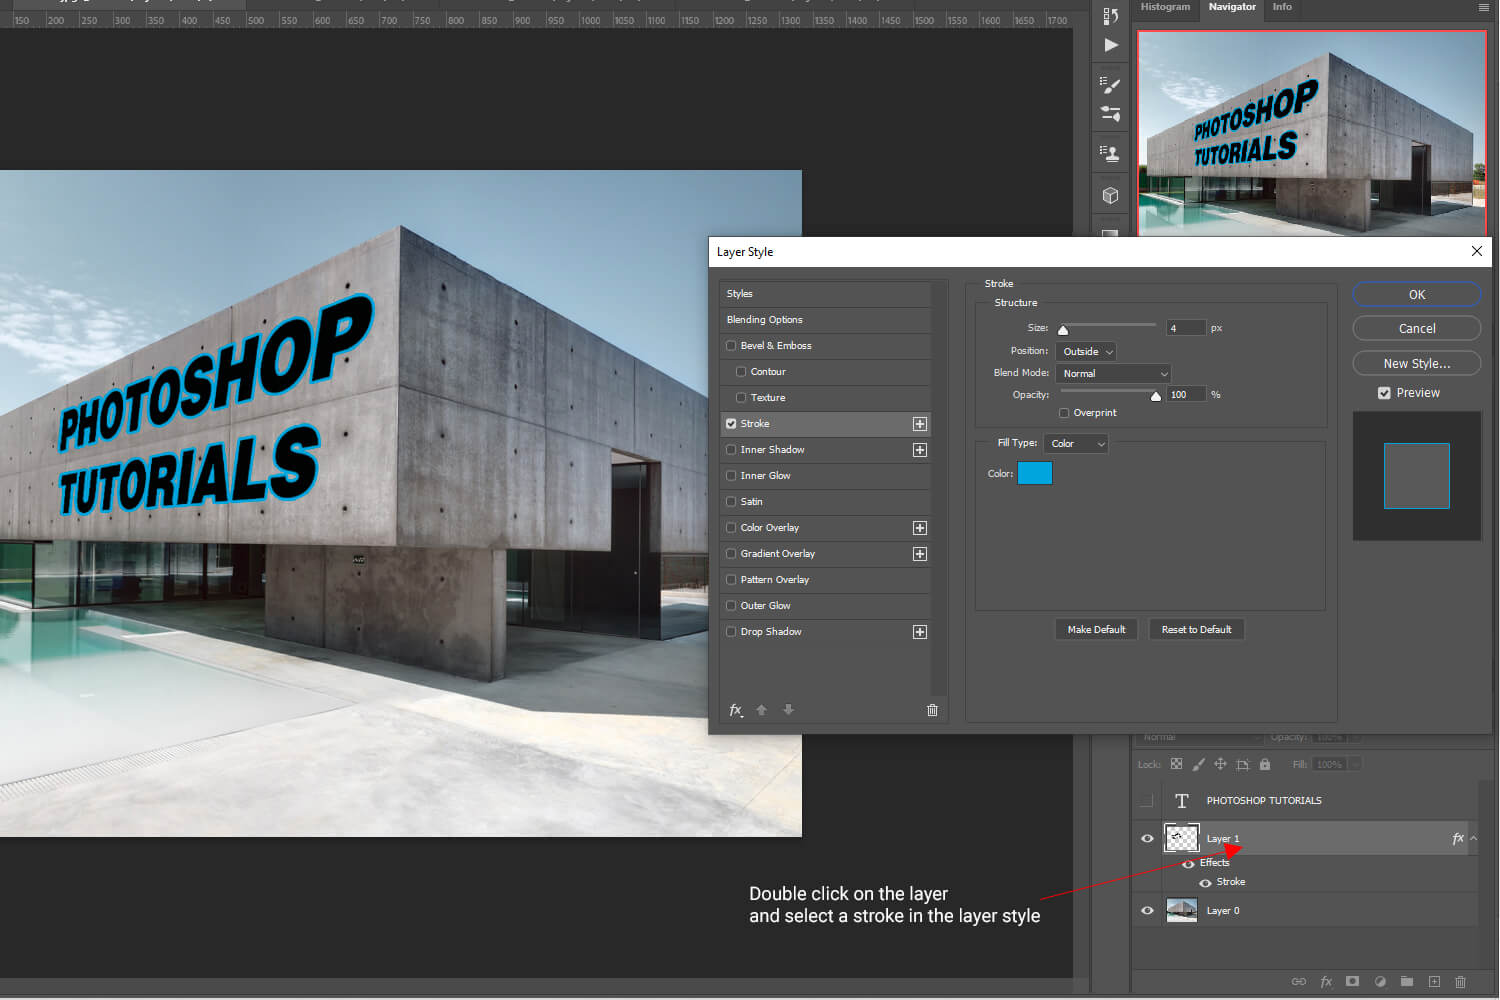
After that, I’m going to add a stroke to my text to make it pop. Double click on your text layer and select the stroke option. Choose a color that you like.
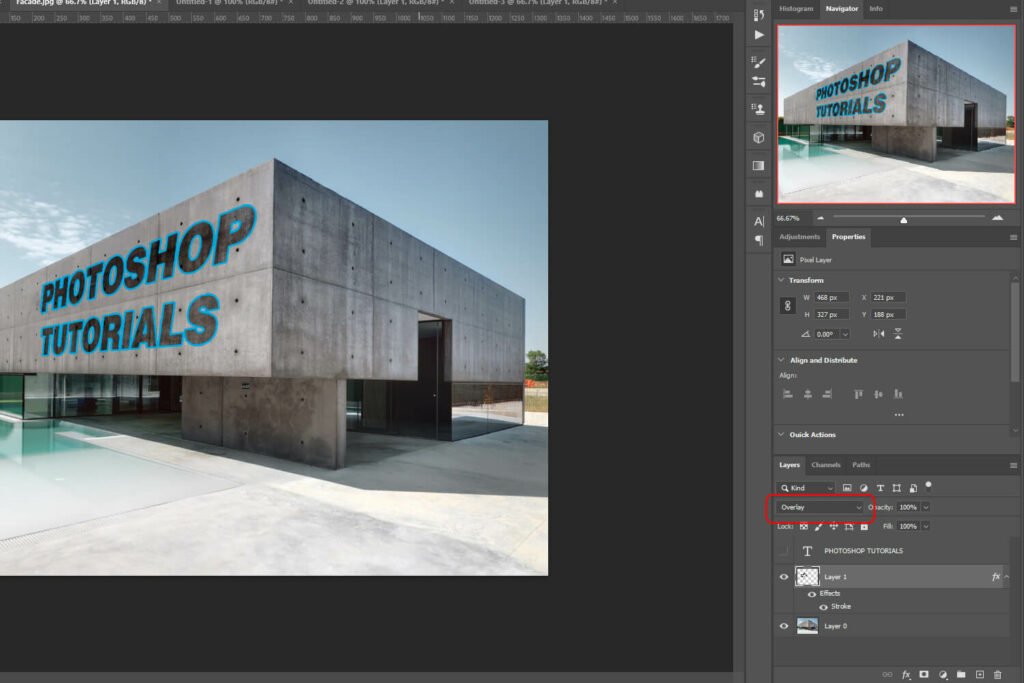
To blend the text with the wall change the blending mode to Overlay or Multiply.
Repeat the same procedure if you want to add a graphic or more text. In this example, I’m going to add the Photoshop logo on the other wall.
And we are done!

After following this tutorial, you should be able to use the Vanishing Point Tool in Photoshop. I hope you found this guide useful and easy to follow. If you have any questions or suggestions please let me know in the comments down below and I will get back to you as soon as possible.