In this tutorial, I’ll show you how to create a light glow effect in Photoshop.
By using different adjustment layers and blending modes, you can easily achieve that effect.
We’ll first create a selection, then a day-to-night conversion, and to finish we’ll add the light glow effect to the lantern.
For this lesson, I’ll use Photoshop 2022.
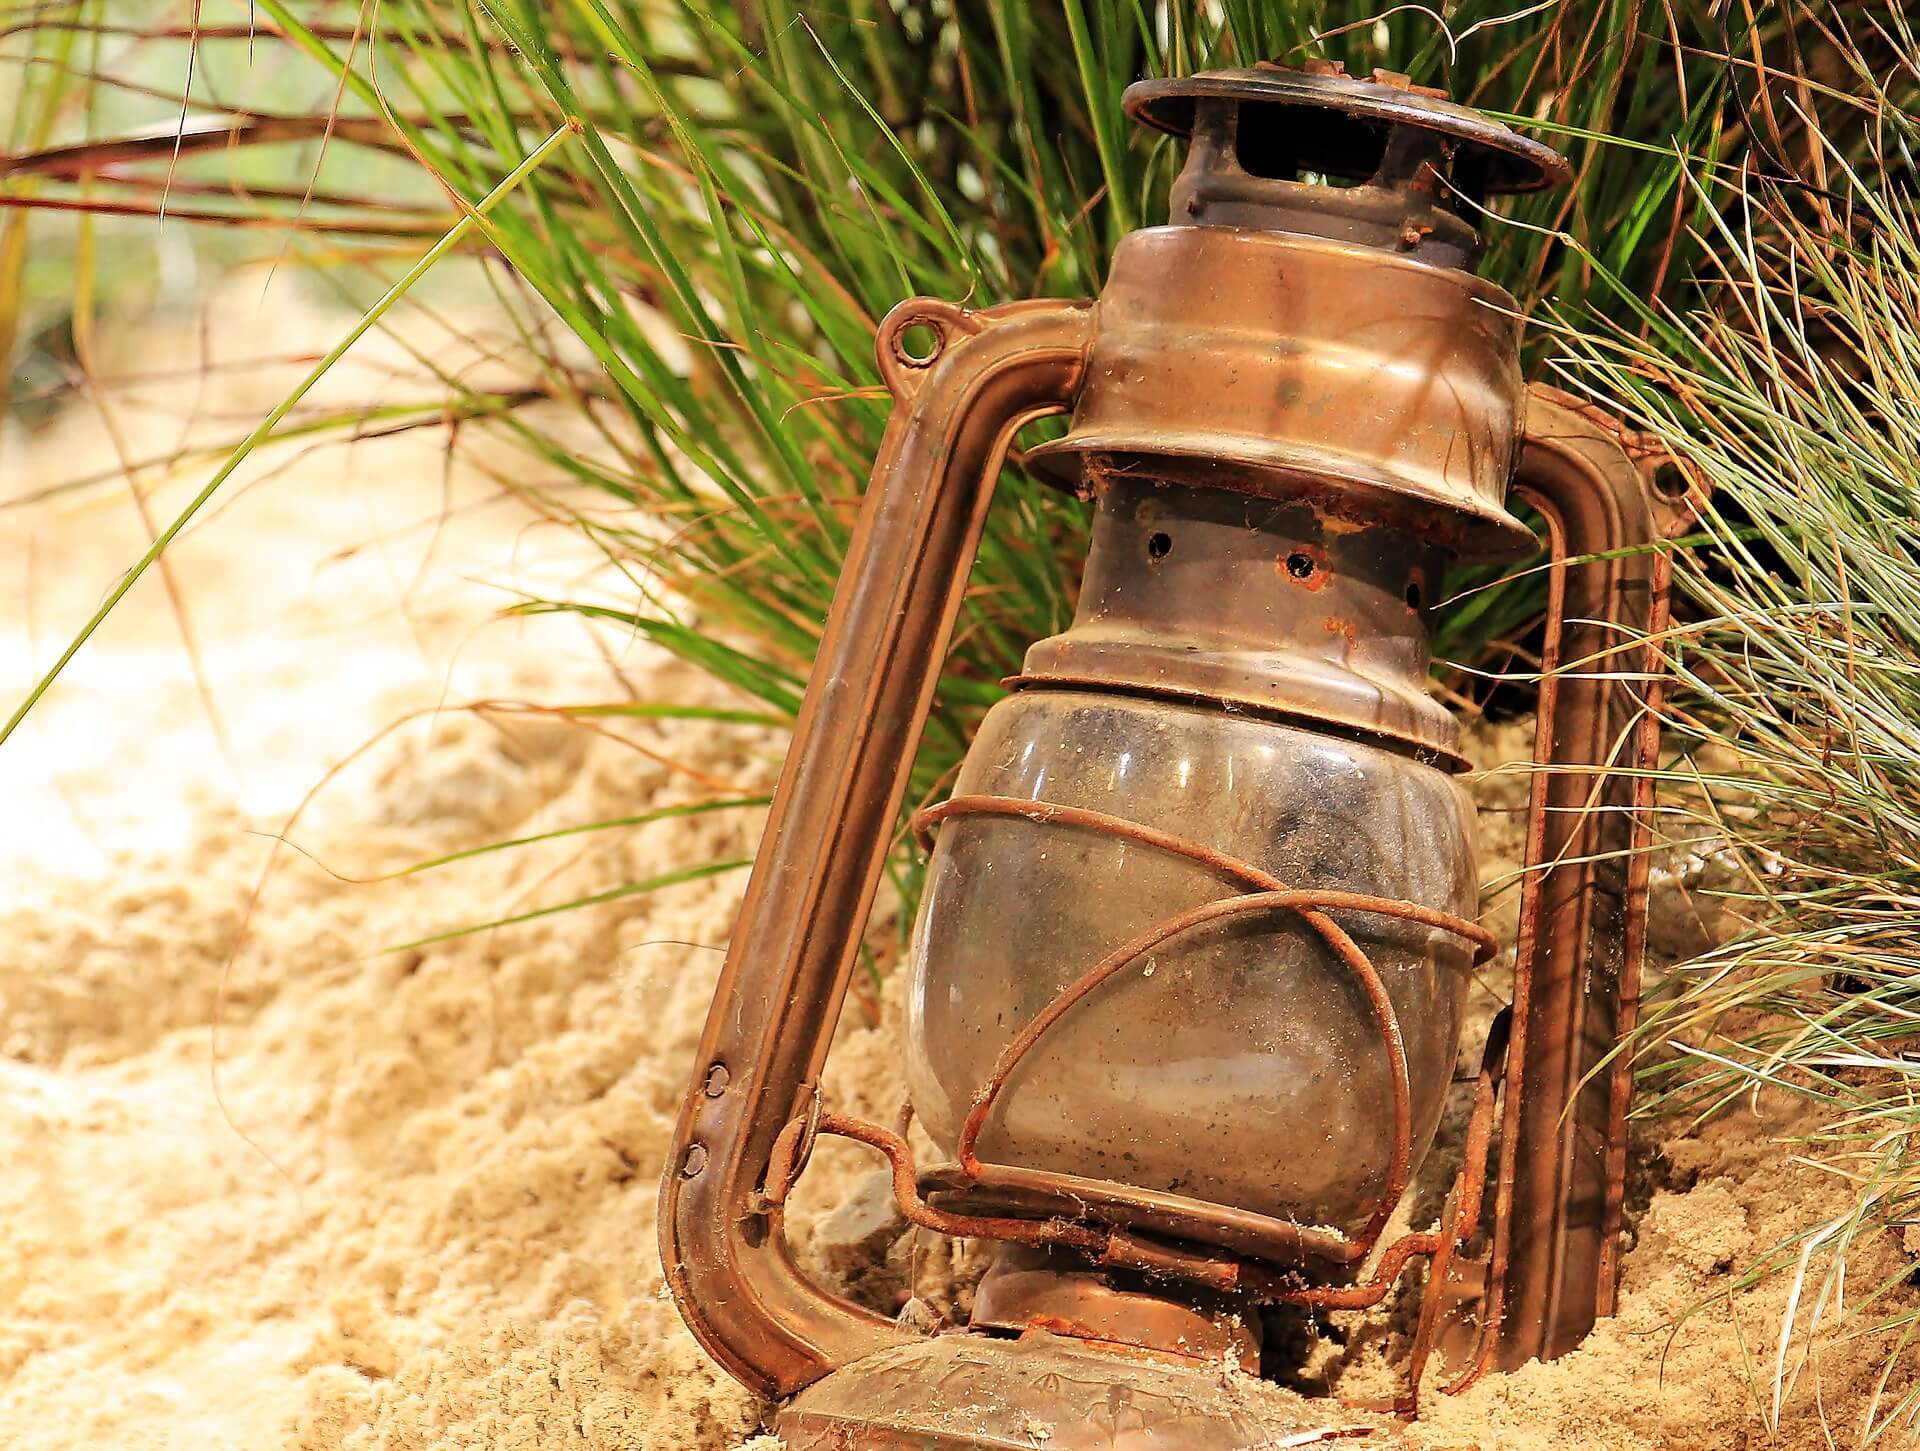
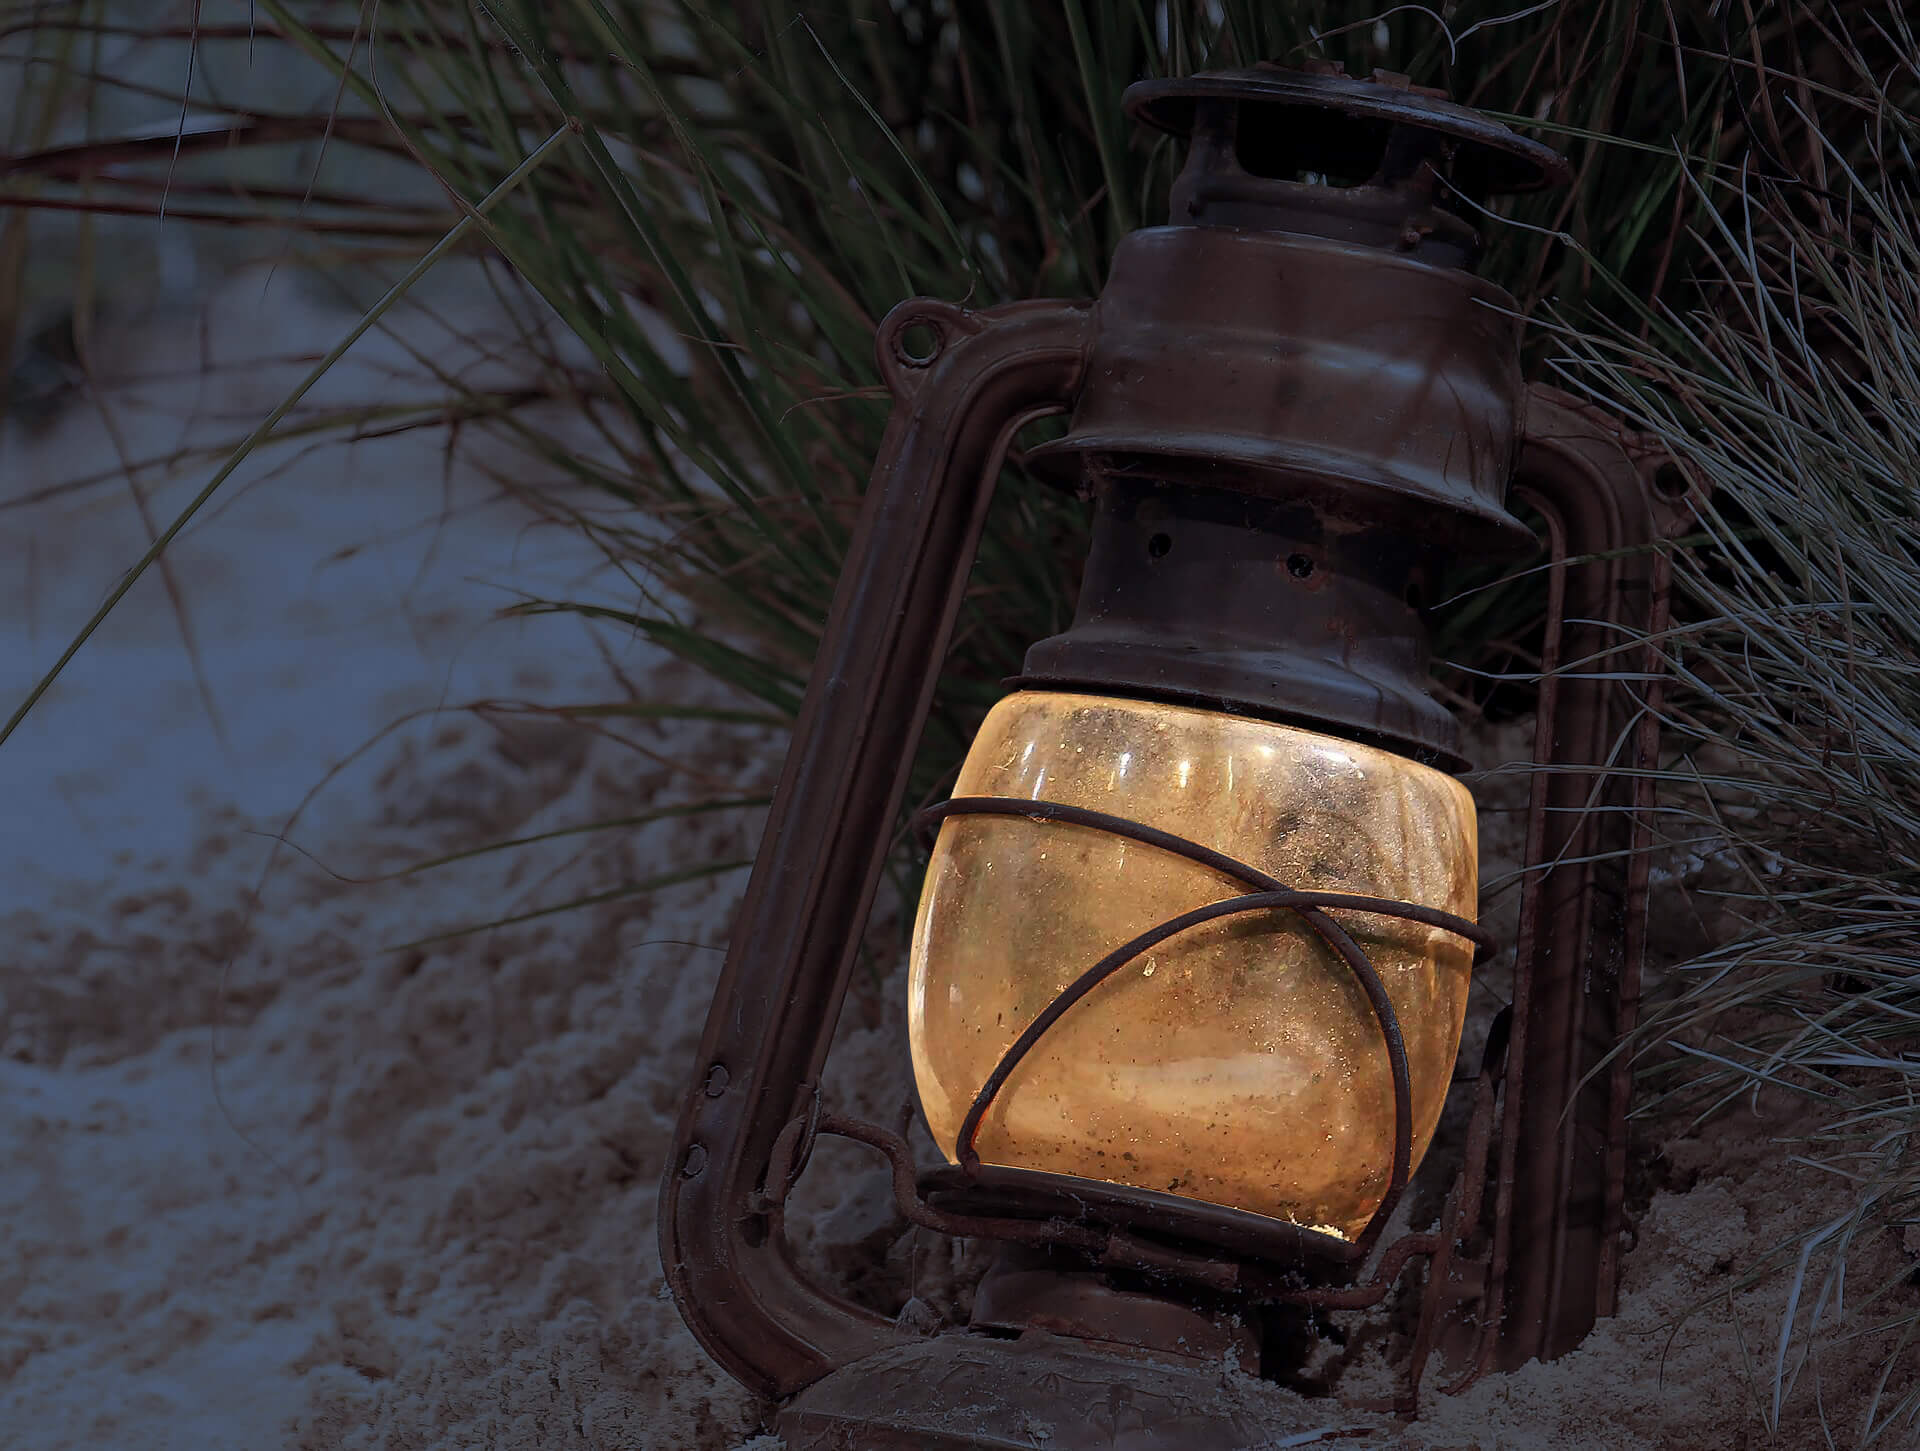
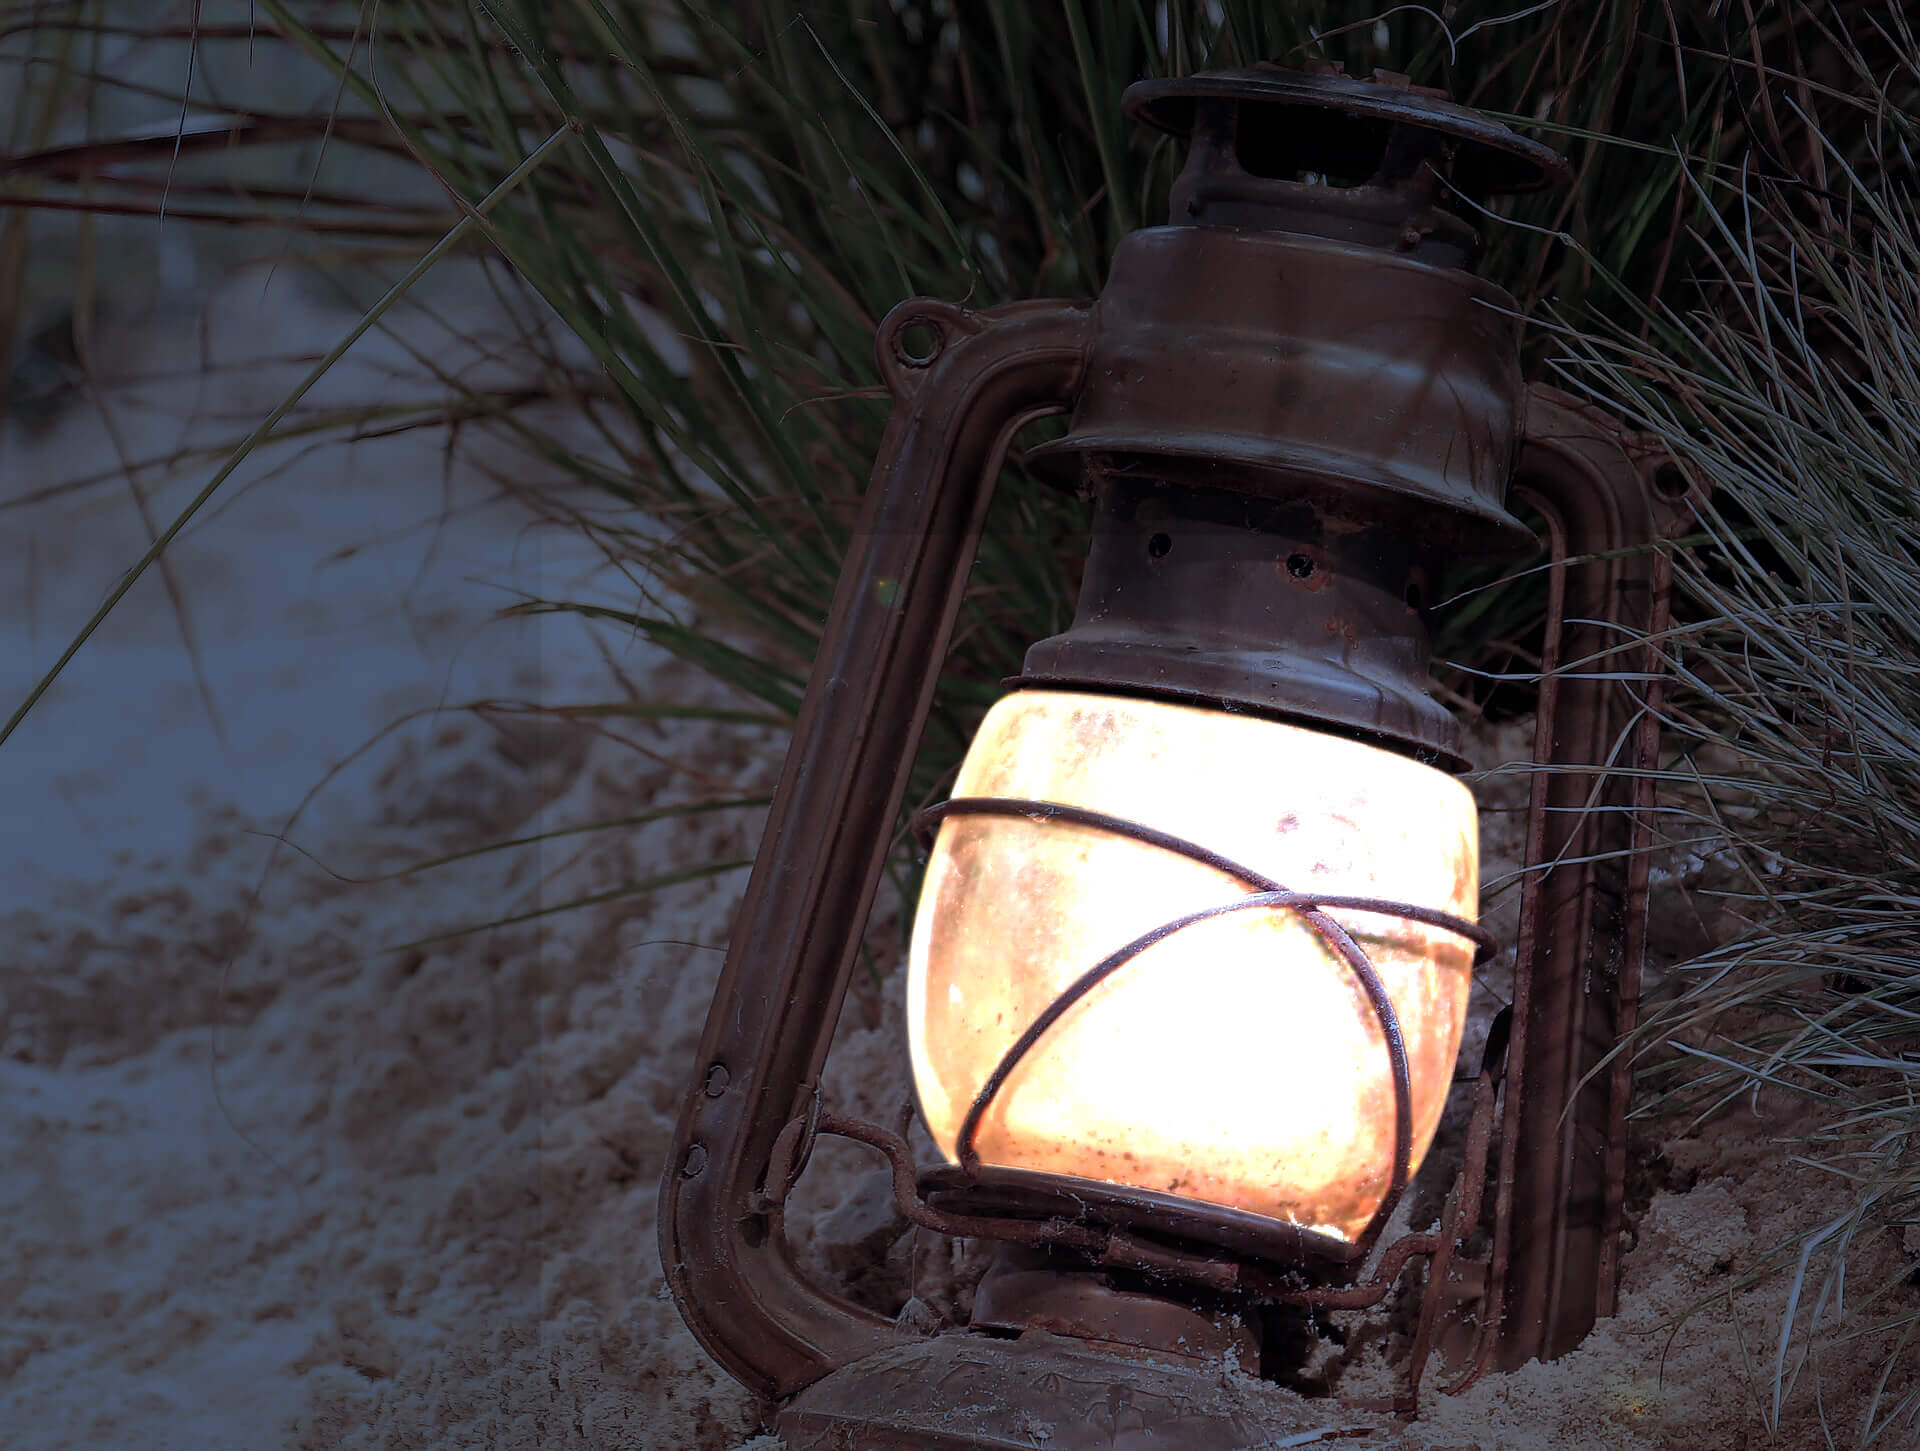
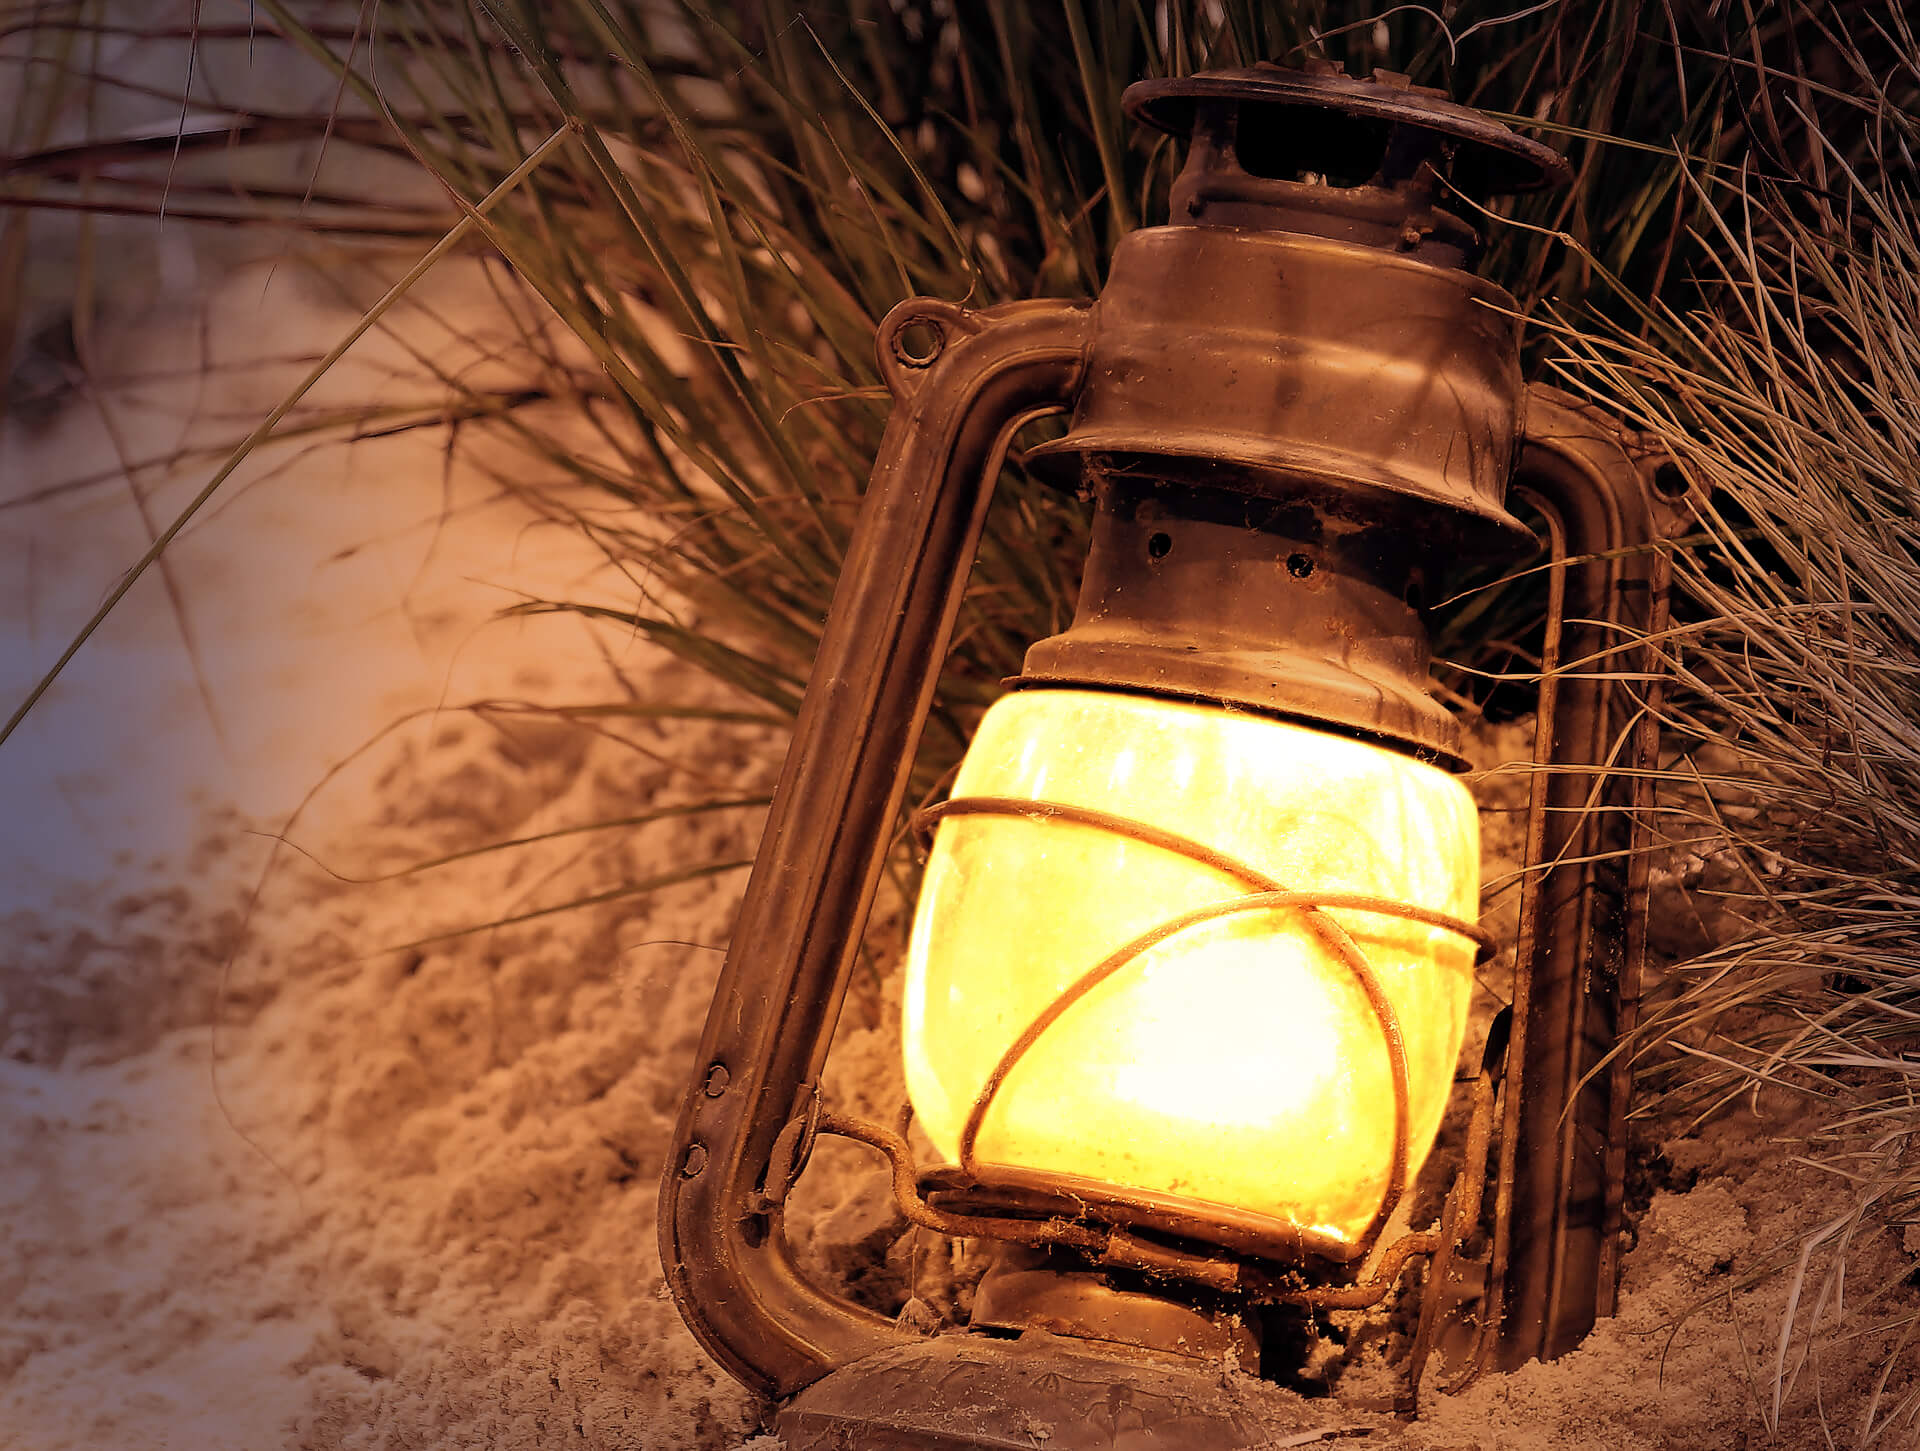
This project uses the image below download it to follow along:
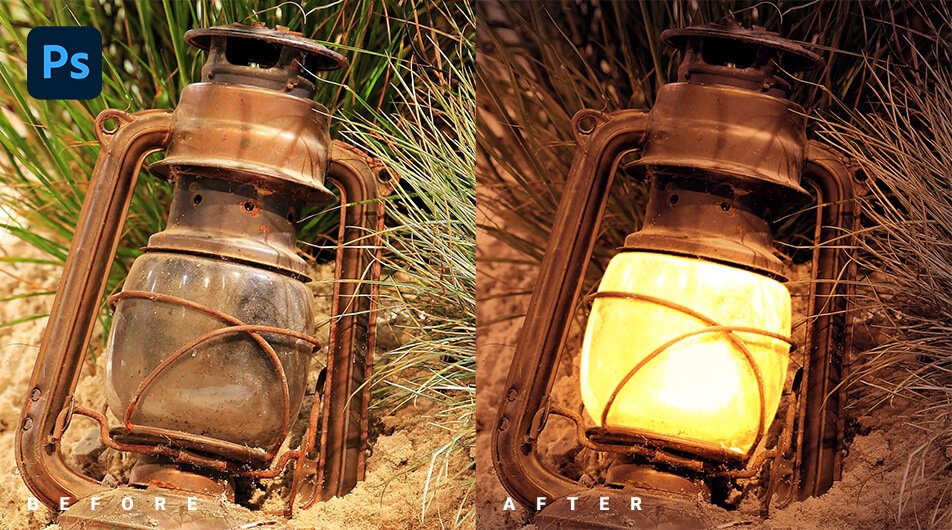
Final Image
Drag The Slider To See Before & After

Create a Light Glow Effect
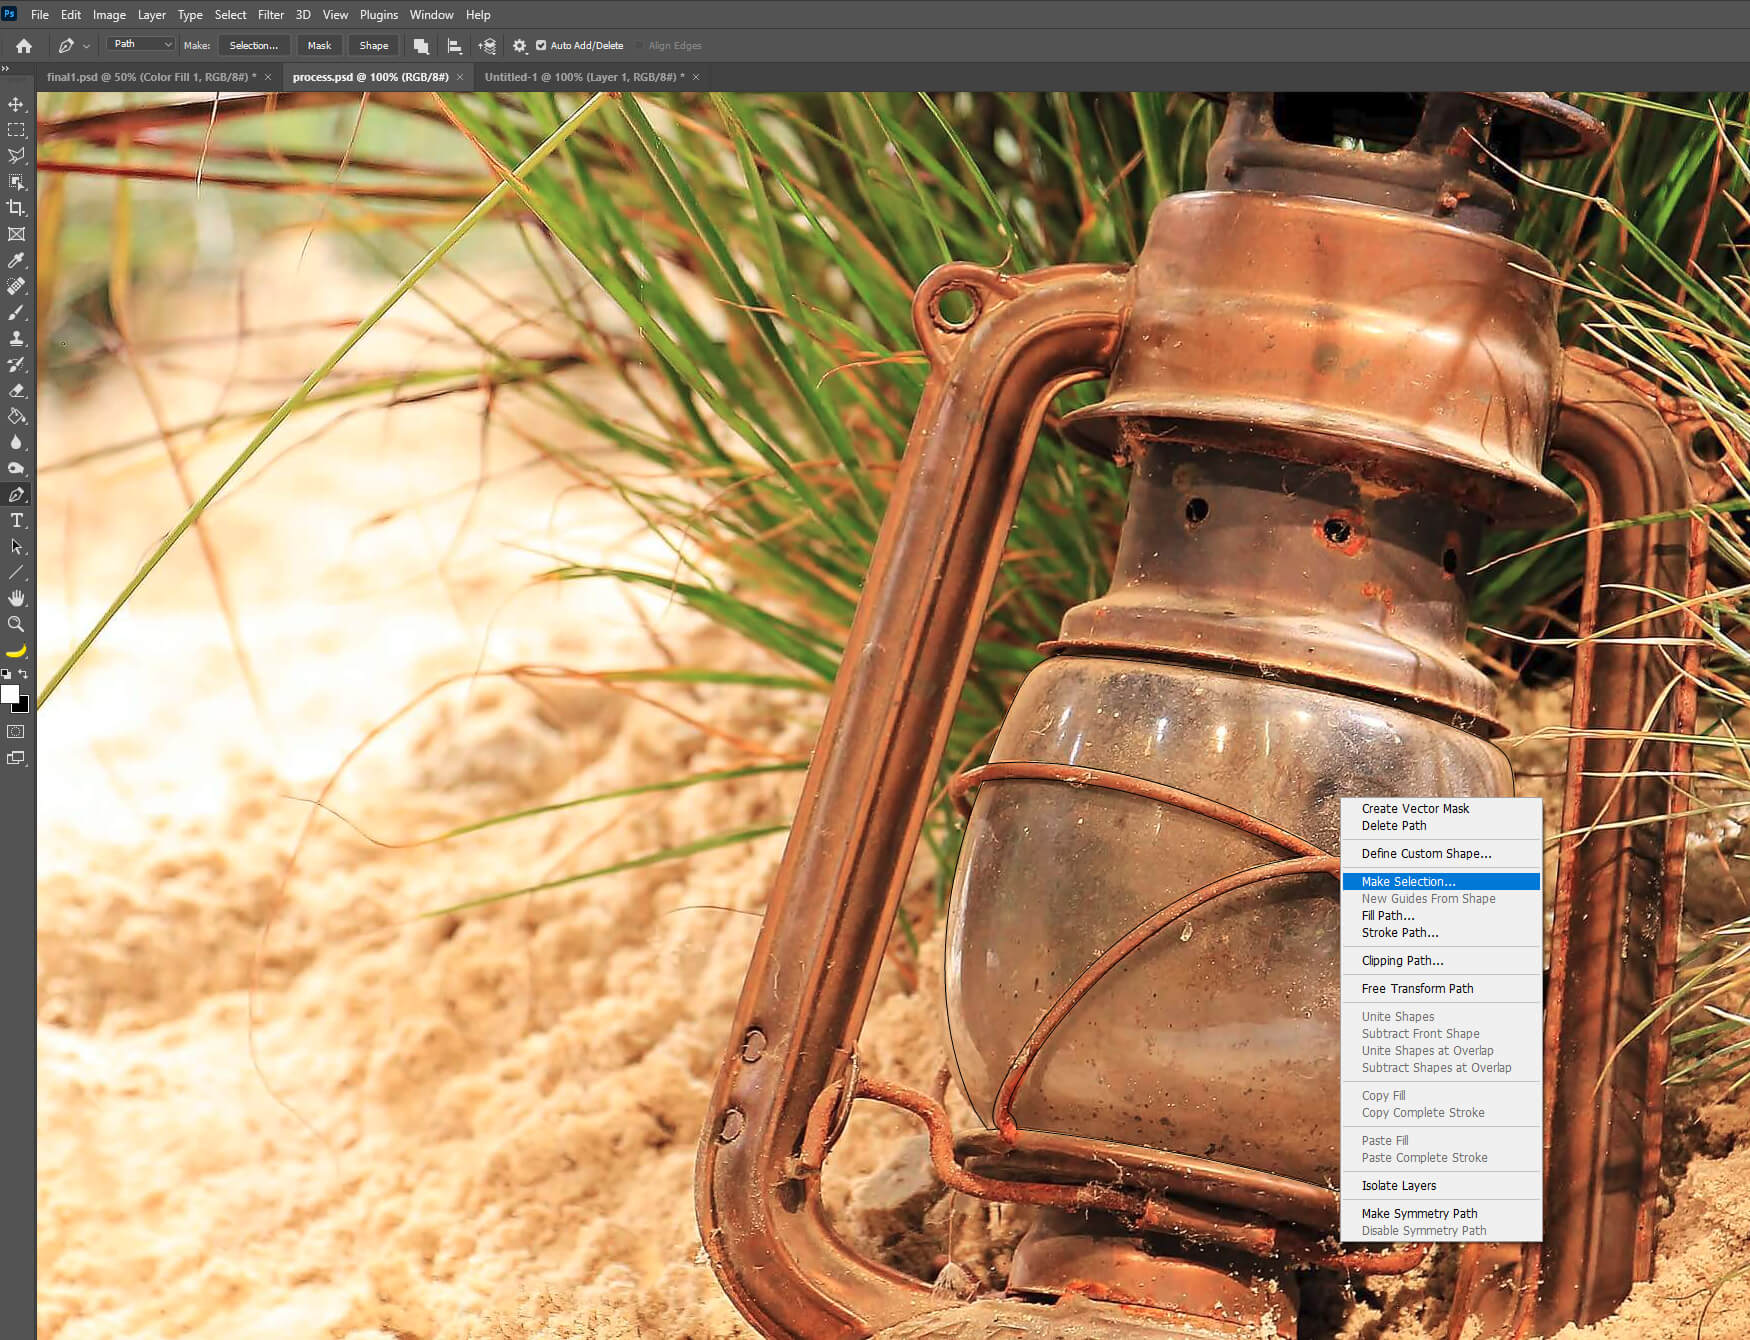
Step 1: Select the Glass Lamp
To begin, we’ll use the pen tool and select the path feature. You can use the shortcut P to activate the Pen Tool.
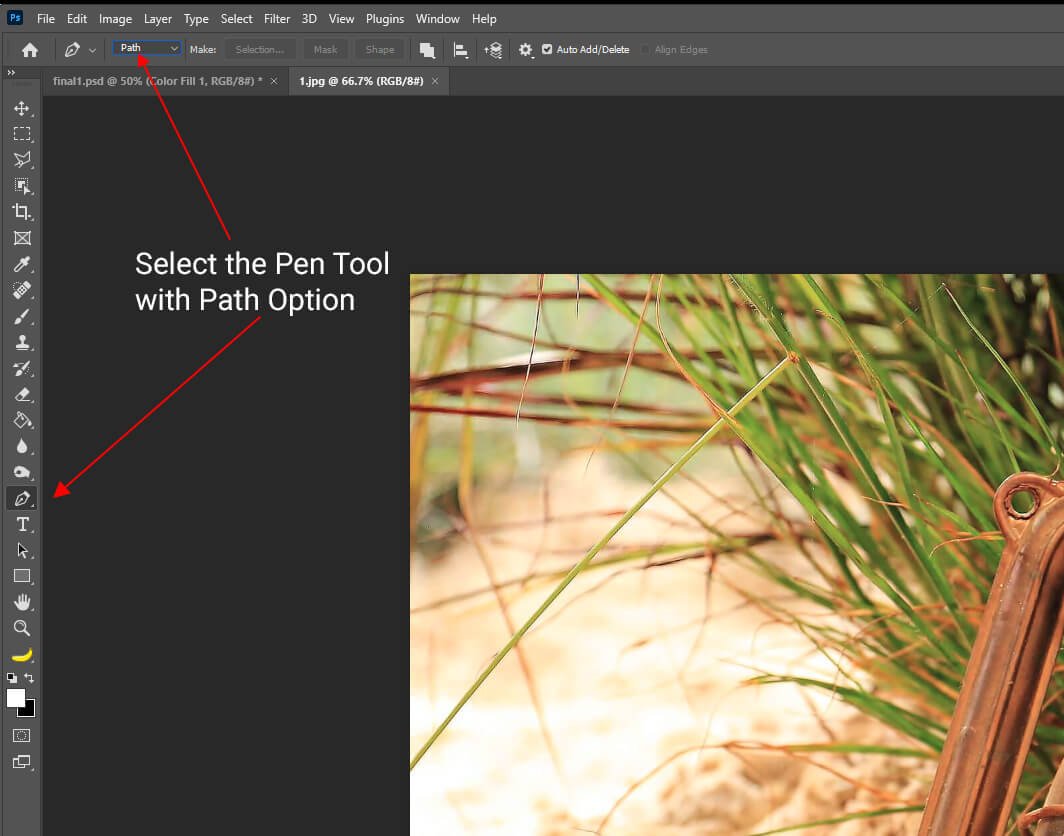
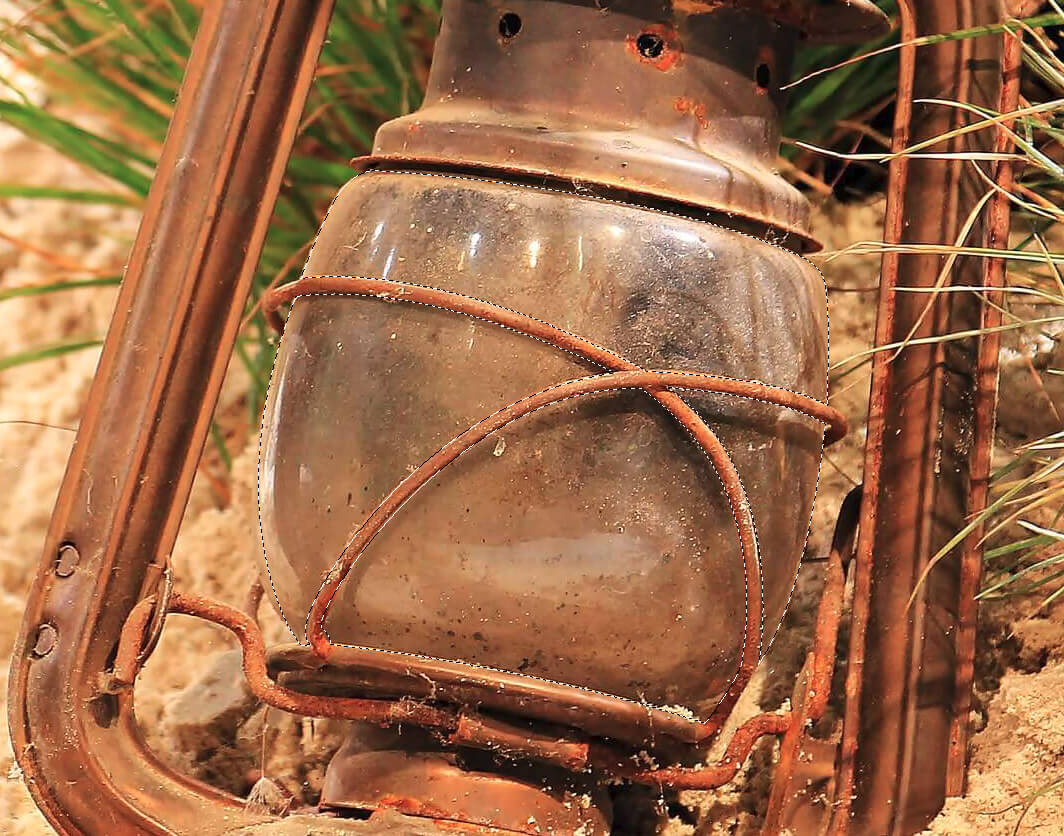
Next, make a selection of the glass lamp, right-click and hit “make selection”. This will bring up a new dialogue box. Leave everything as is and click “ok”.
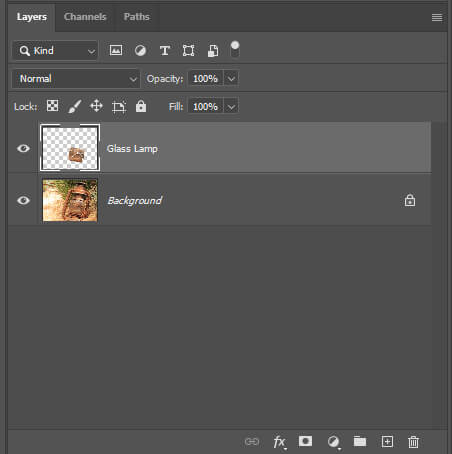
While your selection is active press Ctrl + J to duplicate it and past it on a new layer.
Next, name that new layer Glass Lamp.
Step 2: Turn Day into Night
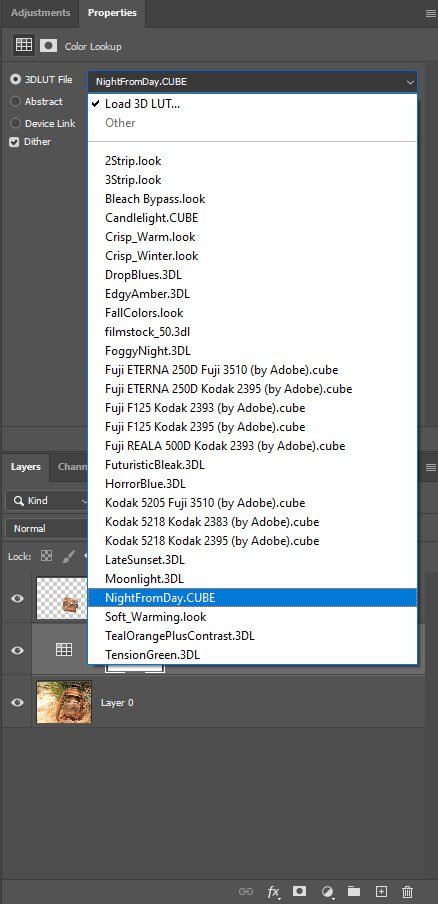
First, select your background layer and add a Color Lookup adjustment layer.
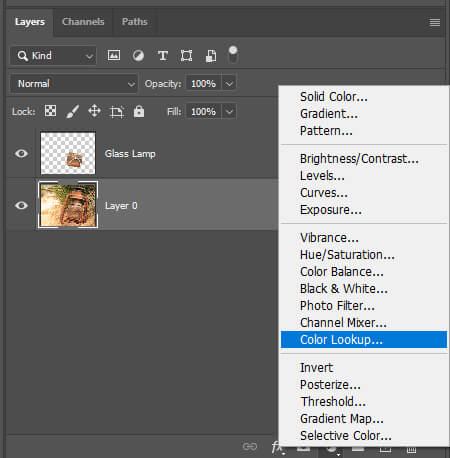
Then, select NightFromDay.CUBE in the properties panel.
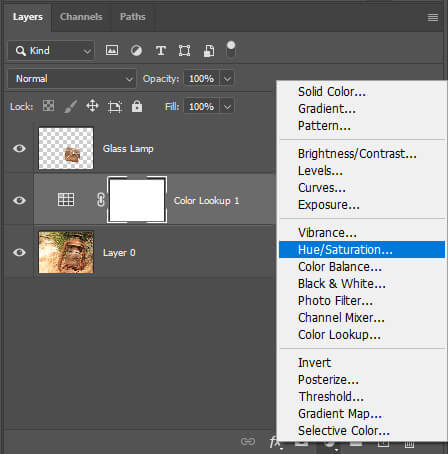
Next, add a Hue/Saturation adjustment layer and copy the settings as shown in the image below.
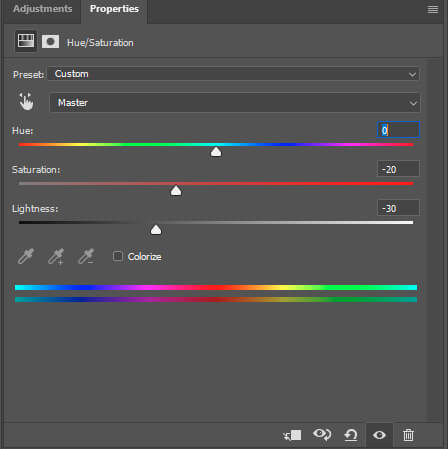
So far, your image should look like it was taken at night
Step 3: Light Layer Creation
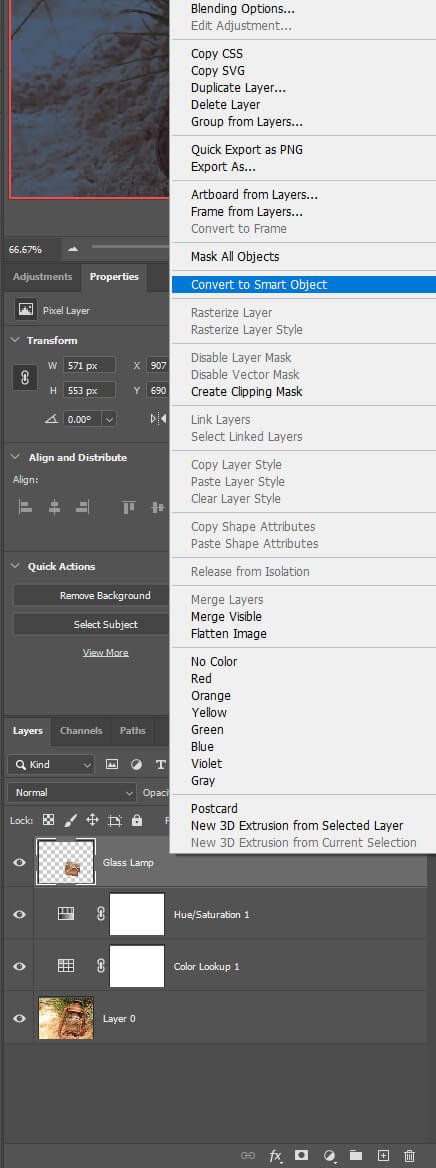
First, convert the Glass Lamp Layer to a Smart Object.
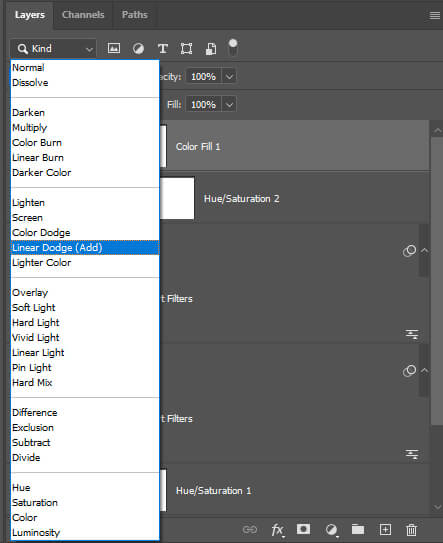
Right-click on the Glass Lamp Layer and select Convert to Smart Object then change the blending mode to Linear Dodge.

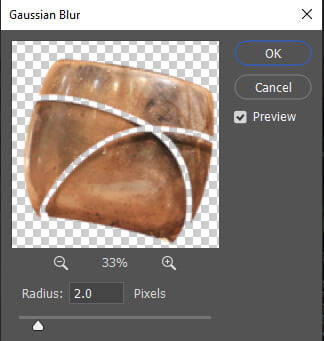
Next, with the Glass Lamp layer selected, go to Filter > Blur > Gaussian Blur and set the radius to two pixels for softer edges.

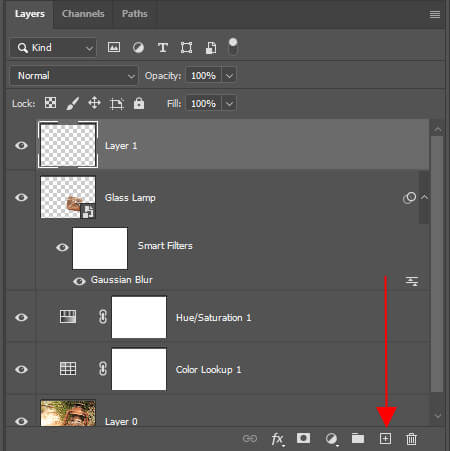
Now let’s create a new layer on top of the Glass Lamp Layer. To do so select the Glass Lamp Layer and click on the + sign in the bottom right corner of your layer panel.
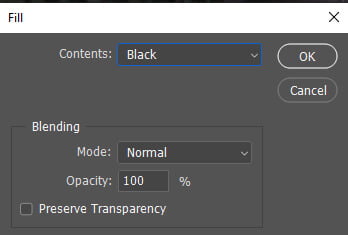
Then, select that new layer and press Shift + F5. The Fill dialog box will pop up.
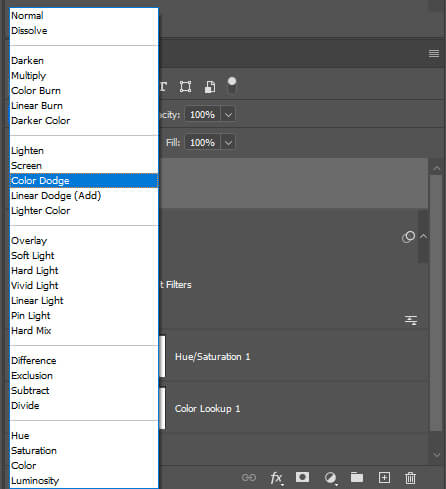
Set Contents to black and hit ok then change the blending mode to Color Dodge.
Convert the layer to a Smart Object by right-clicking on it then select convert to Smart Object.
Name that layer Light.
Step 4: Create the Light Glow Effect
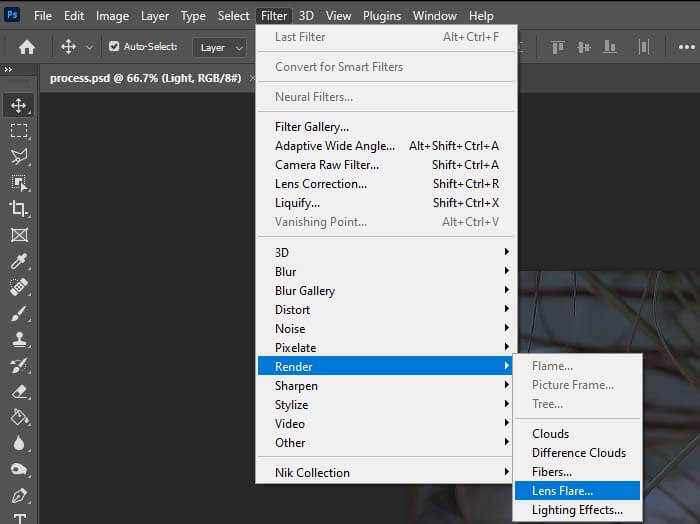
First, we’ll add a lens flare. Select the Light Layer and go to Filter > Render > Lens Flare.
Copy the settings as shown on the image below:
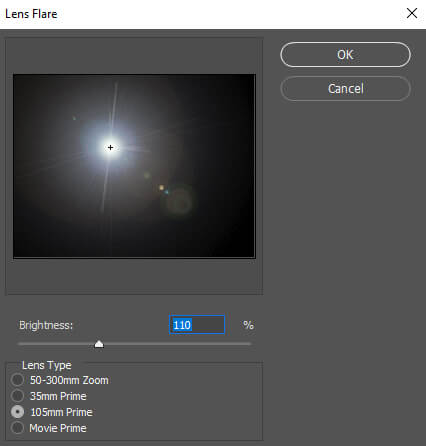
Hit OK and drag the lens flare inside the lantern.
Next, let’s remove the extra flares that came with the main lens flare.
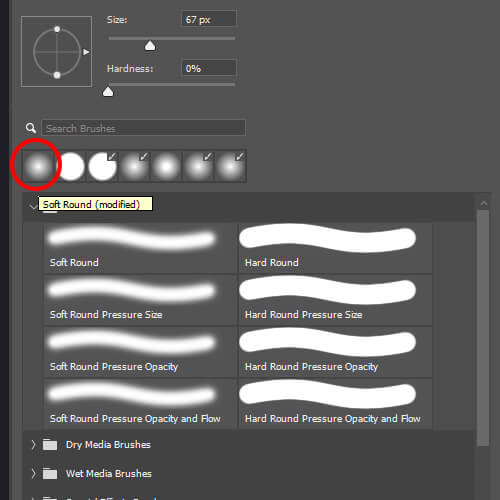
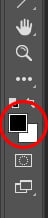
Simply select the lens flare’s mask, select the brush tool in the toolbar, or press B and make sure the foreground color is set to black.
Set the opacity and the flow of the brush to 100%.


Once your brush is set up properly start painting around the main lens flare to remove all the small residues and unwanted pixels.
You can also adjust the fill of the Light Layer to about 90% to tone down the light effect a little bit.
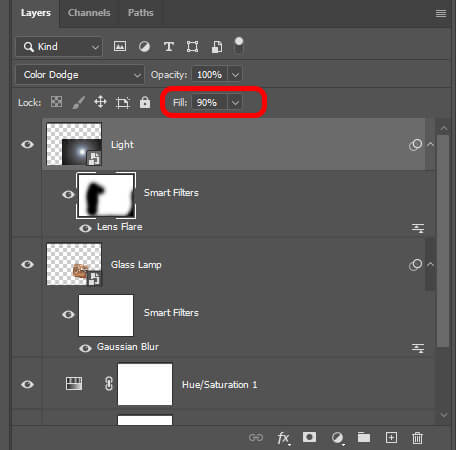
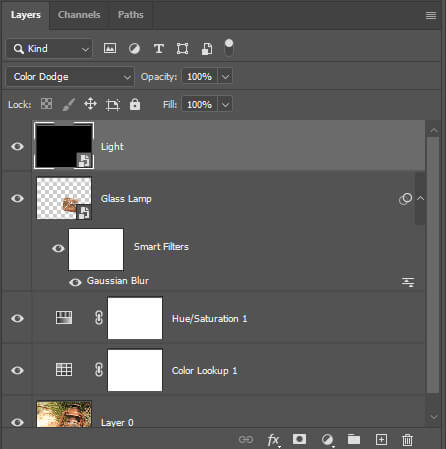
So far your image and layers should look something like this:

Step 5: Let’s Enhance Our Light Glow Effect
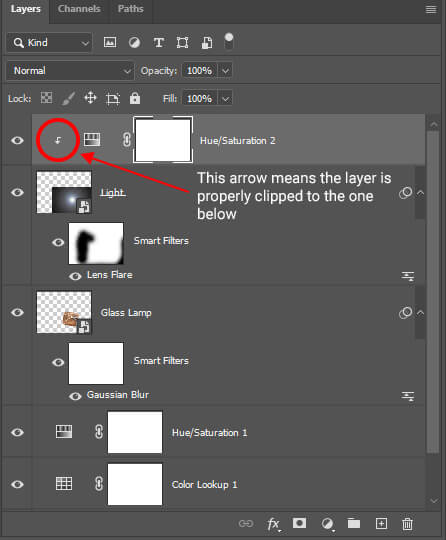
First, we’ll add a Hue/Saturation adjustment layer and clip it to our Light layer so that it only affects the layer below and not the entire artwork.
To clip the Hue/Saturation adjustment layer simply select it and press Ctrl + Alt + G.

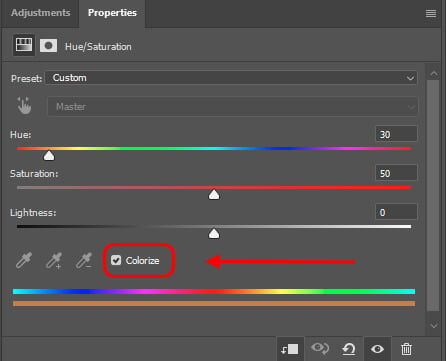
Copy the settings as shown in the image below and don’t forget to check the box Colorize.
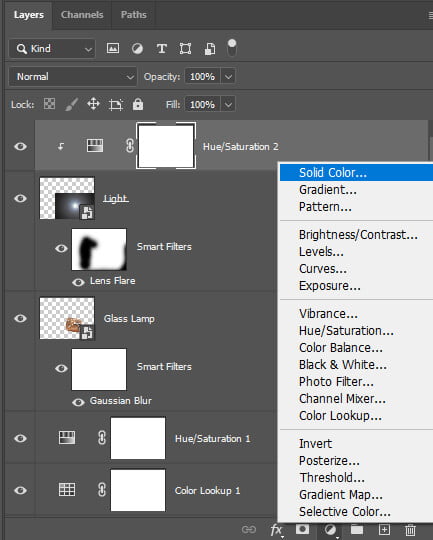
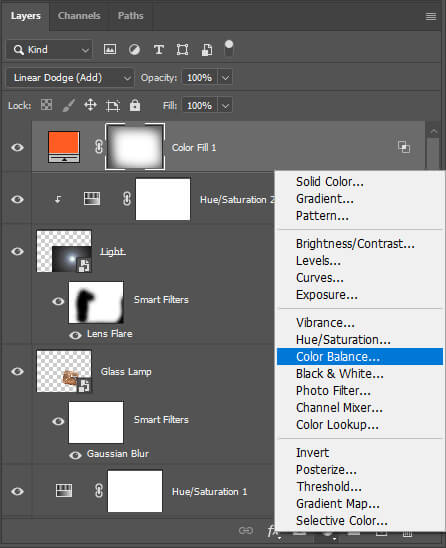
Next, let’s add a Solid Color adjustment layer. You can choose any color you like. In this case, I chose a bright orange (FF5A00).
Then, change the blending mode to Linear Dodge.

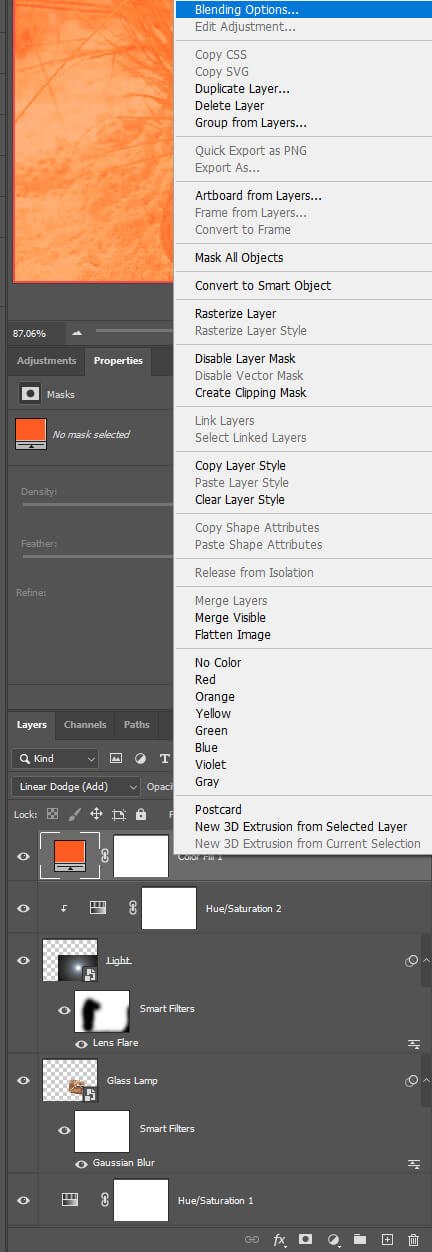
After that, right-click on the Solid Color adjustment layer and select Blending Options.
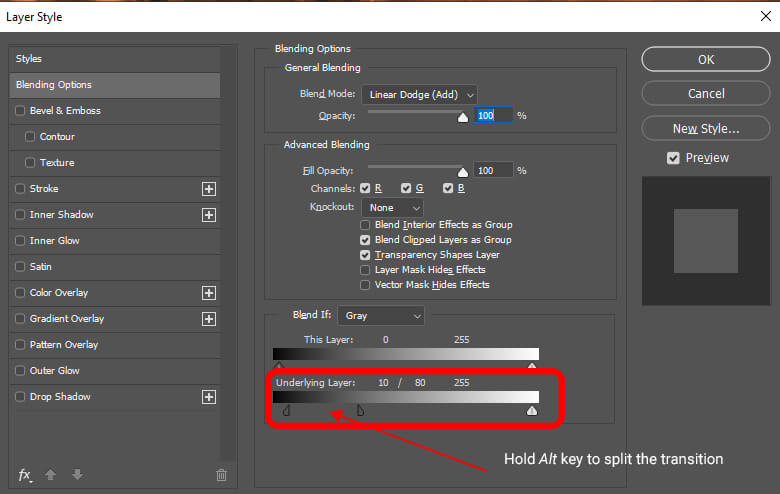
Under the Blend If section go to Underlying Layer and adjust the settings as shown on the image below. Hold the Alt key to split the transition.
So far your image and layers should look something like this:

Step 6: Finishing Touches
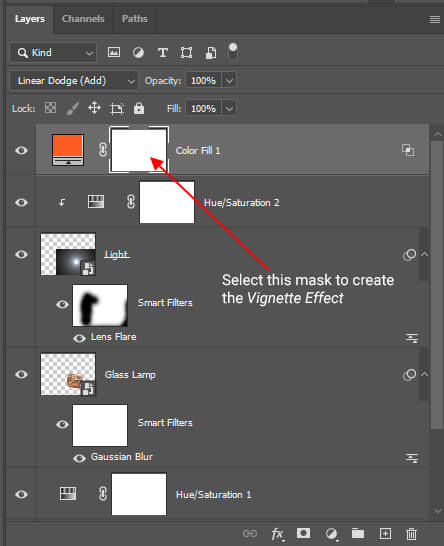
First, we’ll create a Vignette Effect for our image.
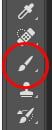
Select the mask of your Solid Color adjustment layer, pick a soft round brush, and make sure your foreground color is set to black. The opacity of your brush should be at 100% et the flow at 10%.
Once your brush is set up paint all around your canvas to create a nice Vignette Effect.

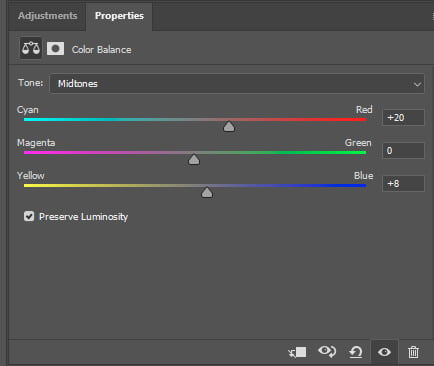
To finish, let’s add a Color Balance adjustment layer to adjust some of the colors. Copy the settings as shown below:
And We Are Done!
After following this tutorial, you should be able to create a Light Glow Effect in Photoshop. I hope you found this guide useful and easy to follow. If you have any questions or suggestions please let me know in the comments down below and I’ll get back to you as soon as possible.
Also Read: