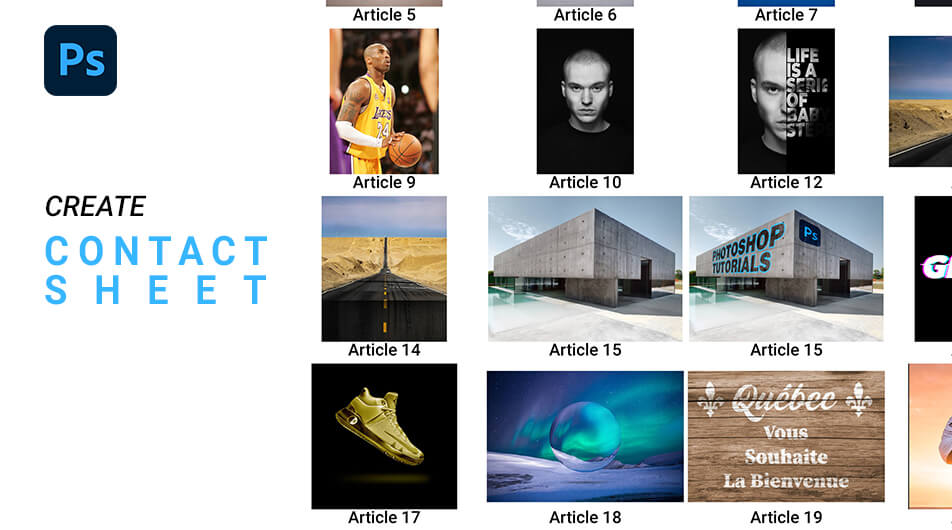
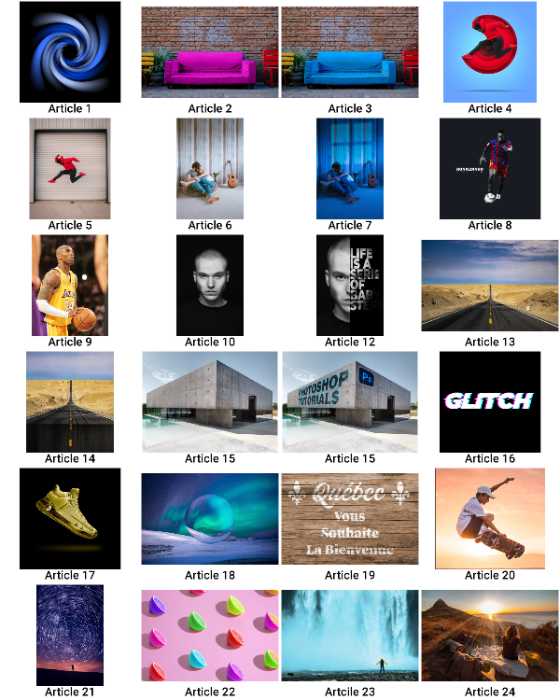
You’ve taken all these great photos, but how do you organize them in order to share them with others? The contact sheet is a simple way to organize and view all your pictures in one place! You can customize the layout, add captions, and rotate or crop photos before printing. This article will show you how to make a contact sheet in Adobe Photoshop!
1. Create a Contact Sheet
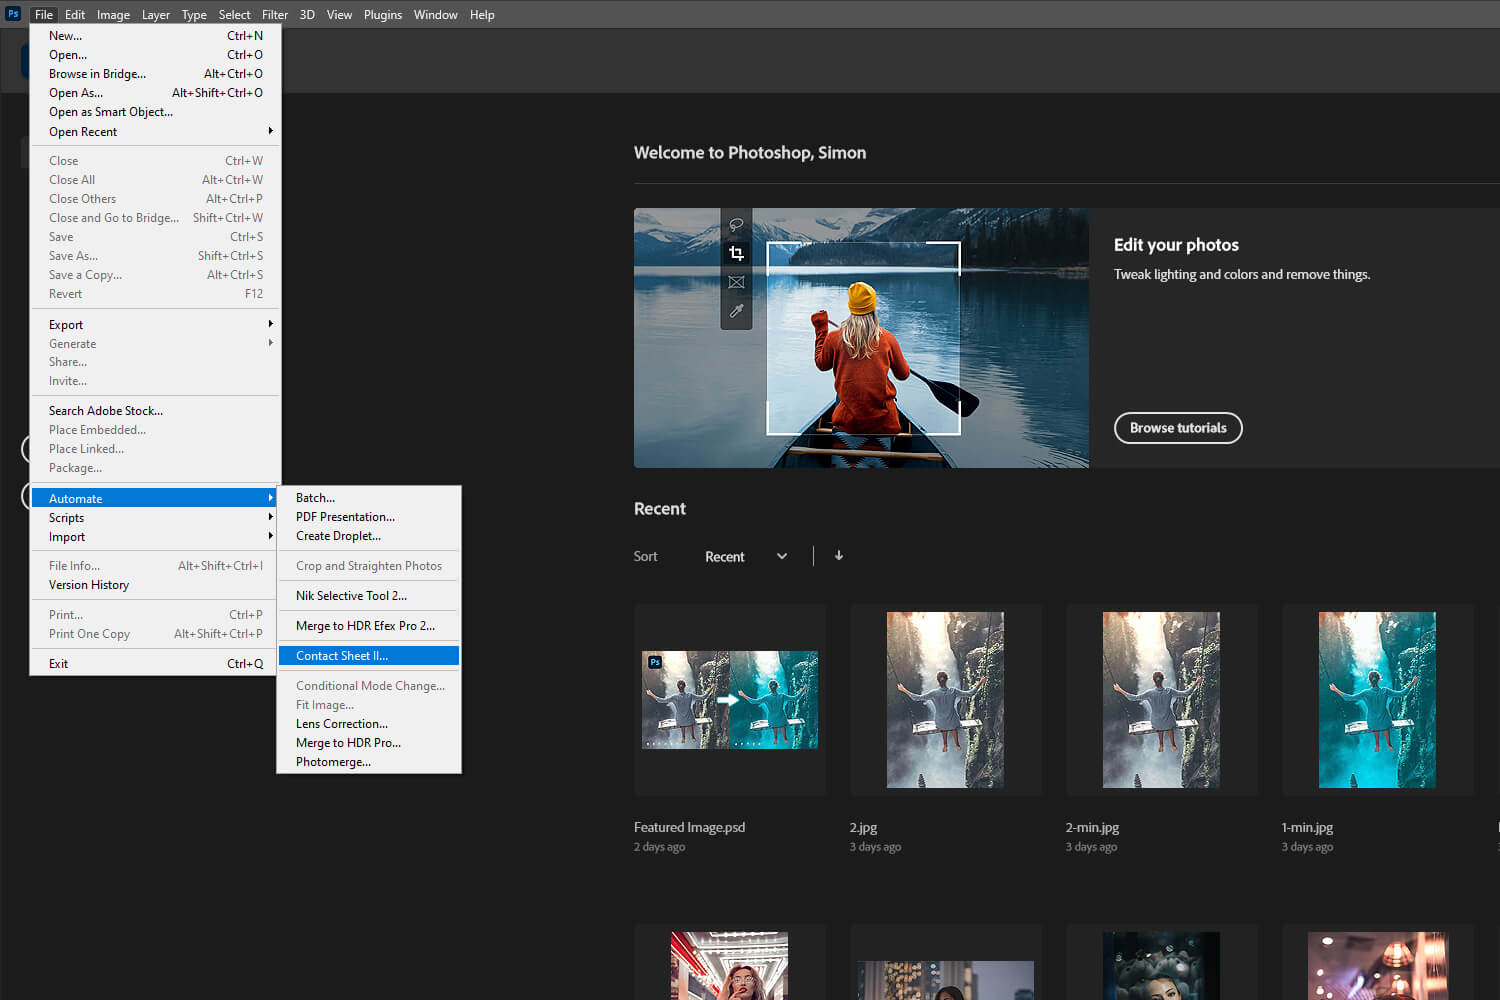
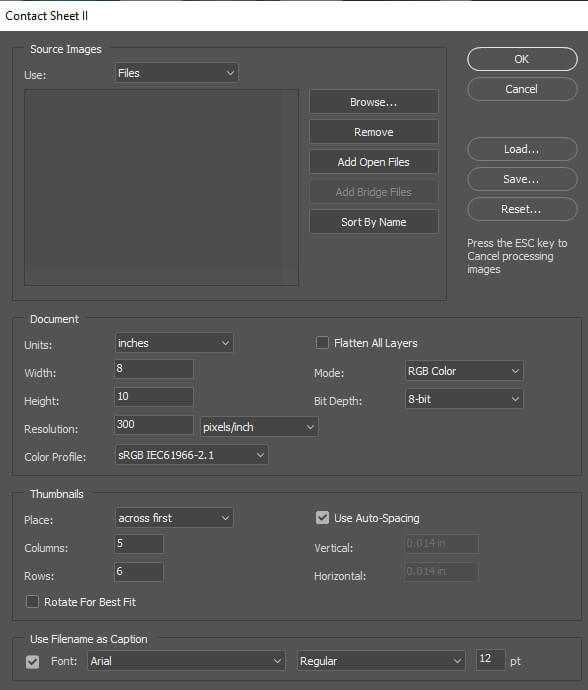
To create a contact sheet in Photoshop, choose File > Automate > Contact Sheet II. This will open the contact sheet dialog box.
In the dialog box, select the pictures you want to include in your contact sheet.
Under Source Images, you have two options: File(s) and Folder. Choose Folder if you want to create a contact sheet with all the images in a single folder. Choose File if you want to create a contact sheet from several folders, or from multiple files at once.
Under Document, you can choose the layout of your contact sheet. There are several different layouts to choose from, or you can create your own custom layout. If you want to print keep the resolution at 300 dpi. Make sure the checkbox”Flatten all Layers” is unticked in the dialog box to prevent all of your photographs from being on one layer.
Under Thumbnails, you can select how many rows and columns you would like to include in your document. Choose how you want the thumbnails to be arranged: across first (from left to right, then top to bottom) or down first (from top to bottom, then left to right).
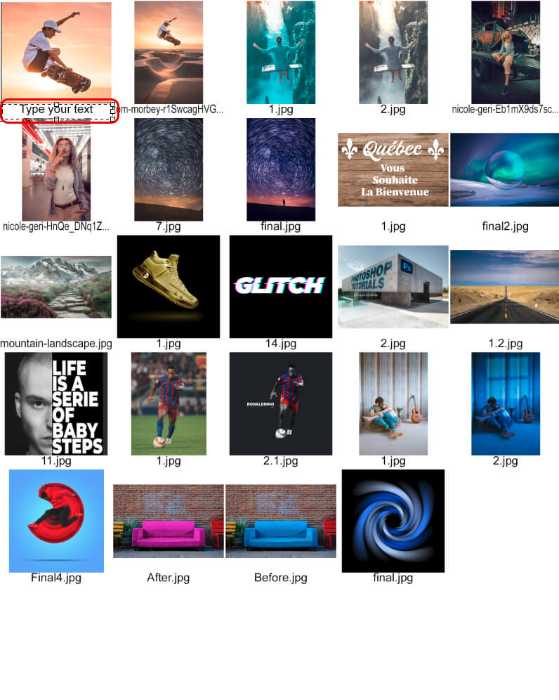
After you’ve finished customizing your preferences, simply press OK to have Photoshop create the contact sheet automatically.
2. Tips for Customizing your Contact Sheet
There are a few things you can do to customize your contact sheet before printing:
Add captions.
You may add captions by selecting the text field under each photo’s thumbnail and typing in the text you wish.
Rotate or Crop Photos.
You can rotate or crop photos before printing by selecting them inside the document. The Transform Tool can be used to resize and rotate your picture by pressing CTRL + T. You can use C to activate the Crop Tool, which will allow you to modify your canvas size.
3. How to Print It
Once you have created your contact sheet, you can print it by selecting File > Print. In the print dialog box, make sure the correct printer is selected and that the correct paper size is chosen. You can also choose to print in black and white or color. If you want to print a document with multiple pages, be sure to check the box “Multiple Pages.”
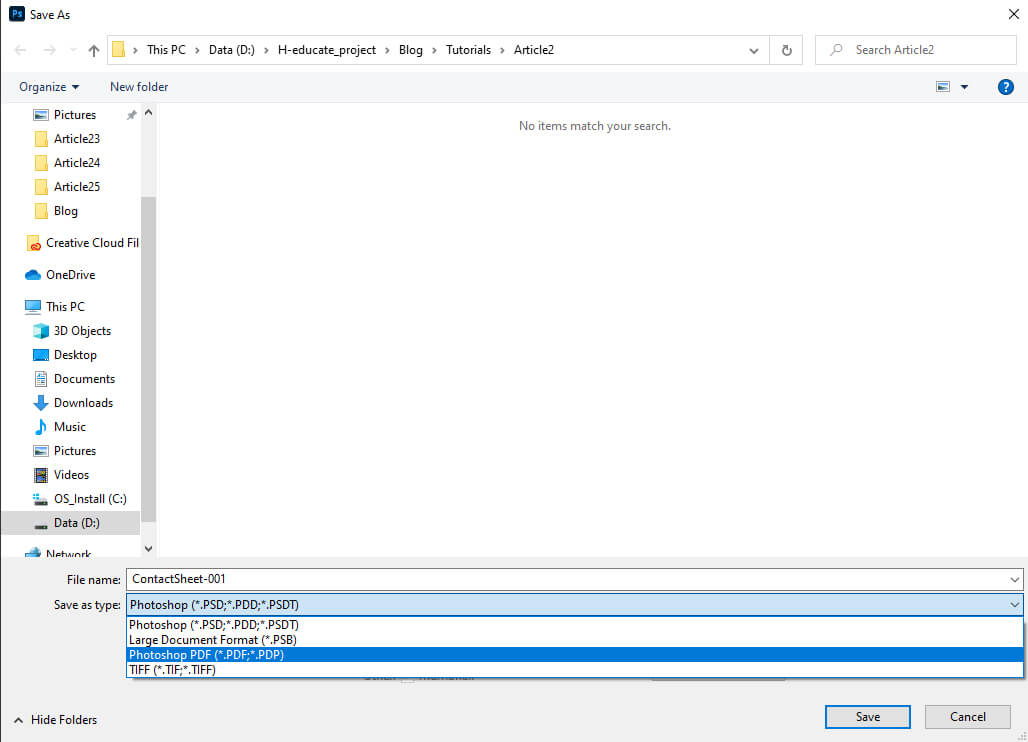
You can also save your contact sheet as a PDF file by selecting File > Save As. This will save all the photos on your document as a PDF file that can be opened and printed on any computer.


4. Recommended Settings
When making a contact sheet in Photoshop, you’ll want to choose the correct settings for your project. Here are some recommended settings to use:
- Image Size: Choose a size that is appropriate for your needs. If you’re printing the contact sheet on letter-sized paper, a good size to use is 4×6 or 5×7.
- Resolution: For best results, set the resolution to 300 pixels per inch.
- Mode: Choose RGB Color if you’re printing in color, or Grayscale if you’re printing it in black and white.
- Layout: Choose a layout that works best for your project. You can choose from several different layouts, or create your own custom.
5. Create Contact Sheet in Adobe Bridge
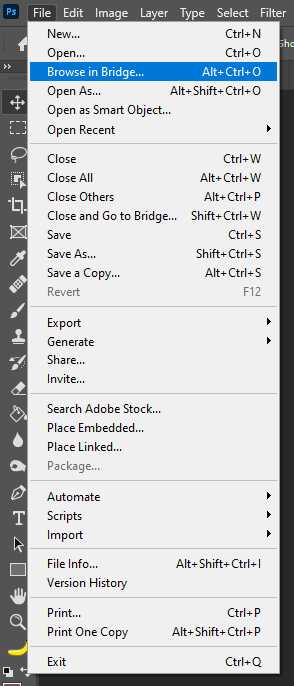
Adobe Bridge is a program used to view, organize, and print pictures. It can also be used to create contact sheets and photo albums. Adobe Bridge is included with Photoshop and can be accessed by selecting File > Browse in Bridge.
In Adobe Bridge, you can view images in several different ways: as thumbnails, as contact sheets, or in full-screen mode. You can also sort photos by name, date, or rating.
Adobe Bridge also allows you to edit pictures. You can rotate them, crop them, adjust their color and contrast, and more. You can also apply filters to your picture and create slideshows.
Lastly, Adobe Bridge allows you to create PDFs
In this article, you learned how to make a contact sheet in Photoshop. You also learned some tips for customizing your contact sheets before printing. Finally, you were given some recommended settings to use when making a contact sheet in Adobe Photoshop.
And We Are Done!
After following this tutorial, you should be able to Make a Contact Sheet in Photoshop. I hope you found this guide useful and easy to follow. If you have any questions or suggestions please let me know in the comments down below and I’ll get back to you as soon as possible.