In this tutorial, you’ll learn how to apply this stunning Neon Glowing Effect to your favorite sneakers in Photoshop. Giving this dazzling neon effect may appear tough, but it is not, so simply follow the instructions outlined in this guide to discover how to do it for yourself.
For this tutorial, I’ll be using the 2022 version of Photoshop but in other versions, the approach should be identical.
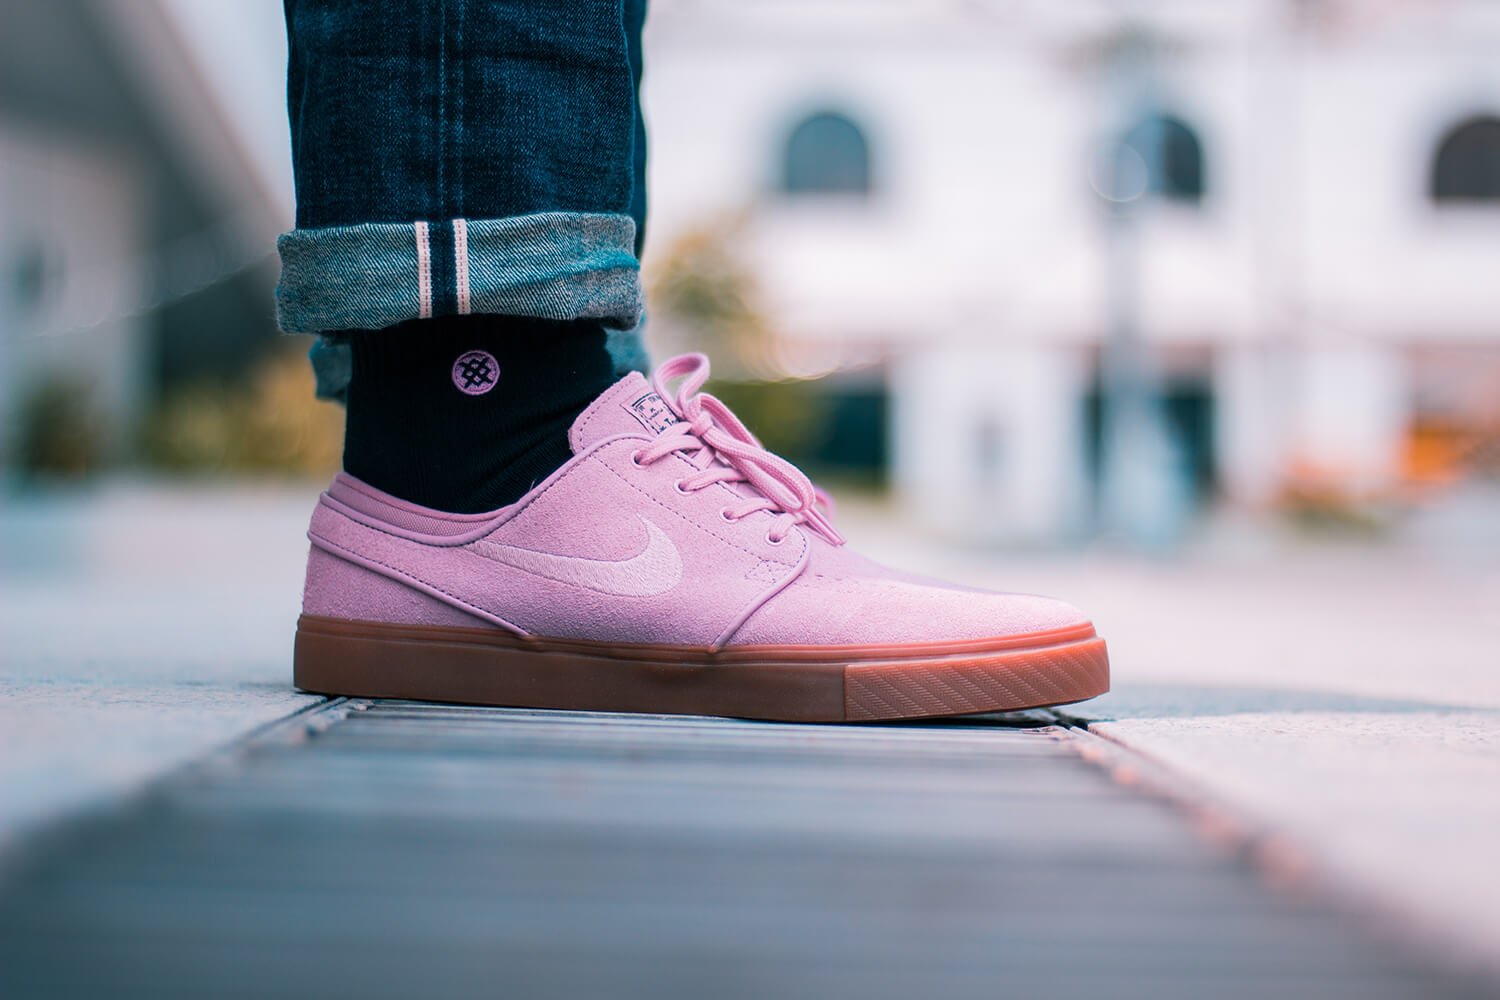
You can use the images below for this lesson, but you can also use your own images for your own design.
Sneakers Image by Ray Piedra on Pexels
Particles Image by Duzulek on DeviantArt
Video Tutorial
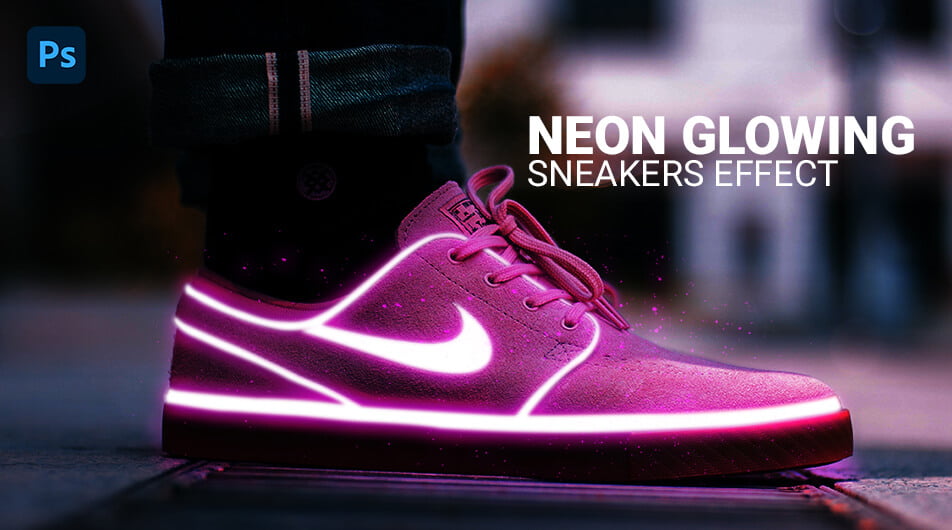
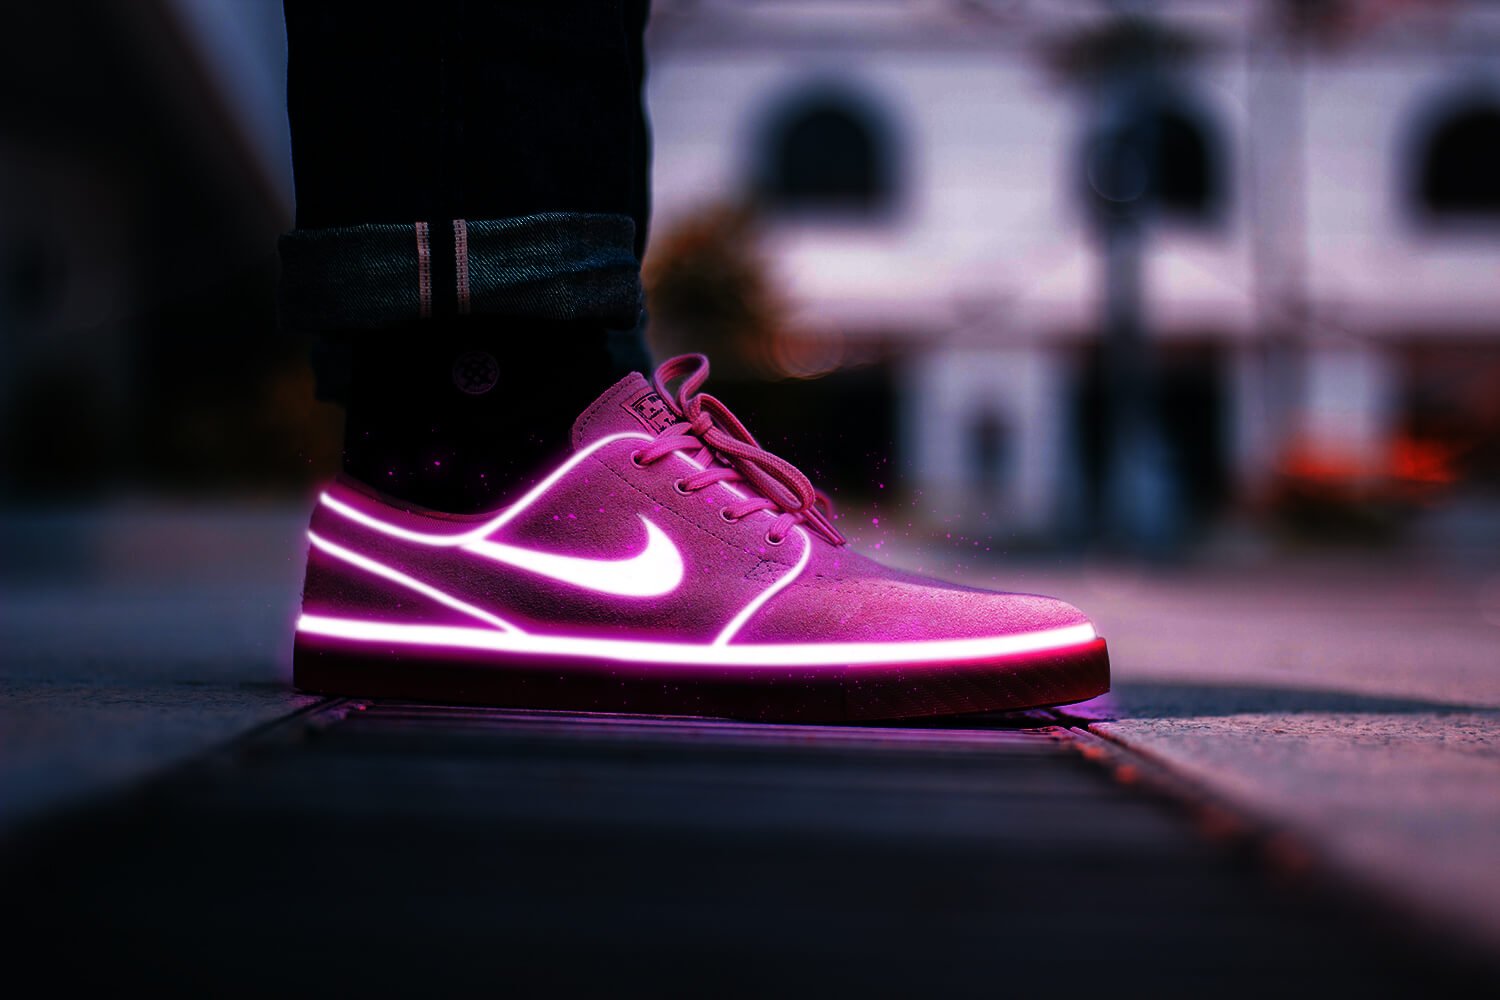
Final Image
To See The Before & After, Drag The Slider.
Step 1
First, open your image in Photoshop.

Step 2
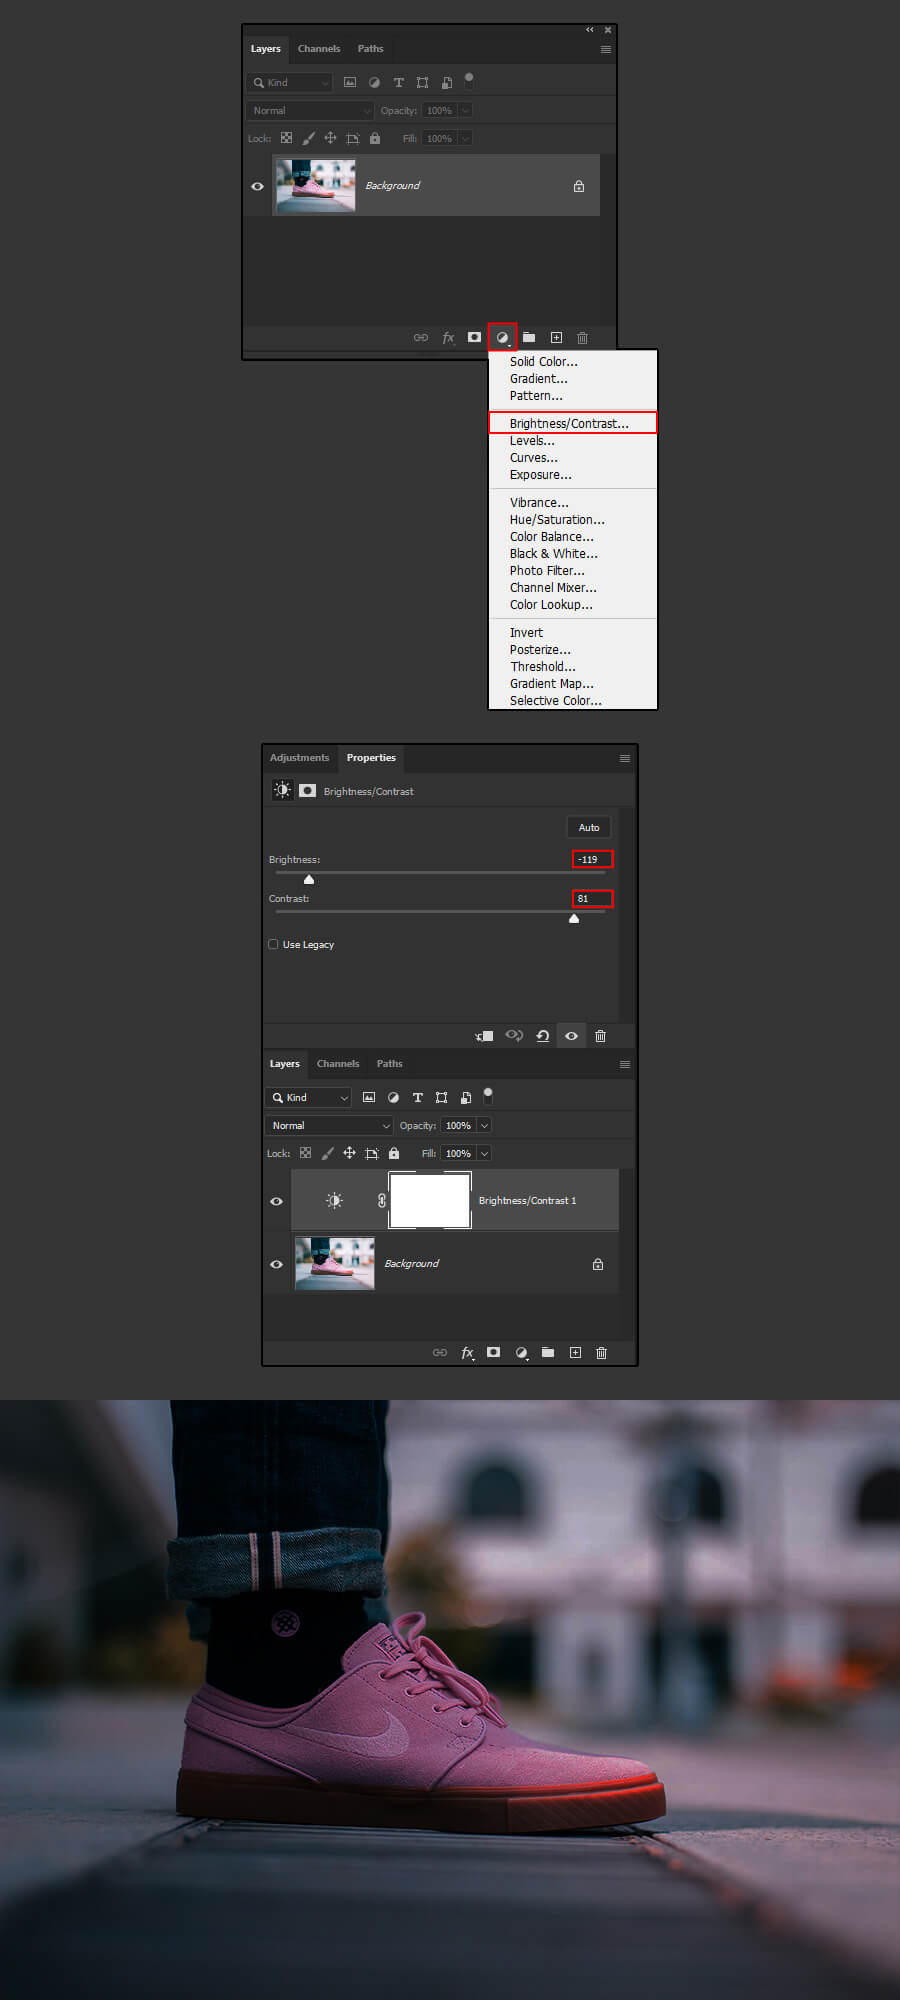
Next, Let’s darken the photograph to make it appear to have been taken at night.
Add a Brightness/Contrast adjustment layer. Apply the following values.
Step 3
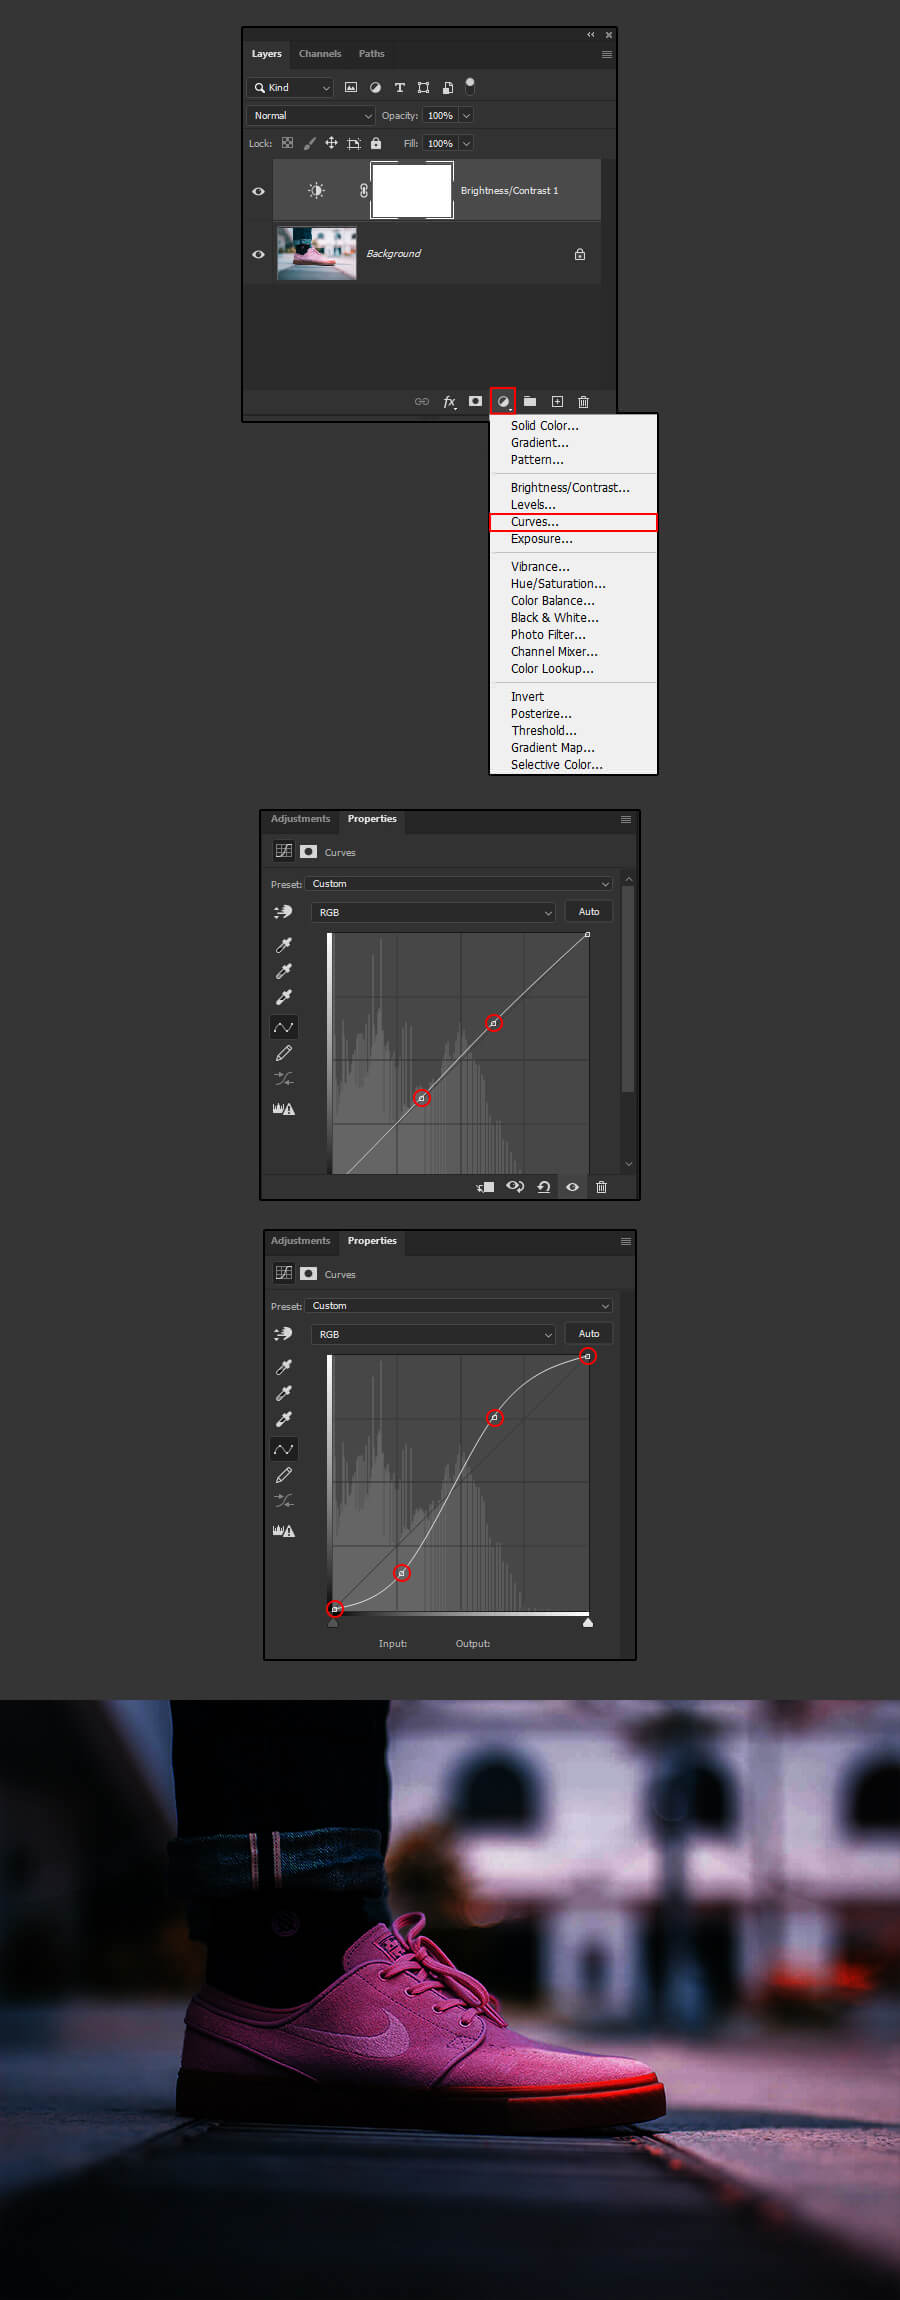
Add a Curve adjustment layer and apply the following values. By clicking anywhere on the curve graphic, add two points to the curve and specify the following values for each of the four points:
- 0-0
- 68-36
- 161-194
- 255.255
Step 4
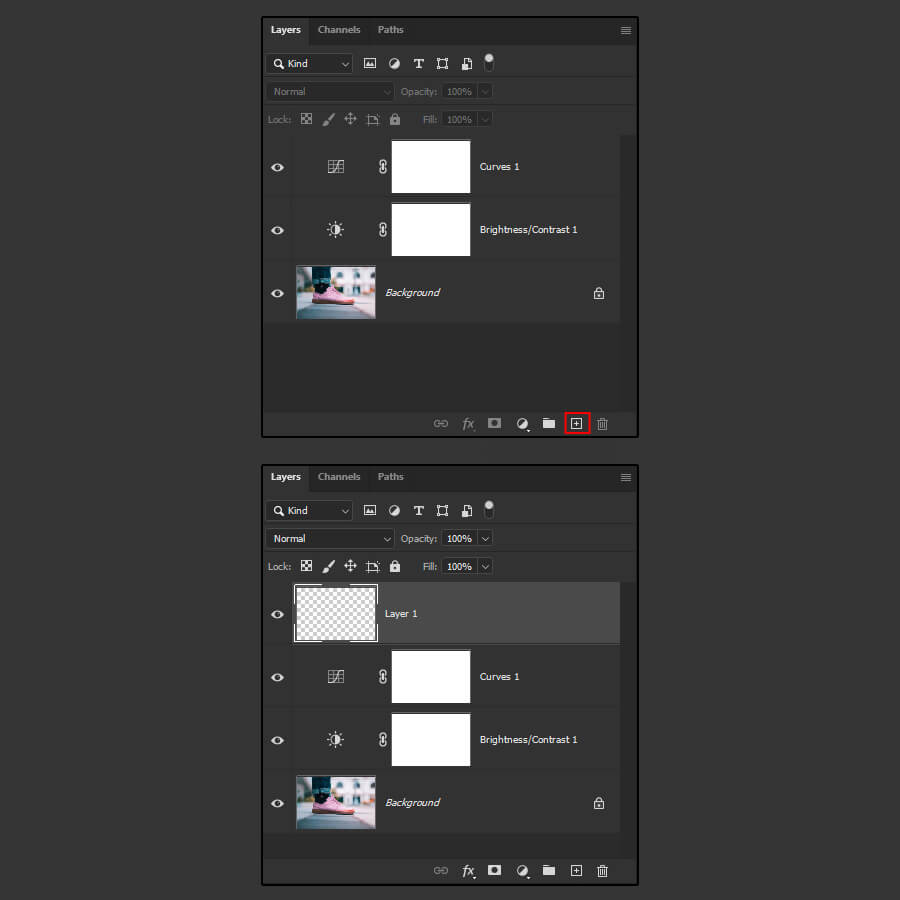
Add a new layer on top of your layer stack.
Step 5
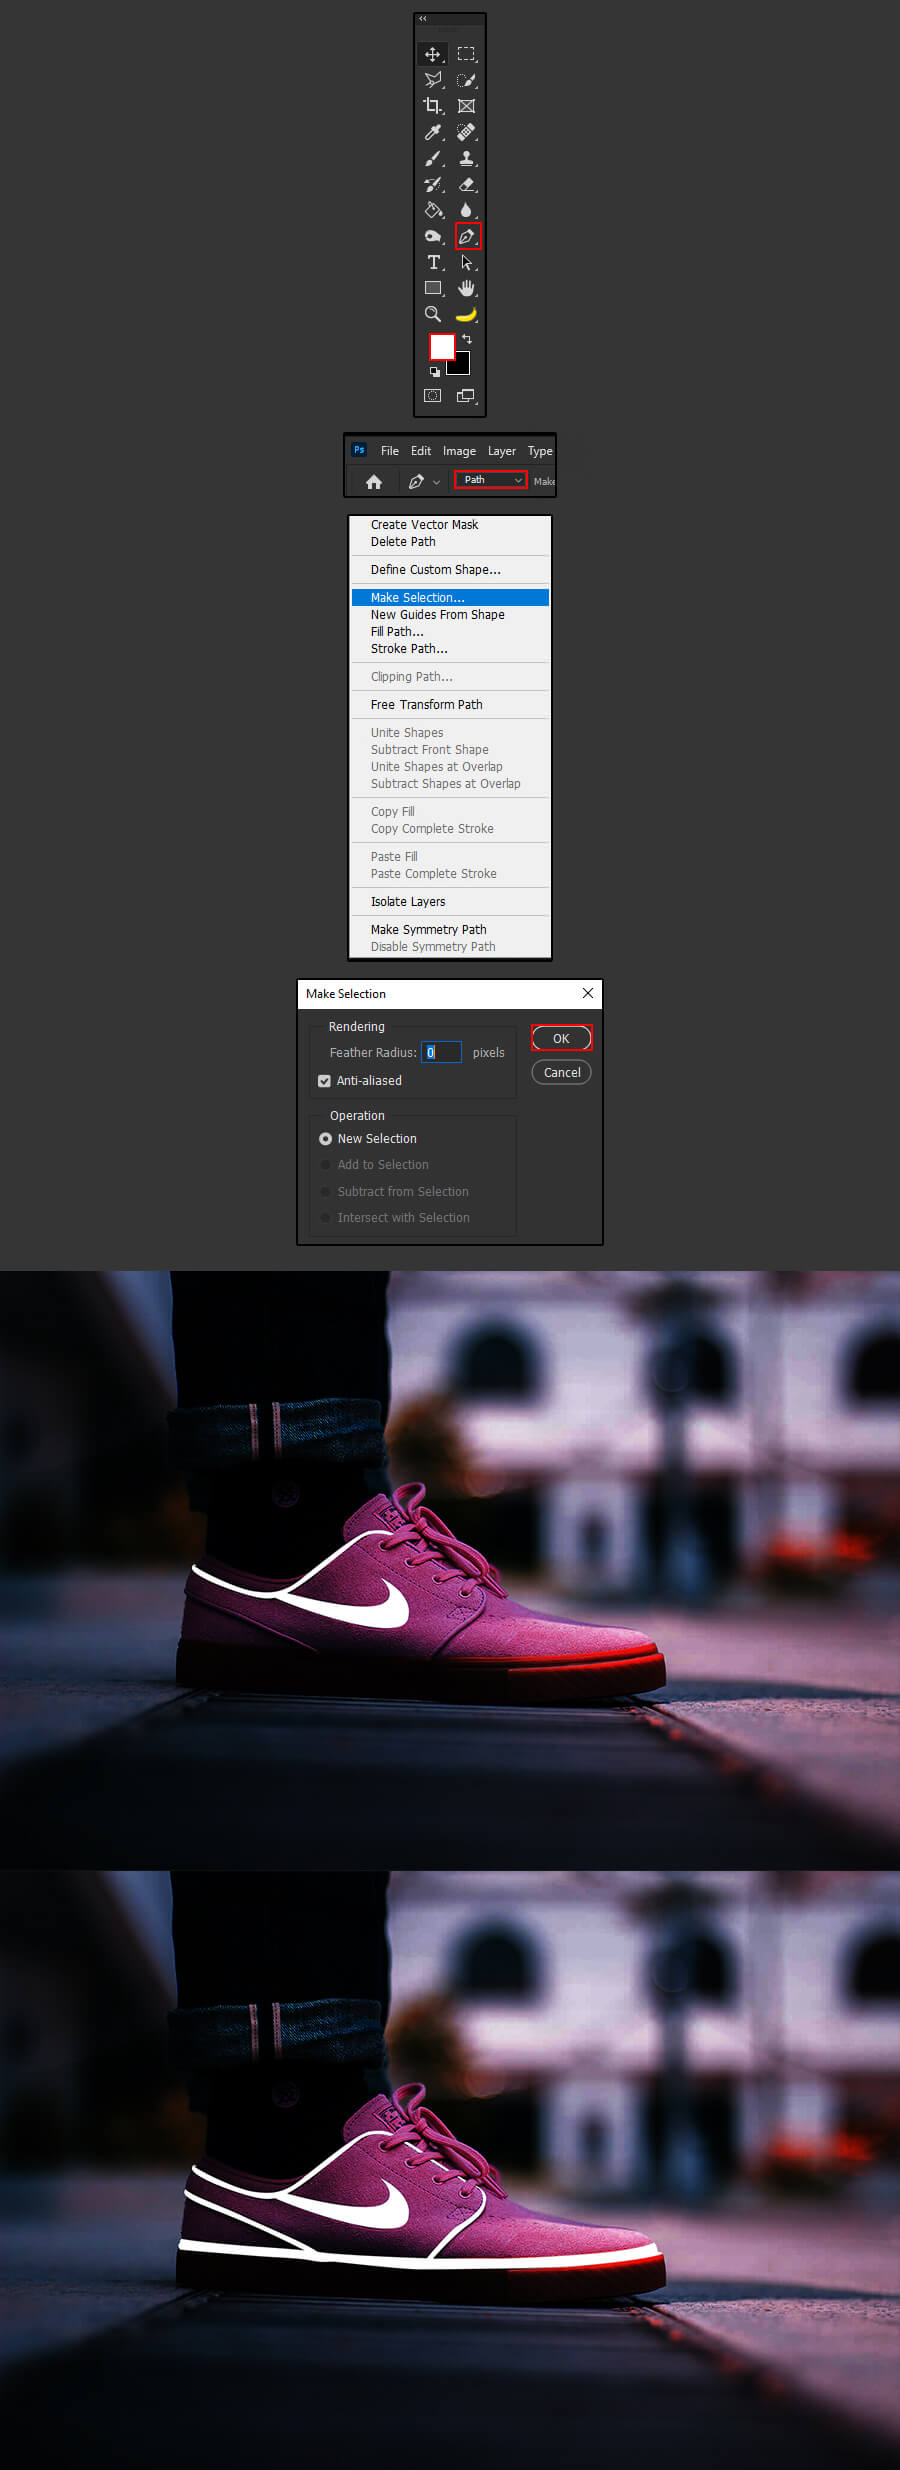
Next, with the new layer active, select the Pen Tool in the toolbar or simply press P. In the top toolbar, make sure your Pen Tool is set to Path and your foreground color set to white.
Draw around the first area where you want the Neon Glowing Effect to be applied. Once you have created your first path, right-click on it and choose Make Selection. A window will pop up just press OK. Now fill the selection with white by pressing Alt + Backspace. Press Ctrl + D to deselect.
Repeat the same step for each area where you want the Neon Glowing Effect.
Step 6
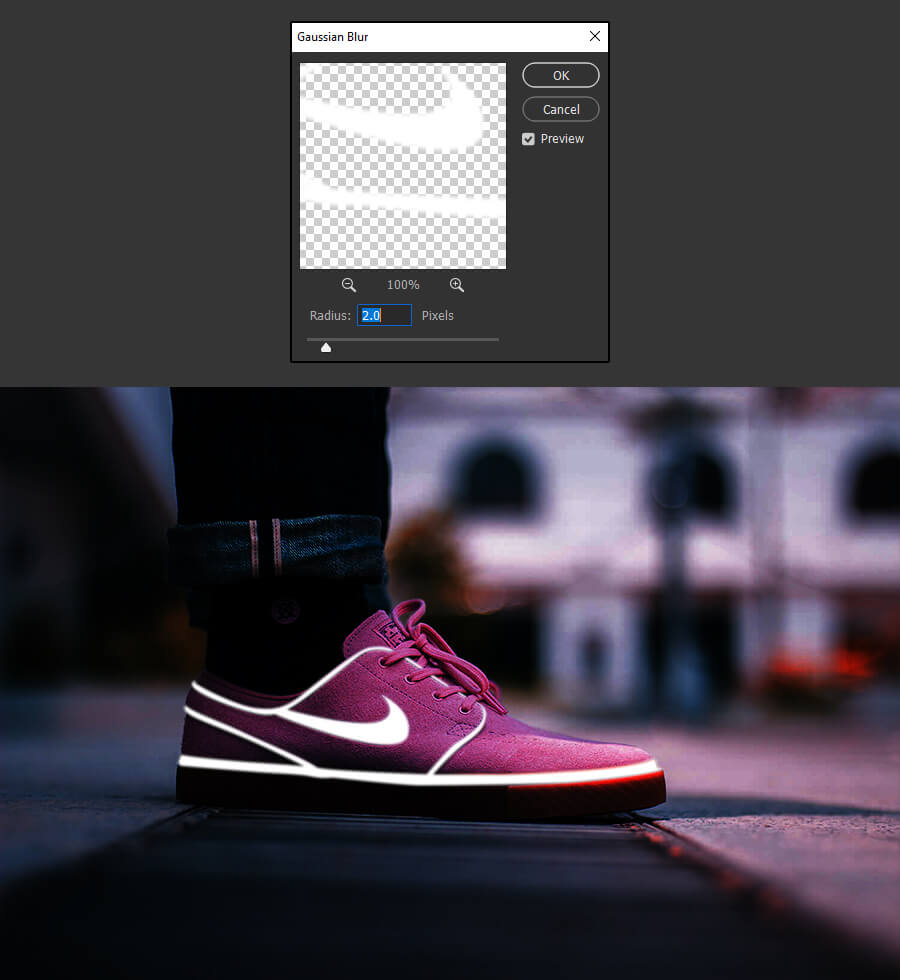
With the top layer selected go to Filter > Blur > Gaussian Blur. For this example, I’ll set the blur to 2.0 pixels. Feel free to apply any value you want for your design.
Step 7
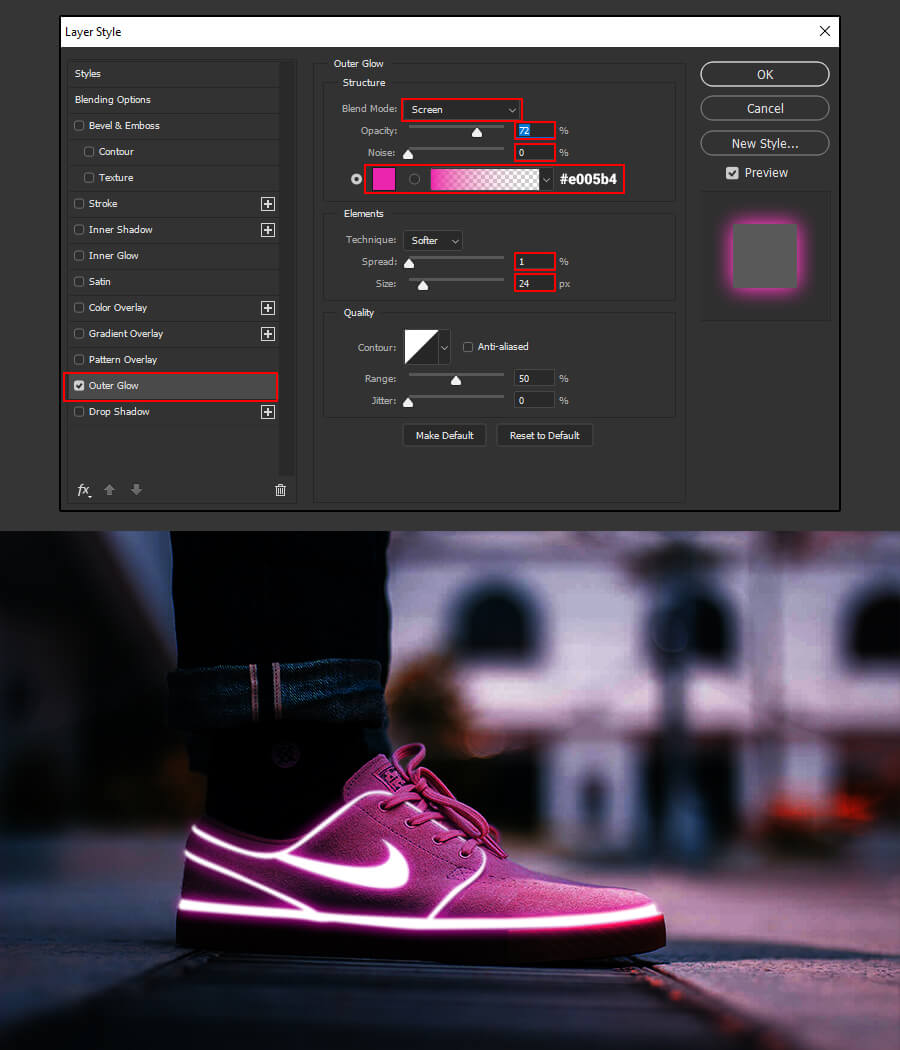
Next, with the top layer selected, go to Layer > Layer Style > Outer Glow. Apply the following settings. I’ll choose a bright pink but feel free to choose any color you like.
Step 8
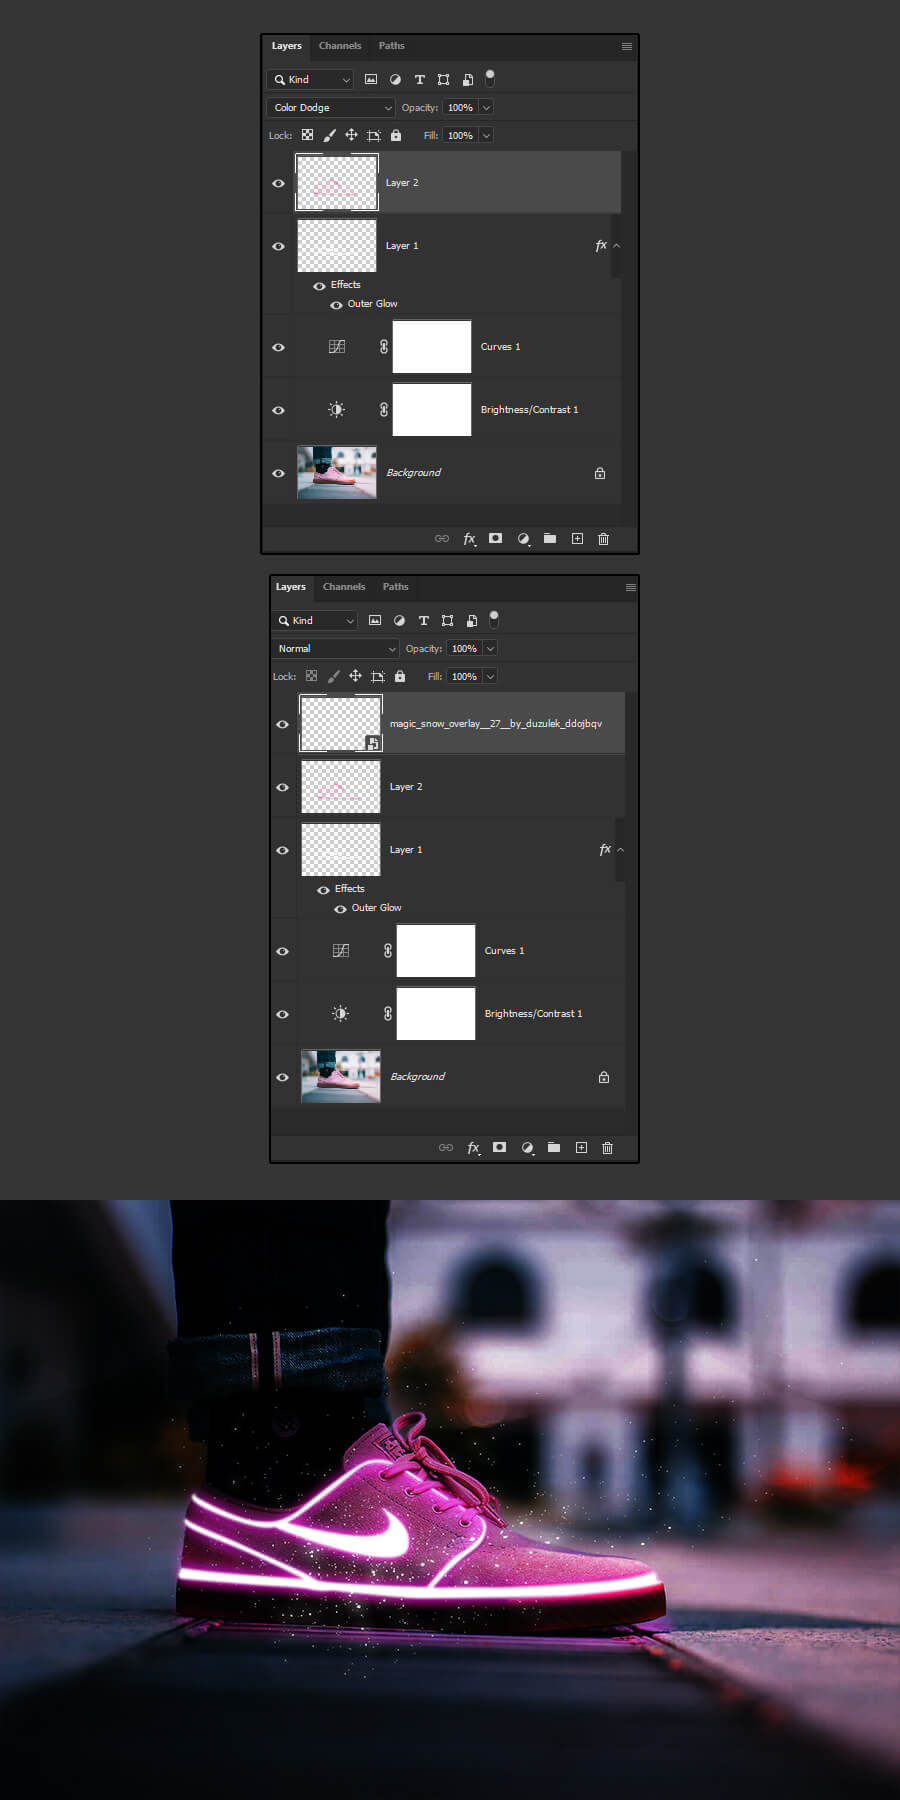
Add a new layer and change the blending mode to Color Dodge.

Step 9
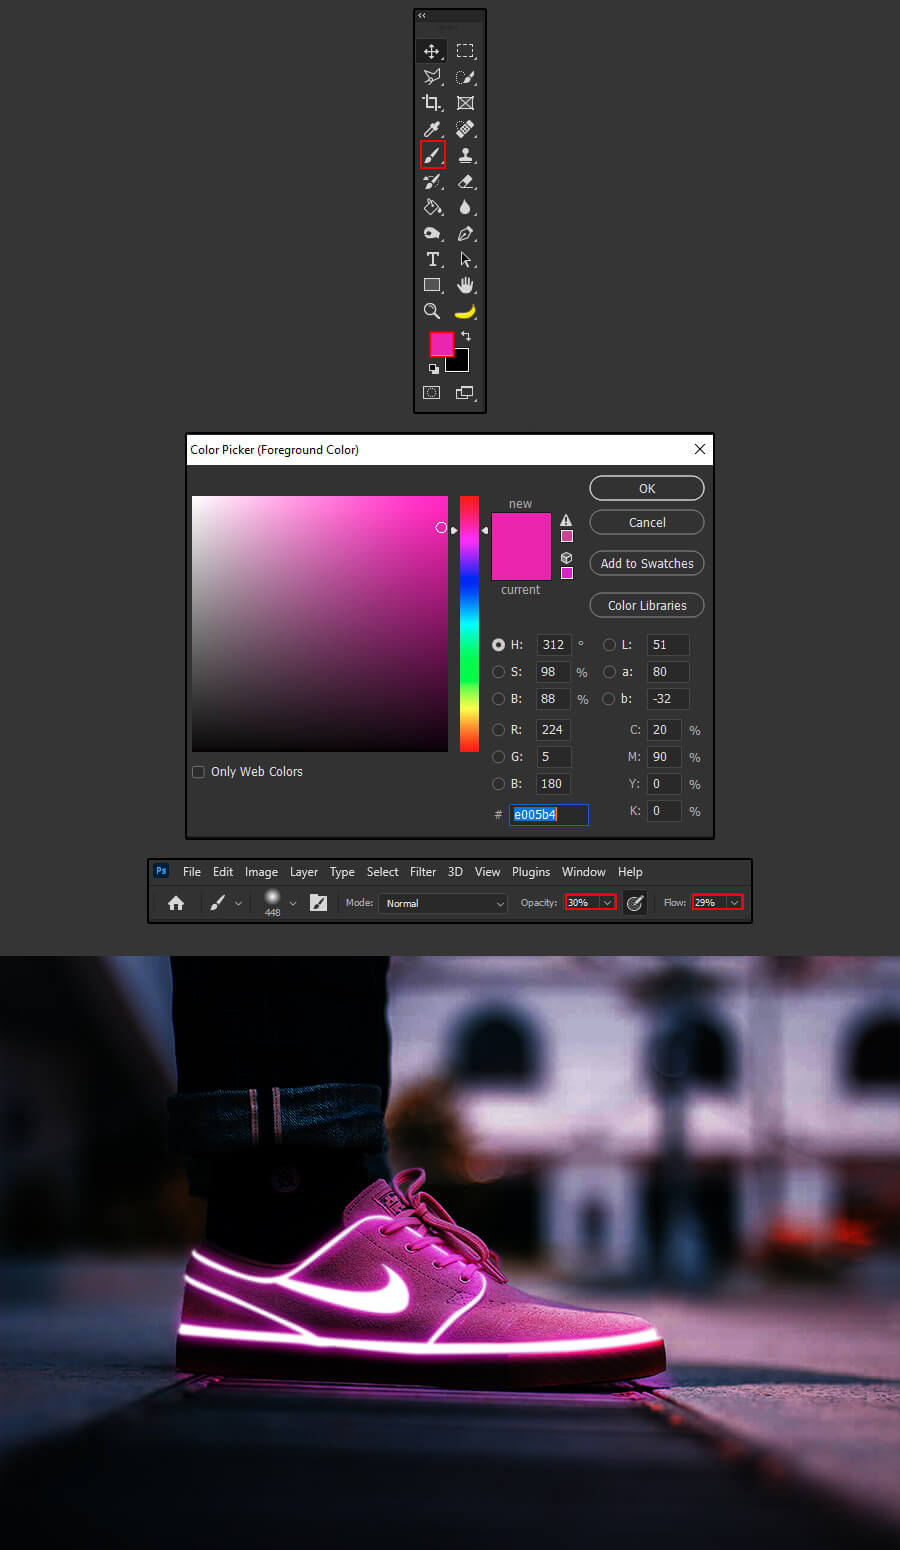
Next, let’s enhance the Neon Glowing Effect. While the top layer is active, select a soft-headed brush in the toolbar or press B. Set the foreground color to your liking. For this example, I’ll choose the same pink I used for my Outer Glow (#e005b4).
With the brush opacity and flow set to about 30%, paint over the glowing area of the shoes as well as on the ground to show some light reflection.
Step 10
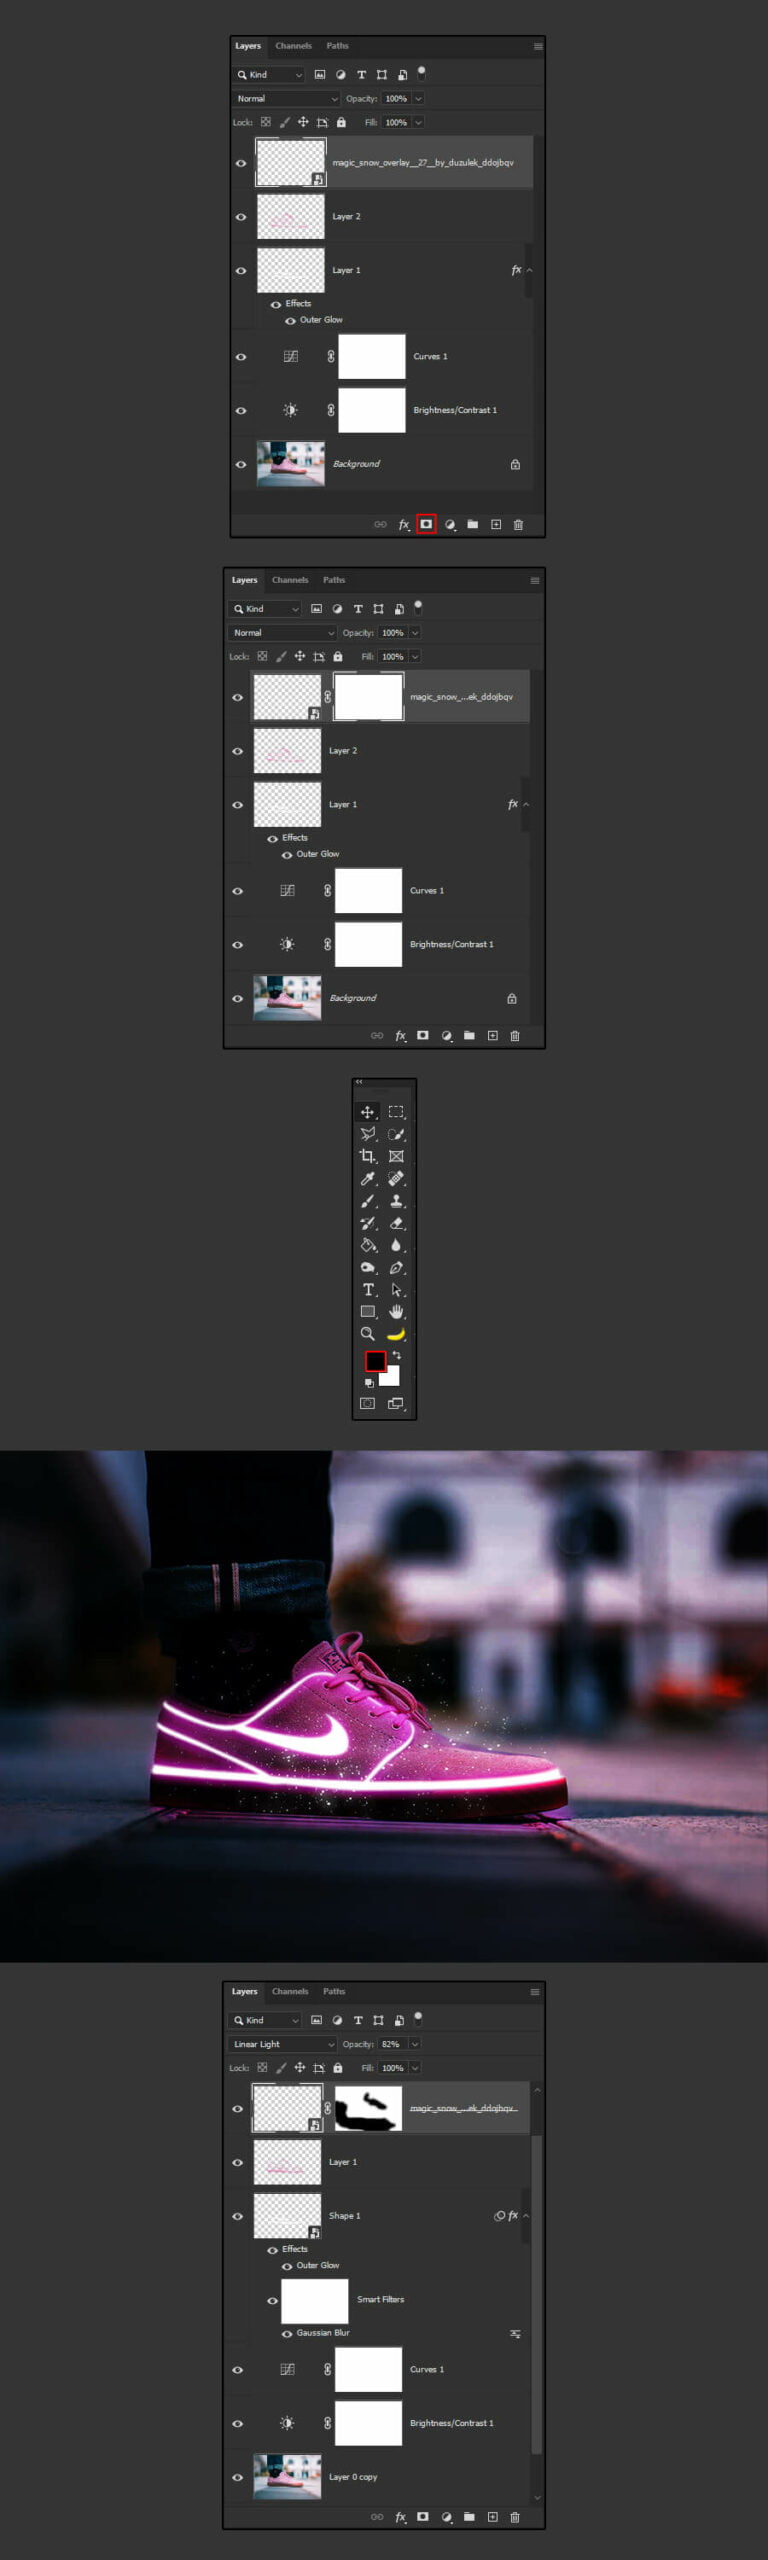
To make our picture more interesting, let’s add some particles. You can use the image available for this tutorial or choose your own.
Bring the particles image into your document and place it the way you like on your design. You can resize the image by using the Transform Tool (Ctrl + T).
Step 11
Add a layer mask to the particle’s image layer, and set the foreground color to black. With the layer mask selected use a soft brush (B) and paint where you want the particles to be removed.
Step 12
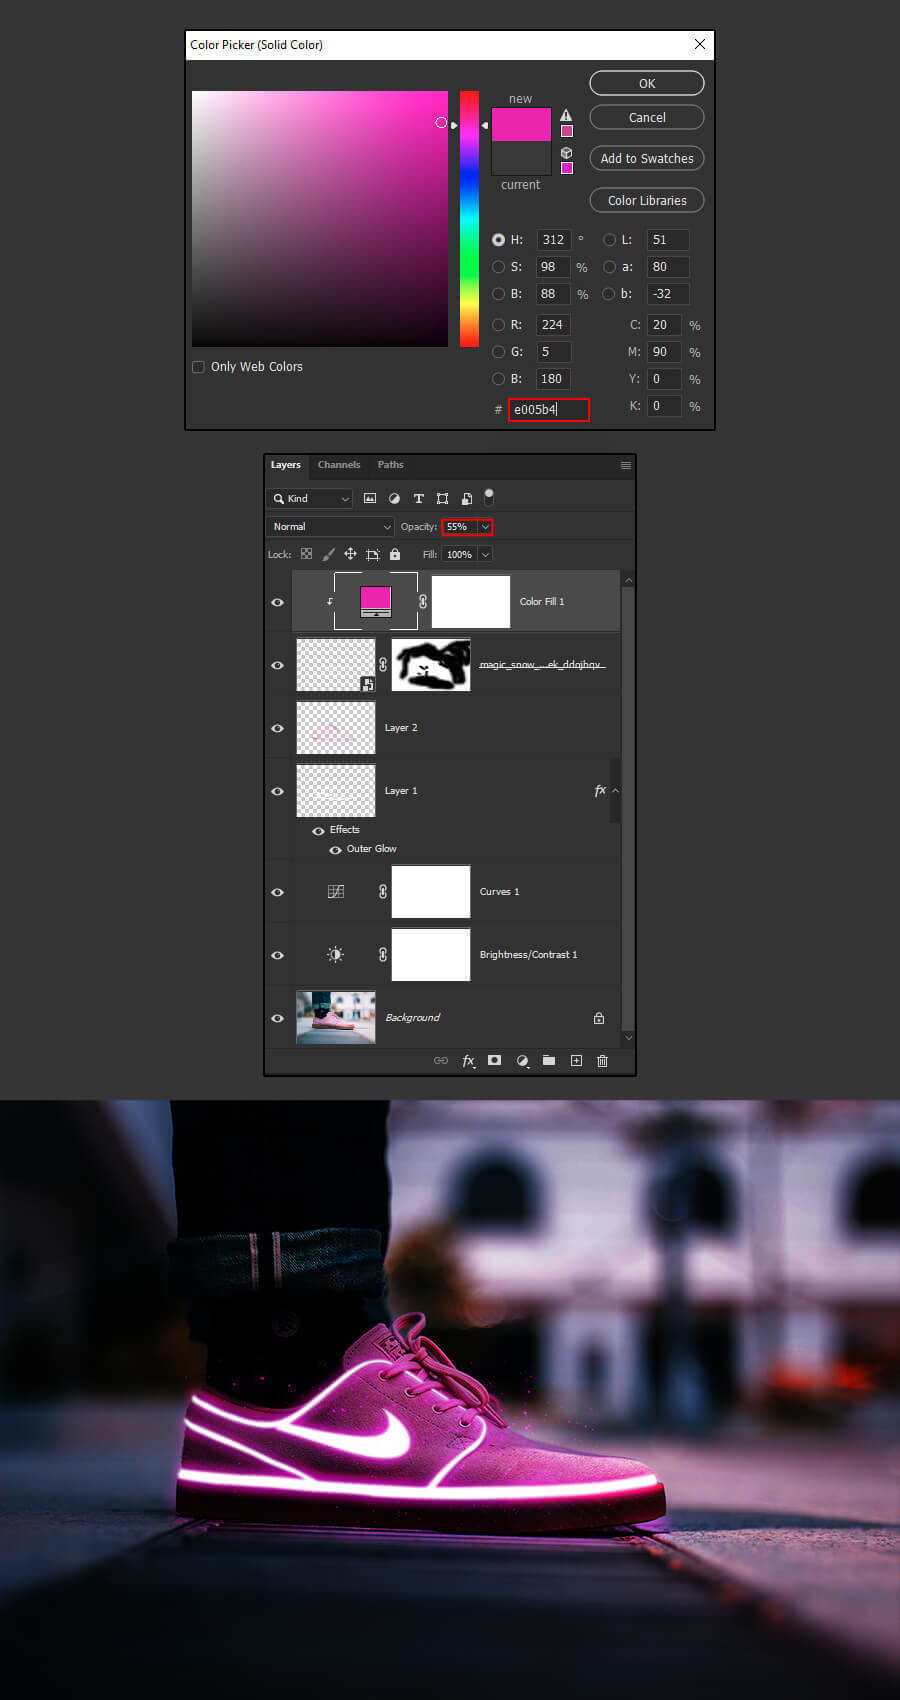
To finish our design, let’s change the color of the particles to pink.
Select the top layer and go to Layer > New Fill Layer > Solid Color. Pick a pink color (#e005b4) and press Ctrl + Alt + G to clip it to the layer below. Lower the opacity to about 55%.