Today I’ll teach you how to use Photoshop to produce a glass effect. This is a highly common and trendy design effect. This effect may be seen in UIs such as macOS, iOS, and Windows. It’s now commonly used for navigation bars and text backgrounds on photos.
The concept behind this effect is straightforward: just blur and brighten the objects behind one another. The information contrasts more with the background, but you can still get a sense of what’s going on behind it.
For this lesson, I’ll use Photoshop 2022.
This project uses the image and the font below. You can download them to follow along or you can pick your own image and font.
Background image: freepick.com
Font: PenultimateLight
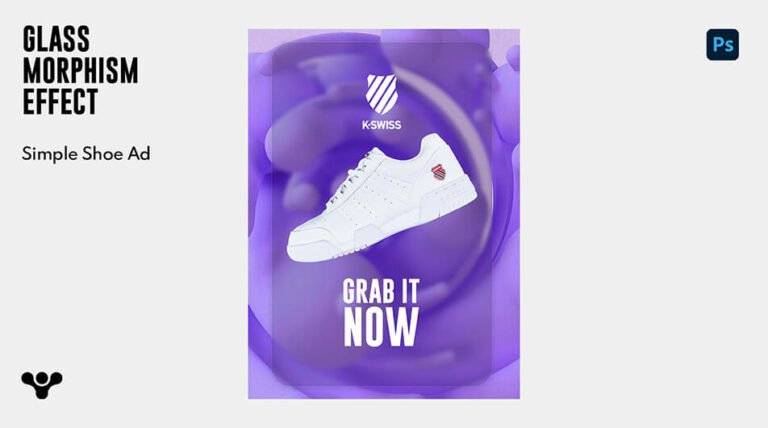
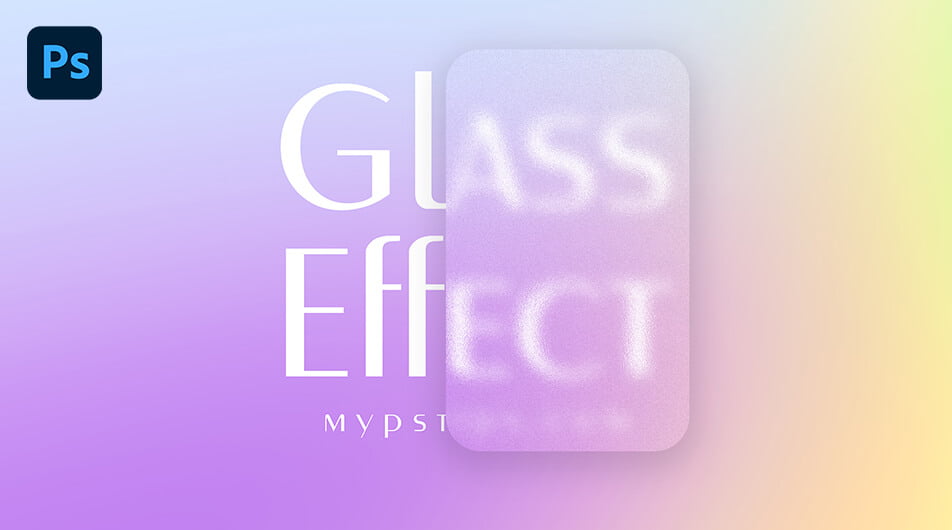
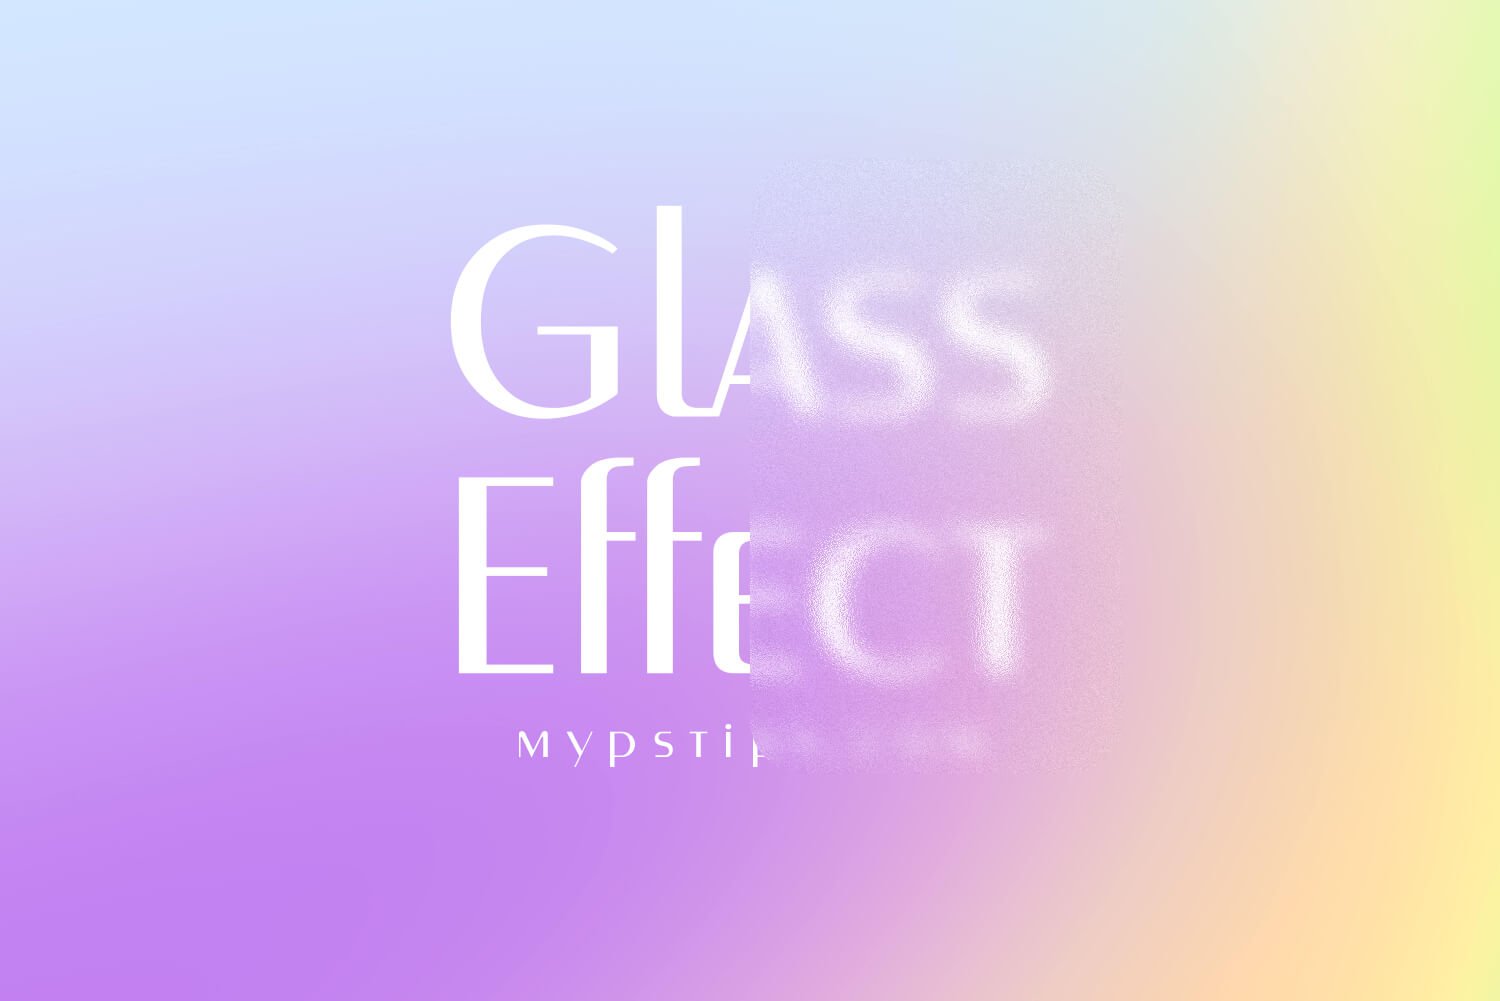
Final Image
After this tutorial, this is the result you’ll achieve:

Create a Glass Effect
Step 1: Prepare Your Background
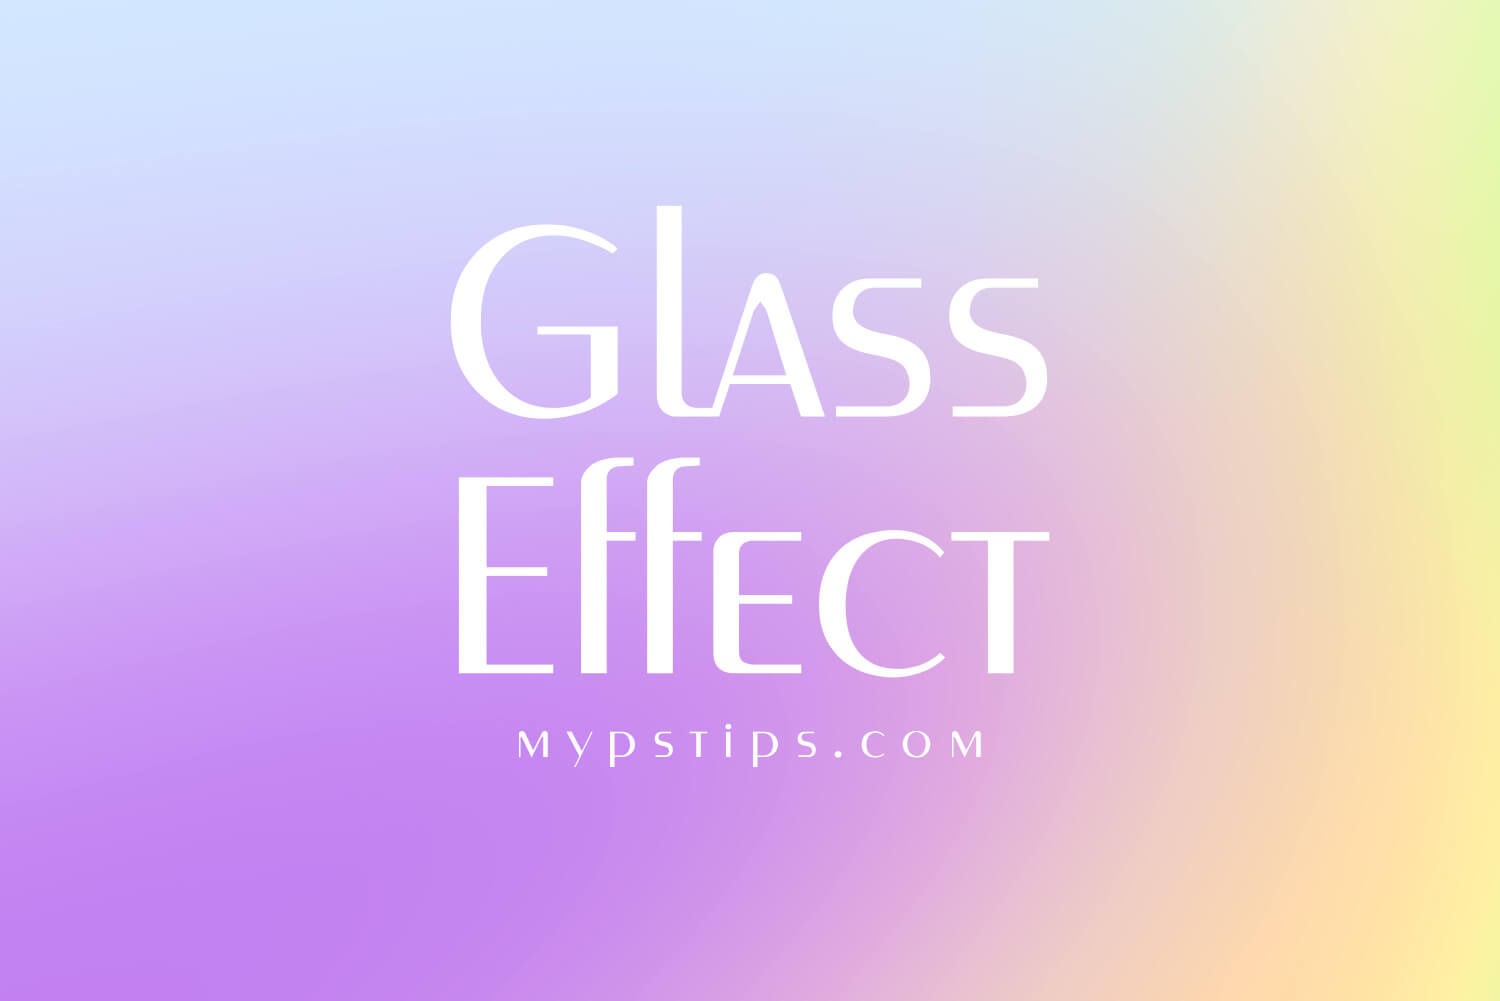
First, open up the background image in Photoshop, and press T to activate the type tool.
You can now add some text to your document.
This is what I wrote as an example for this tutorial using PenultimateLight font:
Once you are satisfied with your text, press Ctrl + Alt + Shift + E. This adds a flattened version of the image to a new layer on top of your layer stack. Basically, it’ll take your background and text layer and merge them into one layer. Make sure that you are happy with your text as you won’t be able to modify it once merged.
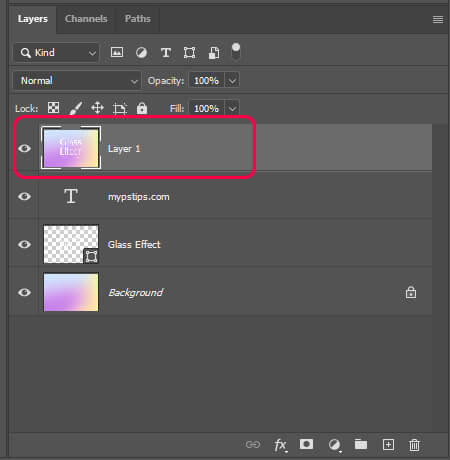
Next, left-click on the eyeball icons of all the layers below the top layer to turn them off as we won’t need them for the rest of this tutorial.
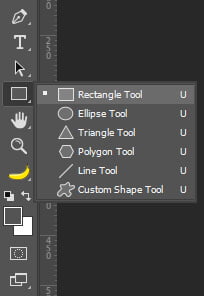
Step 2: Rectangle Tool and Clipping Mask
First, select the Rectangle Tool located in the toolbar and draw a rectangle over the text.
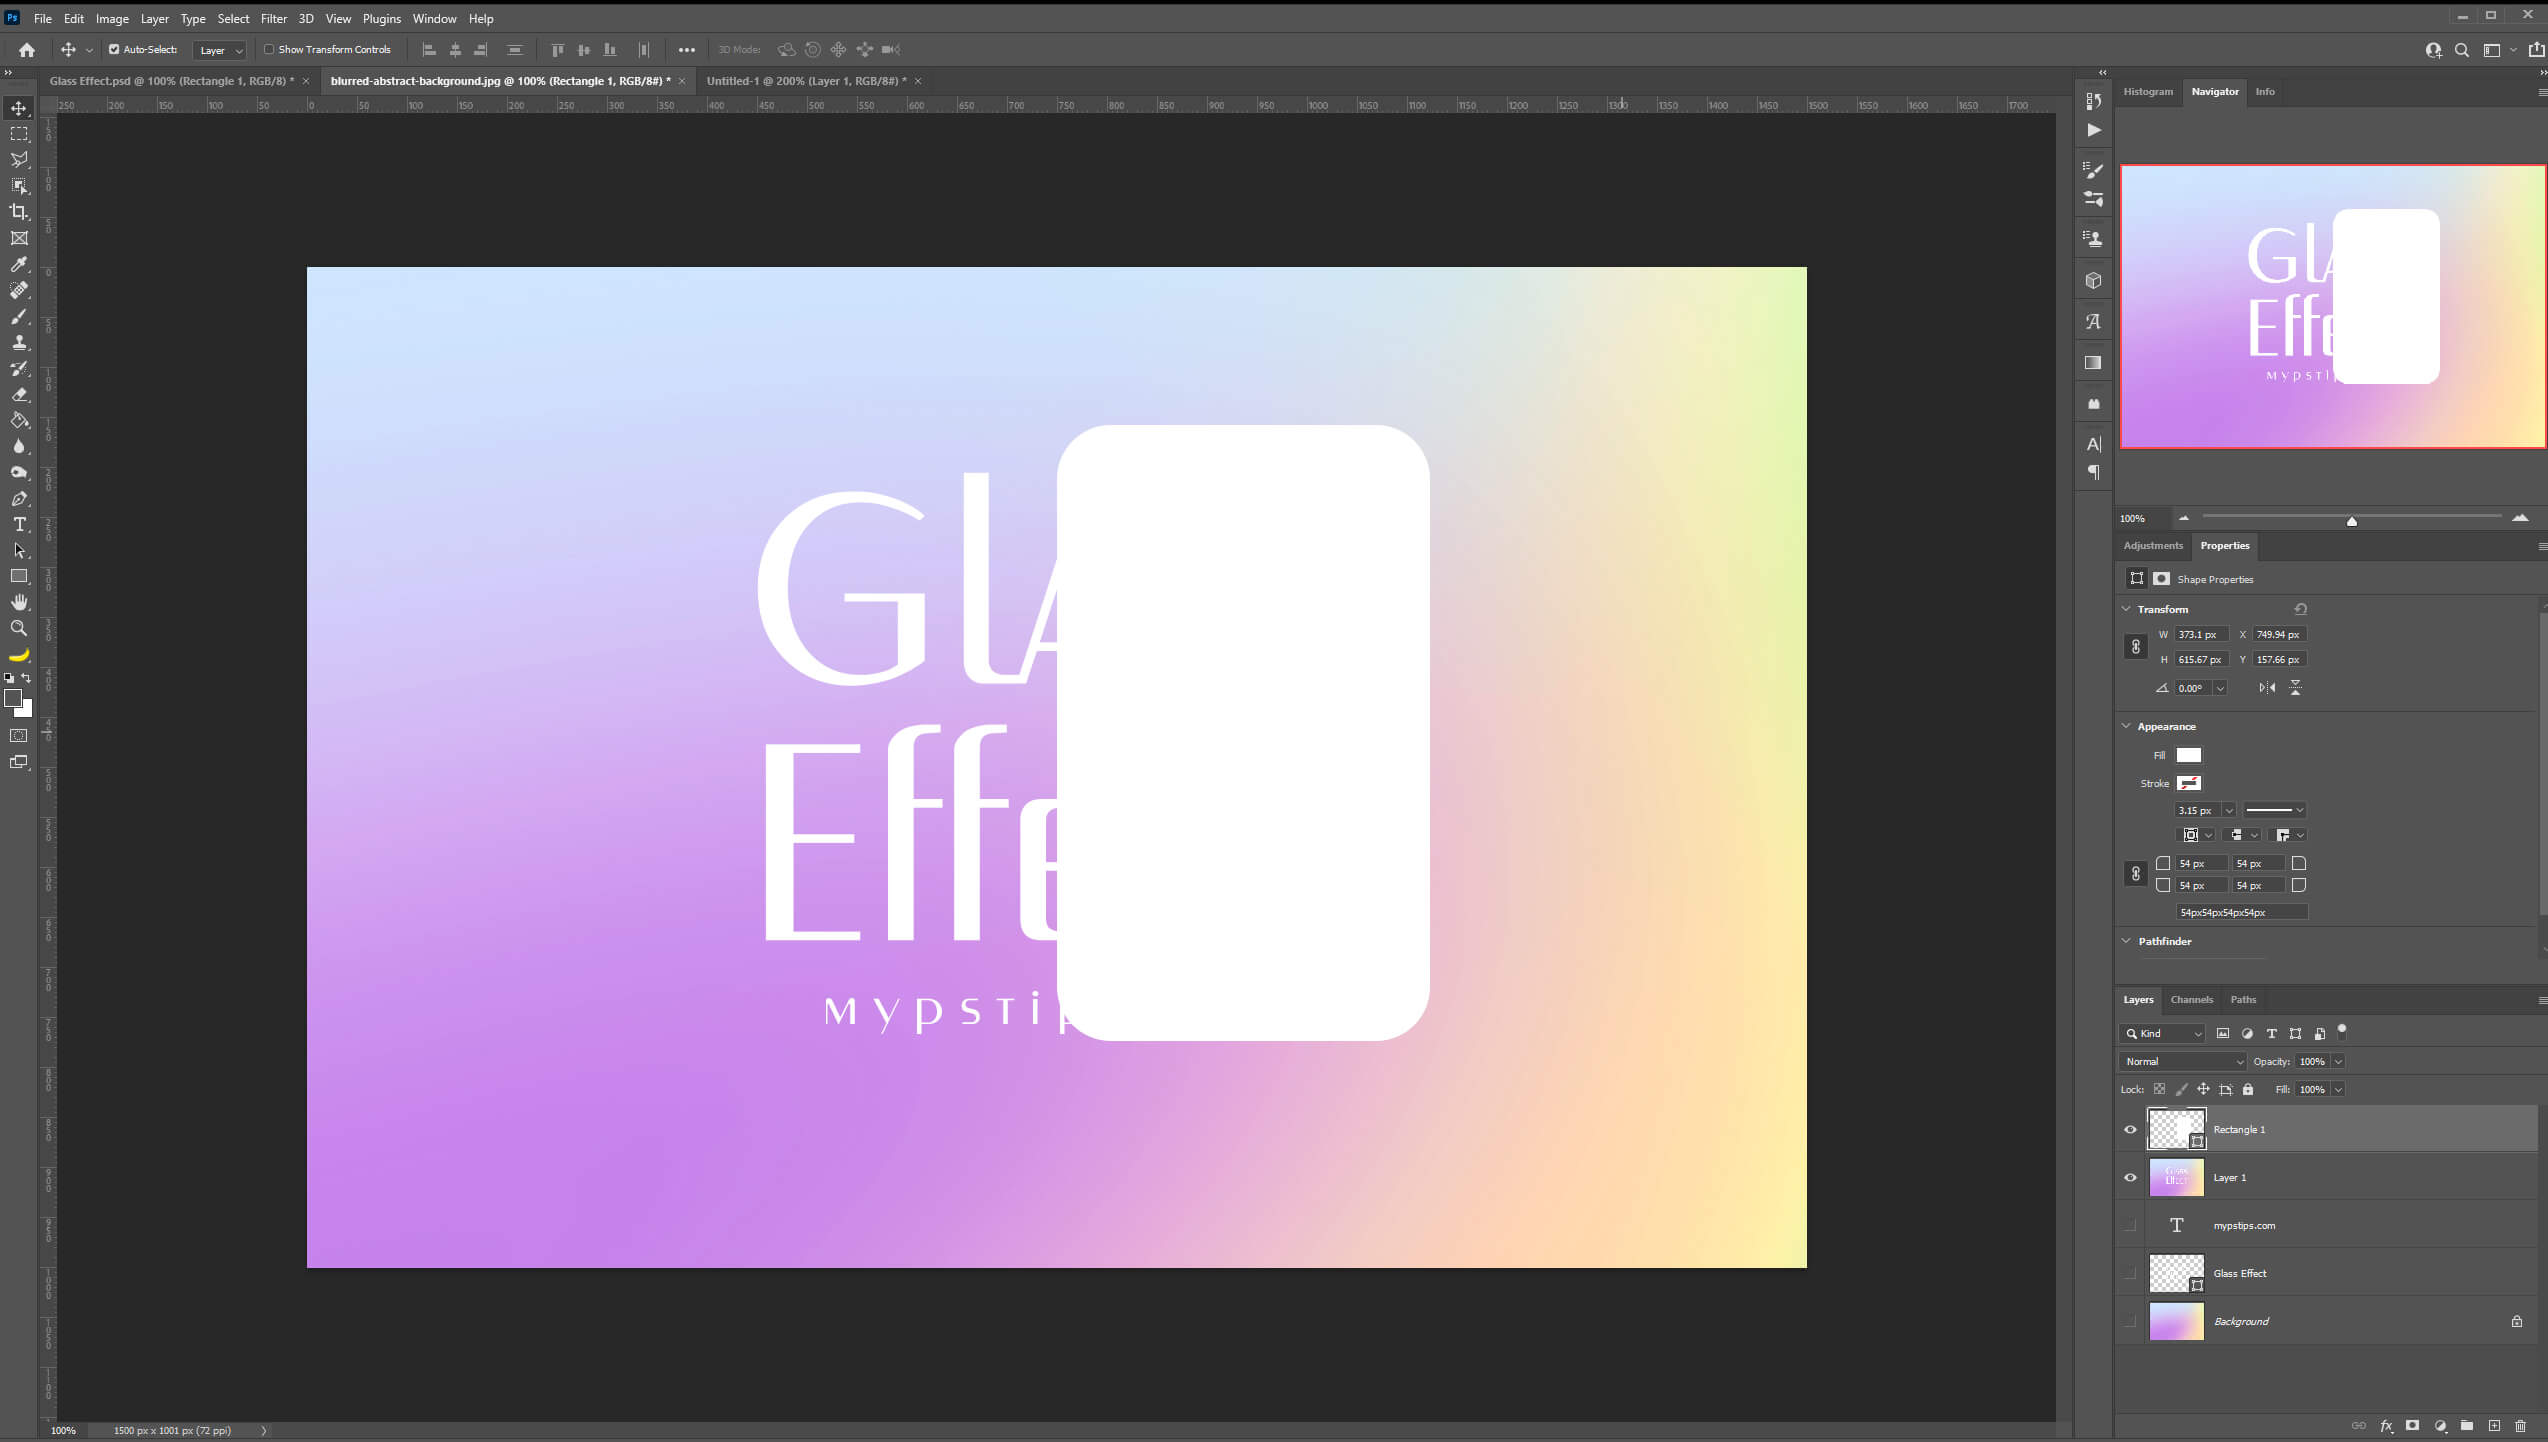
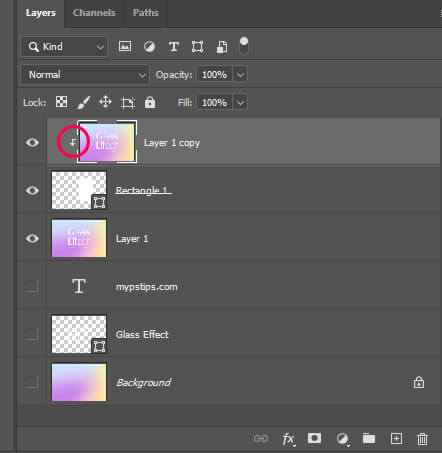
Next, select your background layer and duplicate it. (Ctrl + J). Drag that new layer to the top of your layer stack.
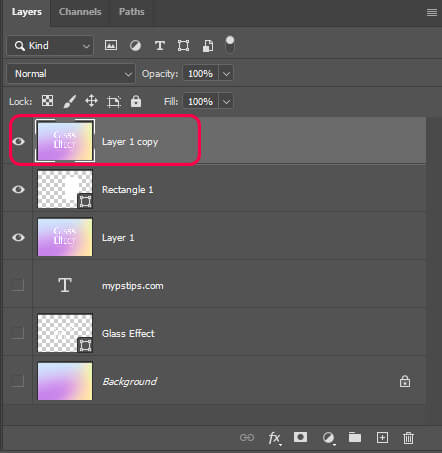
We’ll now clip that top layer to the rectangle layer. Just select the top layer and press Ctrl + Alt + G.
You should now see a little arrow next to the layer thumbnail. This indicates that the layer was properly clipped to the layer below.
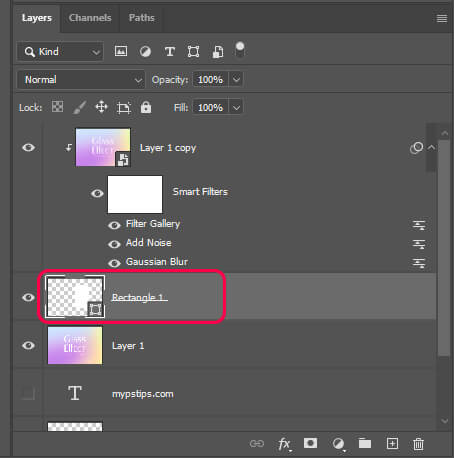
We now need to convert the layer to a smart object. Right-click on the top layer and select Convert to Smart Object.

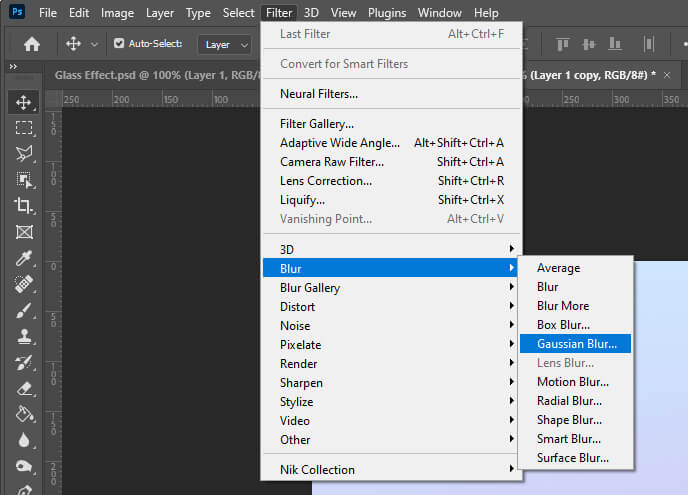
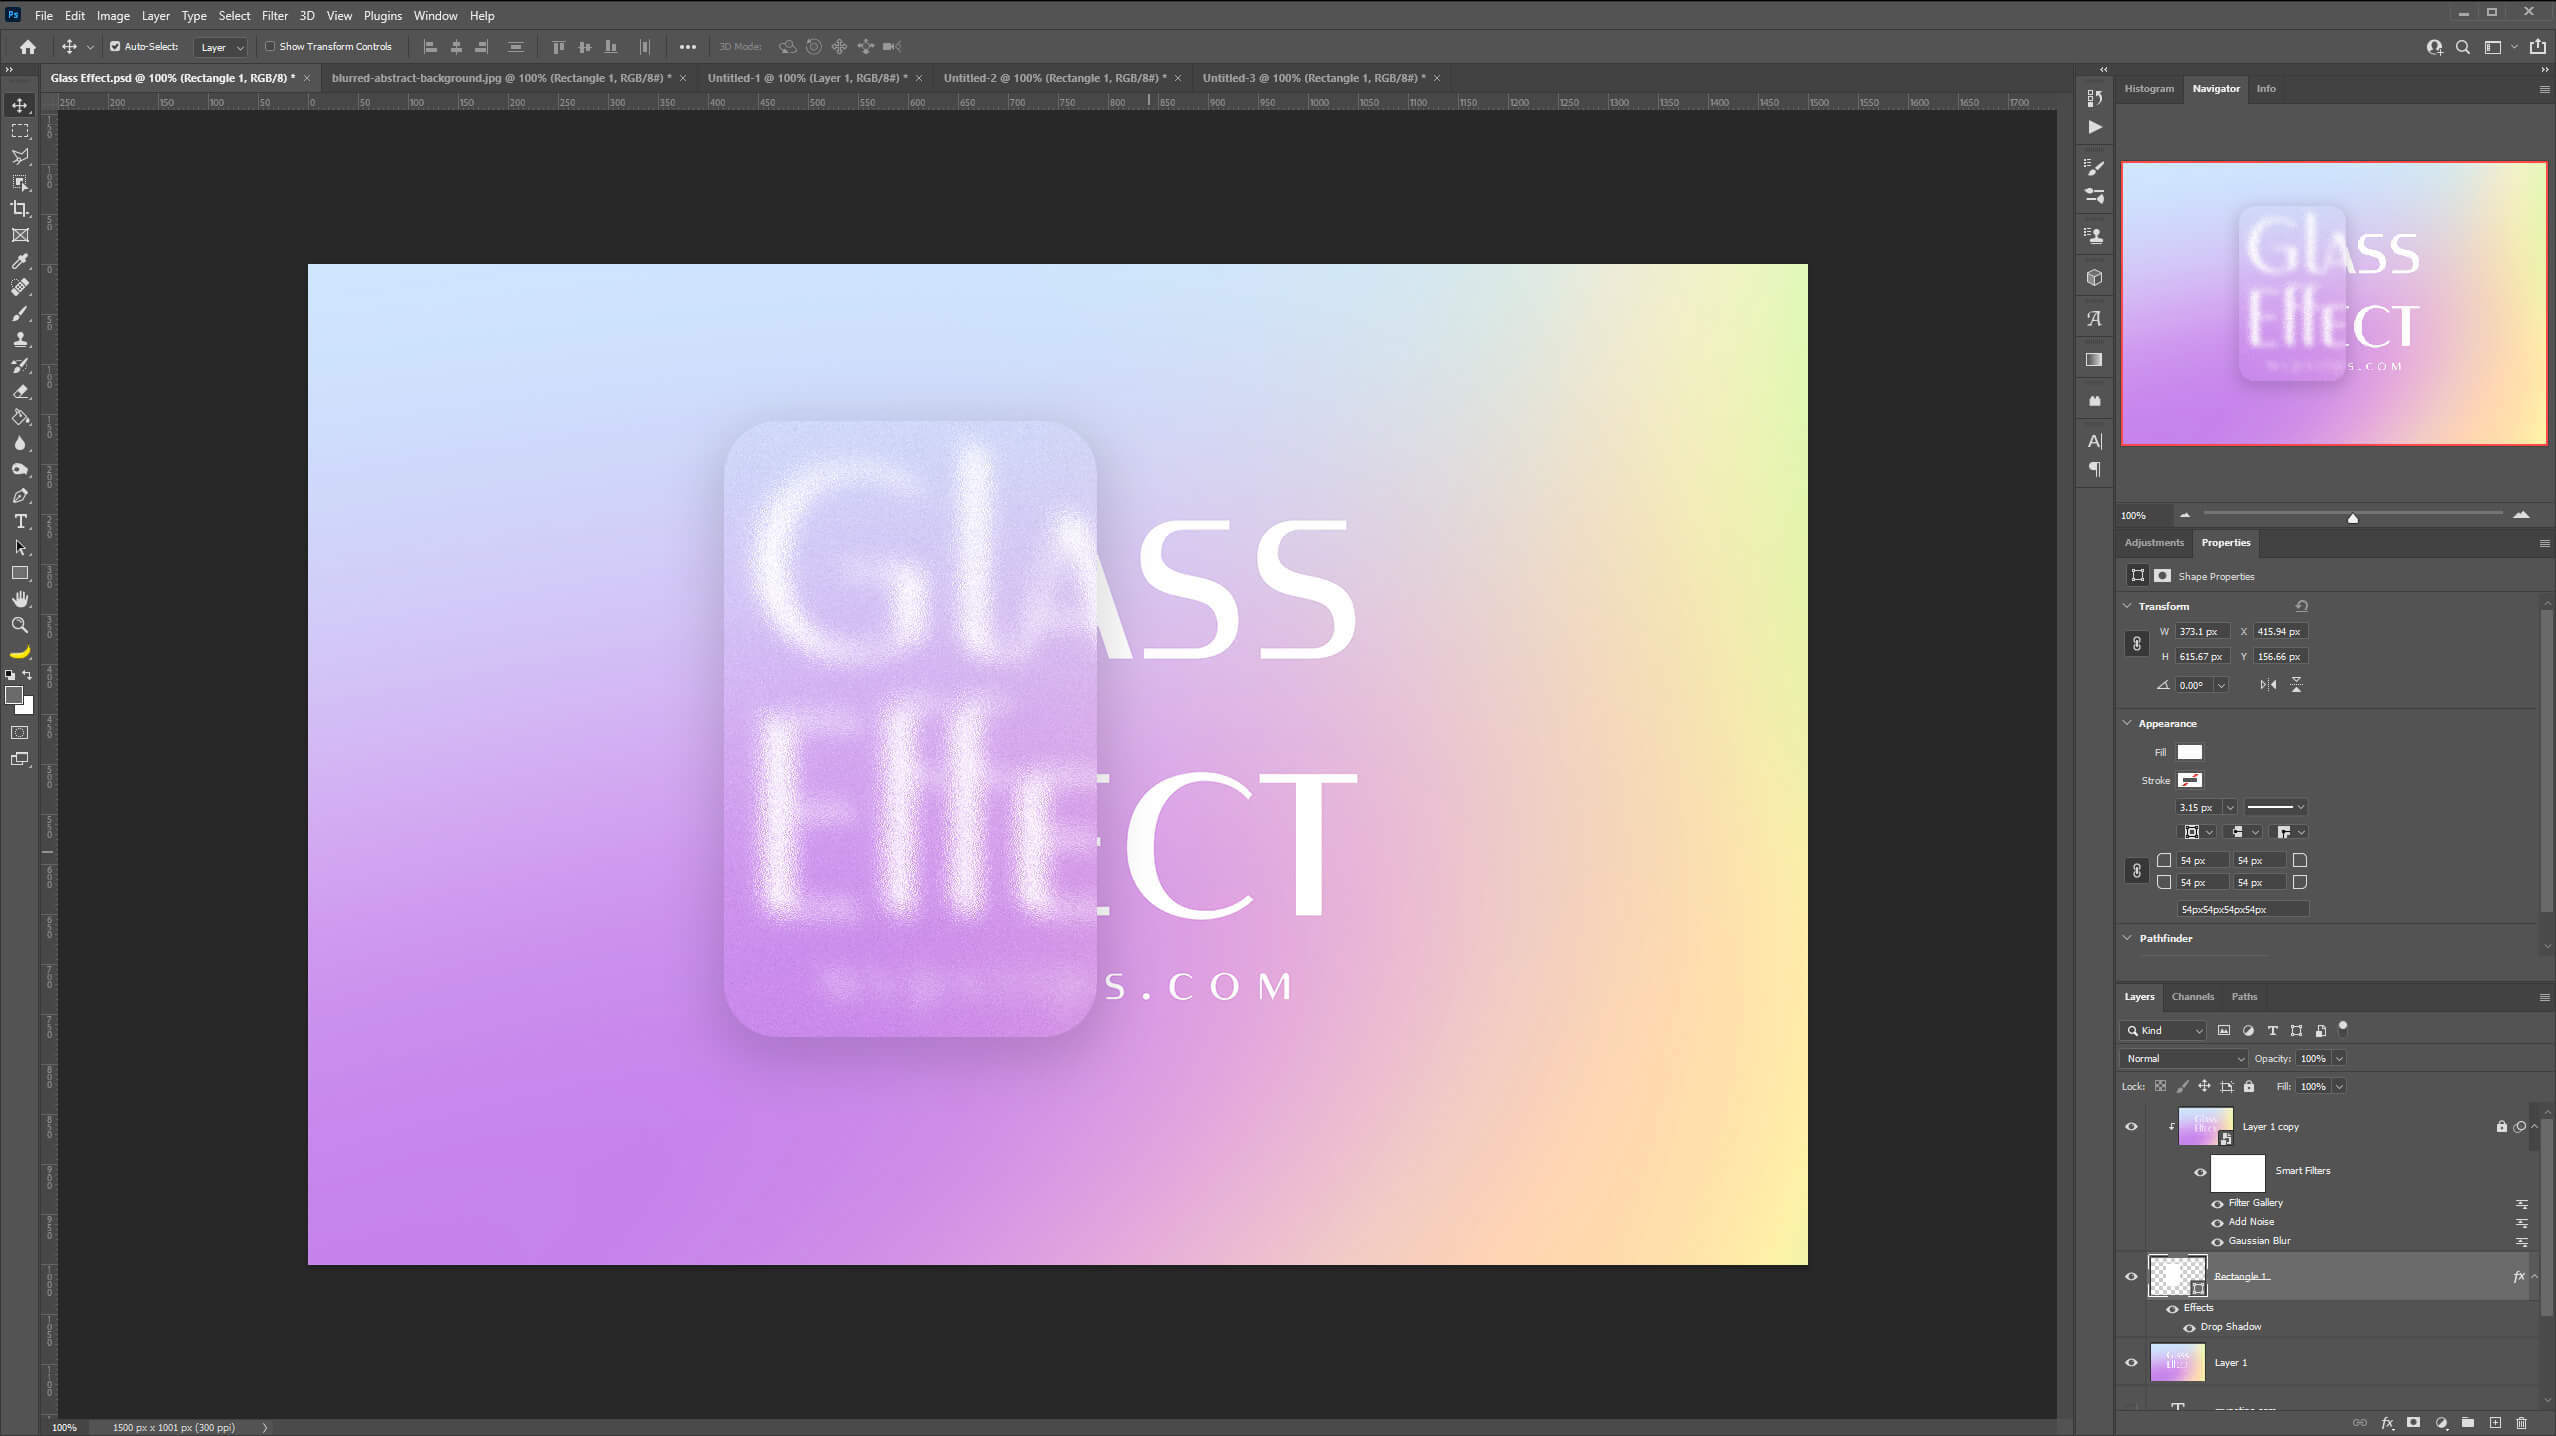
Step 3: Glass Effect
Let’s now create our glass effect.
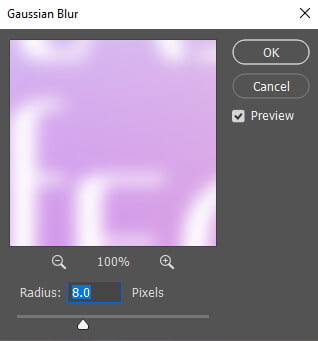
Select the top layer and go to Filter > Blur > Gaussian Blur.
Set the Gaussian Blur to 8.0 pixels.
Next, with the top layer selected go to Filter > Noise > Add Noise.
Copy my settings as shown on the image below


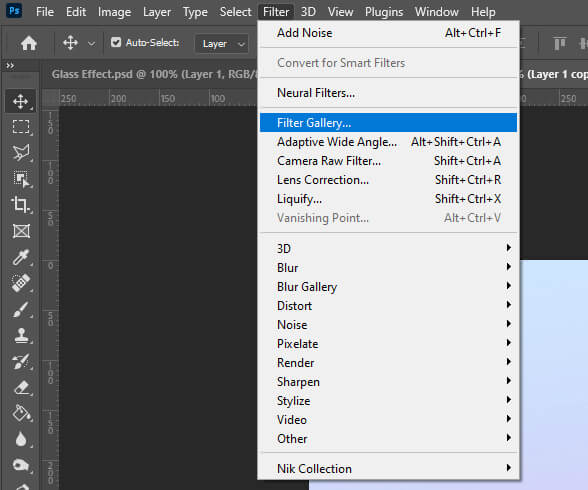
Let’s add one more filter to our top layer. Go to Filter > Filter Gallery.
In the distort section, select Glass and copy my settings as shown below.

Up to this point, your image should look like this:
Step 4: Add a Drop Shadow to Our Glass Effect
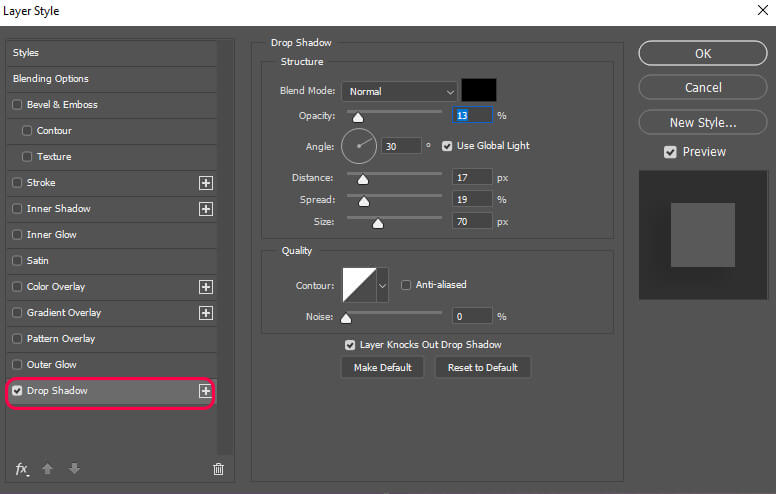
First, select your rectangle layer and double-click on it. the layer style window will pop up.
Next, select Drop Shadow and copy my settings.
You can now move around the rectangle all over your document to apply the effect on the location that you desire.
And We Are Done!
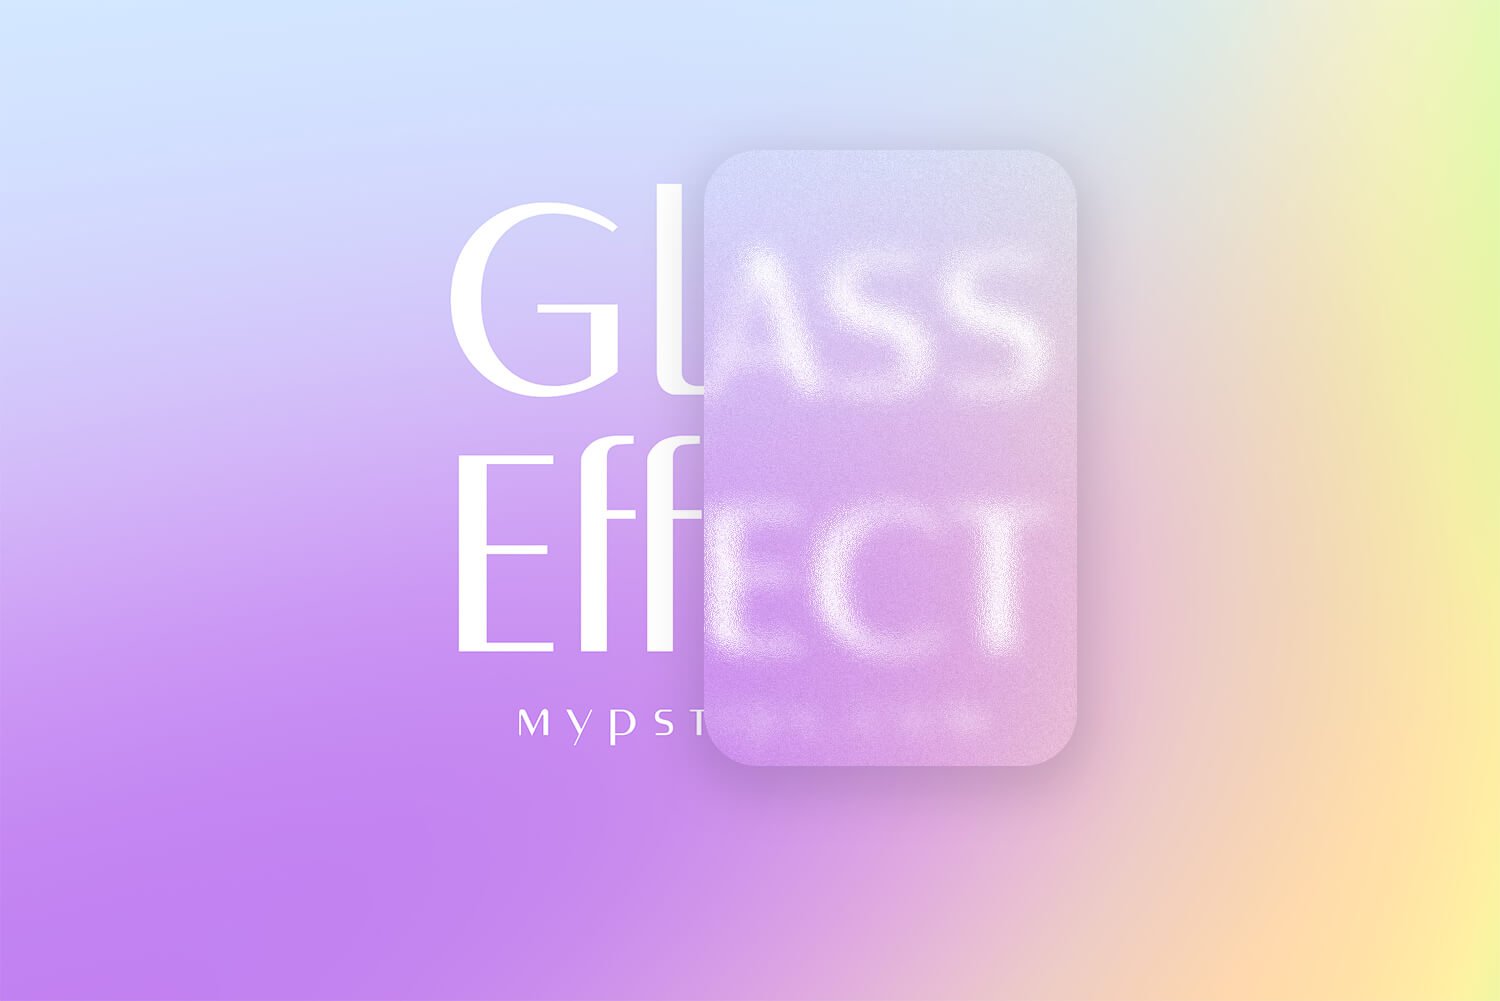
After following this tutorial, you should be able to Create a Glass Effect in Photoshop. I hope you found this guide useful and easy to follow. If you have any questions or suggestions please let me know in the comments down below and I’ll get back to you as soon as possible.