This tutorial will teach you how to make a 3D pop-out photo effect in Photoshop.
This effect makes it seem as if an object, or person is popping out from a photo.
I’ll be using Photoshop 2022 but any version of Photoshop will work.
This project uses the images below:
Skater:
https://unsplash.com/photos/r1SwcagHVG0
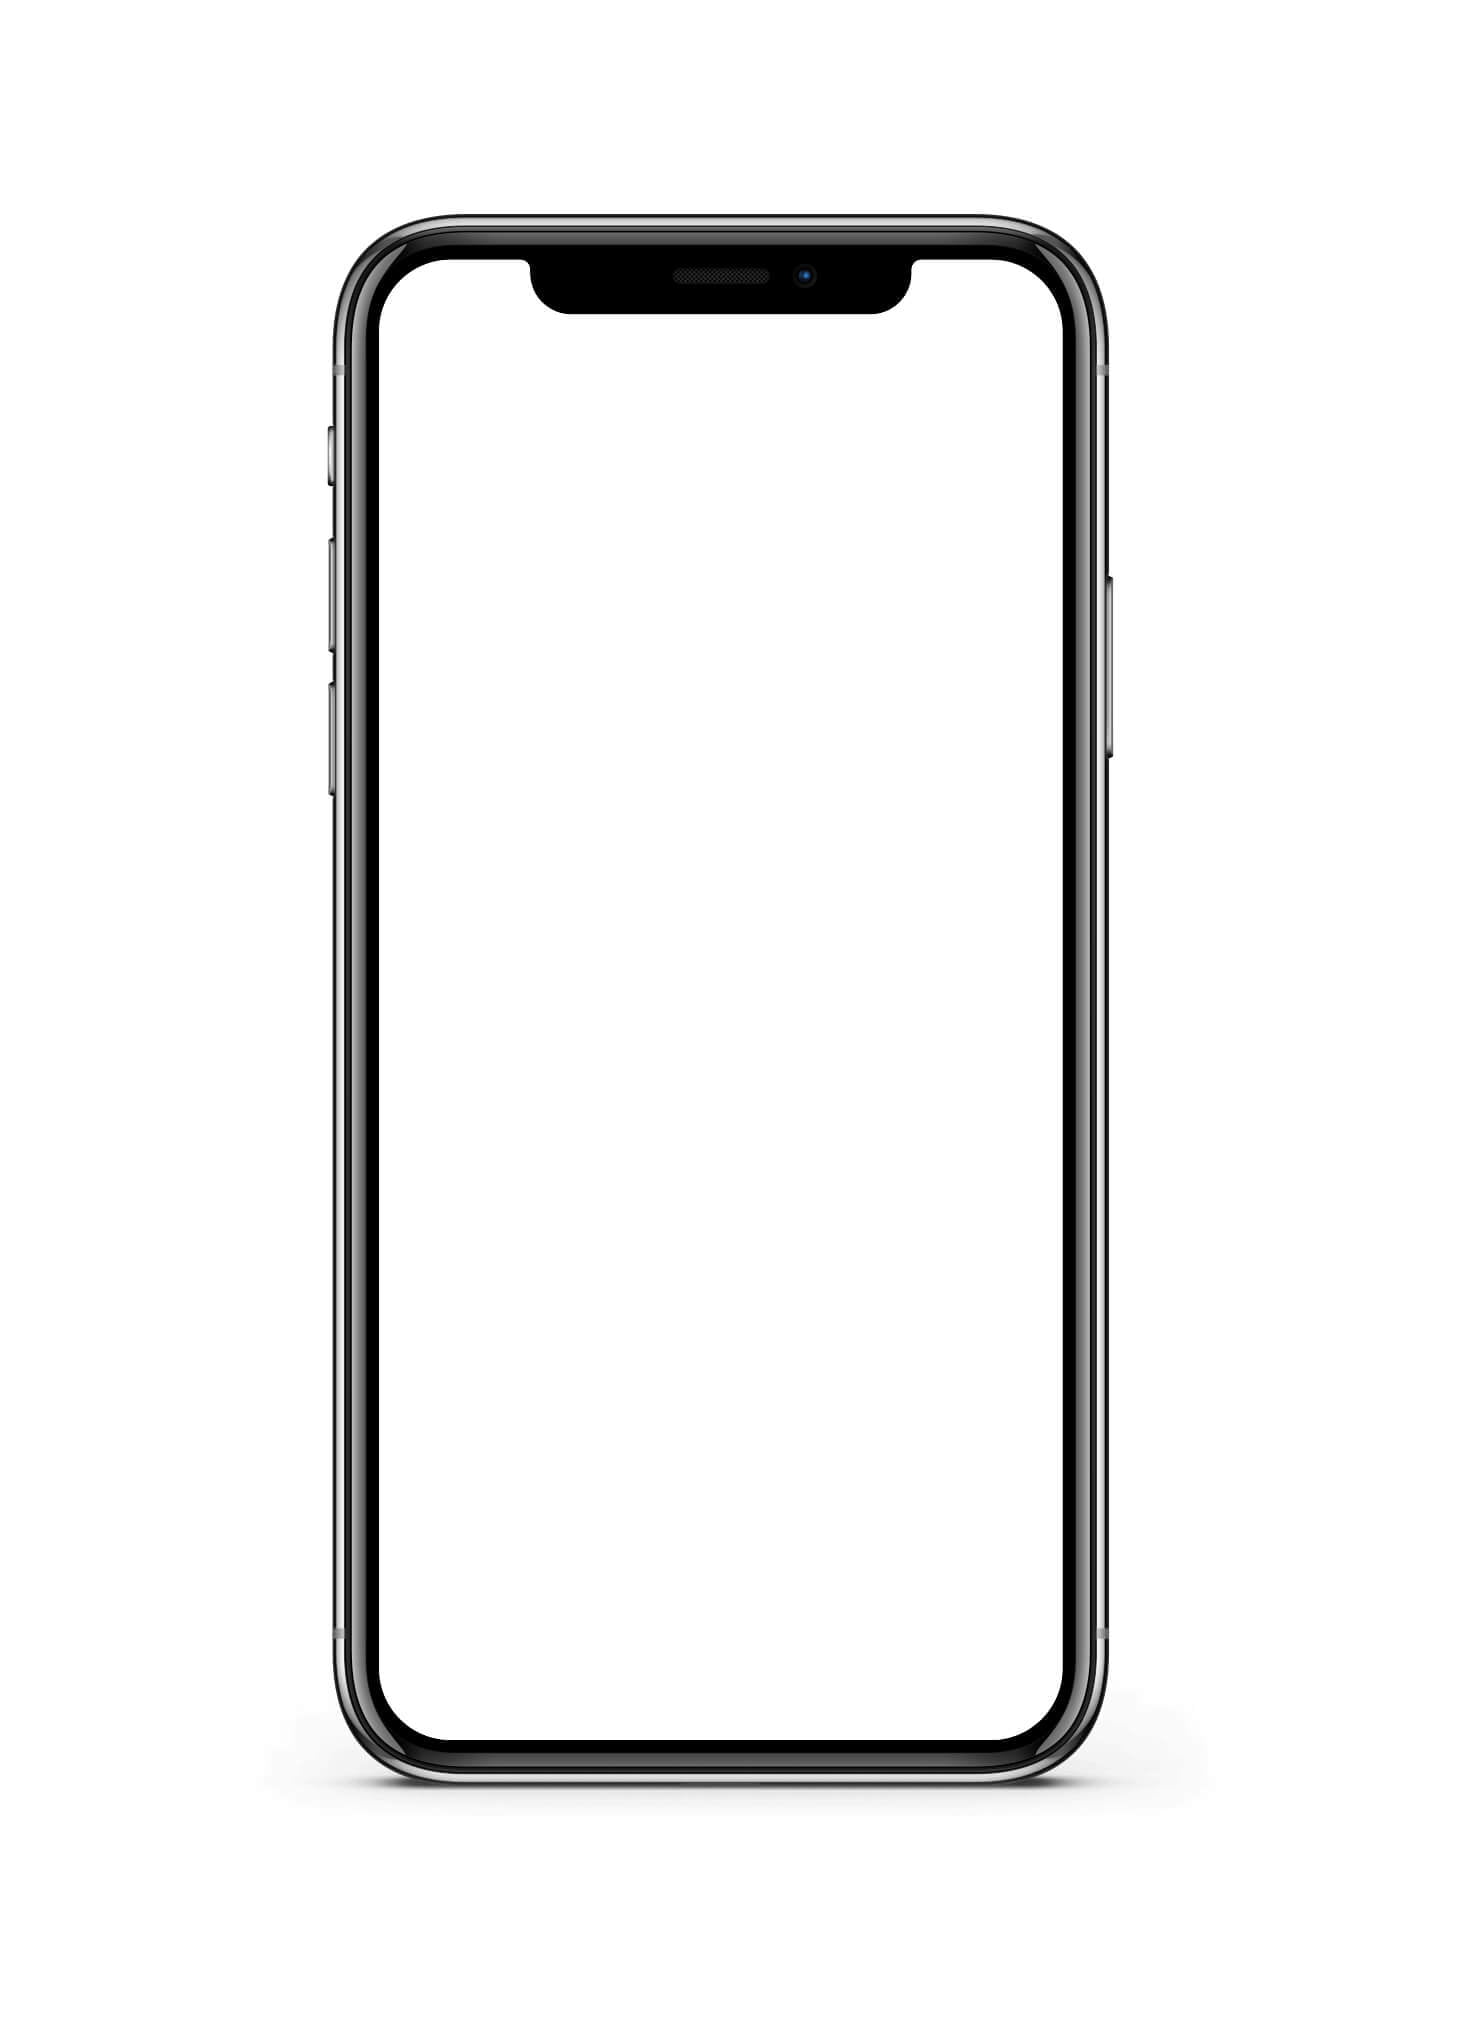
Phone:
https://www.pngkit.com/view/u2w7u2o0r5o0w7u2_interact-to-see-more-transparent-i-phone-x/
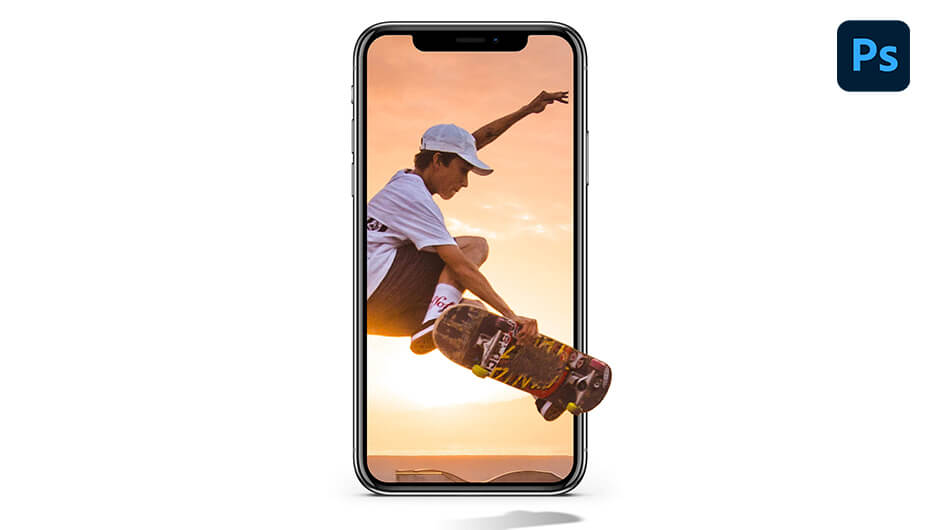
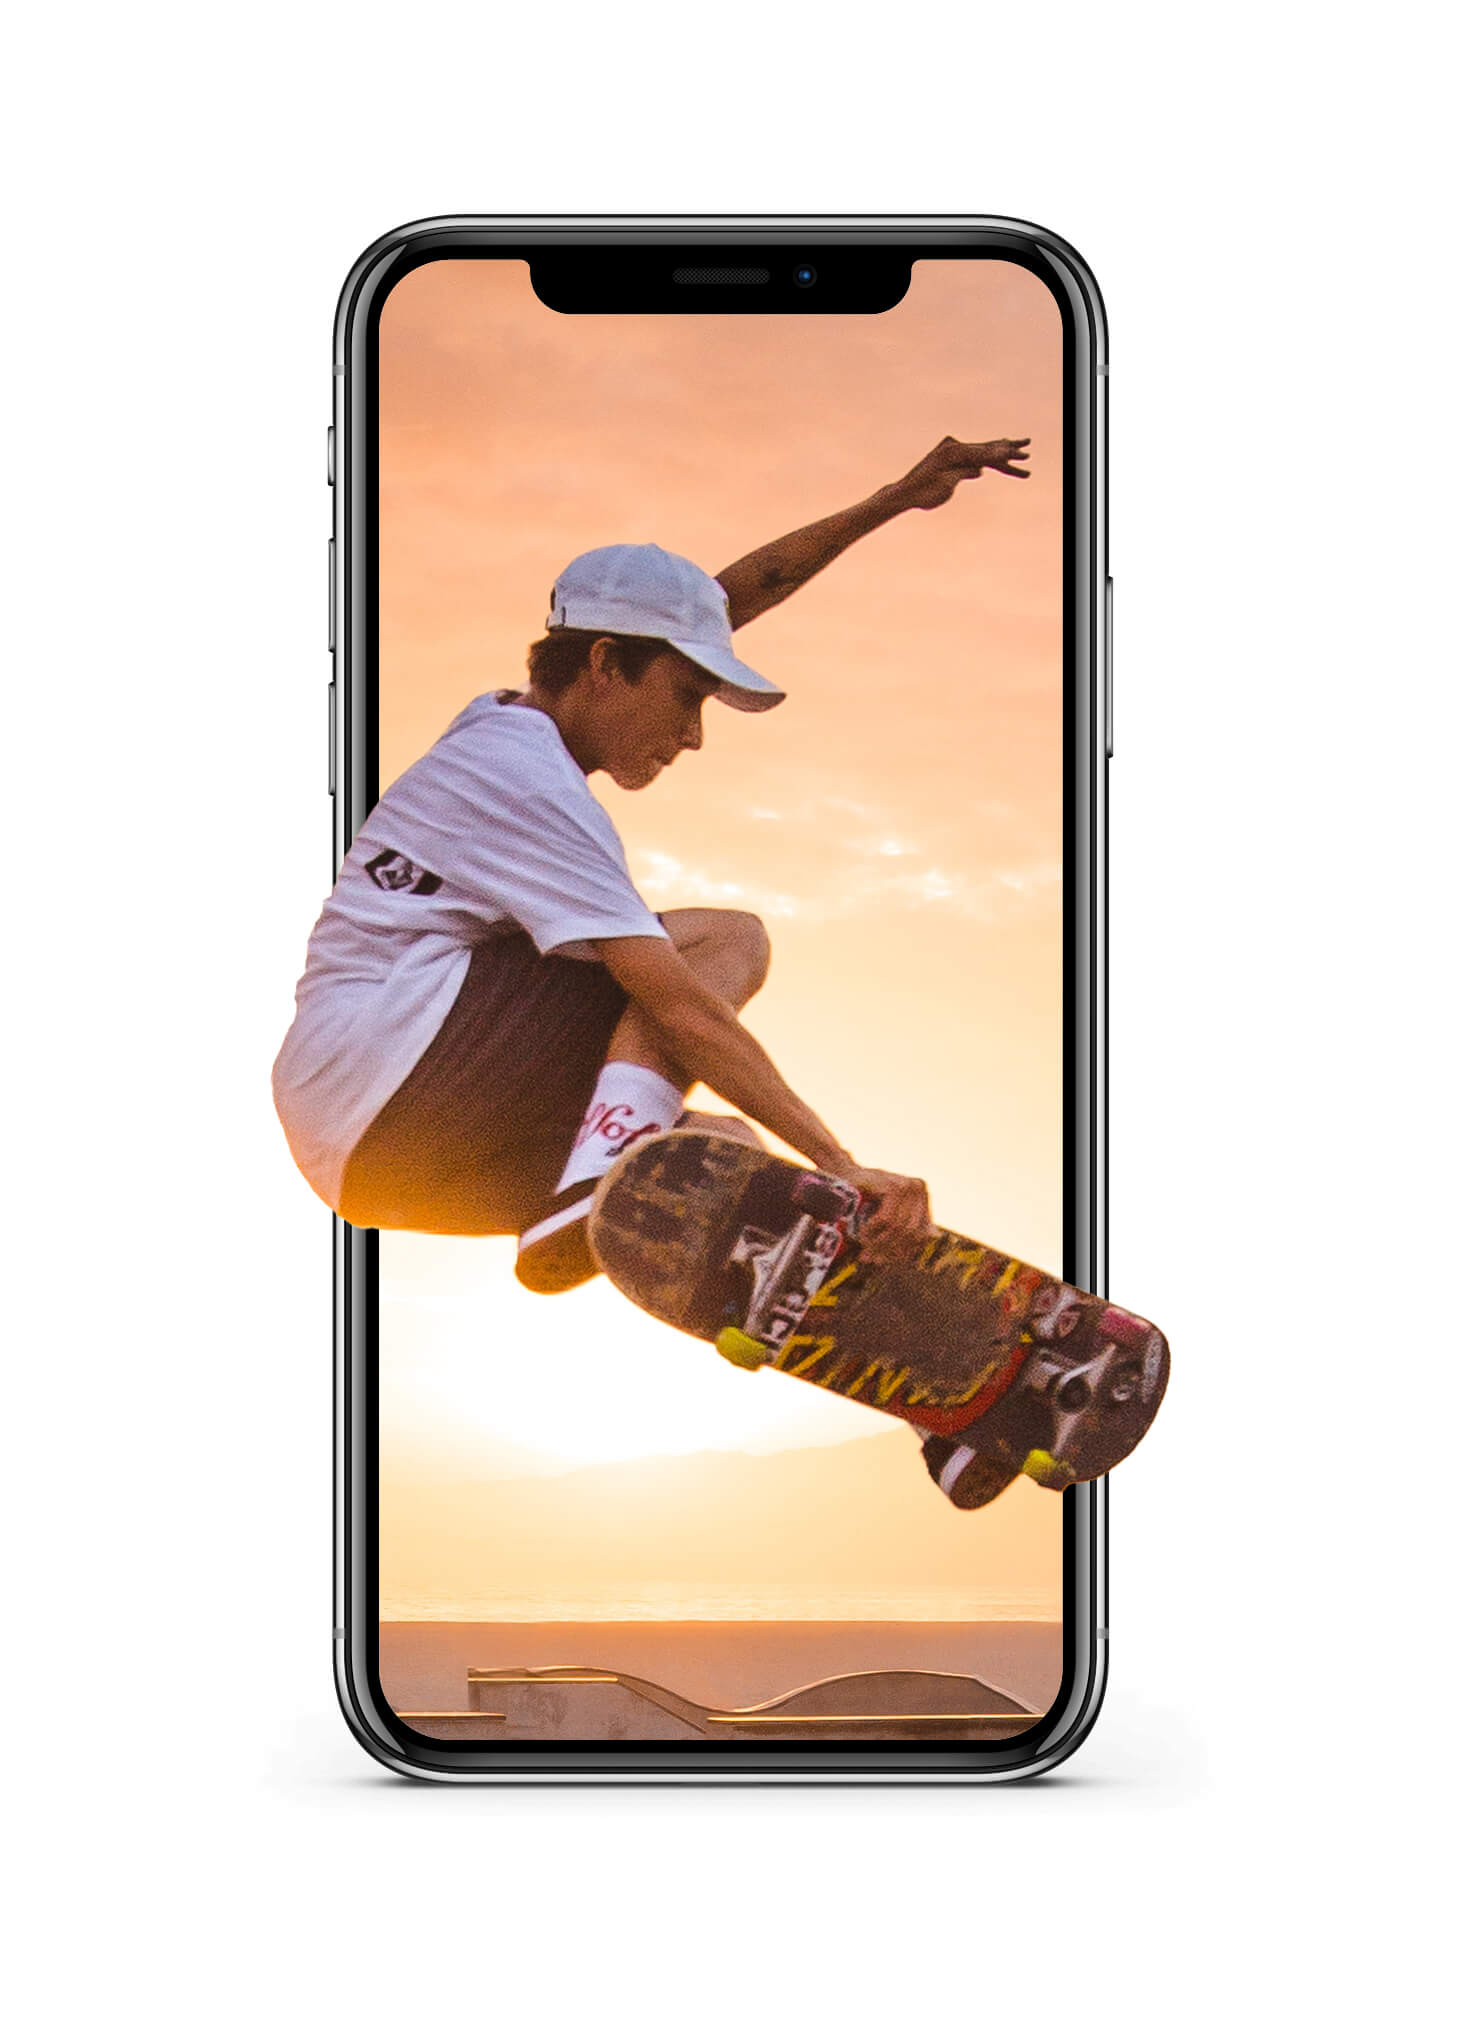
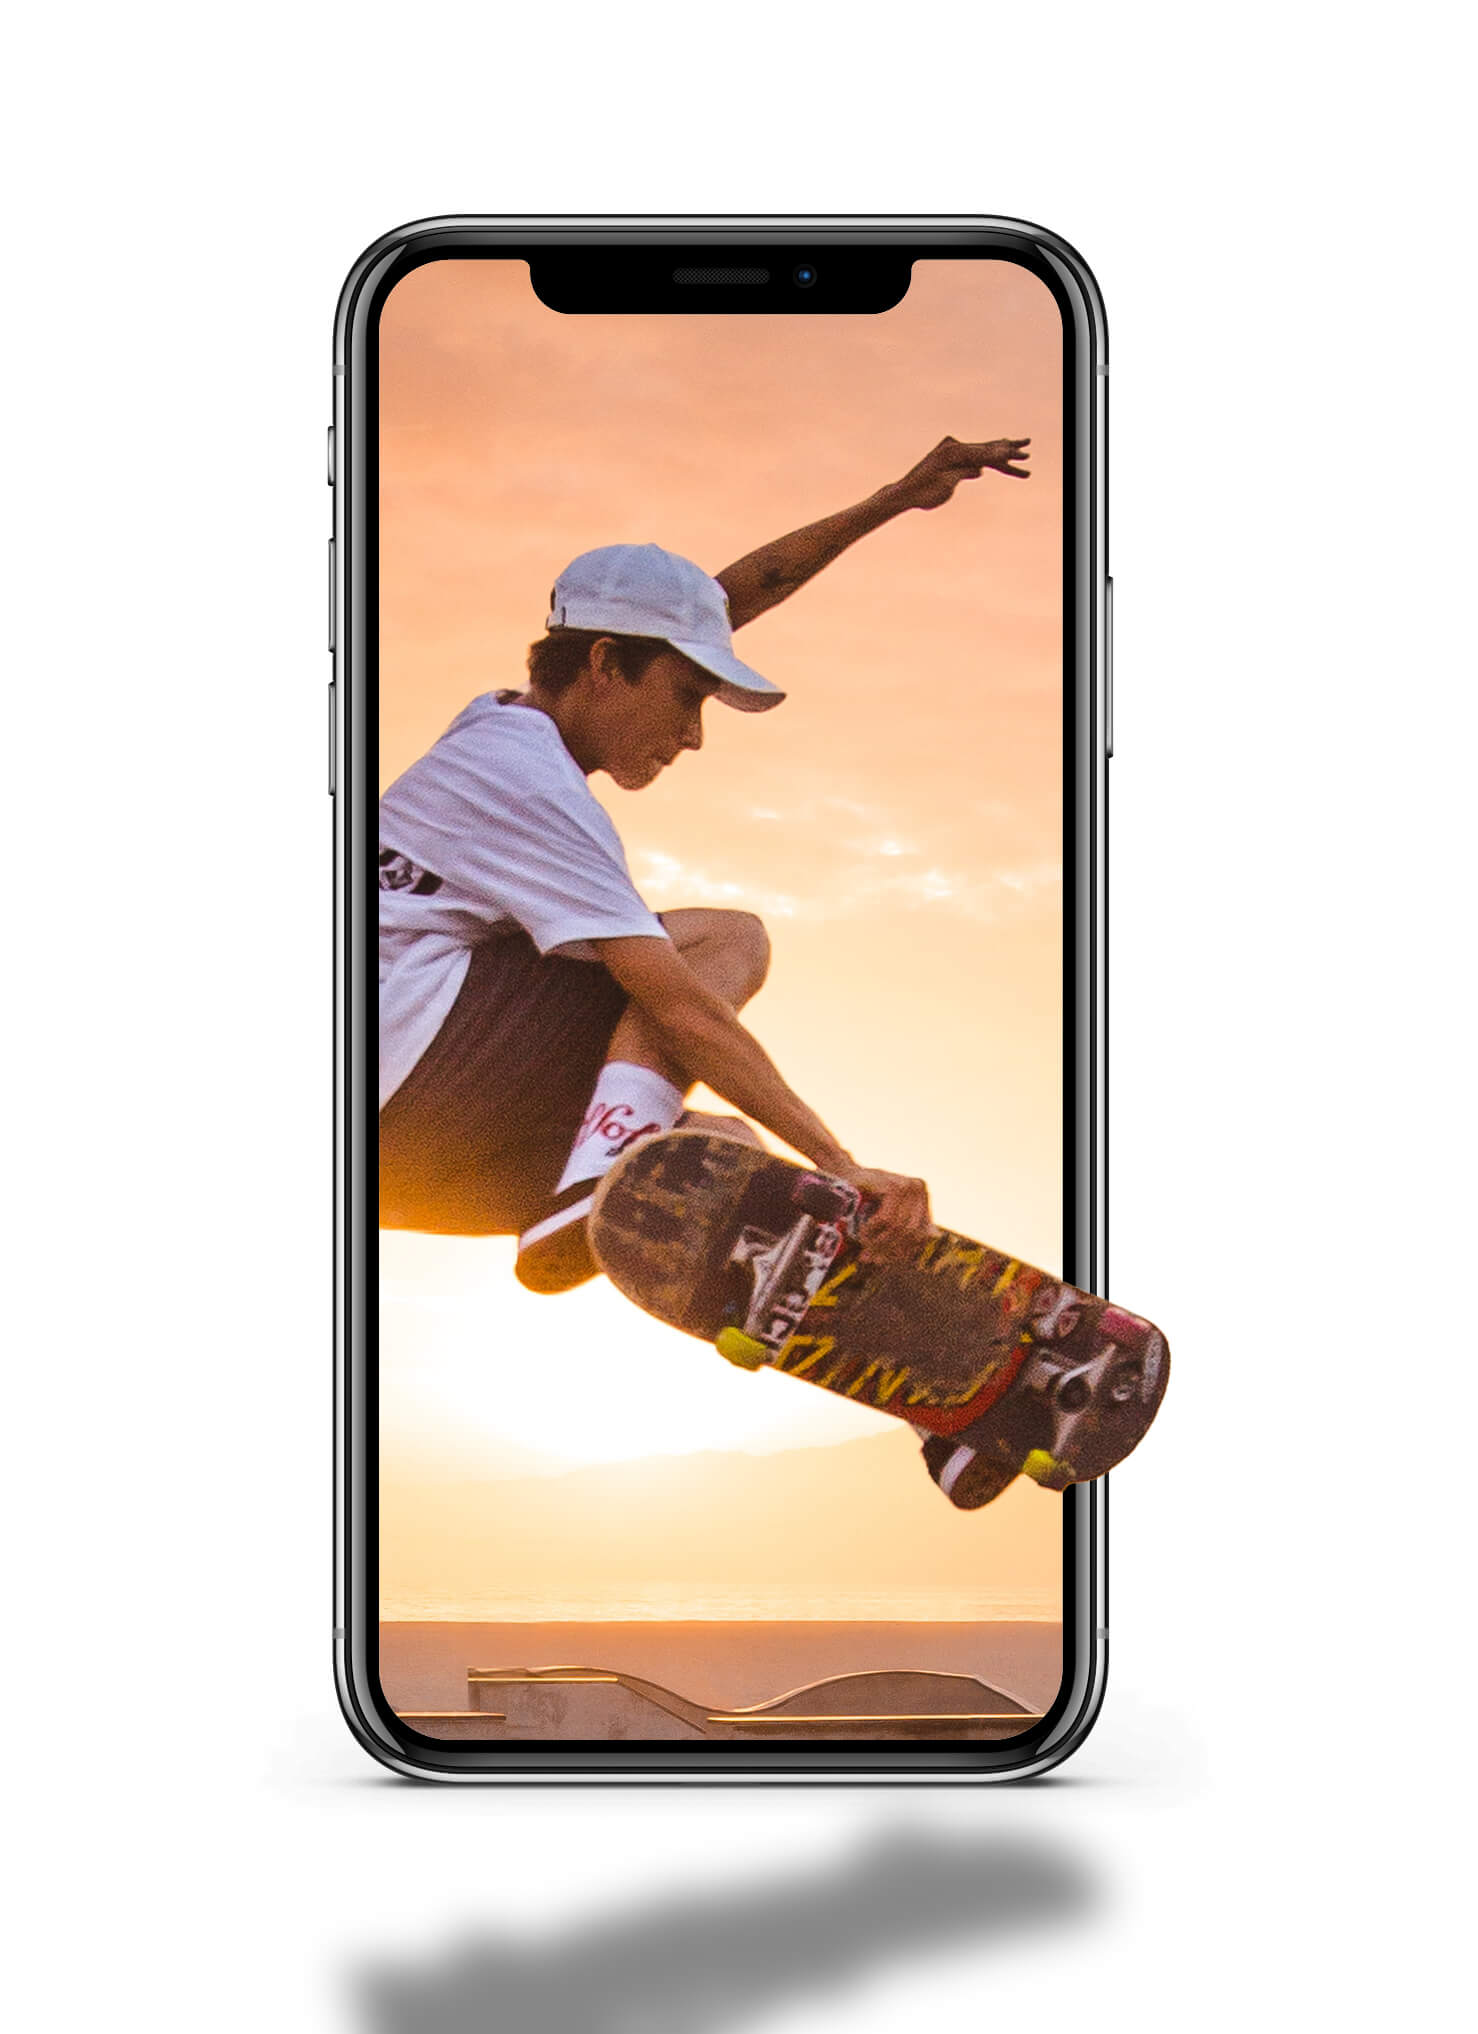
Final Image

How to Create a 3D Pop-Out Photo Effect
Step 1: Create a Selection
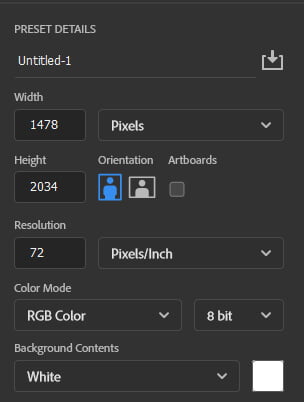
To start with, create a new document. You can copy my settings below.
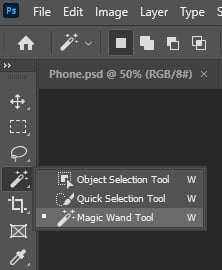
Once your document is created import the phone and select the Magic Wand in the toolbar and click in the middle of the phone screen to create a selection.
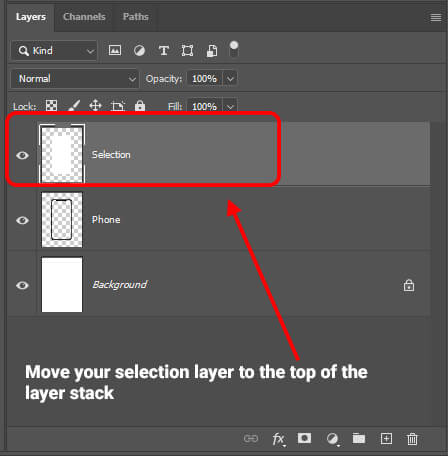
Next, select your white background layer with your selection active press CTRL + J to copy it on a new layer.
Move that new layer on top of the layer stack.
Step 2: Select the Skater
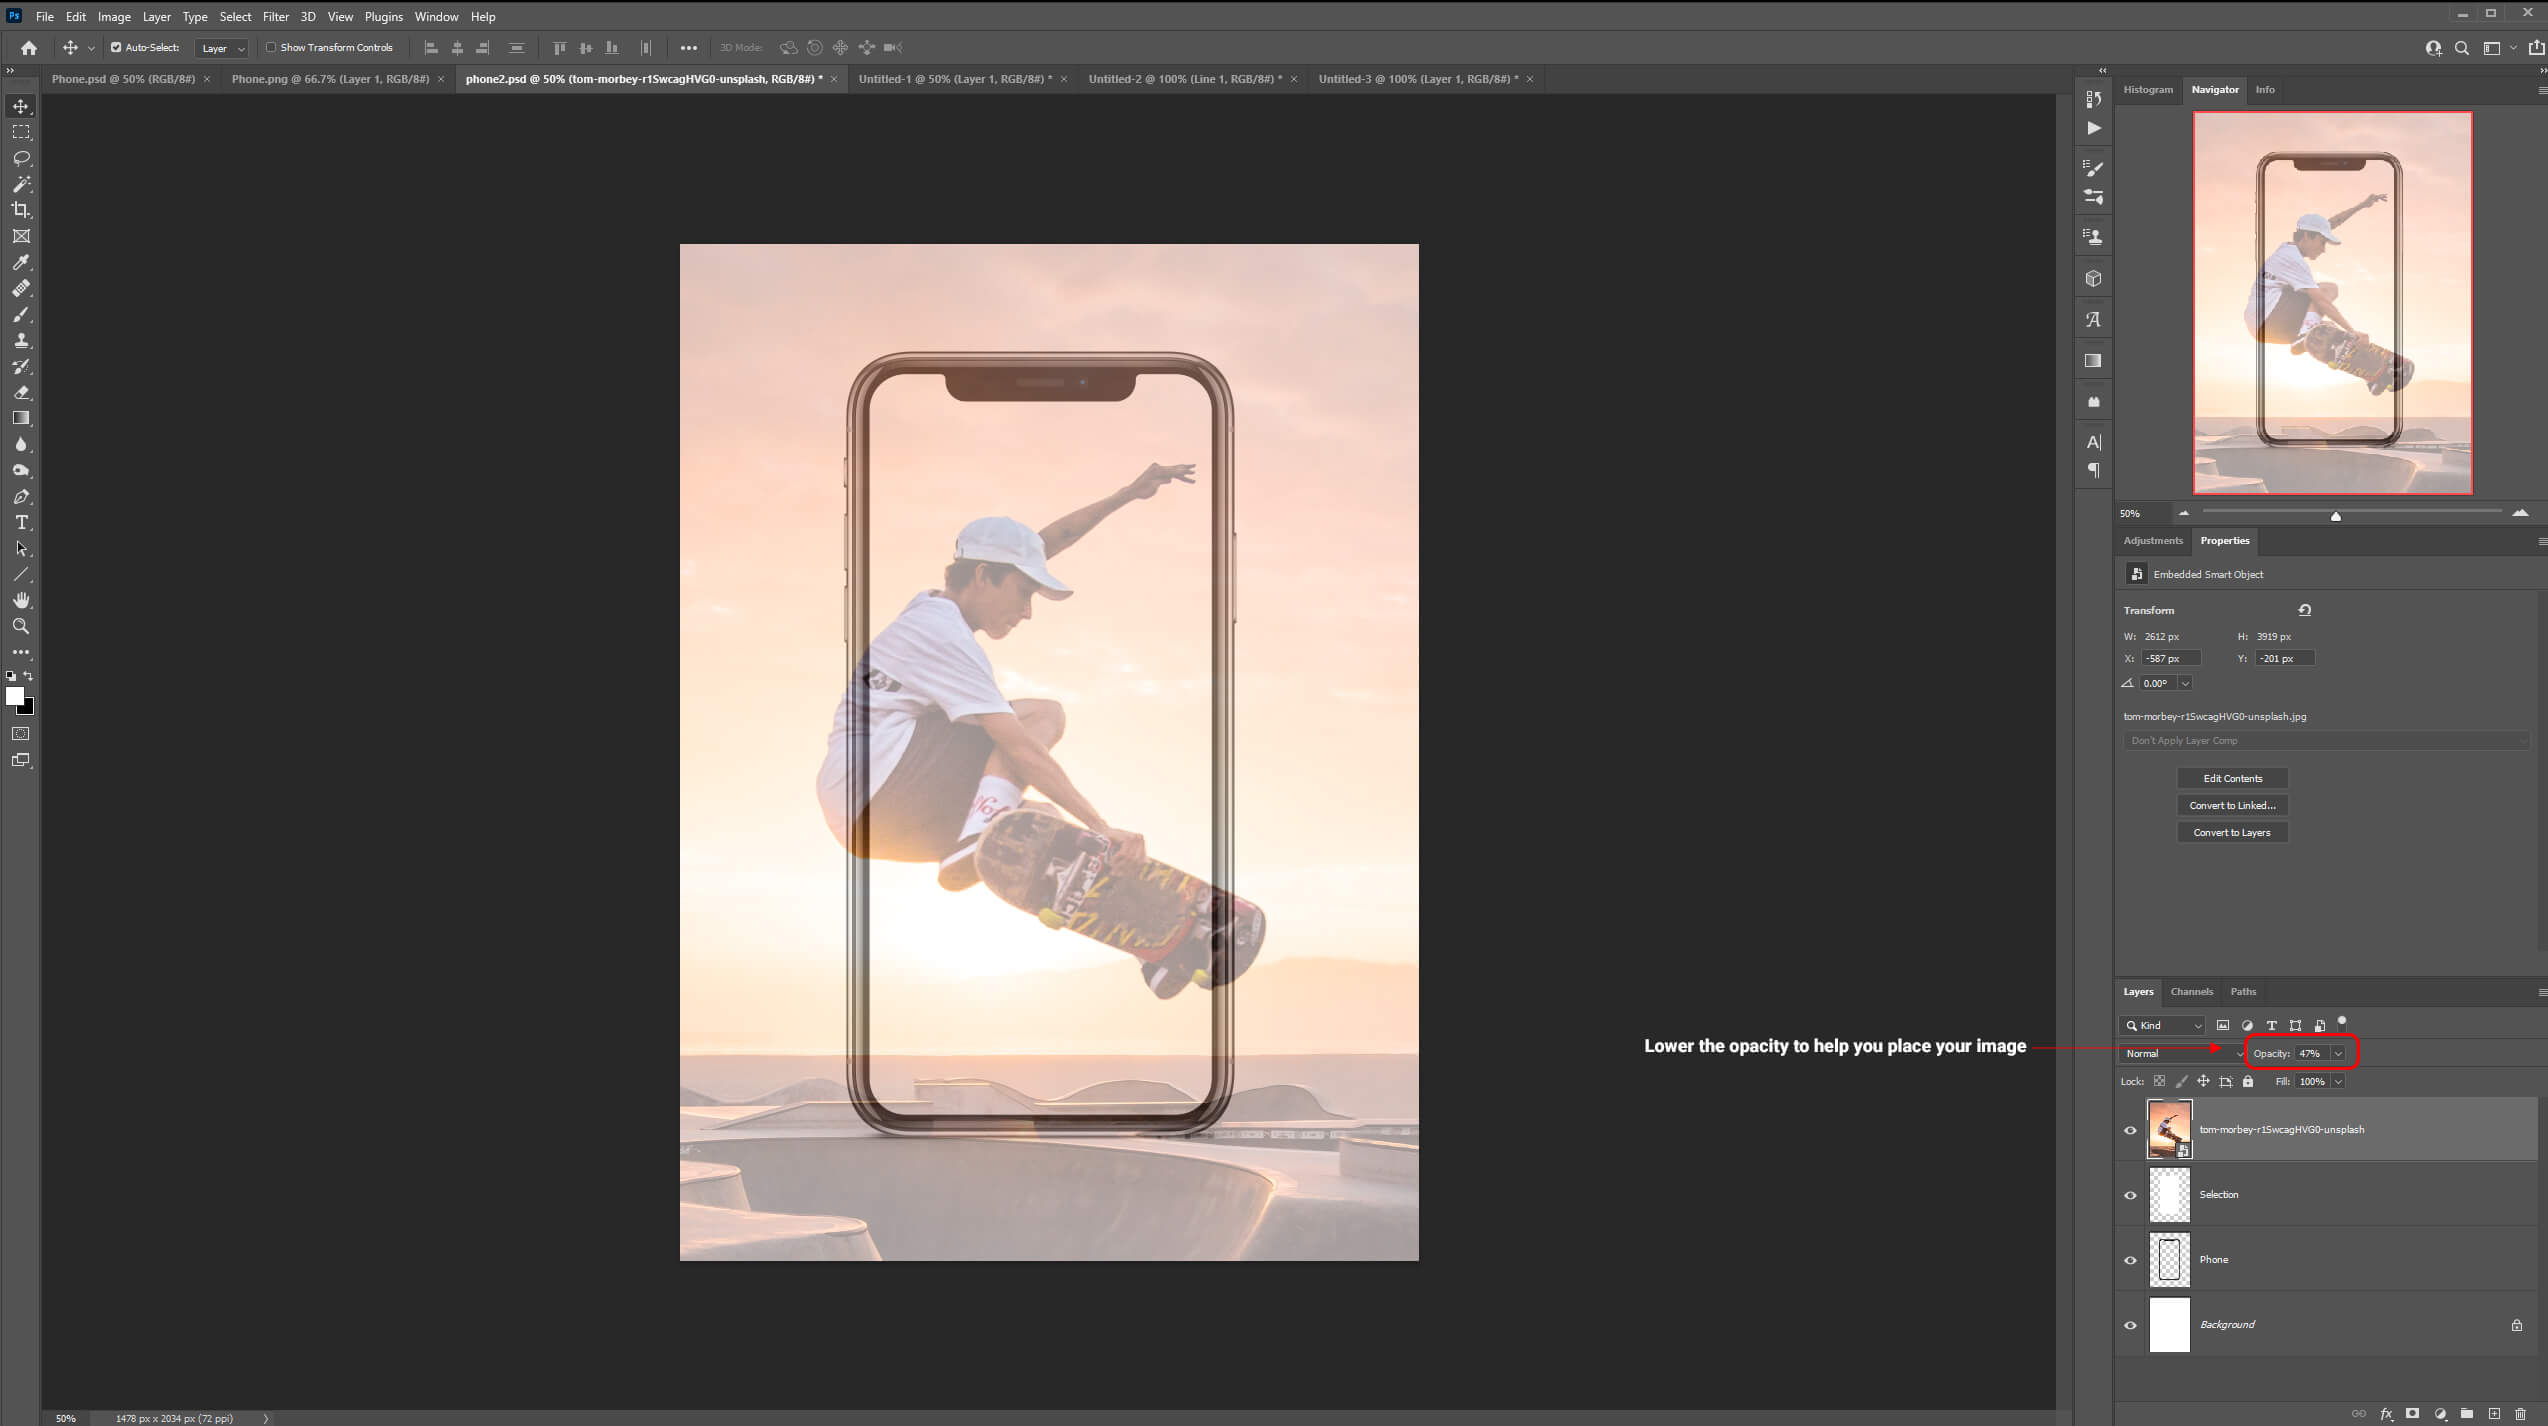
Import the skater to your document and place it adequately so that the skater sticks out a little of the phone screen. To help you do that lower the opacity of the image. Once you are happy with the position of your picture bring back the opacity to 100%
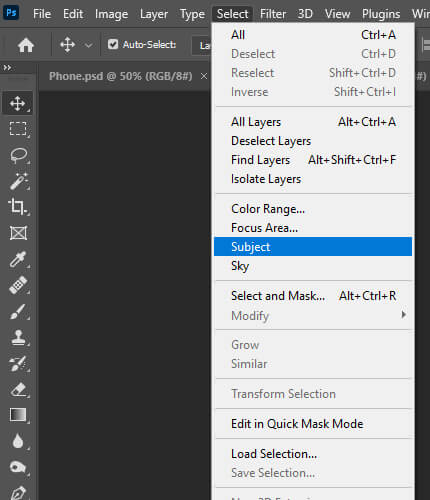
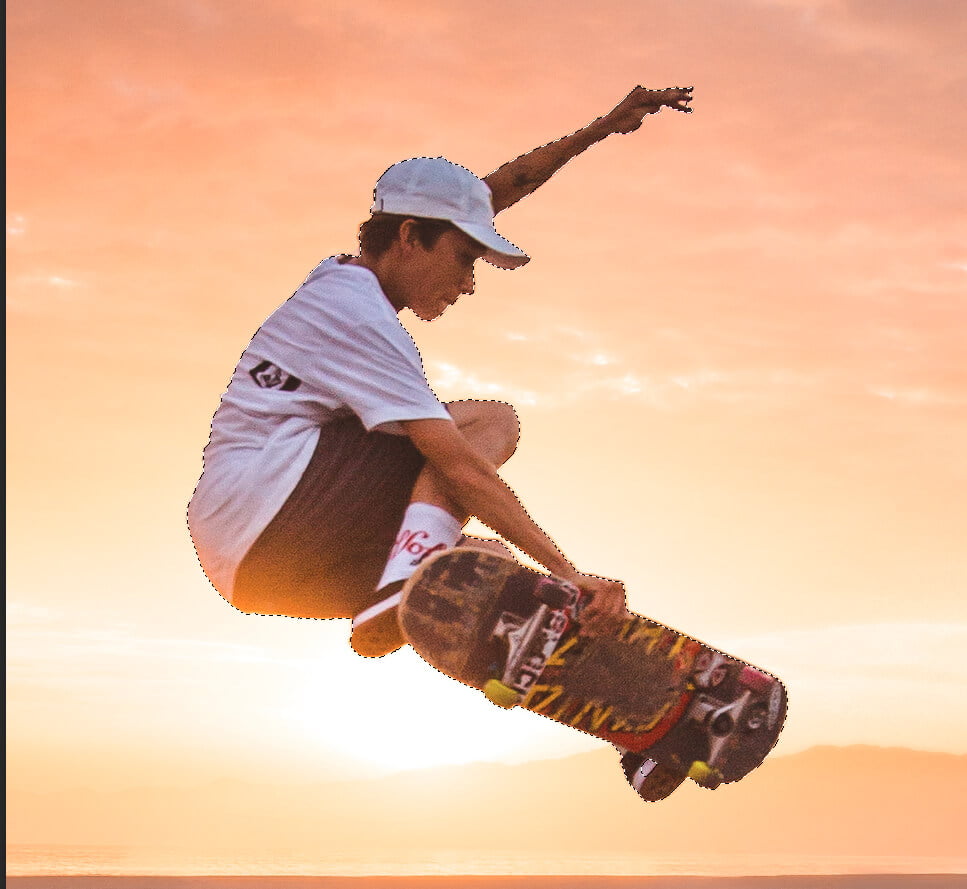
Then, go to Select > Subject Photoshop will analyze your image and select the subject automatically.
Press CTRL + J to duplicate your selection.
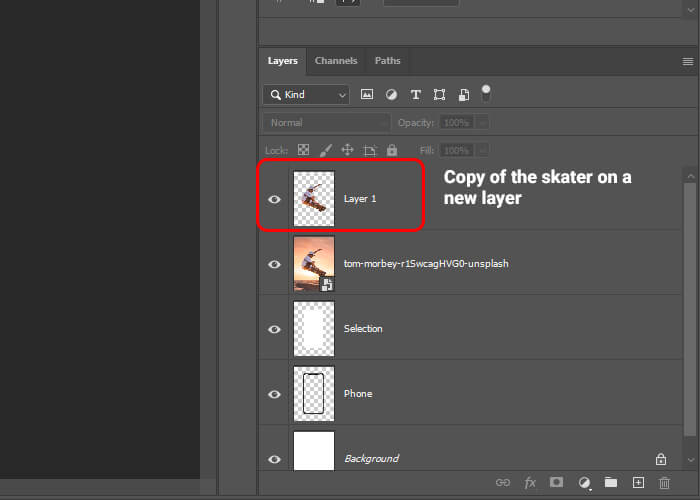
After pressing CTRL + J, you should have a copy of the skater with no background on a new layer. To deselect press CTRL+D.
Step 3: Create a Clipping Mask
Then, select the skater layer with the background and press CTRL + ALT+ G to clip it to the layer below.
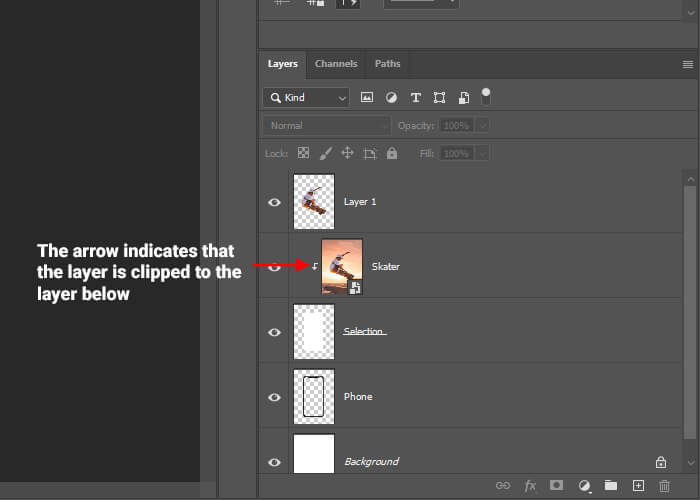
Your project should look like that after creating the Clipping Mask.
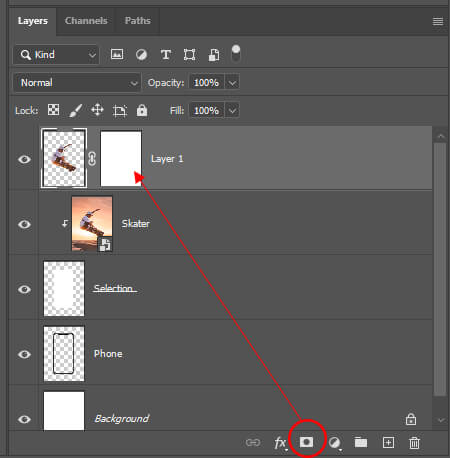
Step 4: Create a Layer Mask
We’ll erase some parts of the skater by using a Layer Mask.
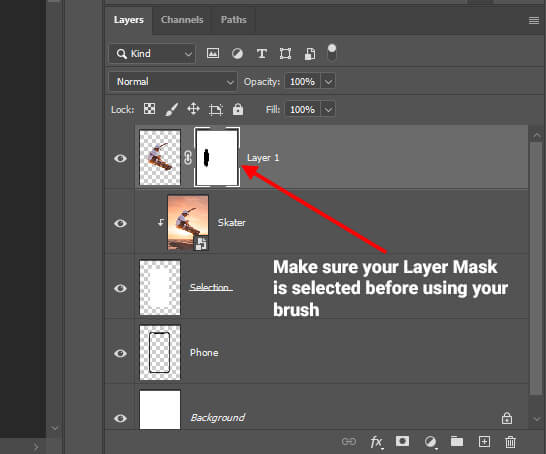
Go to your Layer Panel, select the top layer and add a Layer Mask by clicking on the small icon located under all your layers as shown on the image below
Next, use a hard brush to erase the back of the skater.
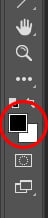
Press B to select the brush to paint on your Layer Mask. Make sure your foreground color is set to back.
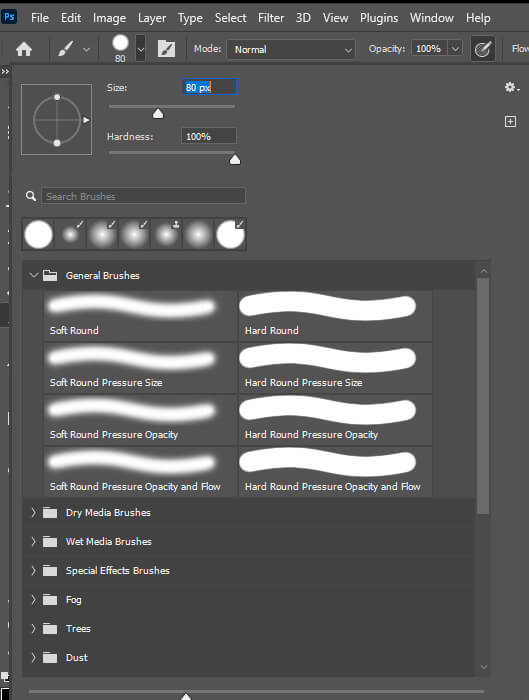
Paint over that area to remove part of the skater’s back and give the impression that he’s popping out of the phone’s screen.

Step 5: Add a Drop Shadow
To give the image a more realistic look, let’s add a drop shadow.
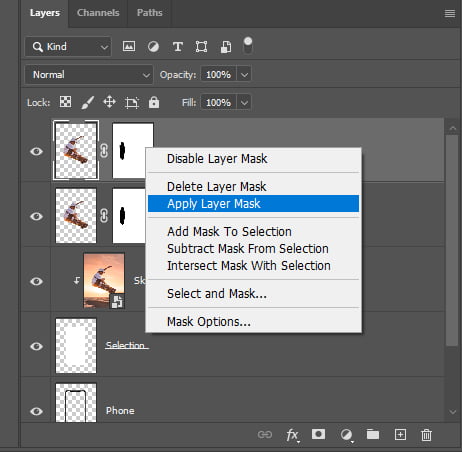
First, we’ll duplicate the skater by pressing CTRL + J. Then, select the mask Right Click > Apply Layer Mask.
Next, use the Transform Tool (CTRL + T), Right click > Flip Vertical.

Once flipped vertically place the copy of the skater underneath the phone.
Squash it a little bit like in the image below.

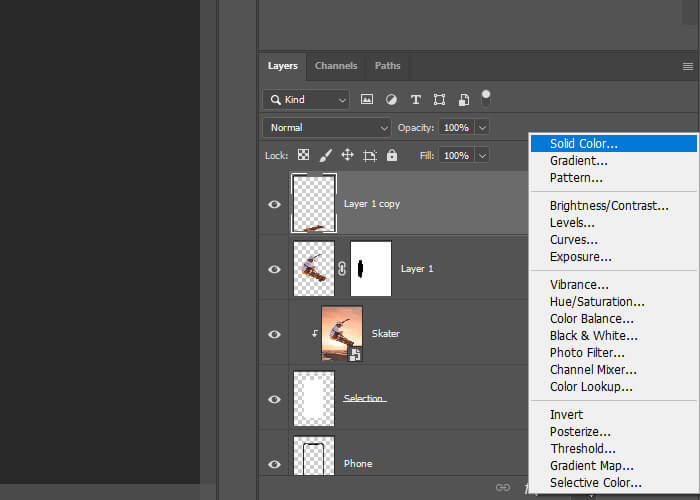
After that, we’ll turn the shadow to black by adding a Solid Color Adjustment Layer. Select a black color and clip it to the layer below by pressing CTRL + ALT +G.
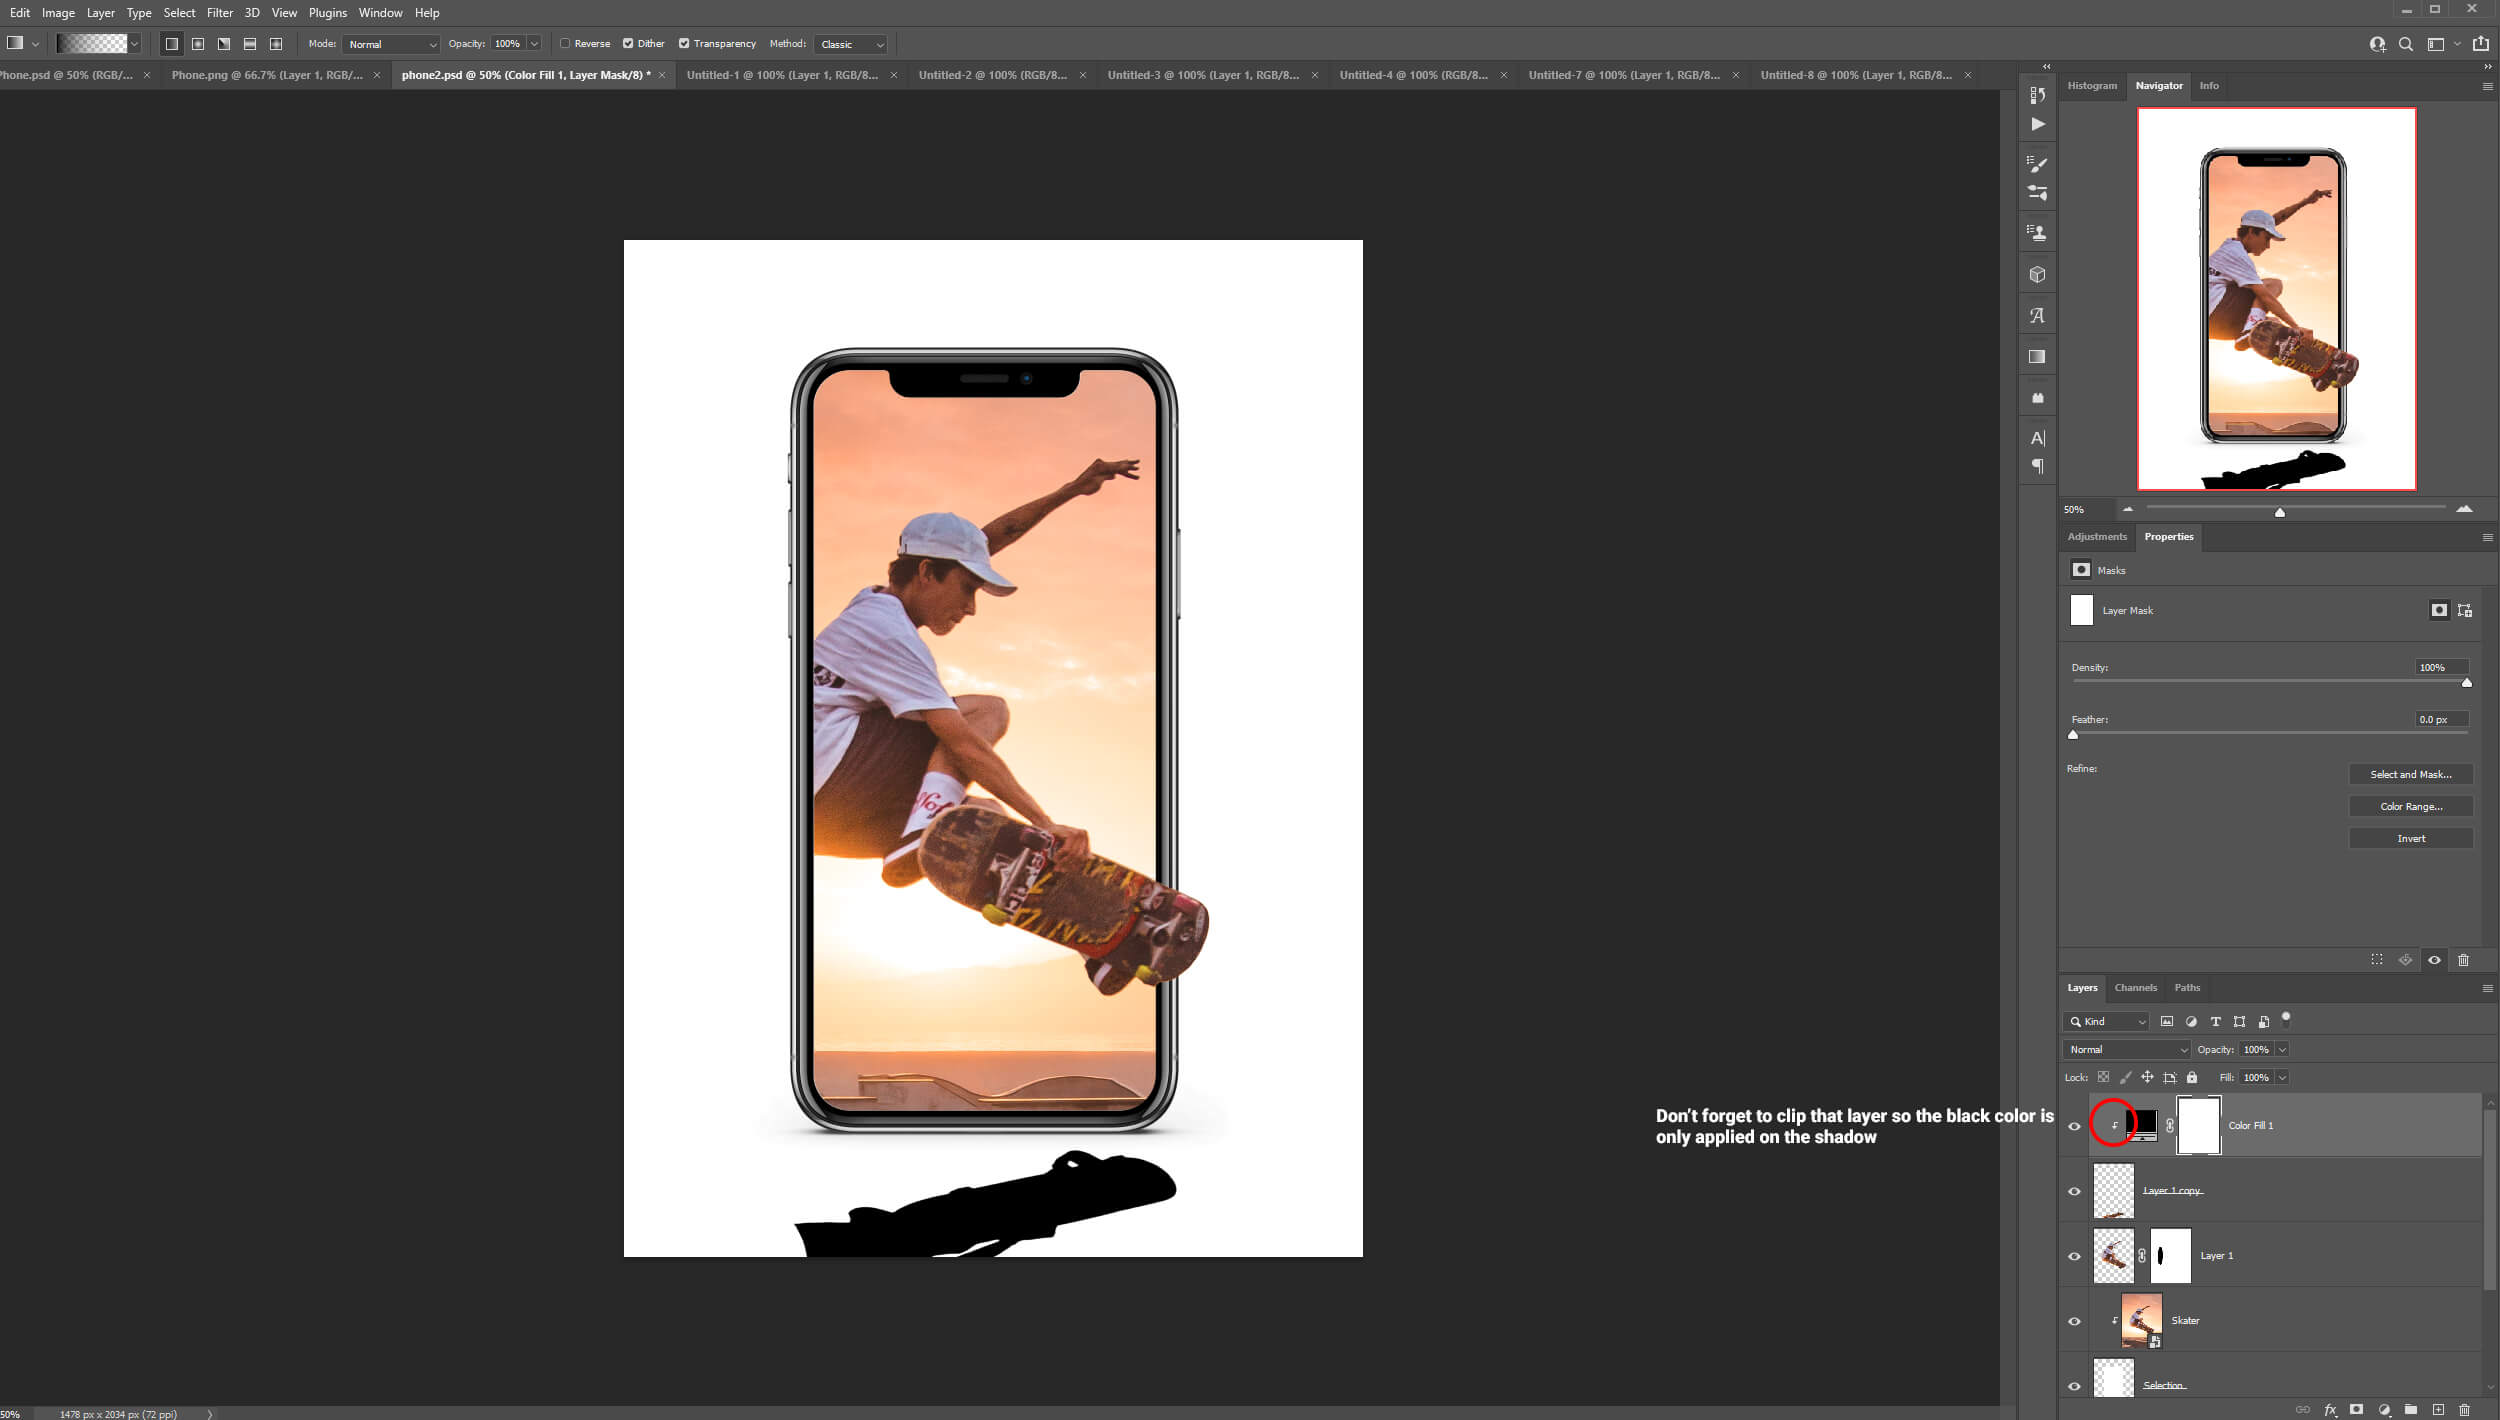
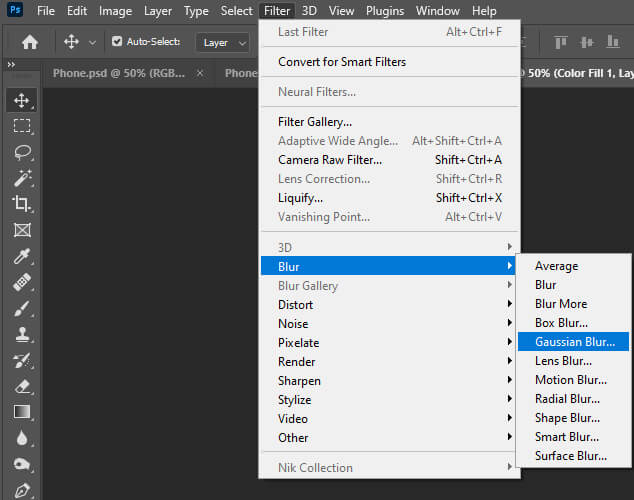
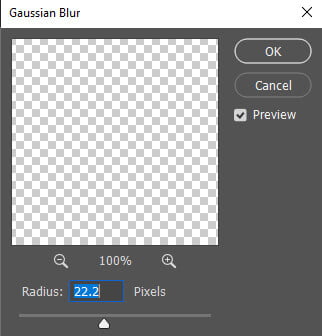
Next, change the blending to Multiply and give the shadow a blur. Go Filter > Blur > Gaussian Blur.
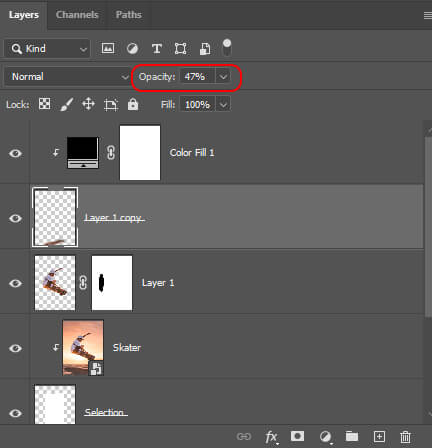
Lower the opacity of the layer to around 47%.

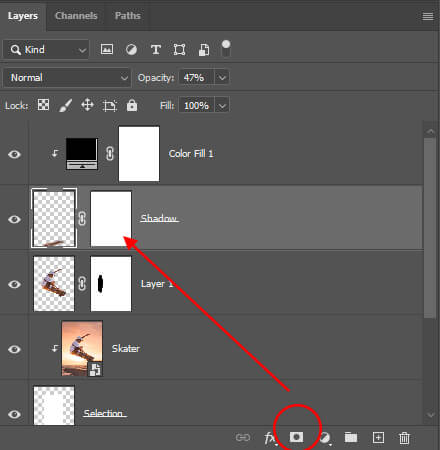
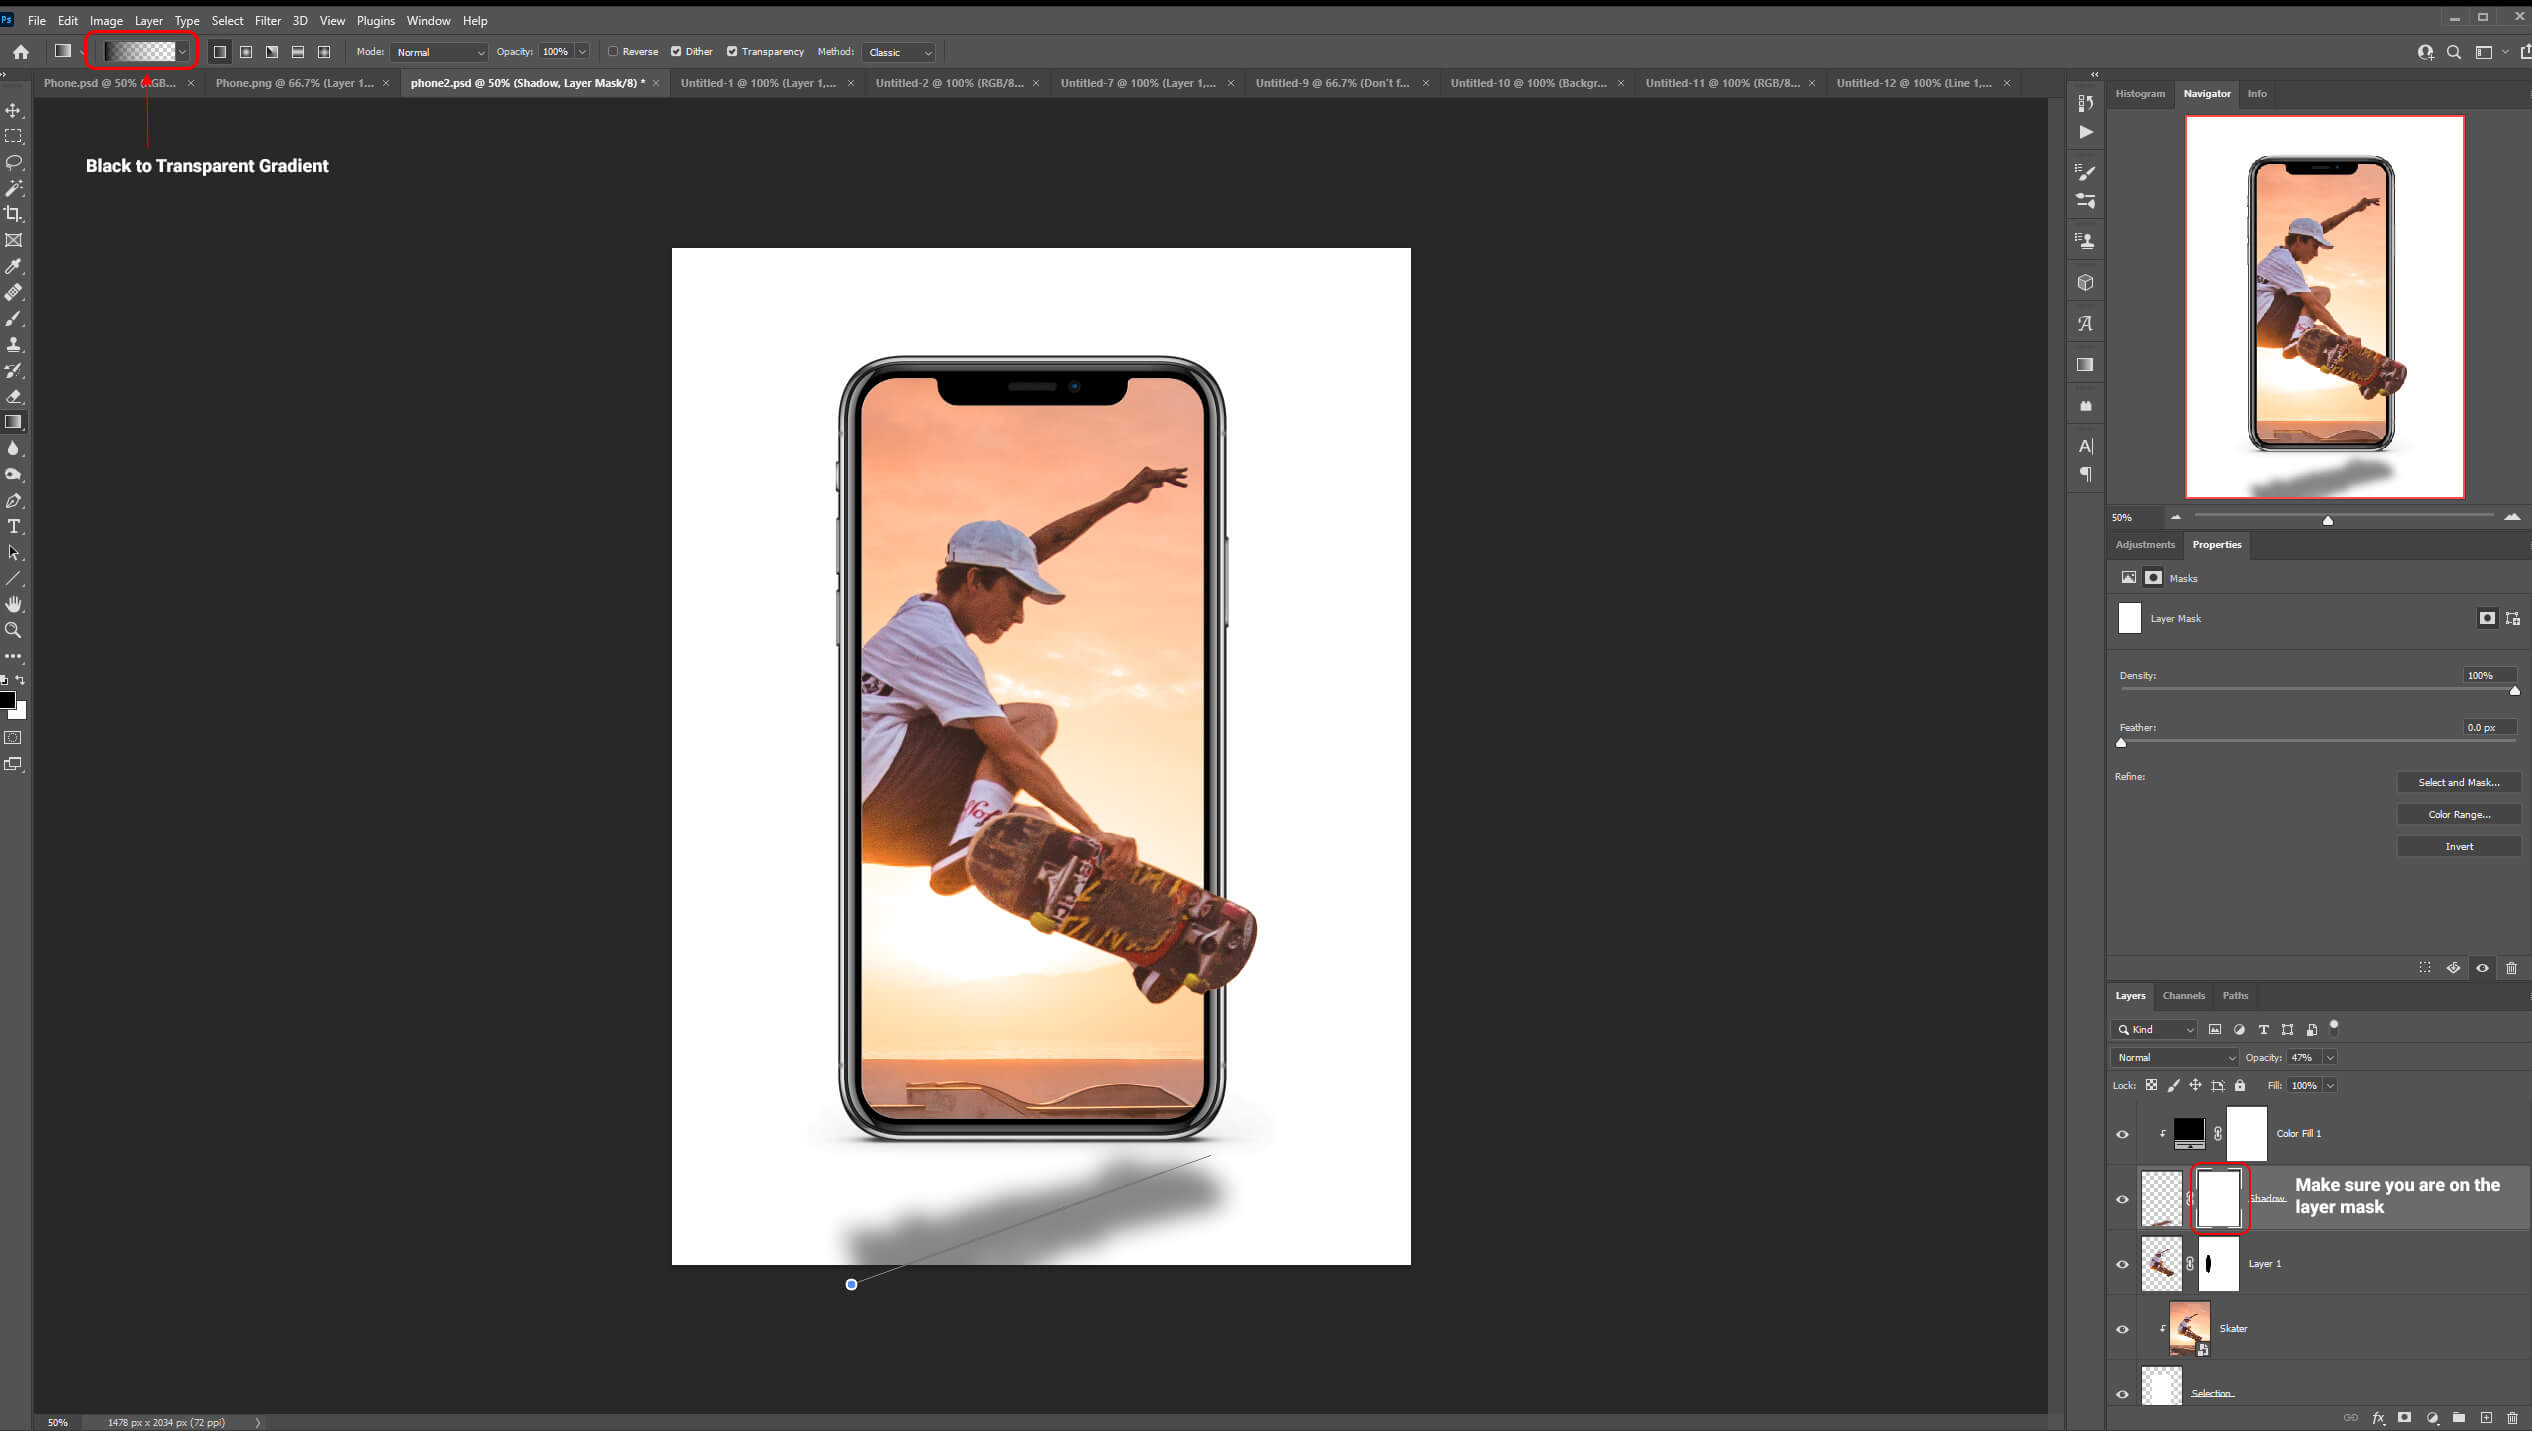
We are almost done. Let’s add a Layer Mask to our Shadow Layer and apply a Gradient to it to fade the shadow away.
Next, press G to select the Gradient Tool. Choose a Black to Transparent Gradient and click and drag to fade away the shadow.
And We Are Done!
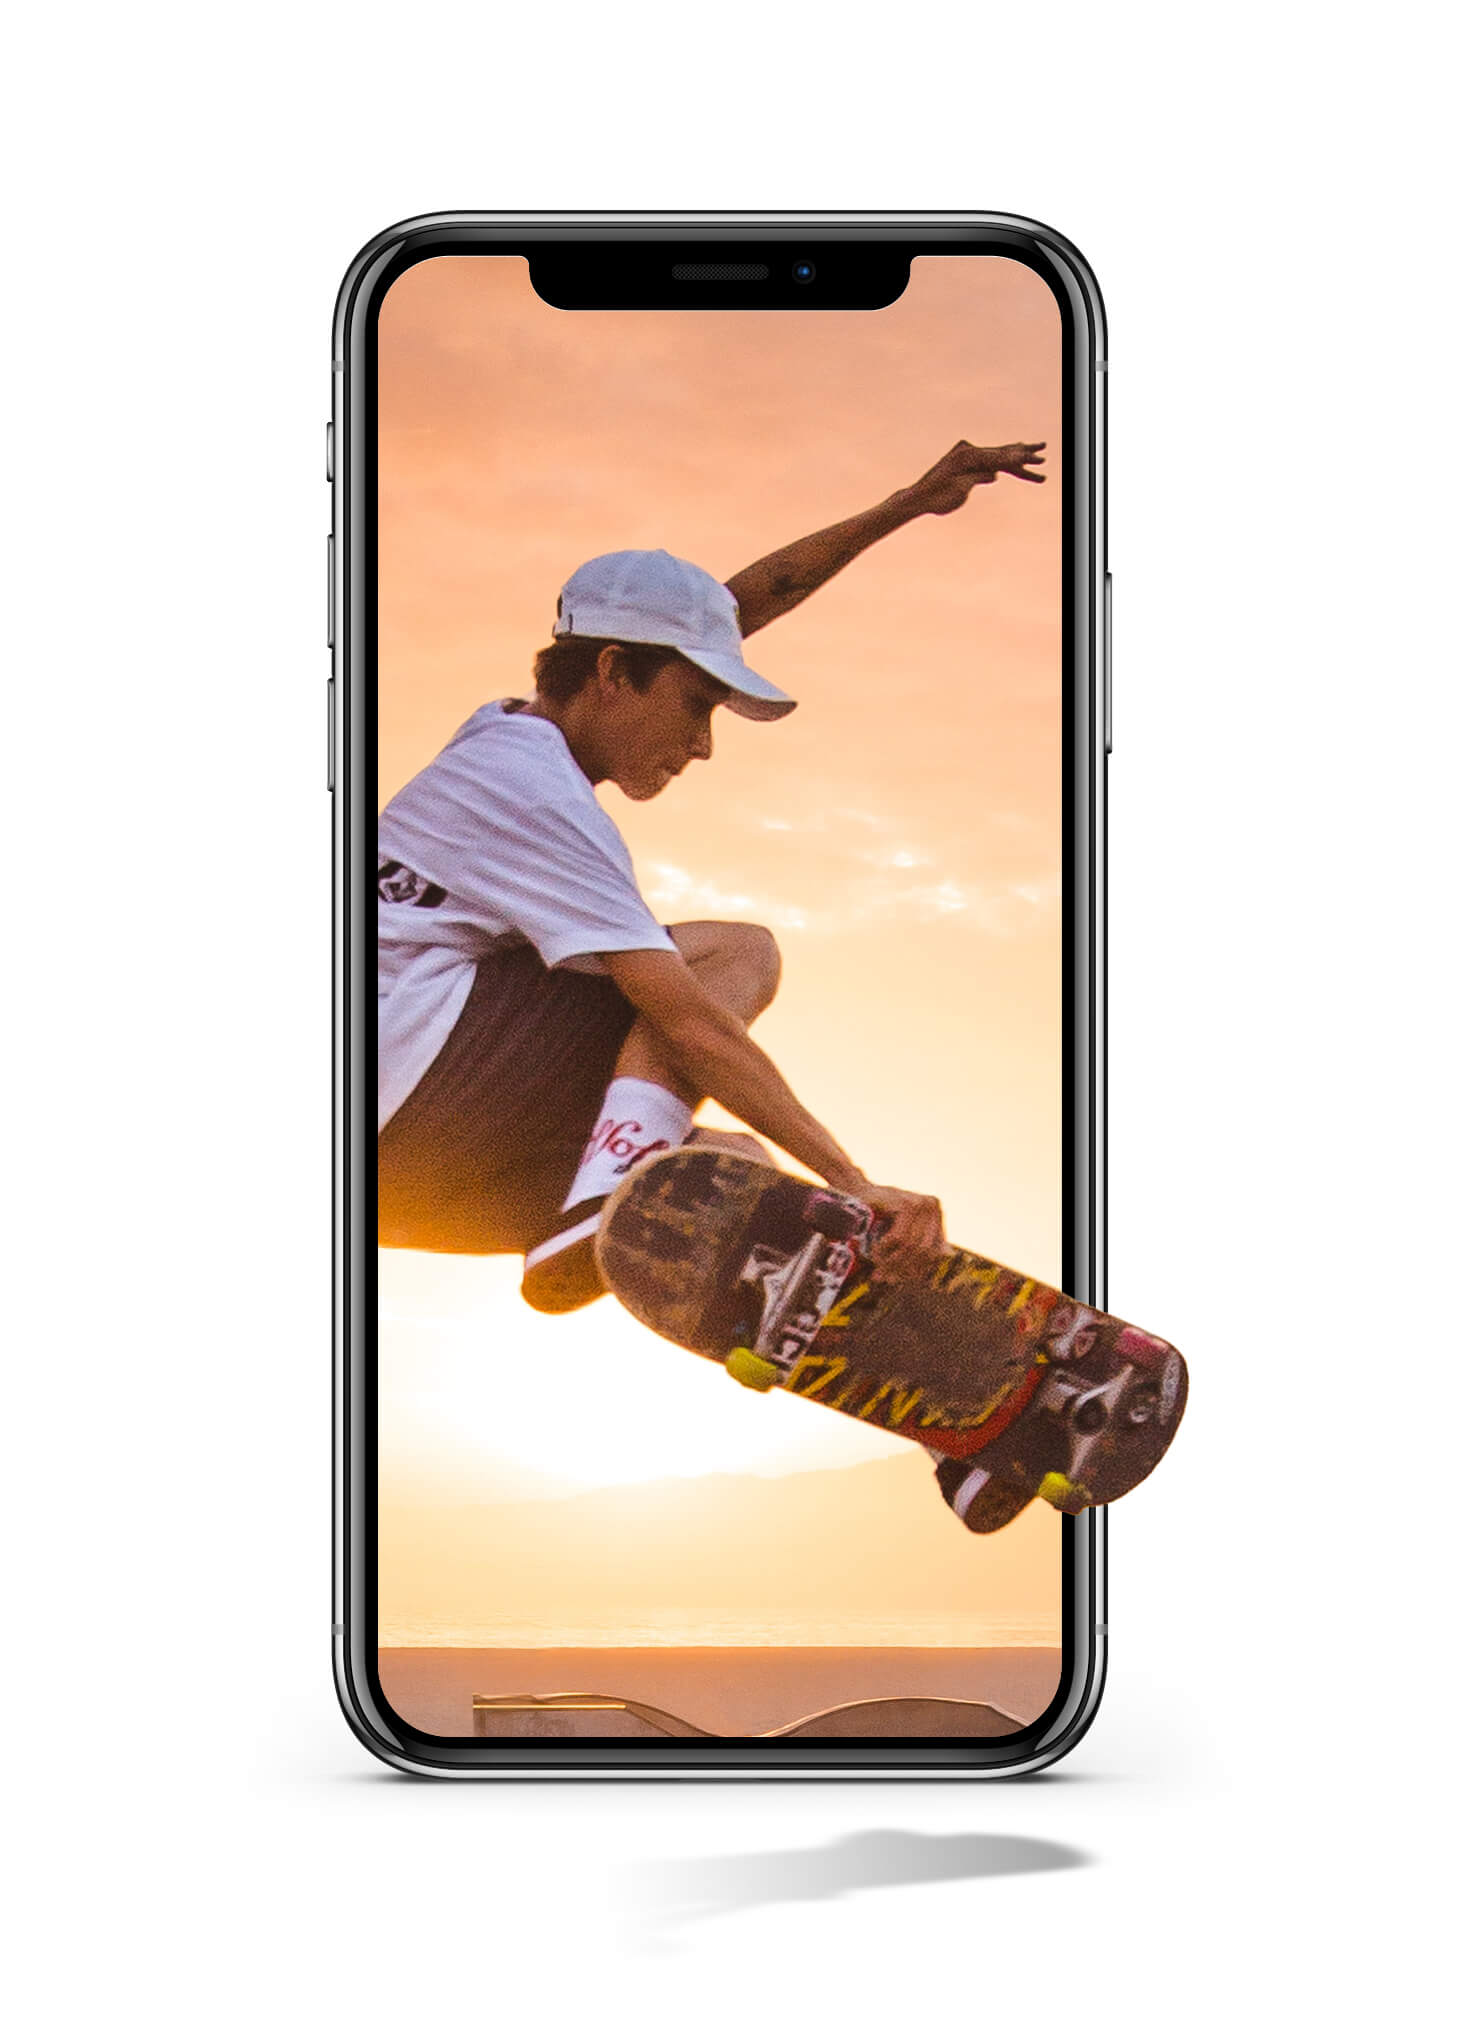
After following this tutorial, you should be able to Create a 3D Pop-Out Photo Effect in Photoshop. I hope you found this guide useful and easy to follow. If you have any questions or suggestions please let me know in the comments down below and I’ll get back to you as soon as possible.