In this quick and easy tutorial, I will be showing you step by step how to create a text overlap effect in Photoshop.
This popular “overlapping” effect is widely used and has been around for years We observe this effect when the top of the person’s head appears to overlap the name of the magazine when magazines plaster photos of models, movie stars, sports, politicians, and other prominent people across their covers.
In this tutorial, I will be using Photoshop 2022 but any version of Photoshop will work.
Here are the resources I will be using:

Click here to download the image and follow along.
Click here to download the font.
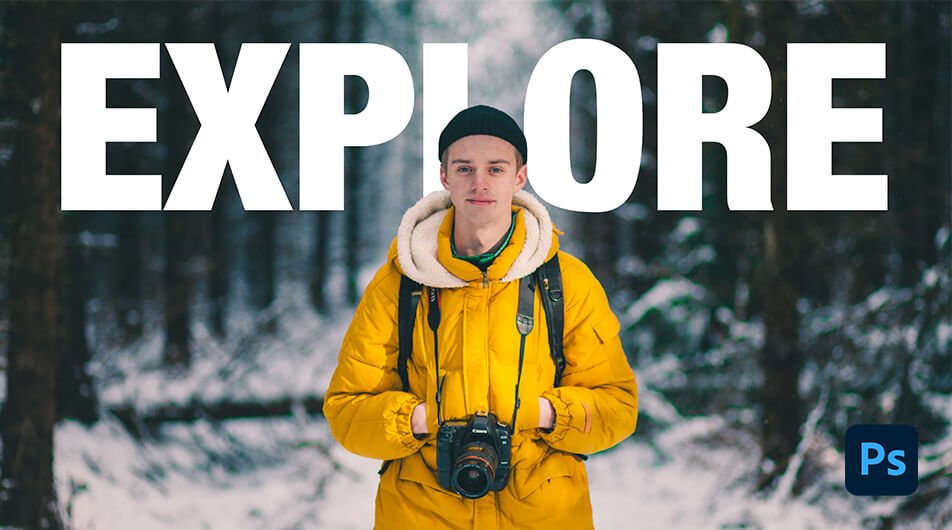
Here is what the final result will look like after adding some text behind the model.

How To Overlap Text With An Image In Photoshop
Step 1: Duplicate The Background Layer
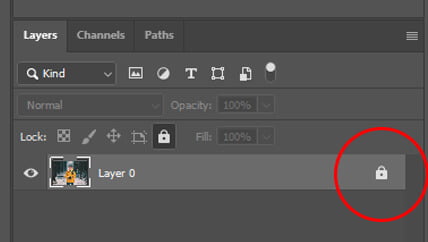
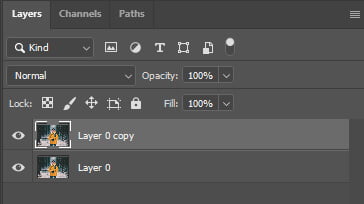
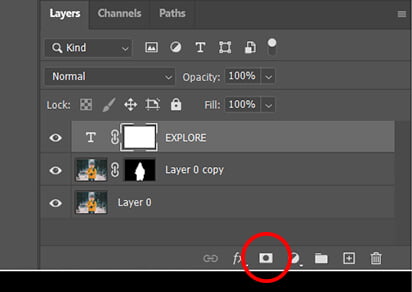
To be able to create that text overlap effect, you will need to duplicate your background layer. First, unlock the layer by clicking on the lock pad in the lower right corner.
Then click on the layer and press control J.
You should now have two identical layers looking like this:
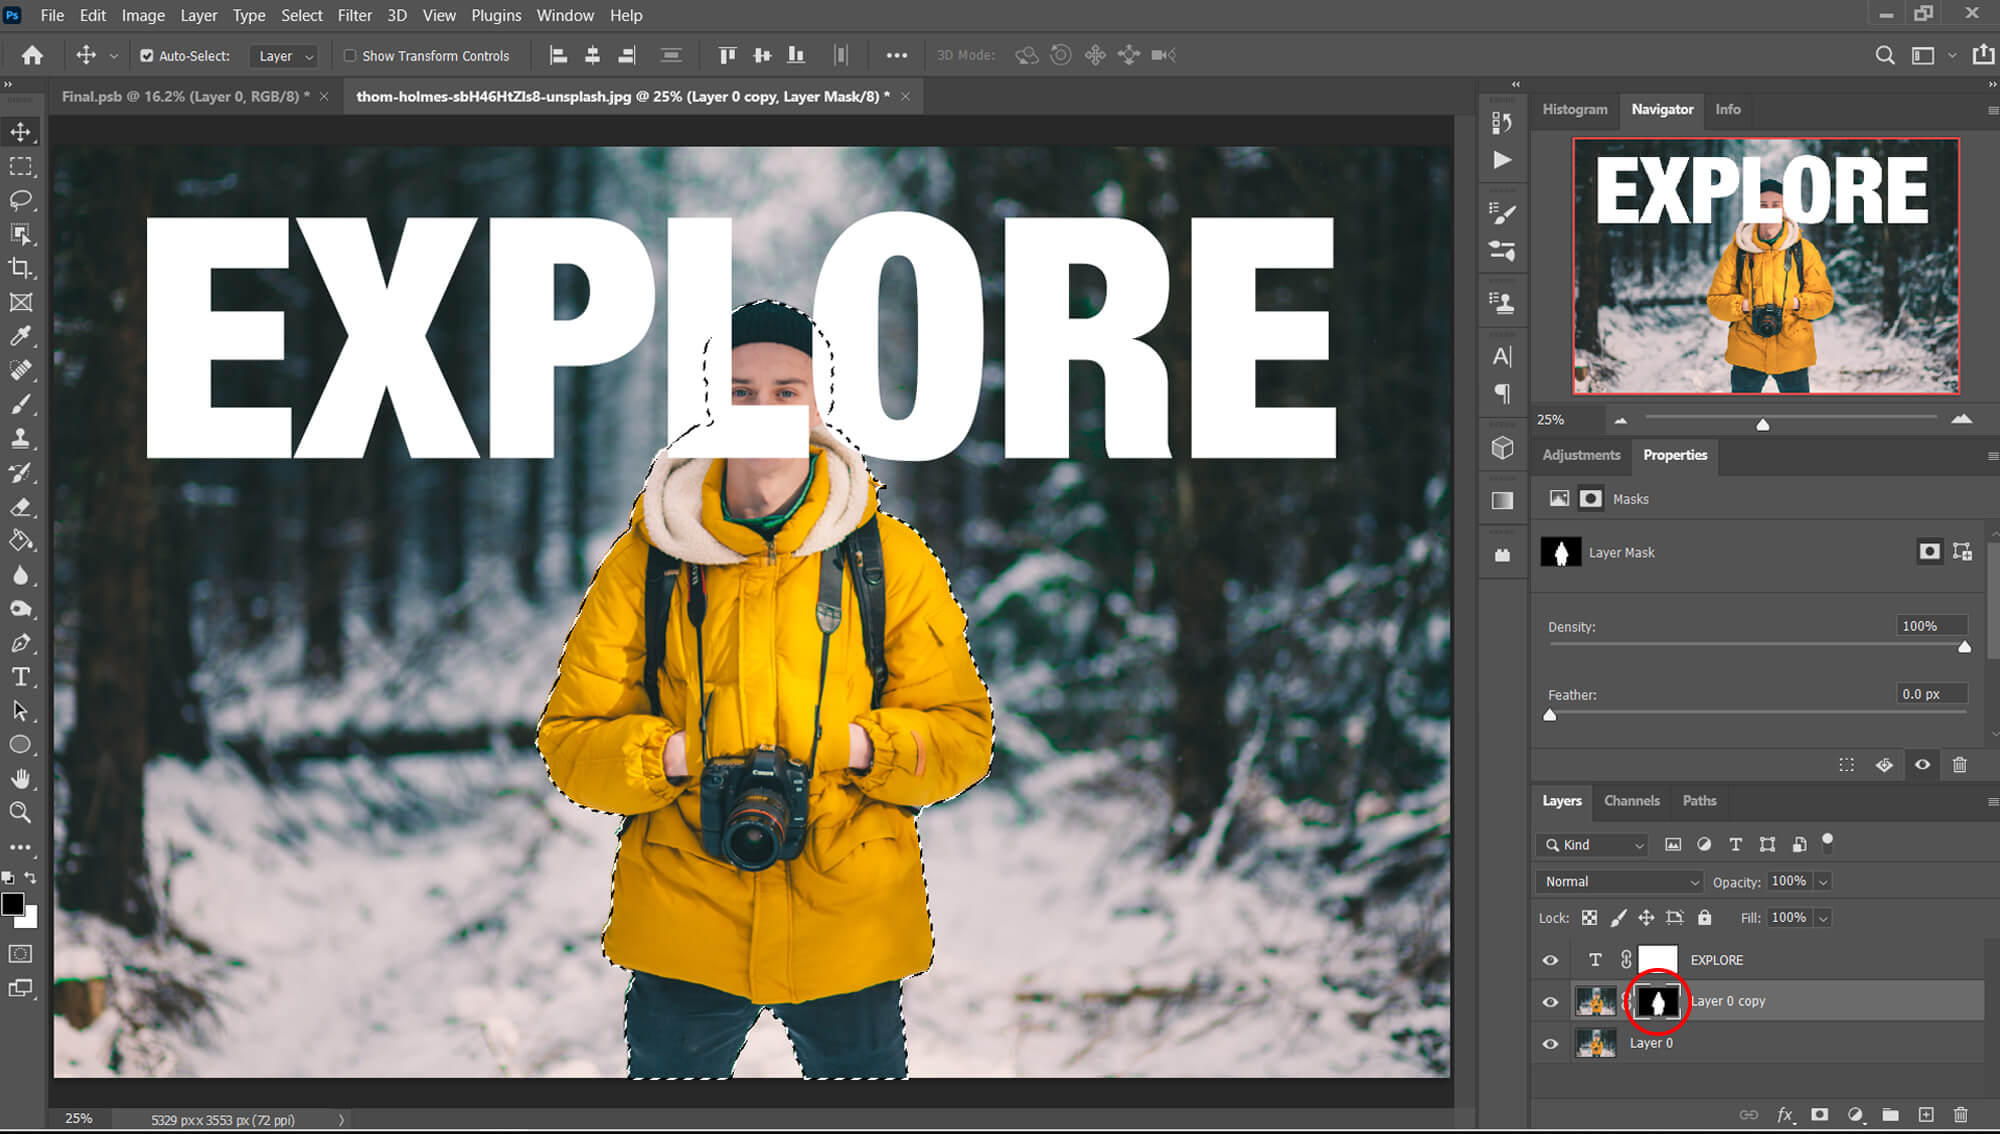
Step 2: Select The Subject & Create Mask
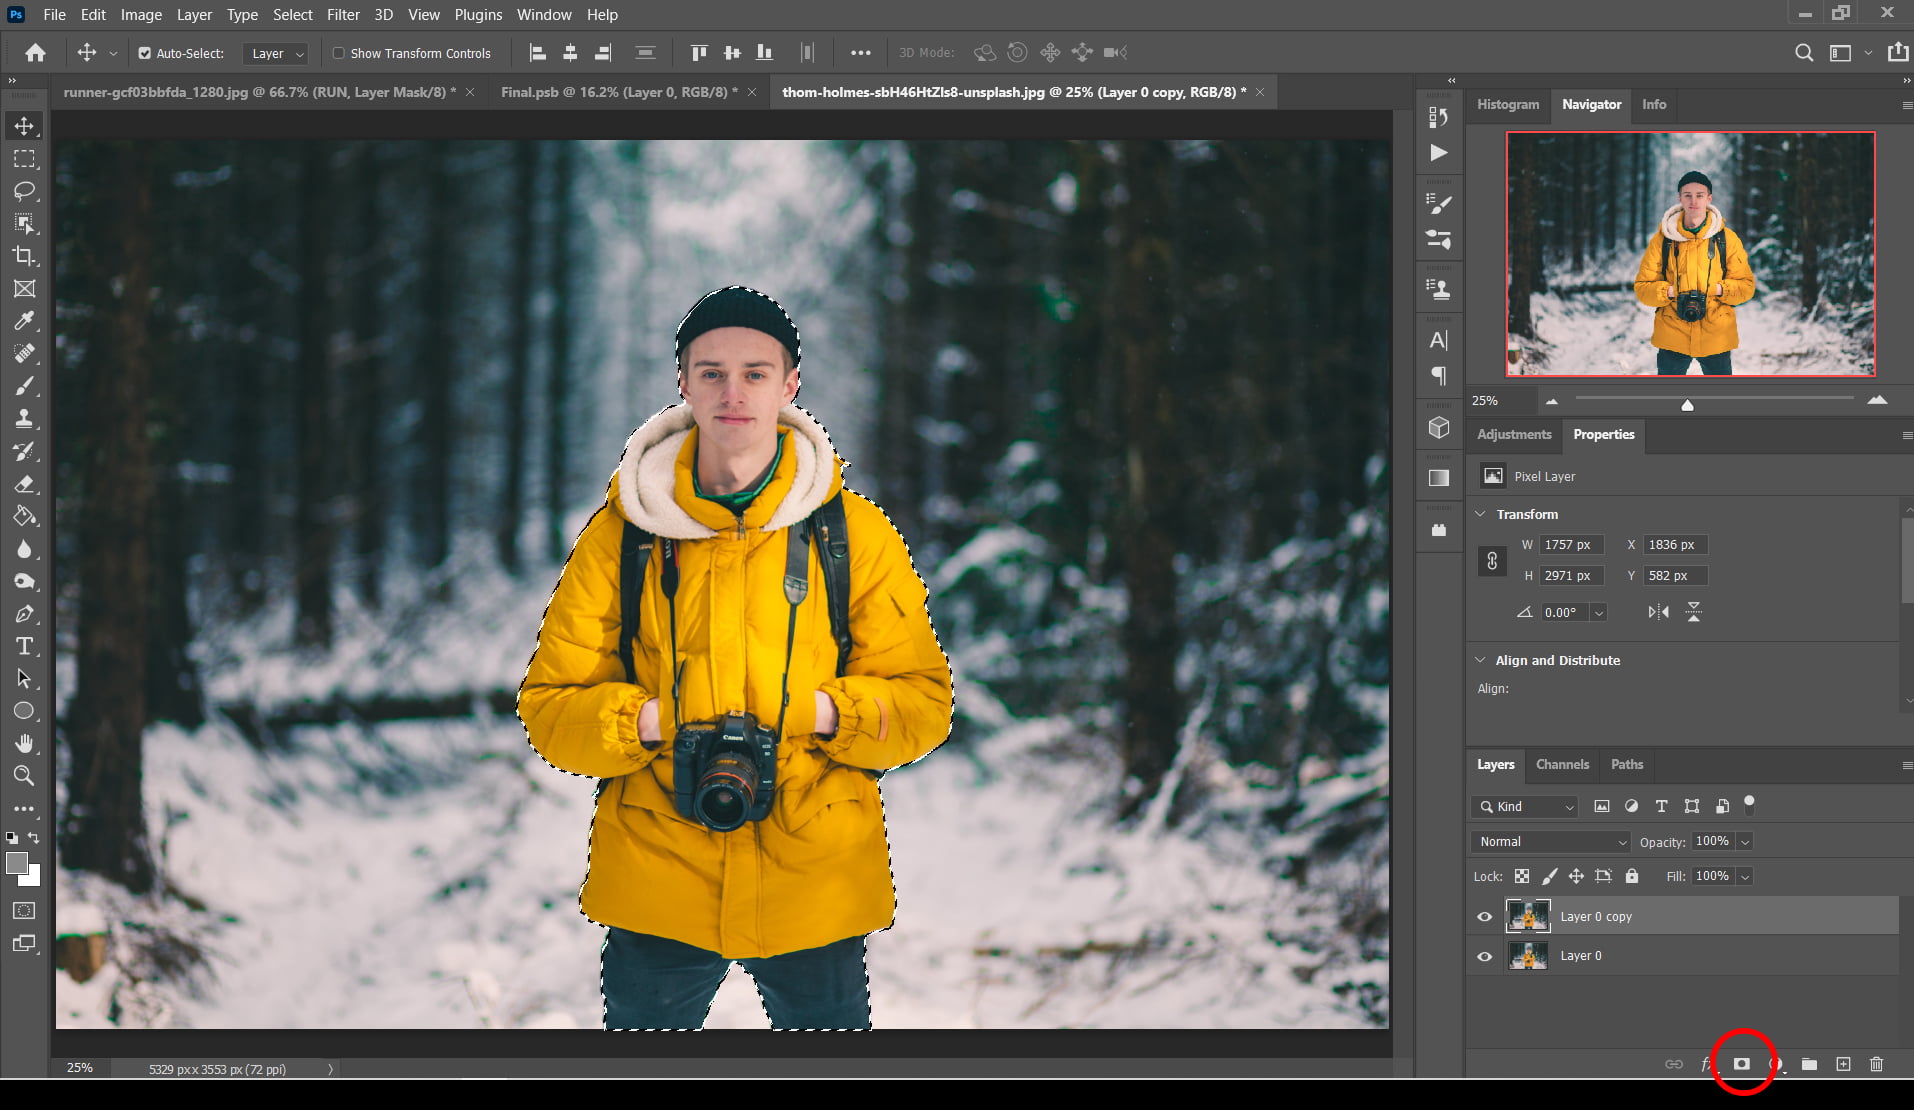
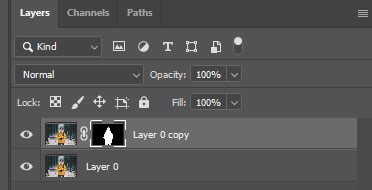
To make the model appear in front of the word “explore” I will need to select him. To do that, click on the top layer and use the selection tool of your choice. In this case, I will use the quick action “select subject” you will notice that a selection was created around the model. You can now apply a layer mask to this selection.

After the first two steps your layers should look like this:
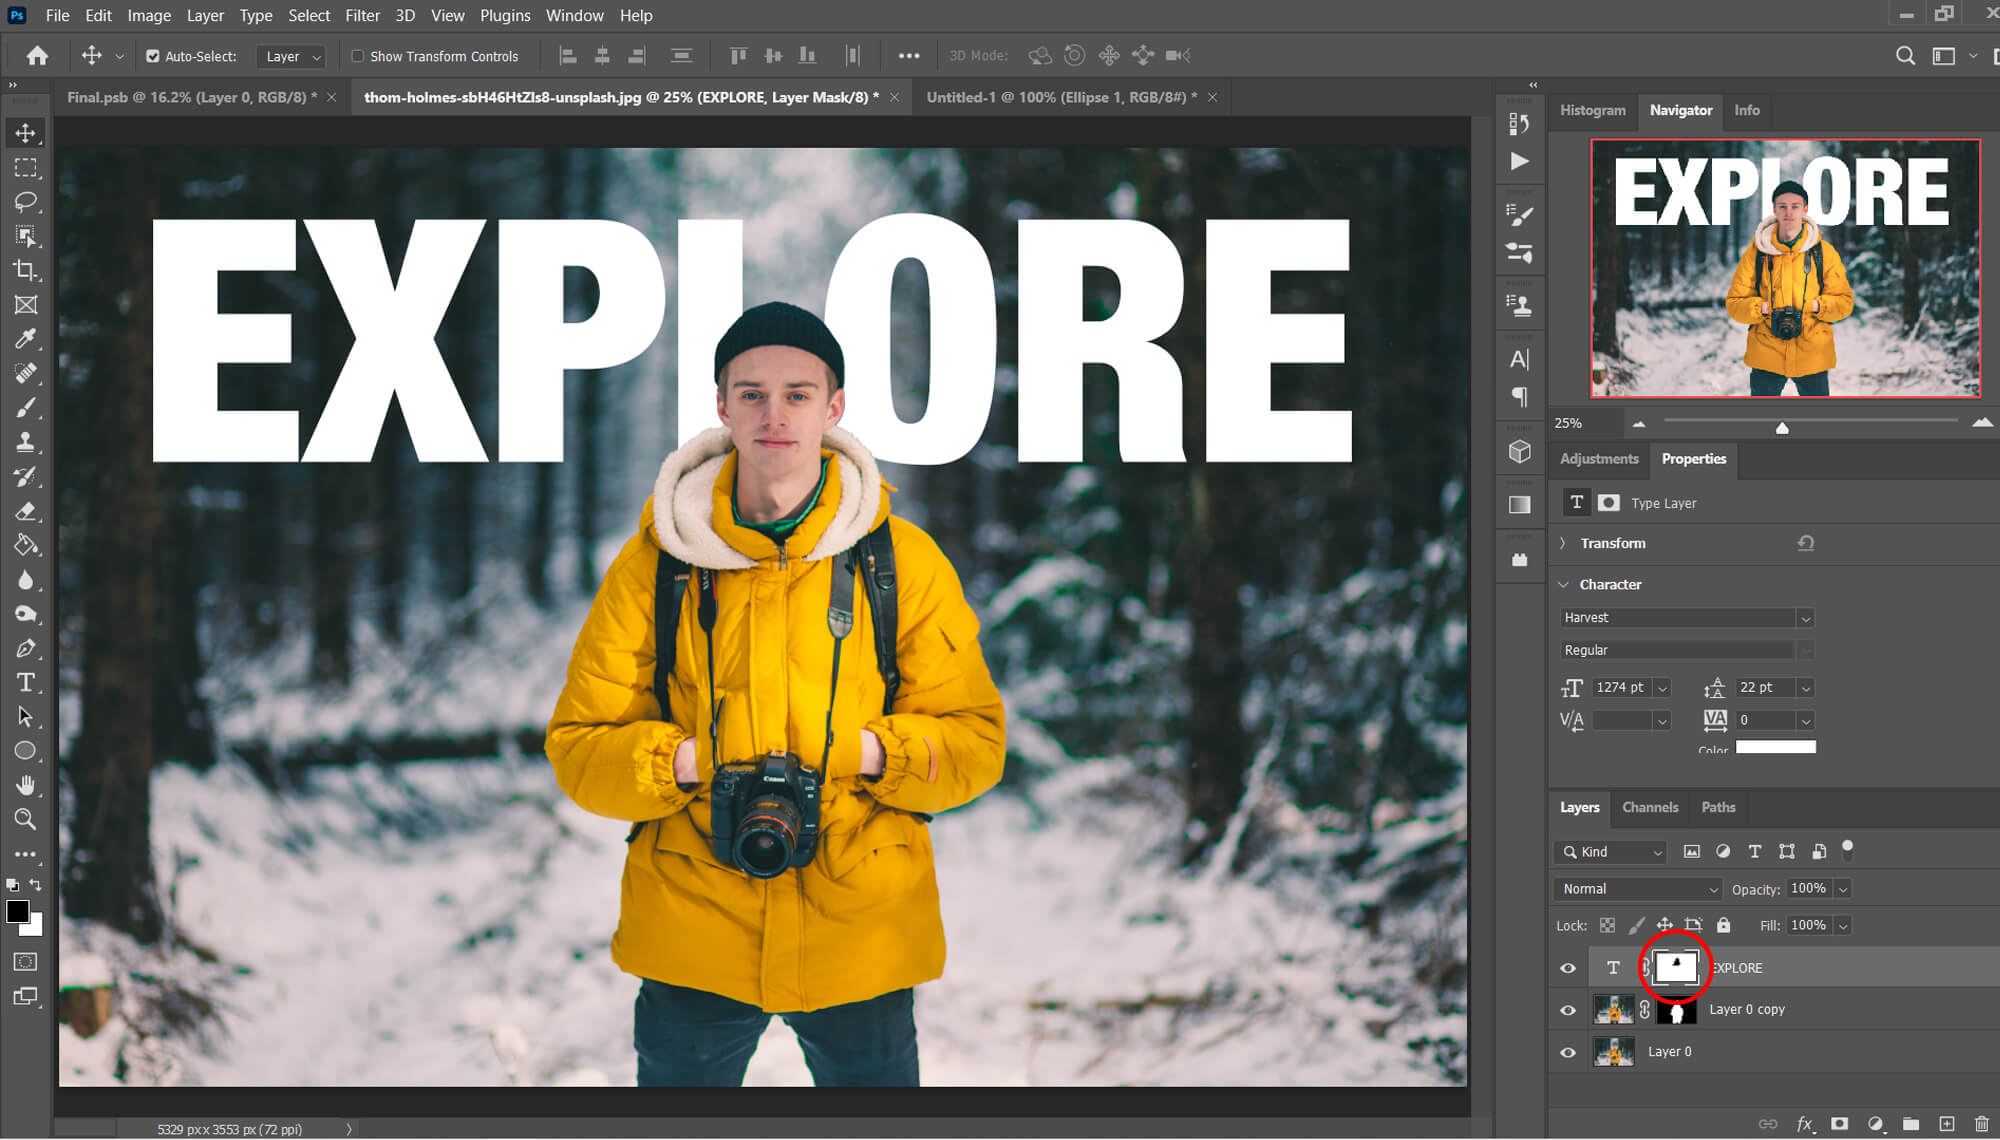
Step 3: Add Your Text
Select the Horizontal Type Tool from the Tools panel, or press the letter T on your keyboard to quickly select it with the shortcut.

Choose your font type, style, size, and color from the Options Bar along the top of the screen while using the Type Tool, then click inside the document window and type your text. “Explore” is the word I’m going to type. you can add a few layer styles to give your text a little more personality, but the look of your text is entirely up to you. My goal here is to keep it as simple as possible.

Notice how the text is currently hiding the image from view; this is because the text layer is sitting above the image of the Background layer in the Layers panel. In the Layers panel, a layer above another layer appears in front of the layer in the document window. In the final step, we will fix that.
To finish with step three add a layer mask to your text layer.
Step 4: Mask Out The Unwanted Text
In this final step, we will get rid of the unwanted text hiding the face of our model. To do that, hold down “Ctrl or command” and click on your mask object to make a selection. In our case, the mask located on the second layer.
Once your selection is visible click on your text layer mask.
Finally use a hard brush by pressing B with the black color selected to remove the unwanted text.
To deselect the selected area press Ctrl + D
And we are done!
After following this tutorial, you should be able to create a text overlap effect with an image in Photoshop. I hope you found this guide useful and easy to follow. If you have any questions or suggestions please let me know in the comments down below and I will get back to you as soon as possible.