In Photoshop, there are a variety of ways to turn a normal text into something unique. Almost any effect imaginable can be achieved, using different tools. Today, I’ll show you how to use Smart Object and Actions in Photoshop to quickly and easily create an Isometric Text Effect.
This tutorial’s text is solely for demonstration purposes. Feel free to use any font you like for your particular design.
For this Isometric Text Effect tutorial, I’ll use a font called Inter. If you wish to use the same font as I am for this lesson click the link below to download it.
Final Image
Step 1
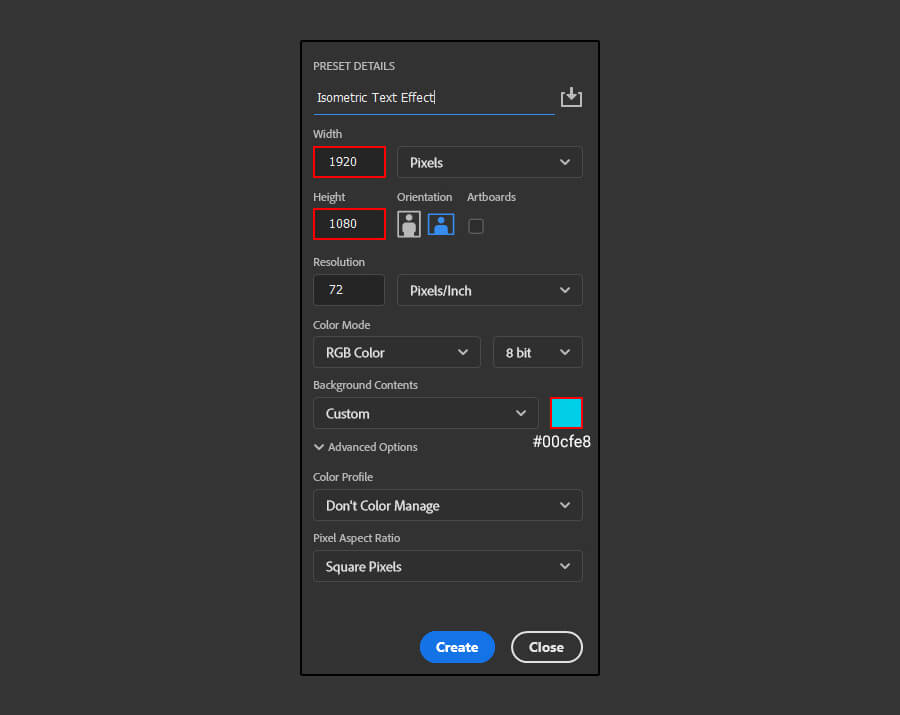
Create a new file in Photoshop at any size you like. For this tutorial, I’ll make mine at 1920 by 1080 pixels with a blue background.
Step 2
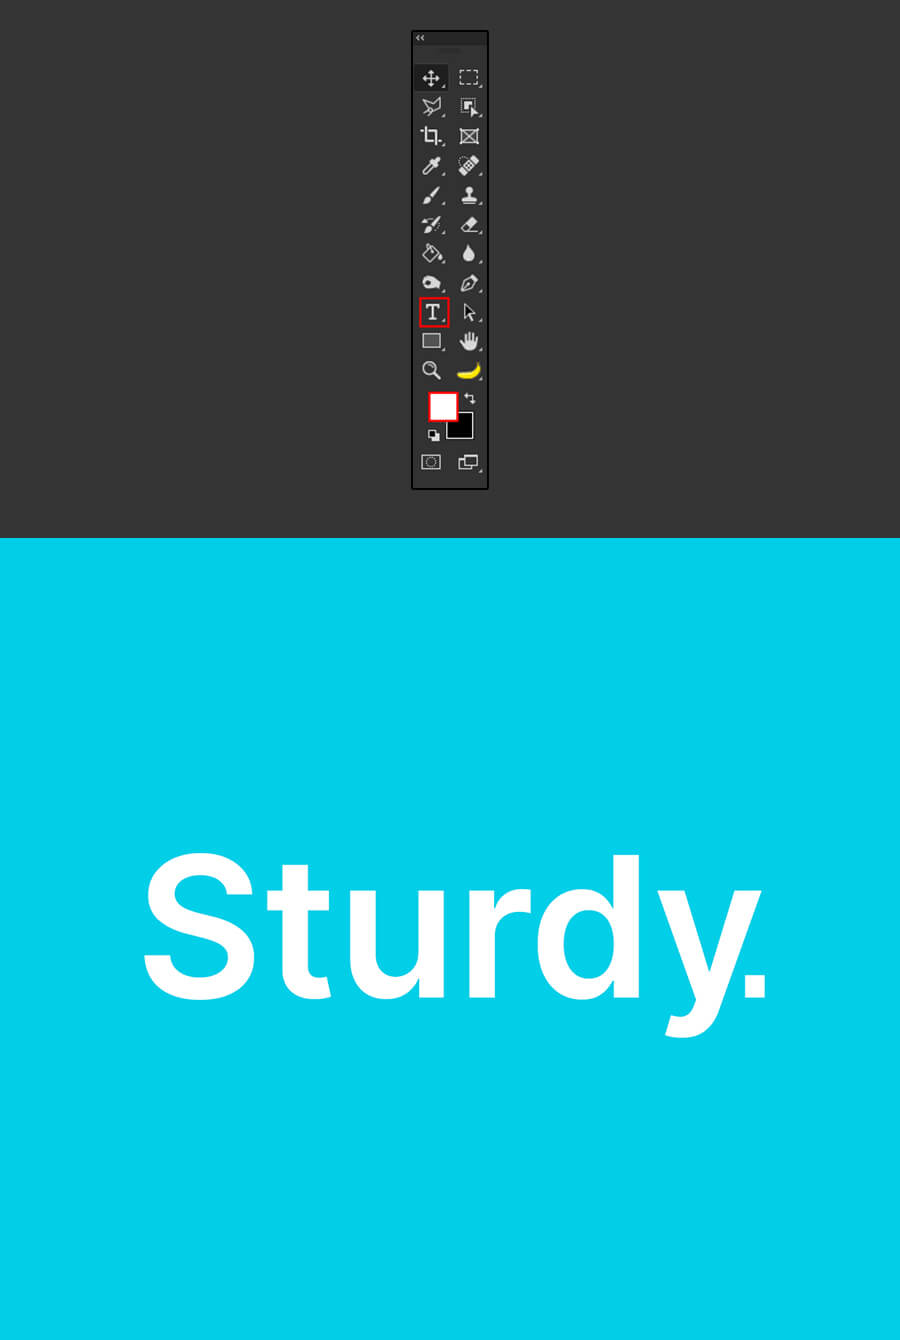
Select the Horizontal Type Tool (T) and type your text in whichever font you wish. I’m going to use “Inter” with the color set to white.
Step 3
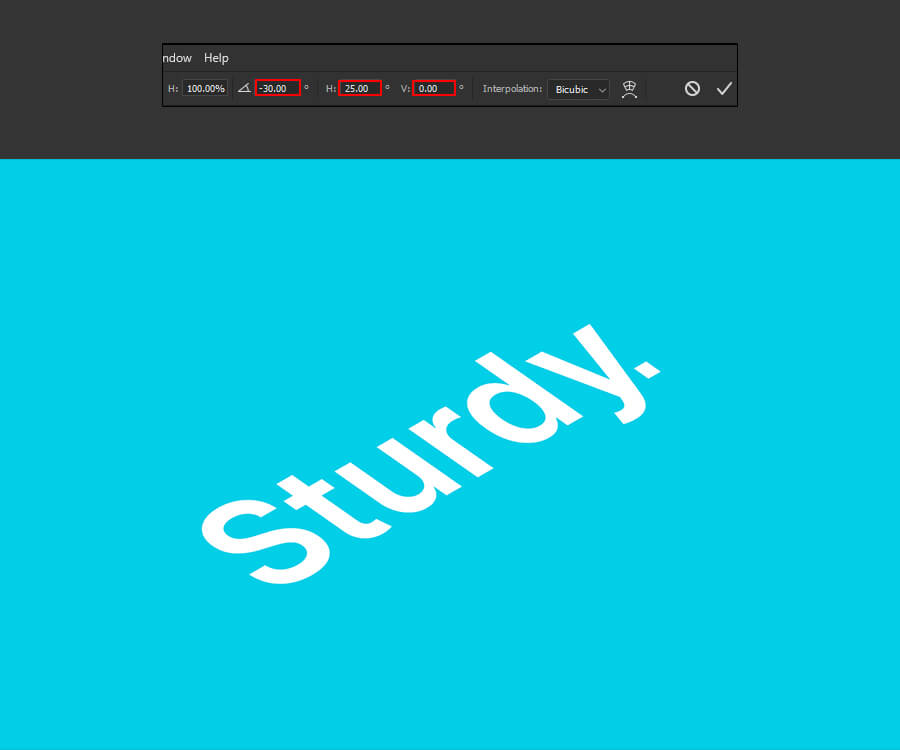
With the text layer selected, press Ctrl+ T (Transform Tool) and head over to the top toolbar. Enter the following values.
Step 4
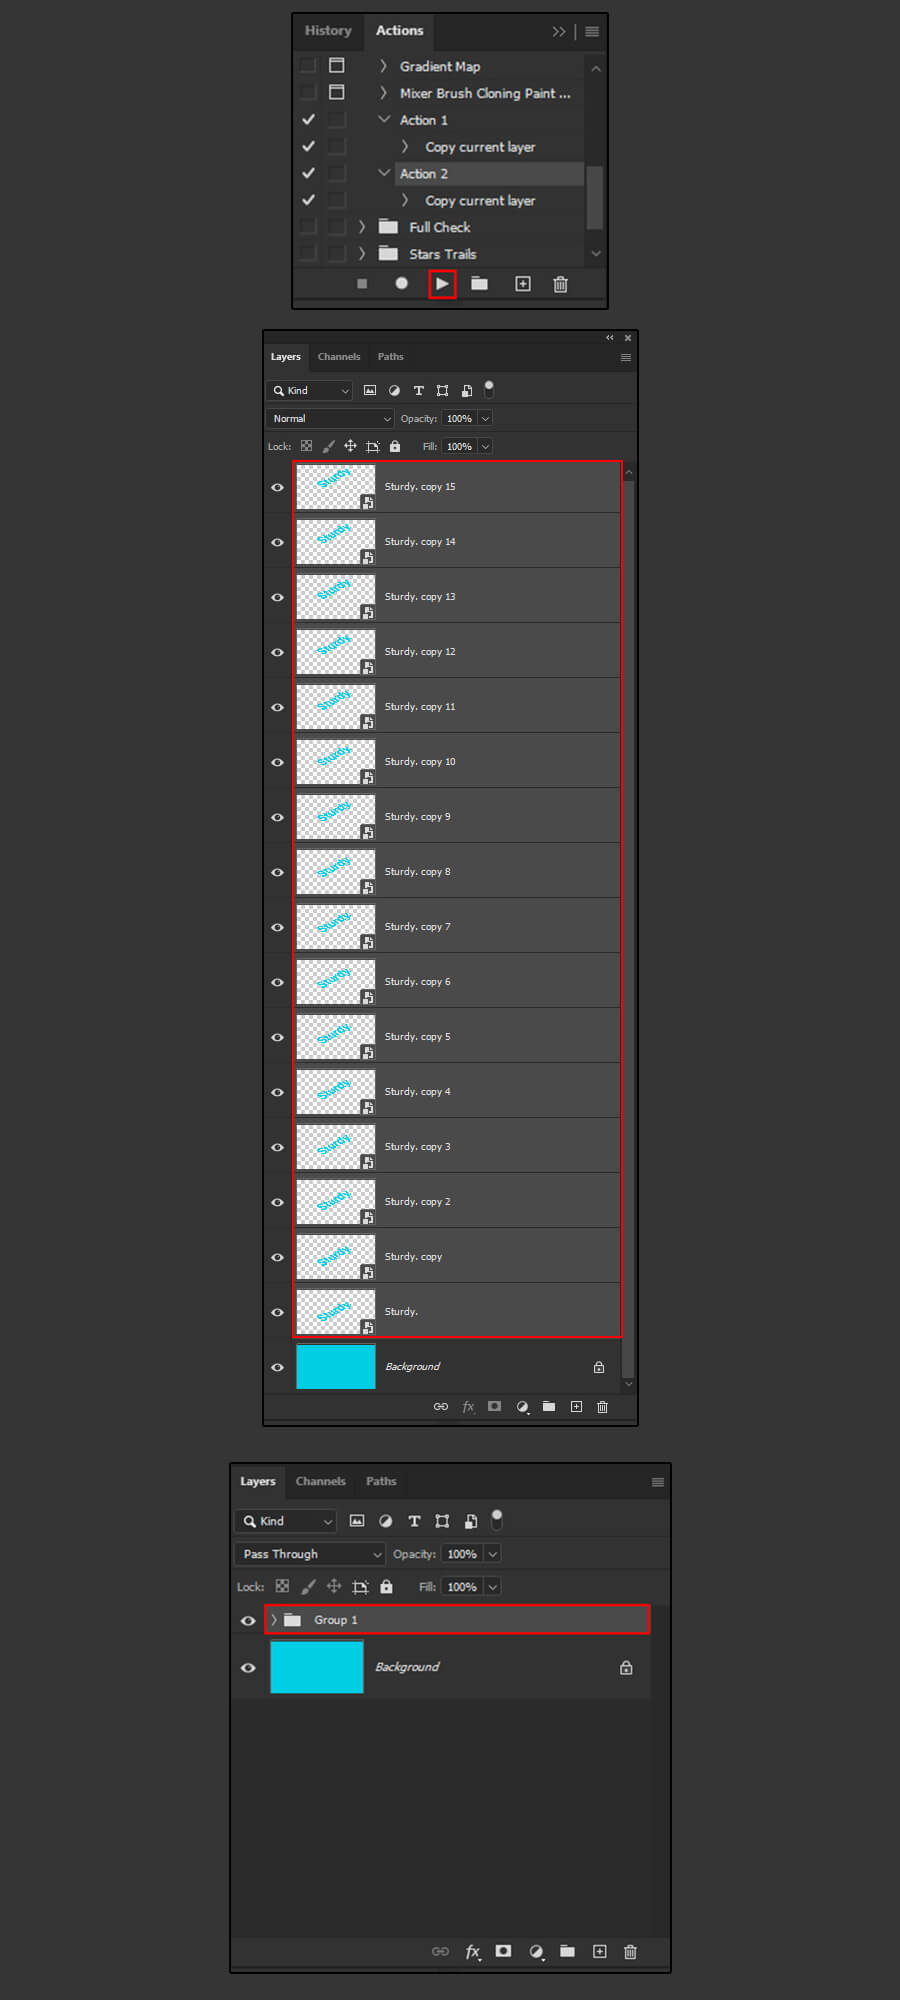
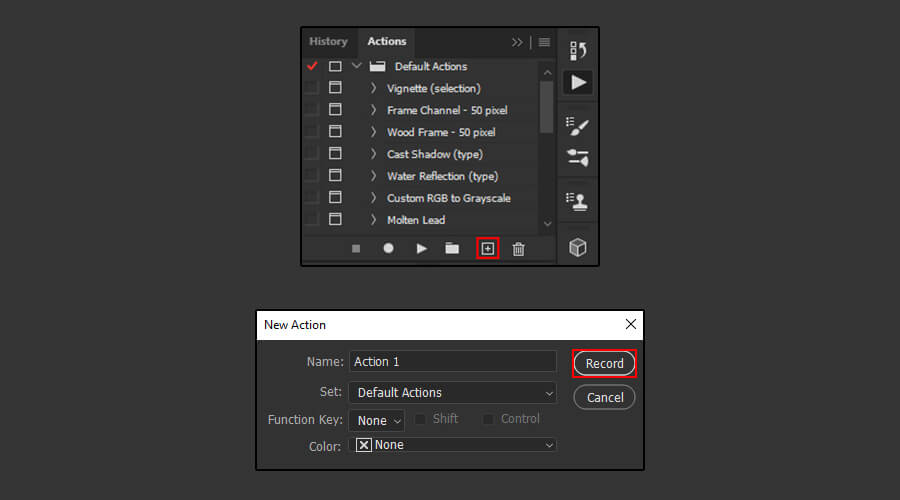
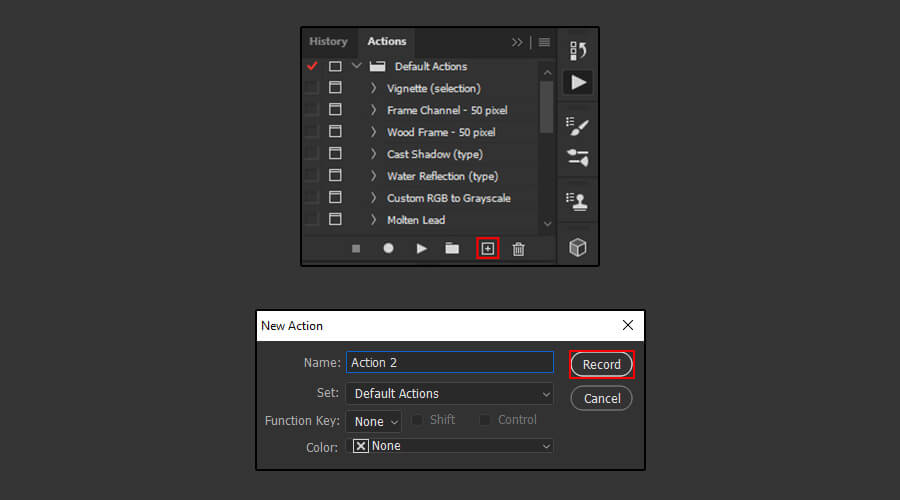
Next, go to Window > Actions, create a new action, and press record.
Step 5
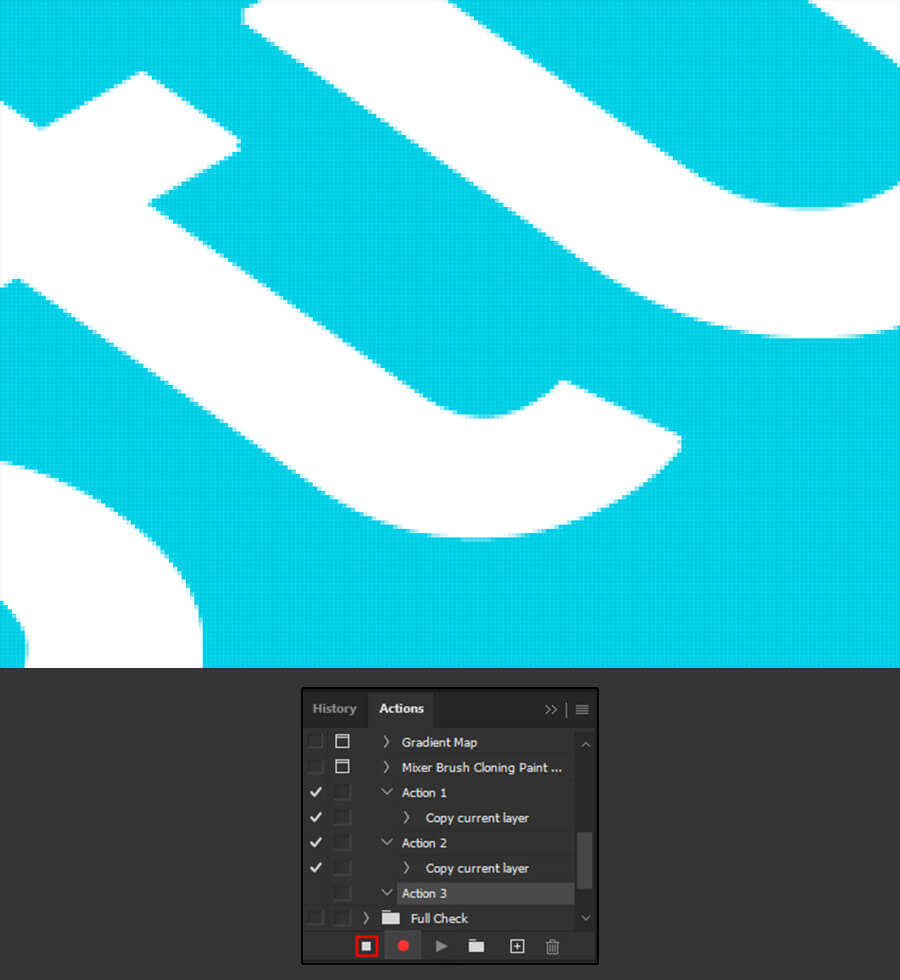
While the text layer is selected, zoom in on your canvas. (Z, Left click + drag), then while holding Alt, drag the text a little bit upward. This will create a second offset text layer on top of the first one.
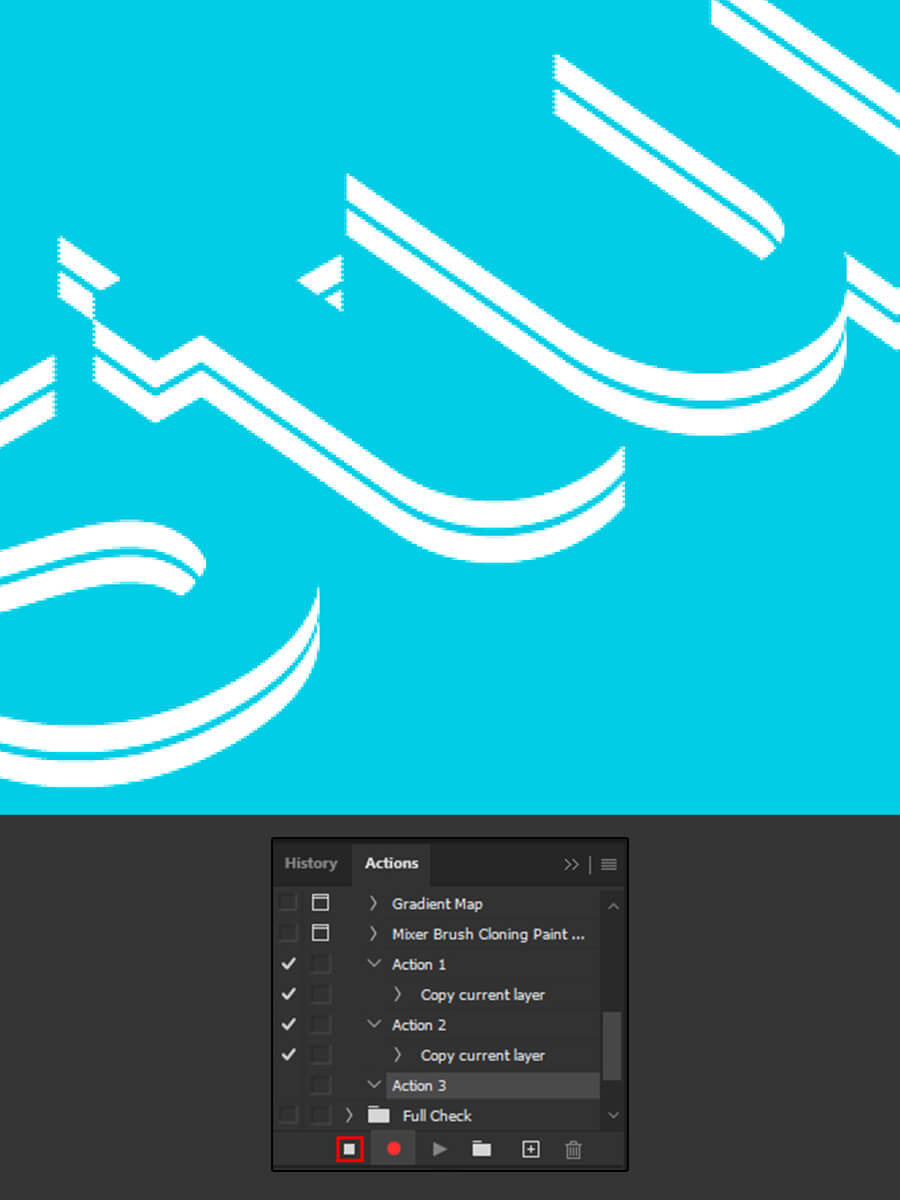
Once done click the Stop Button to finalize the Action.
Step 6
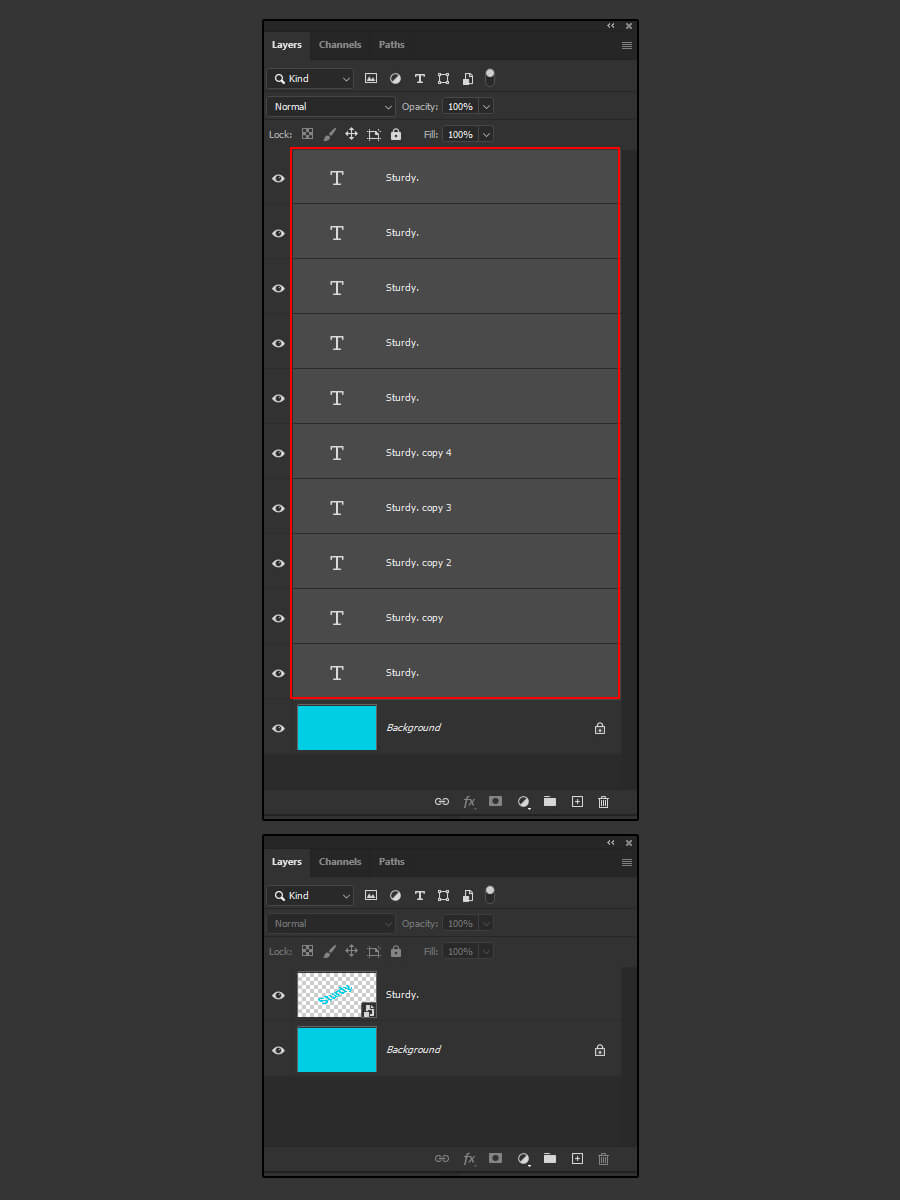
Next, click the Play Button (8X) to run the Action you have just created. You should have now a total of 10 text layers.

Step 7
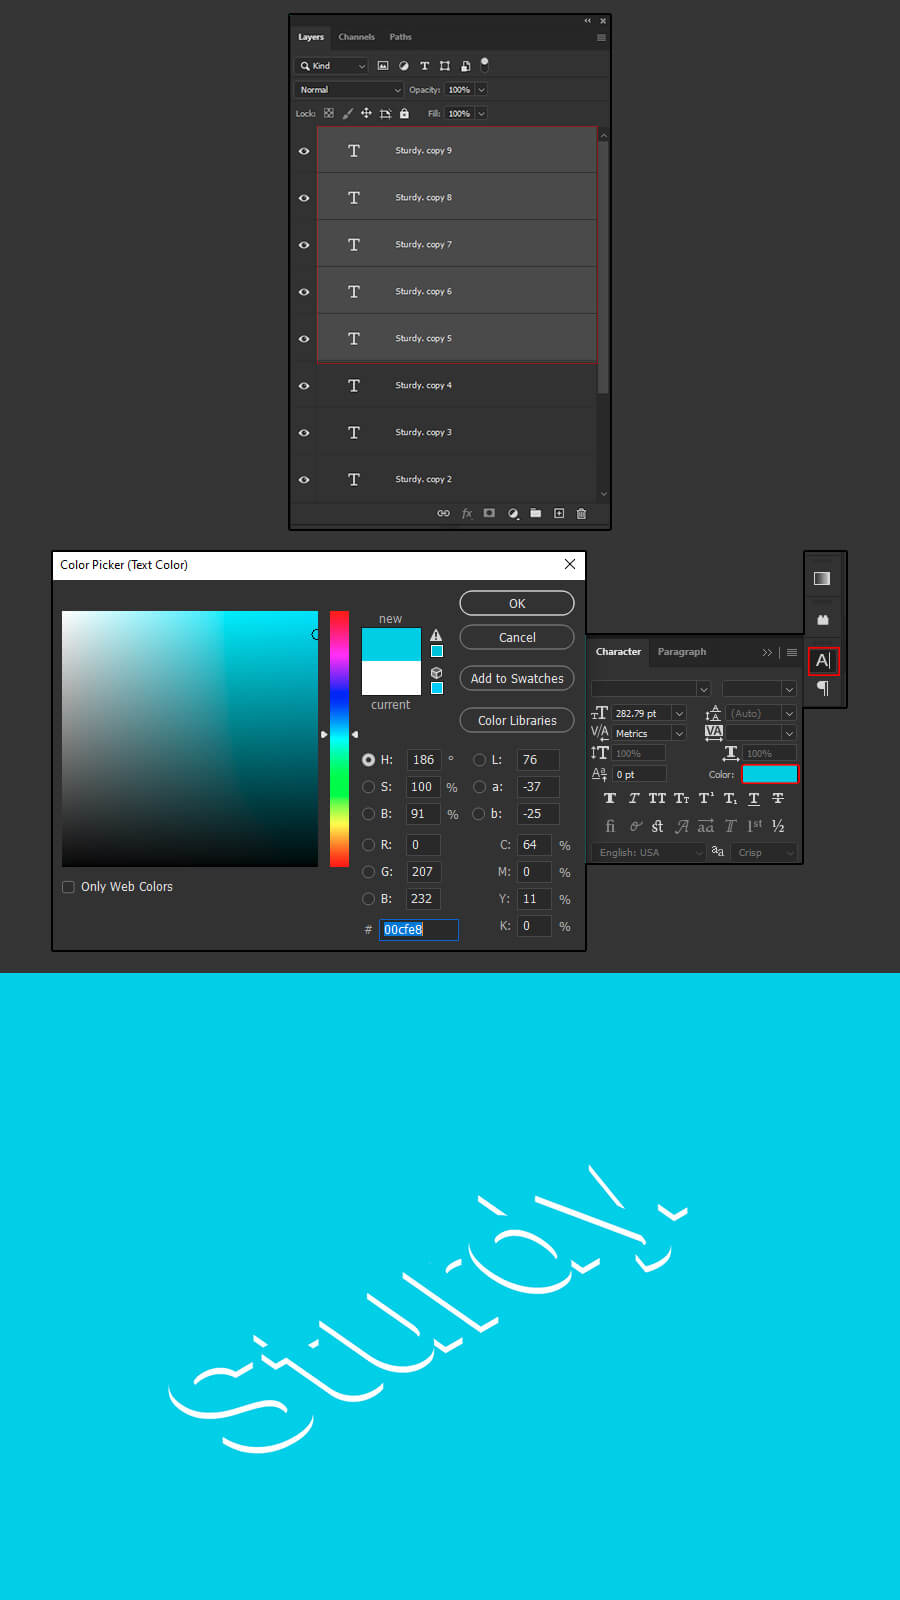
Select the last 5 text layer copies and sample the color of your background.
Step 8
Select all the text layers and go to layer > Smart Object > Convert to Smart Object
Step 9
Next, create one more Action. Go to Window > Actions and press Record.
Step 10
While the text layer is selected, zoom in on your canvas. (Z, Left click + drag), then while holding Alt, drag the text a little bit upward. This will create a second offset text layer on top of the first one.
Once done click the Stop Button to finalize the Action.
Step 11
Next, click the Play Button about 15 times to run the Action you have just created. Select all your layers and press Ctrl + G to group them.