With the release of CyberPunk, the Glitch Text Effect became very popular and thousands of designers have used it in their designs.
The Glitch Effect in typography can take the text in your work to the next level thanks to its futuristic, colorful, and vibrant style.
In this quick tutorial, I’ll be showing you how to achieve that effect in a few minutes.
I’ll be using Photoshop 2022 but any version of Photoshop will work.
For this process, I used Gotham Font. Click here to download and follow along.
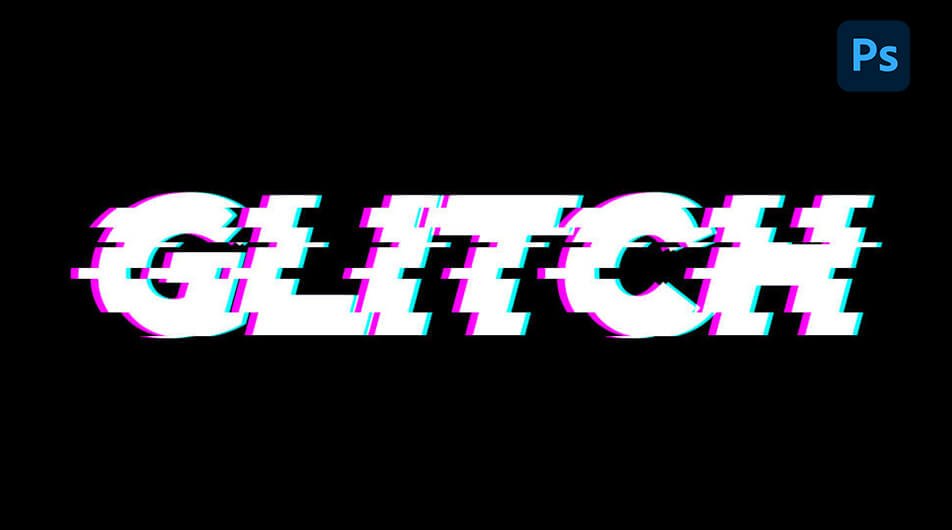
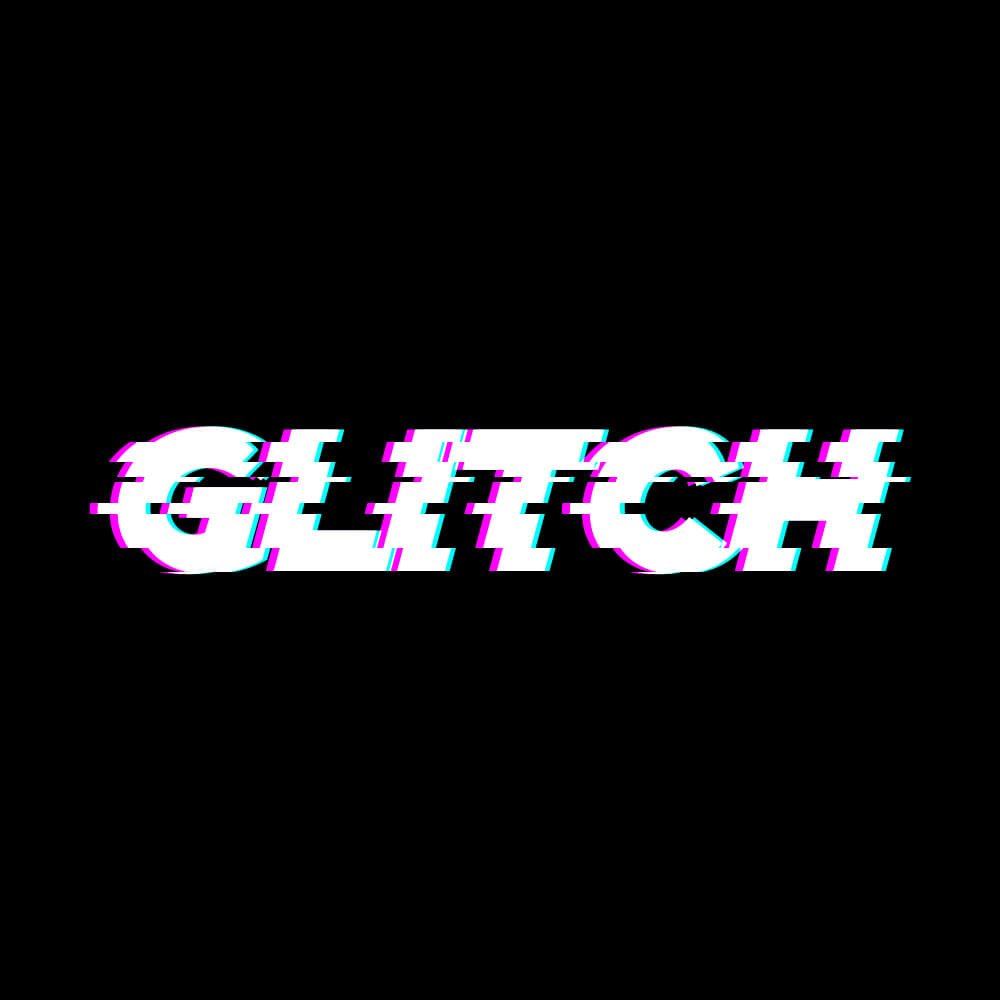
This is the final result.

How to Create a Glitch Text Effect in Photoshop
Step 1: Open up Photoshop and Type your Text
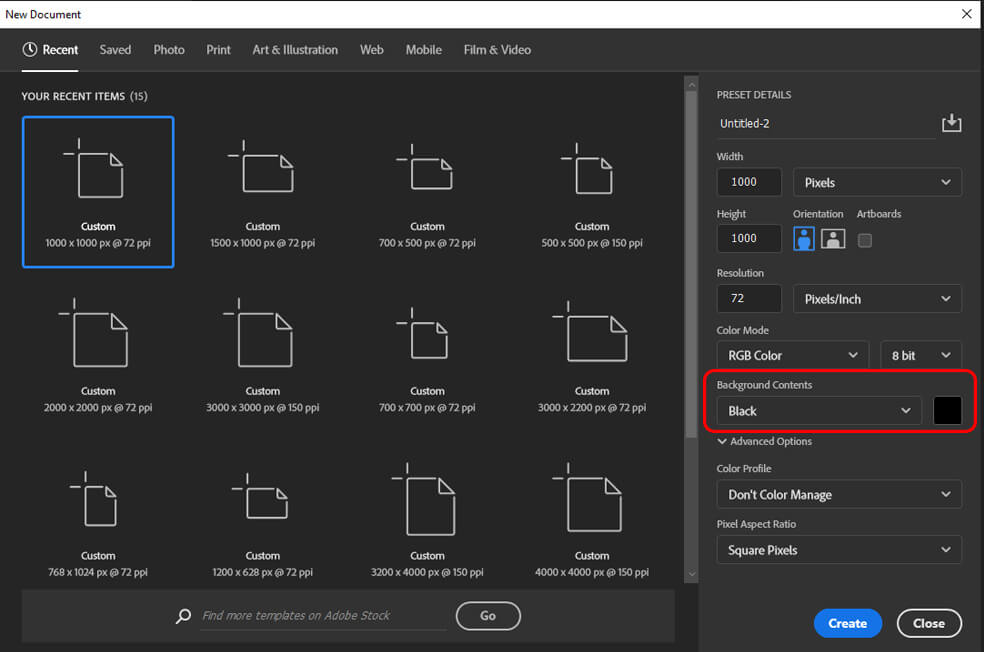
Create a new document and set the background color to black. Enter the settings below.
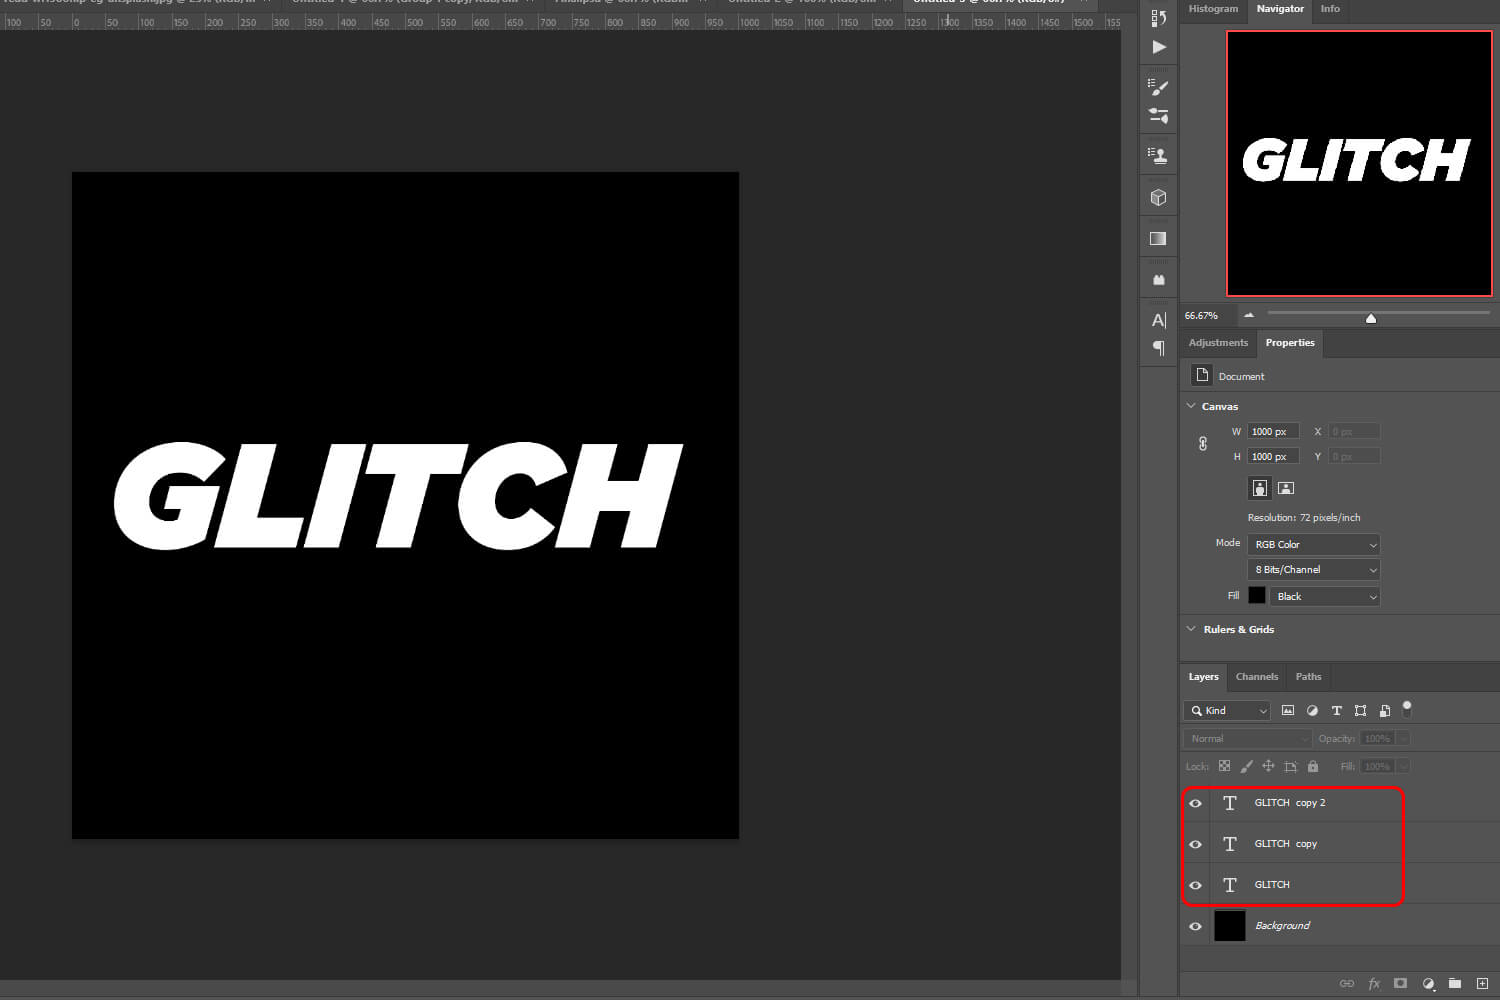
Next, press T to use the Text Tool. Enter the text that you want and copy it twice by pressing Ctrl + J two times.
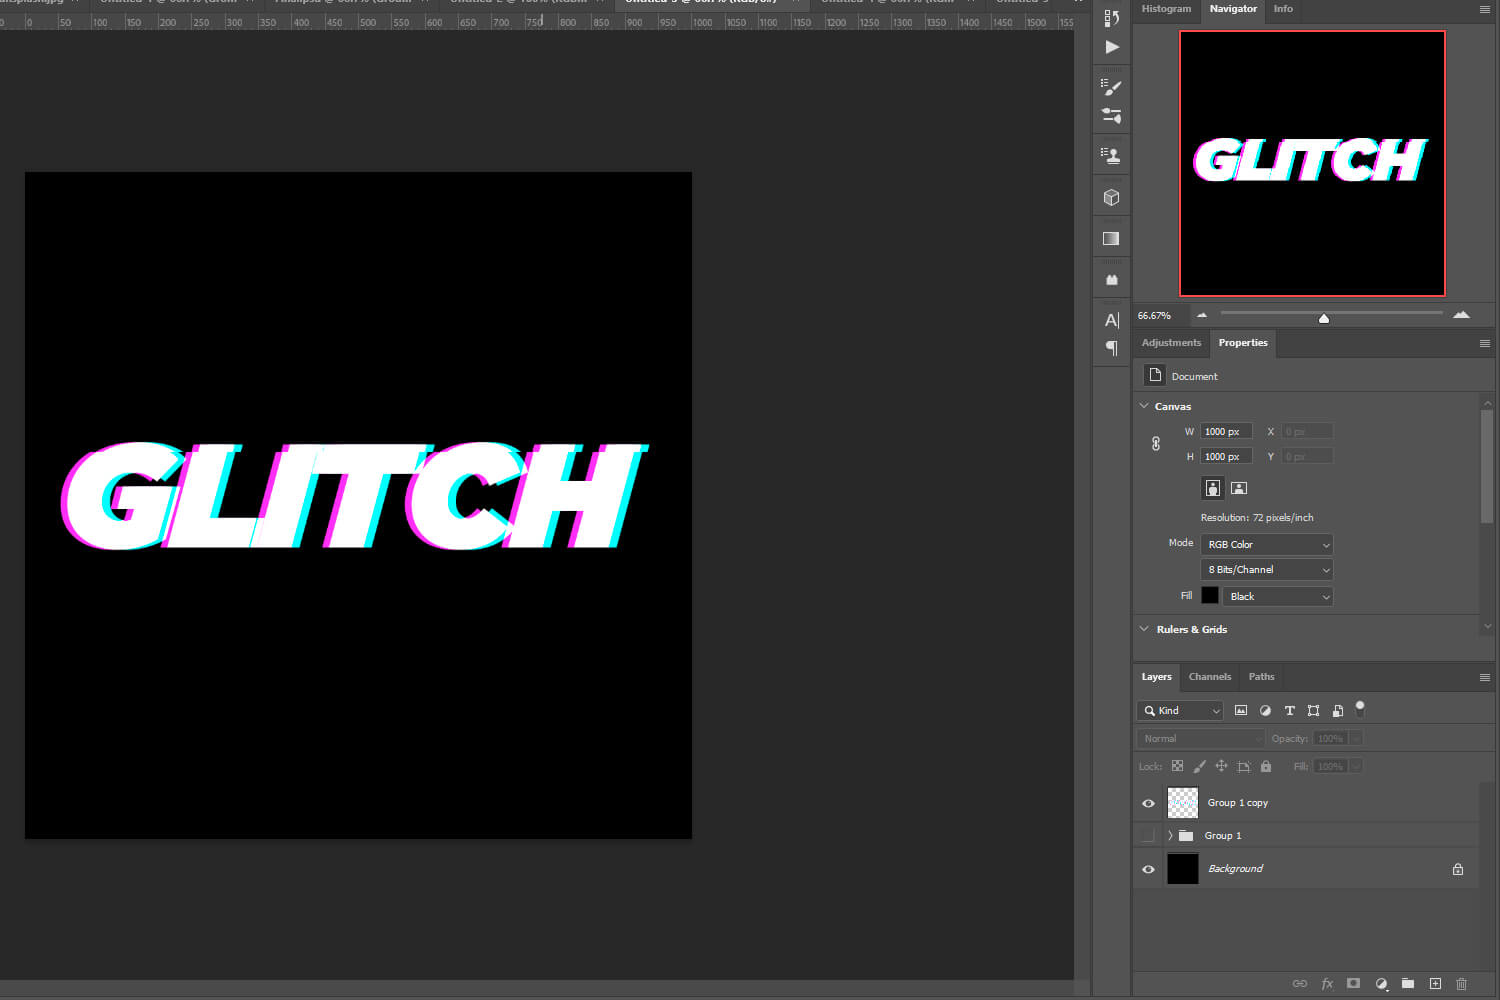
Your document should now look like this with 3 different text layers.
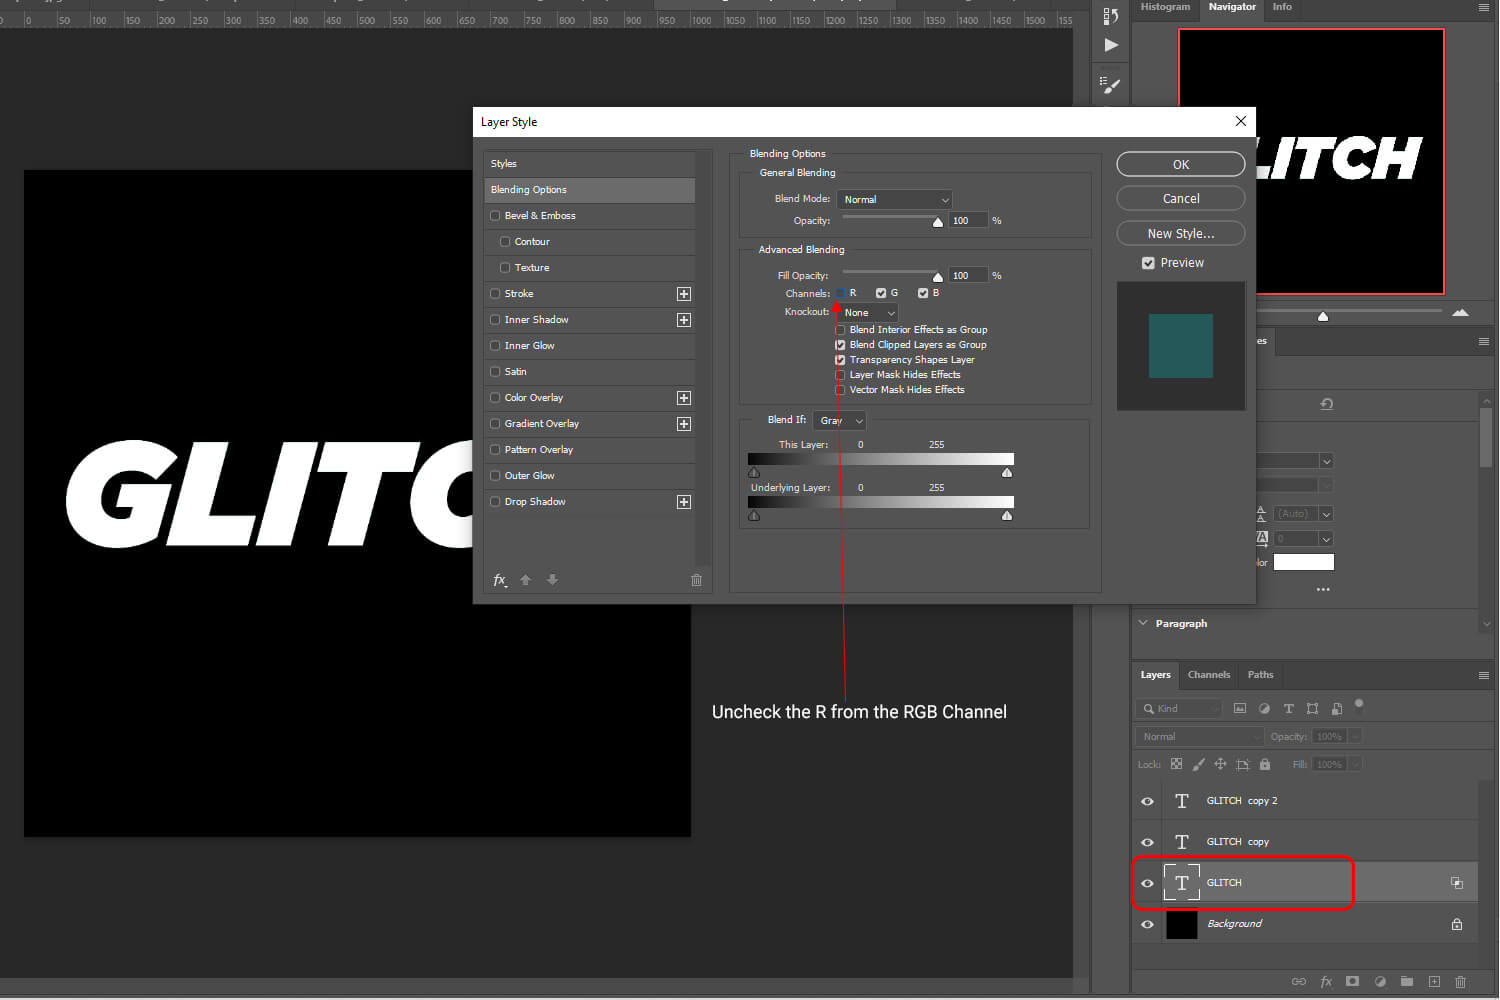
Select the bottom layer of text and double-click on it to pull up the Layer Style. Uncheck the R from the RGB Channels
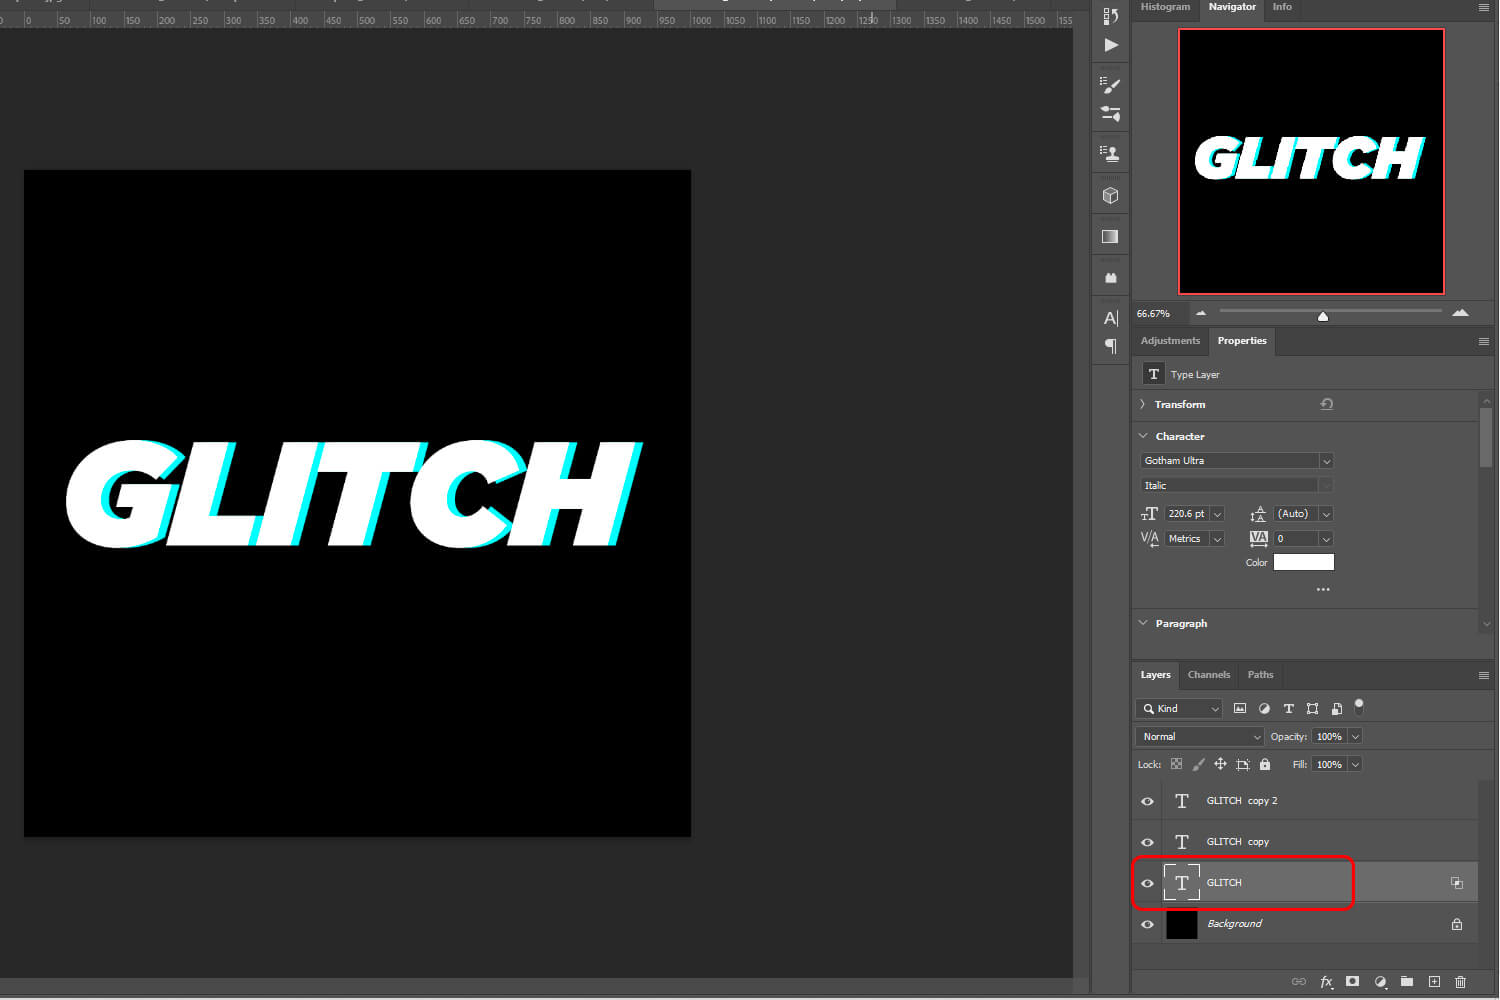
Once it’s done select the bottom layer again and move it slightly to the right. You’ll see some blue color appearing.
We’ll now do the same with the layer on top but this time we’ll uncheck the letter G in the layer style. Double click on the second text layer and uncheck the letter G.
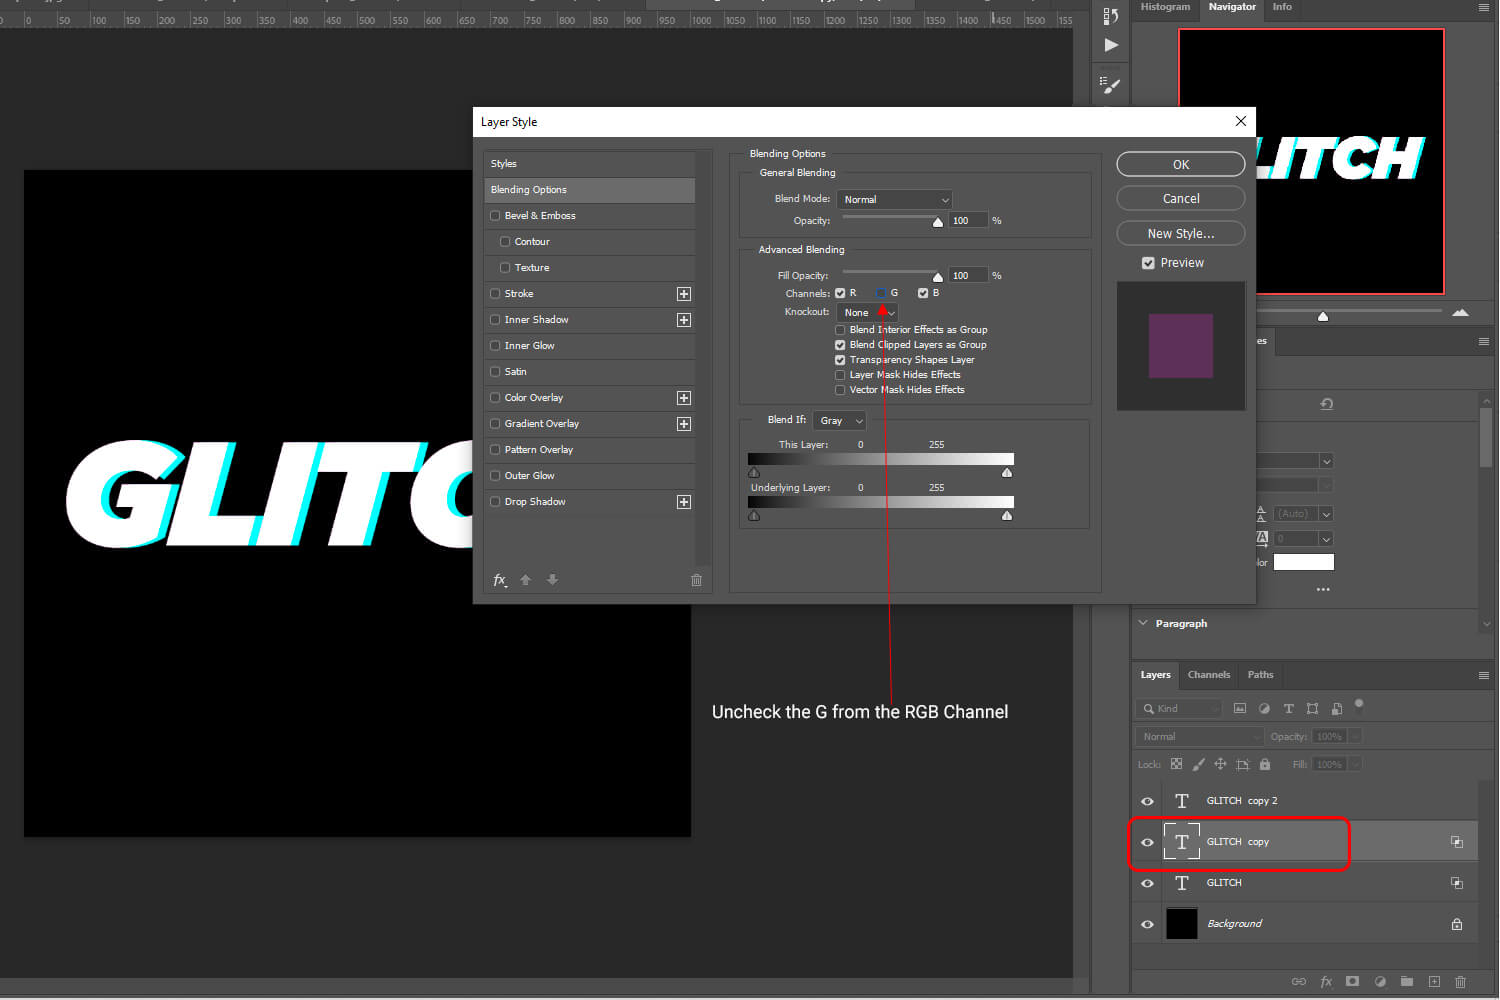
Once it’s done select the second layer again and move it slightly to the left. You’ll see some pink color appearing.

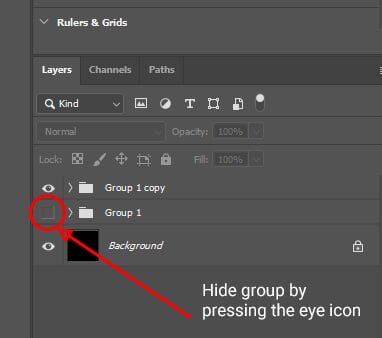
Now select the 3 layers of text and group them by pressing Ctrl +G. Copy this group by pressing Ctrl + J.
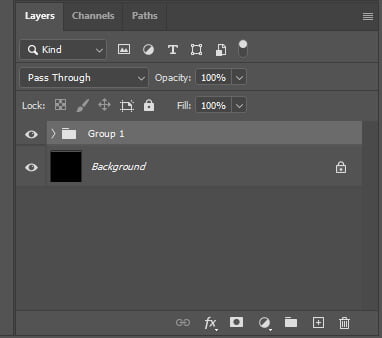
Step 2: Create the Glitch Effect using the Marquee Tool
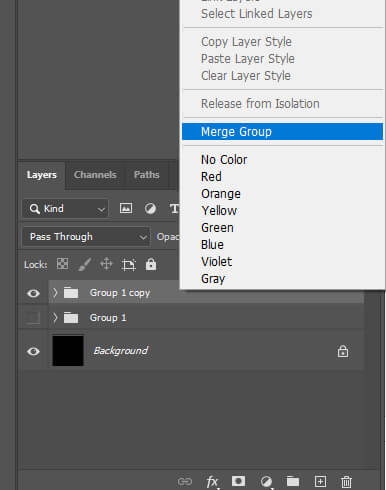
First, select your group layer, right-click, and merge group.
Select the Rectangle Marquee Tool in the Toolbar.
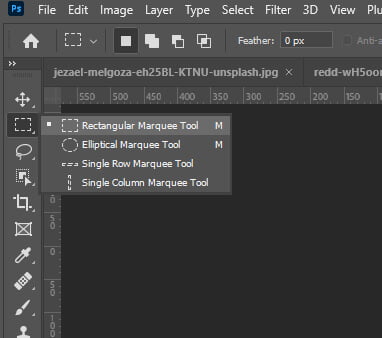
We’ll now make 4 selections with the Rectangle Marquee Tool on the text and move them to the right and then to the left.

Move that selection to the right.
To deselect press Ctrl + D.
Now make a new selection and move it to the left.

Repeat the selection process two more times and should get your final result looking like the image down below.
And we are done!
After following this tutorial, you should be able to Create a Glitch Text Effect in Photoshop. I hope you found this guide useful and easy to follow. If you have any questions or suggestions please let me know in the comments down below and I will get back to you as soon as possible.